
My monthly planning process (all 7 steps)
I’ve mentioned my dislike for the typical box monthly calendar format quite a few times here on the blog, and that I use a list style monthly calendar instead. But that is only one part of my monthly planning process.
Some of the other things I include as part of my monthly planning process:
- Monthly review
- Brain dump life admin & reminders – all those random / annoying things like visit the dentist
- Brain dump to do list (for my shop and blog)
- Projects (and when I intend to work on them e.g. week 3, or 5 of the steps involved in that project which I allocate / scatter among the days of the month)
- Habit tracker
Step 1: Monthly review
How often do you actually stop to review the month before ploughing ahead into your plans for the current month? Do you stop and evaluate what did and didn’t get done, plans to improve, check your budget etc.?
I usually spend about 15 minutes at the end of the month reviewing that month before I start planning the next one.
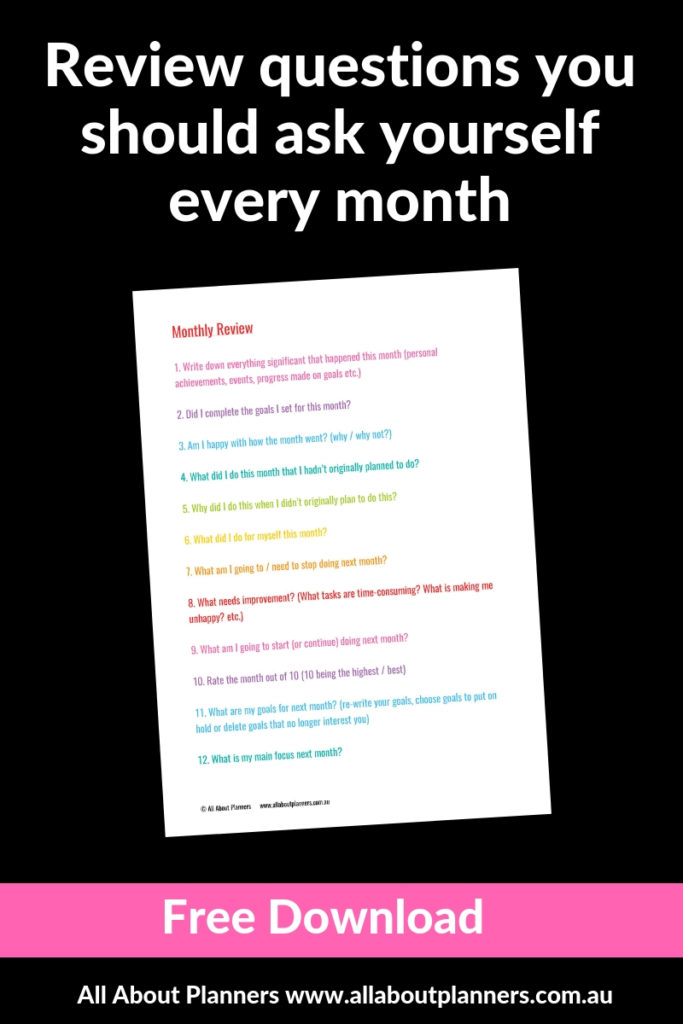
To do my monthly review I came up with a list of 12 quick questions – you can download a copy of them here.
![]()
Click here for a printable version of my monthly review questions list
Related post: 12 Monthly planning bullet journal spreads (you can do in 5 minutes or less)
Step 2: Goals & projects review
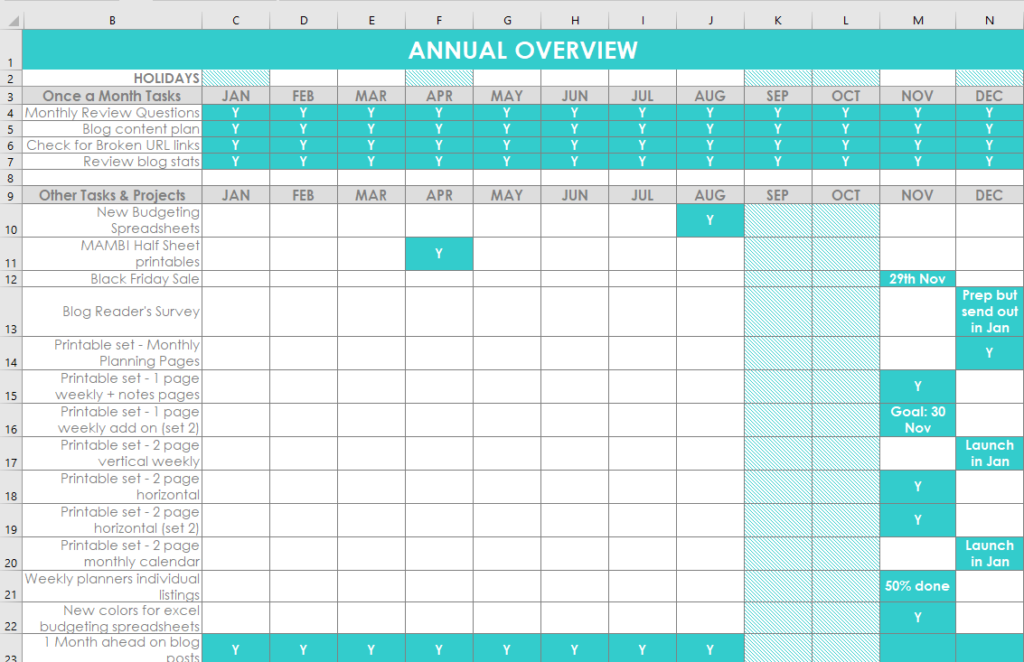
I have an annual overview spreadsheet that I check at the start of each month and adjust accordingly.
It includes each of the projects / big / time consuming things I want to get done that year. Depending on the size of the goals, I’ll usually work on 3 at the same time in a month, except if I’m doing an ecourse in which case I’ll block out the entire month so I can focus only on that.
I include:
- When I’m going on holidays since that will affect how much time I have to work on other things
- Once a month tasks (I only include the main ones, I have more than I’ve organized using various printables I’ve made which I keep in my ARC notebook)
- Goals (for my Etsy shop)
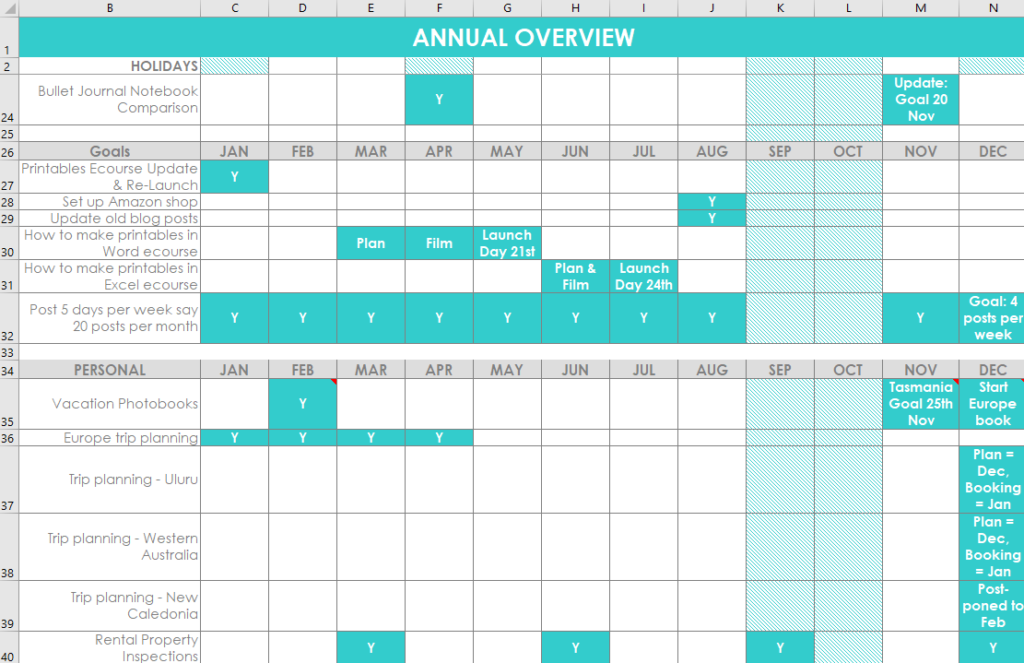
- Goals (for this blog)
- Personal (usually the mammoth task of doing photobooks, scanning in all the old family photo albums, planning future holidays and some stuff for my rental property)
- You could add in events like friend’s birthdays, catching up with friends etc. but since that’s not really a task or something that needs to be planned over a number of steps / days I don’t include it on these spreadsheets
I shade the boxes in Excel for when I intend to work on them. This was my spreadsheet after I got back from my Europe trip last year i.e. November and December were still planned out (that’s why there’s dates in the boxes). Y just means yes I did complete it.
This spreadsheet template is available in my shop! (click here)
The reason I use Microsoft Excel for this instead of paper is that I change things around a lot depending on what I feel like working on, what content people are asking for on the blog, trip planning usually takes longer than I think etc. By using Microsoft Excel I can just cut and paste the colored box to reallocate it to another month or change the box back to white if I’m not going to work on that project anymore.
Years ago I was doing something like this on paper with the Frixion erasable pens but it was getting too messy as I’m always updating this so switched to Excel instead.
If you wanted to try something like this but don’t want to rule it up in your bullet journal each month, the structure with writing space on the left and then the months layout is similar to a bill tracker or a habit tracker. You can download some of the ones I have in the free printables library and just use white out to change the title on the page.
Related post: How to resize any printable for any size bullet journal
Step 3: Brain dump to do list
To do a brain dump all I need is a to do list. I’ll usually print out some checklist pages I’ve made, use MAMBI refills or just grab one of the many notebooks I’m hoarding and start a list in that.

More details in this post.
After I’ve brain dumped everything I’d like to get done, I then plan how I’m going to actually to get it all done.
Step 4: Monthly Overview
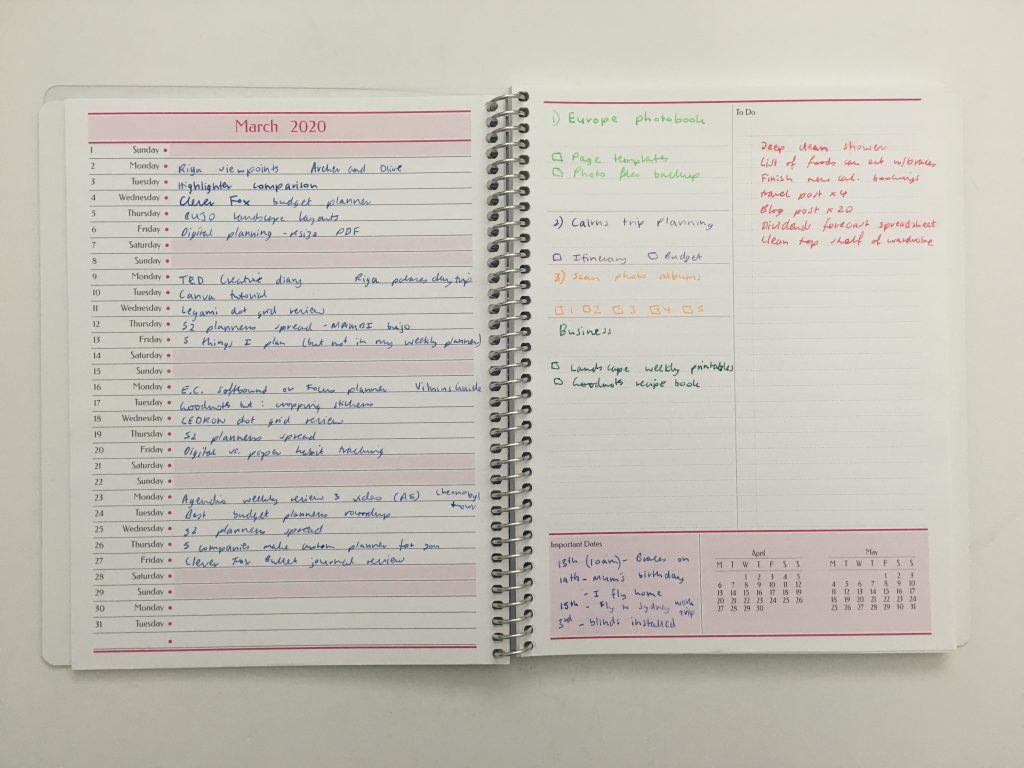
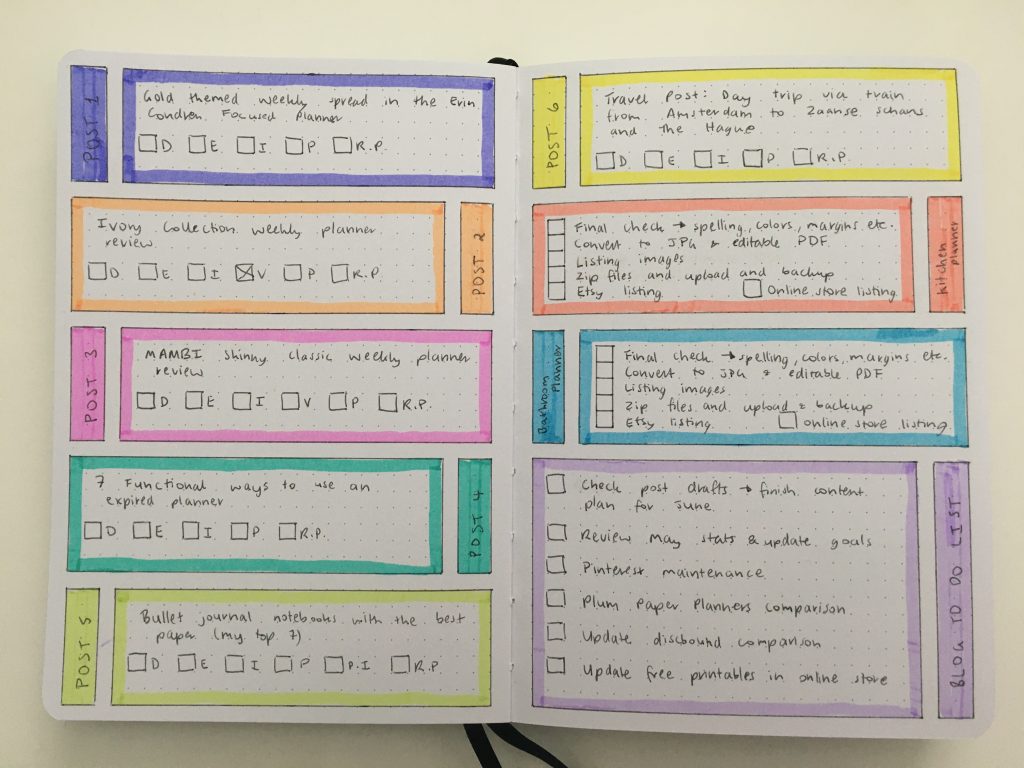
For this I like to use a list style monthly calendar with blog posts on one page, with a second page for project tasks, goals, other tasks and reminders.
Just because I’ve listed out blog posts in an order on the monthly calendar doesn’t mean the posting schedule will actually turn out that way. If I get a reader request I might add a new post entirely to the list and then delete one off. Maybe I don’t have time for all of the posts on the list or think of something that would be really helpful so add that instead.
I try and include a variety in my posting schedule – free printable / resource / download, planner reviews, planning tips, travel posts, bullet journal notebook reviews, bullet journal tips and my weekly spreads.
This year I’ve been pretty good about sticking to using one notebook (which doesn’t happen very often!) and have been using my custom Agendio monthly planner (review will be posted next week) You’ll notice there are no boxes on my layout. I’ve mentioned a few times here on the blog about how I don’t use traditional monthly box calendar format, this is the type of layout I use instead:
I’ve experimented with many monthly overview layouts in the past, some of which I included in this post: 12 Monthly planning bullet journal spreads (you can do in 5 minutes or less)
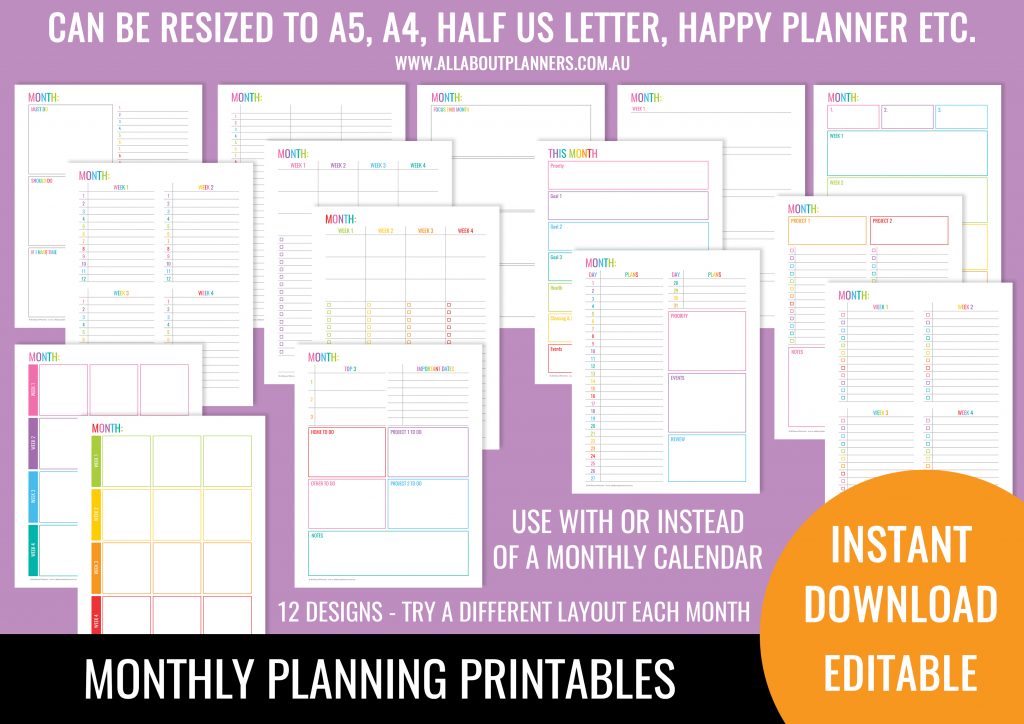
Some of the monthly planning printables I’ve made / use can be found in my shop.
I find that I typically need:
- Monthly calendar list style format for blog post planning
- Important dates (list birthdays, events, when my parents are coming to visit, holidays, appointment, reminders etc.)
- Project planning space – if it’s a small project I might list out all of the tasks here, otherwise…
Step 5: Project Planning
If I’m working on something big with lots of stuff to do I’ll use a separate notebook or planning page entirely dedicated to that. I use a lot of notebooks at the same time (I have a stack of about 5 notebooks that I’m using to plan various things on my desk at the moment), as I like to keep everything separate.
For photobook planning I use this printable workflow I made.
For project planning like occasionally re-organizing the apartment I live in, I use this project planner printable I made.
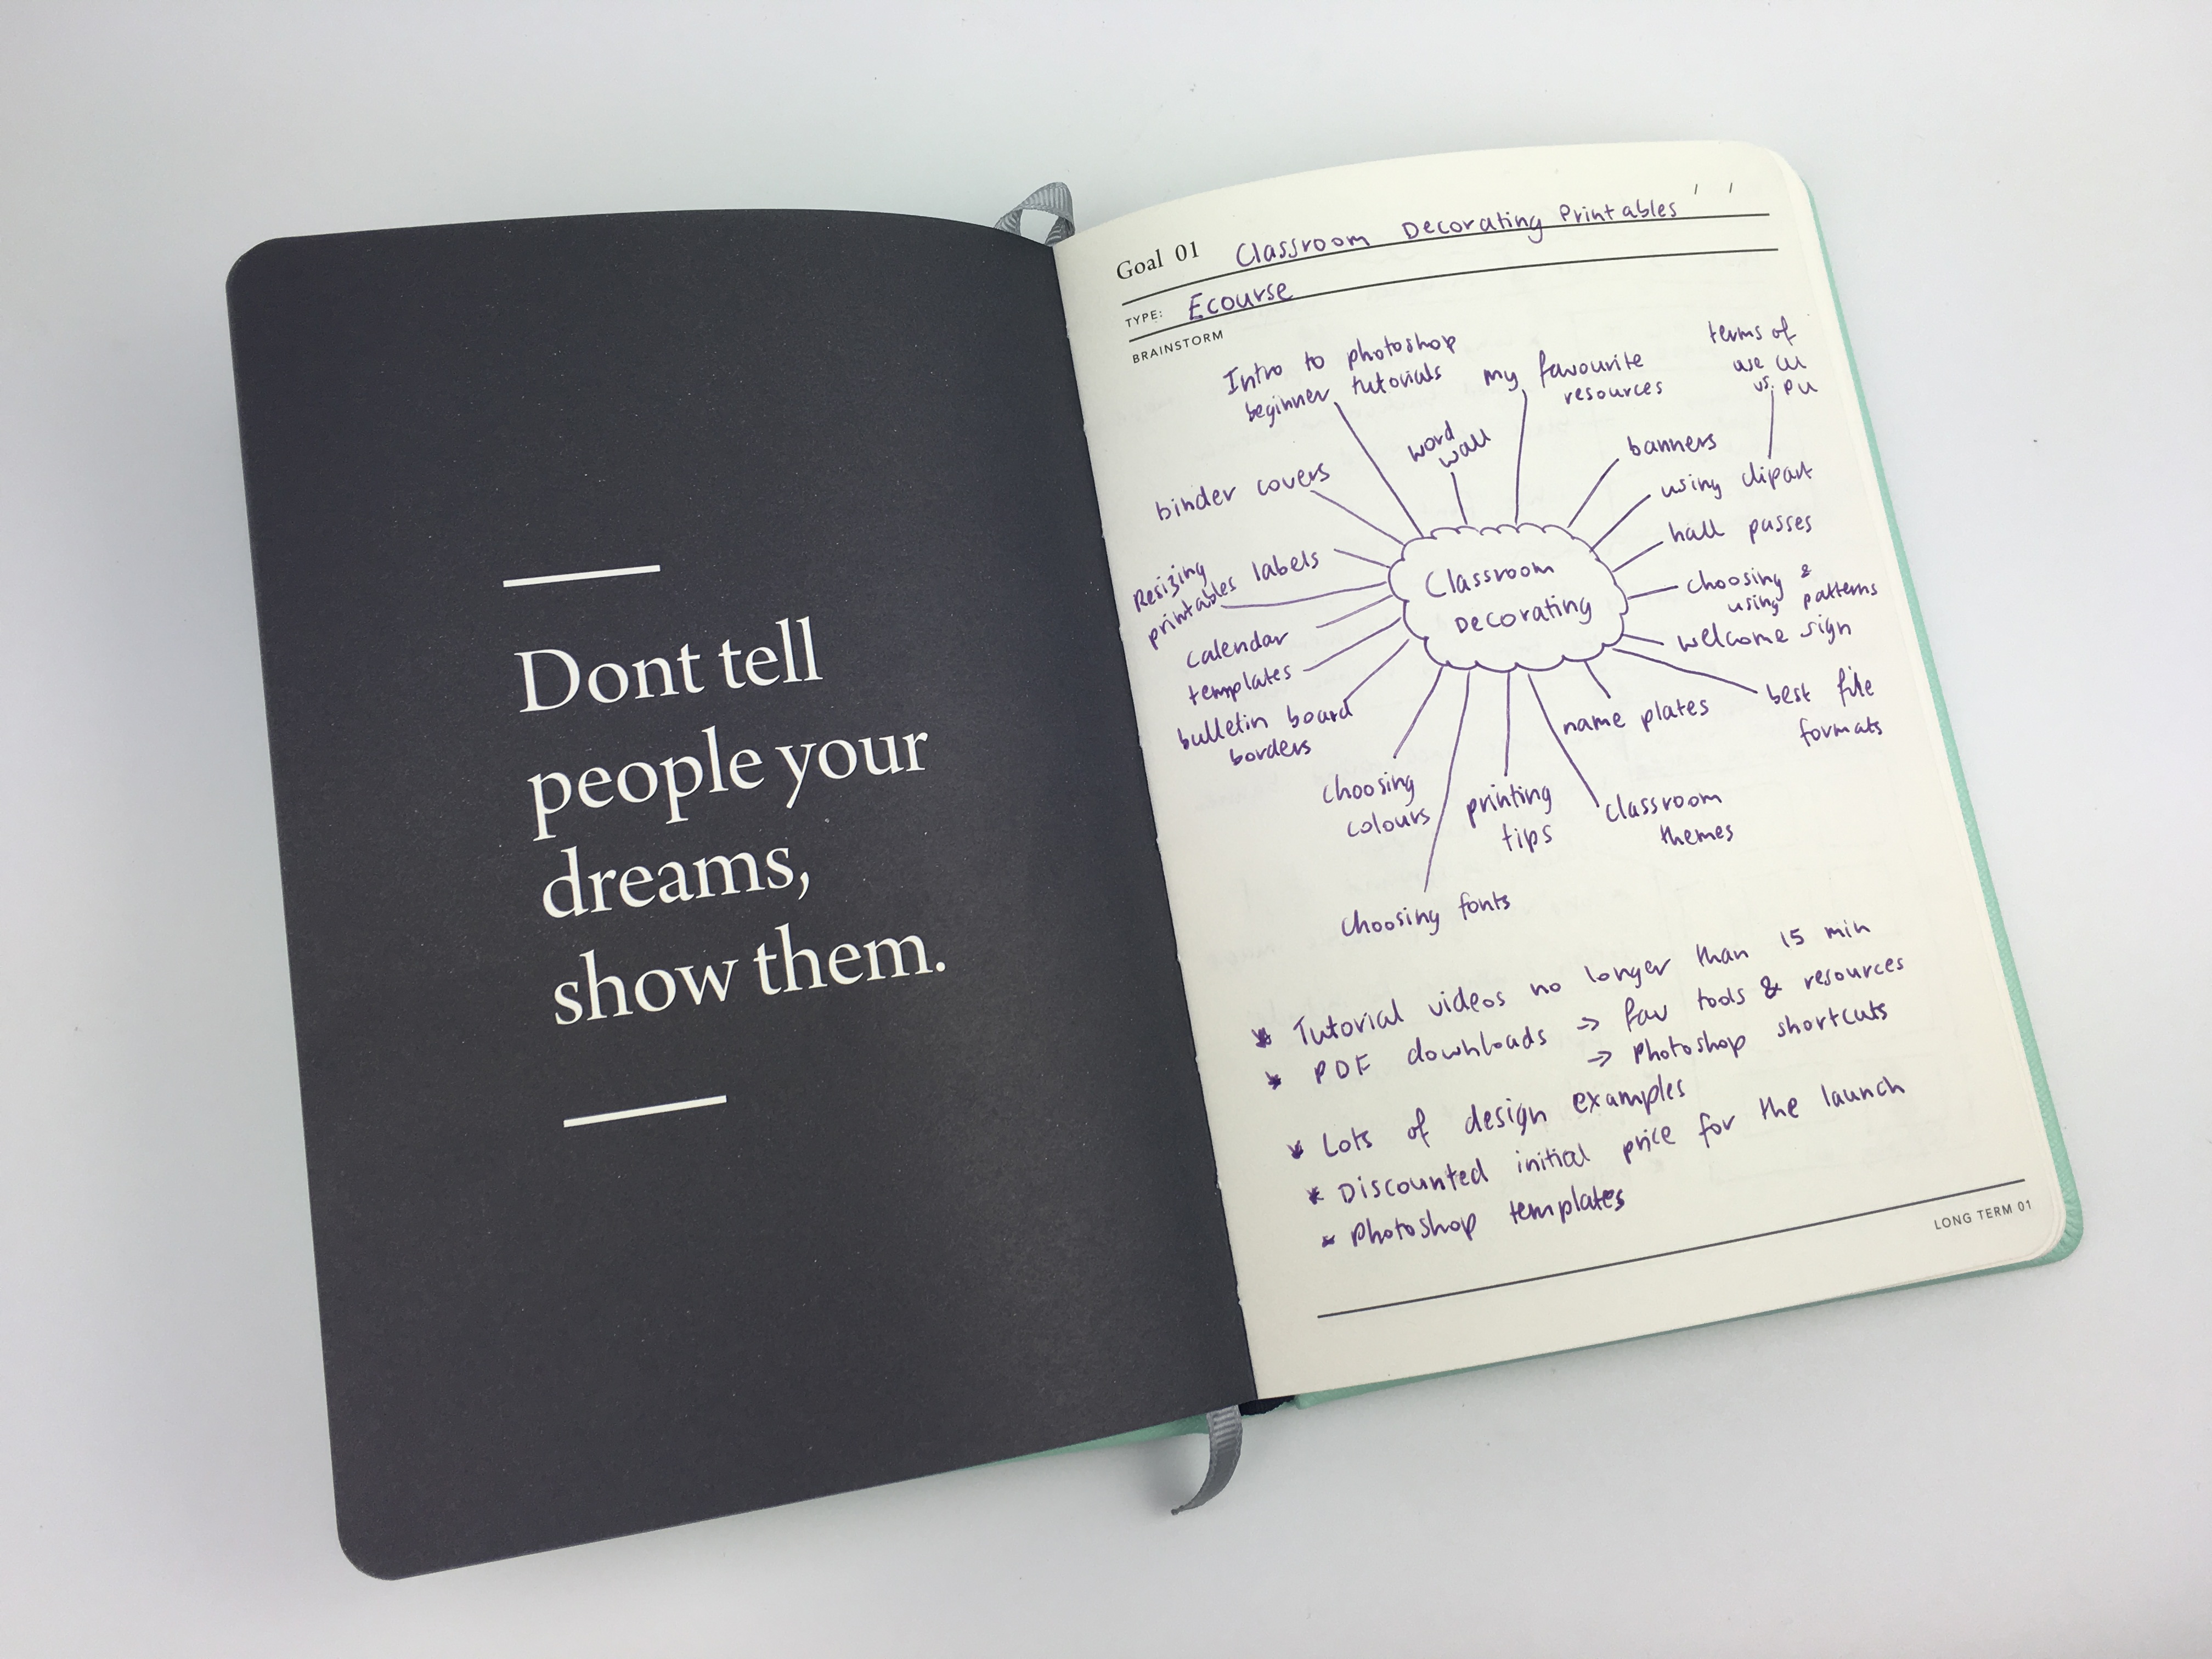
For planning a new printables set for my shop I’ll usually grab one of my dot grid notebooks (coil bound as the pages are wider than a sewn bound notebook and lay flat) and sketch out some page layout ideas and notes. I’ve done it so many times I don’t really need a reference / task list anymore, I’ll usually just do it on auto-pilot. If there aren’t many tasks involved, I may include them in my weekly spread:
For blog post planning, I do that directly in the weekly spread as you’ve probably seen me do many times in my past weekly spreads (here).
- D = drafted
- E = Edited
- V = Video filmed
- I = Images (taken the photos if applicable, made an image for Pinterest etc.)
- P = Pinned to Pinterest (after the post is published)
- R.L. = linked to related posts such as older posts that I’ve already published
Some of the notebooks I’ve used for project planning (big things like ecourses) are:
- Mi Goals
- My Agendio project planner (mentioned in my Agendio haul but I haven’t had a chance to draft up a blog post about it yet)
- Action Method Book
- A combination of my printable checklist pages in my ARC or MAMBI
![]()
Read more: Project Planning Using the Action Method Book
For travel planning that is another whole planning process in an of itself which I’ve shared in a few posts:
- How I use Excel to organize all my travel plans (research, itinerary, hotel, tours, bookings, packing list etc.)
- How I use Microsoft Word to plan my travel itinerary (my template & planning process)
- Visit a City versus Google My Maps: which is better for visually planning your travel itinerary
- My all time favorite trip planning tool: Visit a City
- Travel Planning: 50 Things to consider when planning an itinerary
- Travel Planning: How to choose a hotel (my step by step process)
Step 6: Weekly Overview
Depending on the month I may or may not do this. If I have a lot planned then I’ll roughly allocate what stuff I’m going to be working on each week of that month using a printable from my shop or just ruling something up in a notebook. If there’s not much happening sometimes I’ll just use 1 sticky note for each week.
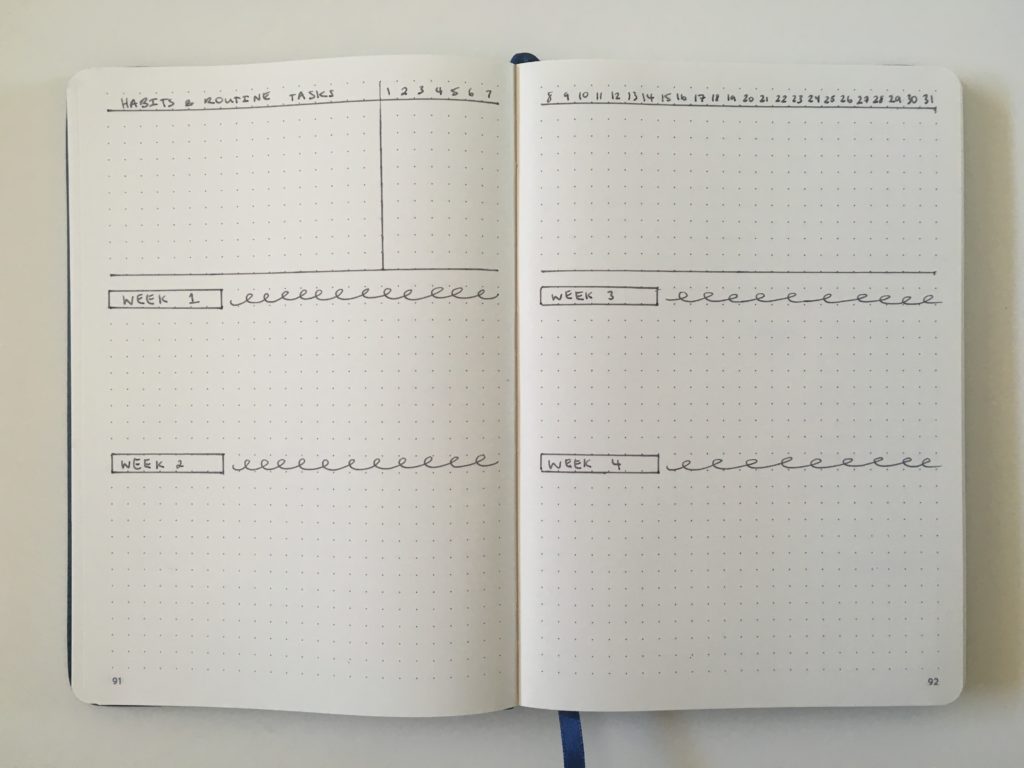
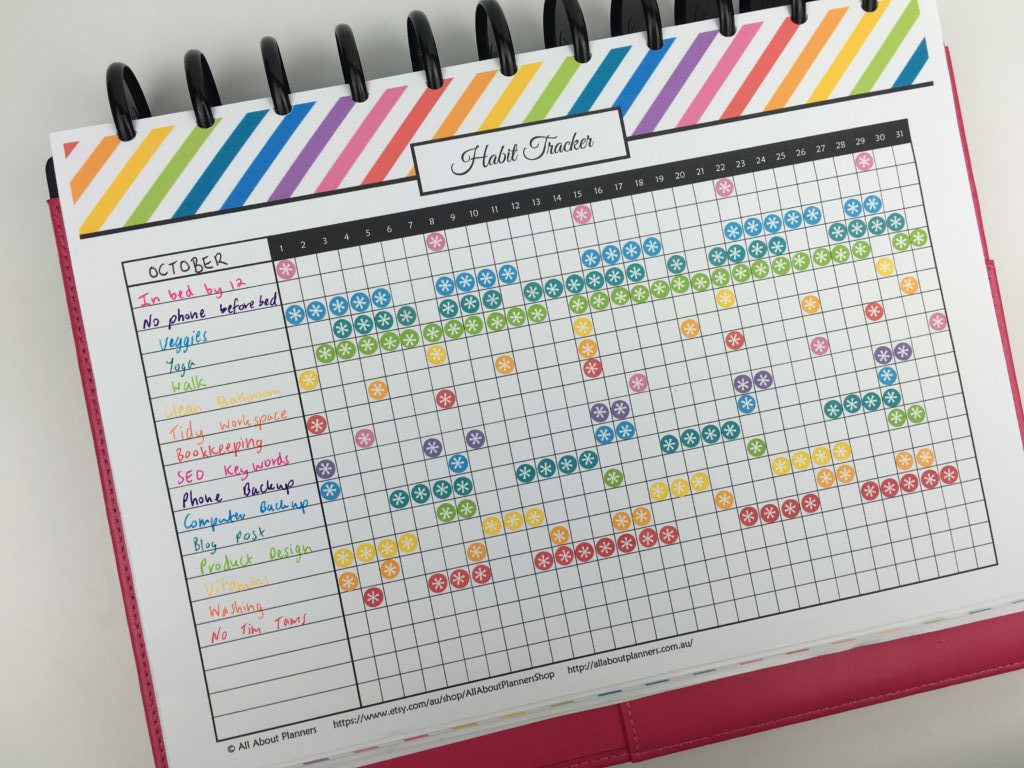
Step 7: Habit Tracker
I’ve used many different types of habit trackers over the years, but the style I keep coming back to is landscape page orientation (can fit more tasks on the page, with the tasks on the left and the dates on the right. Sometimes I’ll add 2 extra columns – one for the goal number of times I want to do that habit / task during the month and another column for the actual total.
Some posts that may interest you:
- How to choose the right habit tracker for your planner
- 100 things to put in your habit tracker of your planner or bullet journal (plus free printable habit tracker)
- 12 Planner Layout Ideas for Monthly Habit Tracking in Your Bullet Journal
- 15 habit tracker tips & ideas to try
- How to make printable graph paper in Photoshop (perfect for habit tracking and bullet journalling!)
- Digital habit tracking in Goodnotes versus habit tracking on paper
How long does all of this take?
About 1 to 2 hours. Keep in mind that I’m planning quite a few things at once: blog, business, vacation, home and personal. If you did a monthly planning process like this (which I recommend you do!) and don’t have as many things to plan it’d probably only take half an hour.
Other things you might add are: meal planning (I do this weekly), fitness routines and school / college homework, assignments and exam planning.
More planning tips
- 7 Ways to quickly and easily cover up mistakes in your planner or bullet journal
- 10 Things I don’t put in my planner (and why)
- 50 Tips for Getting the Most Out of Your Planner
Found this post helpful? Pin it!
![]()


I laud you for having link checking as a scheduled task. Broken links are a pet peeve of mine.