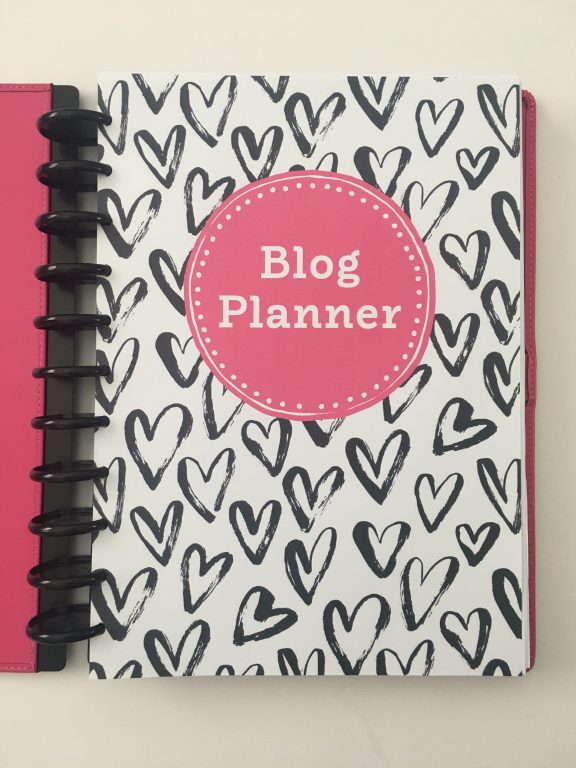
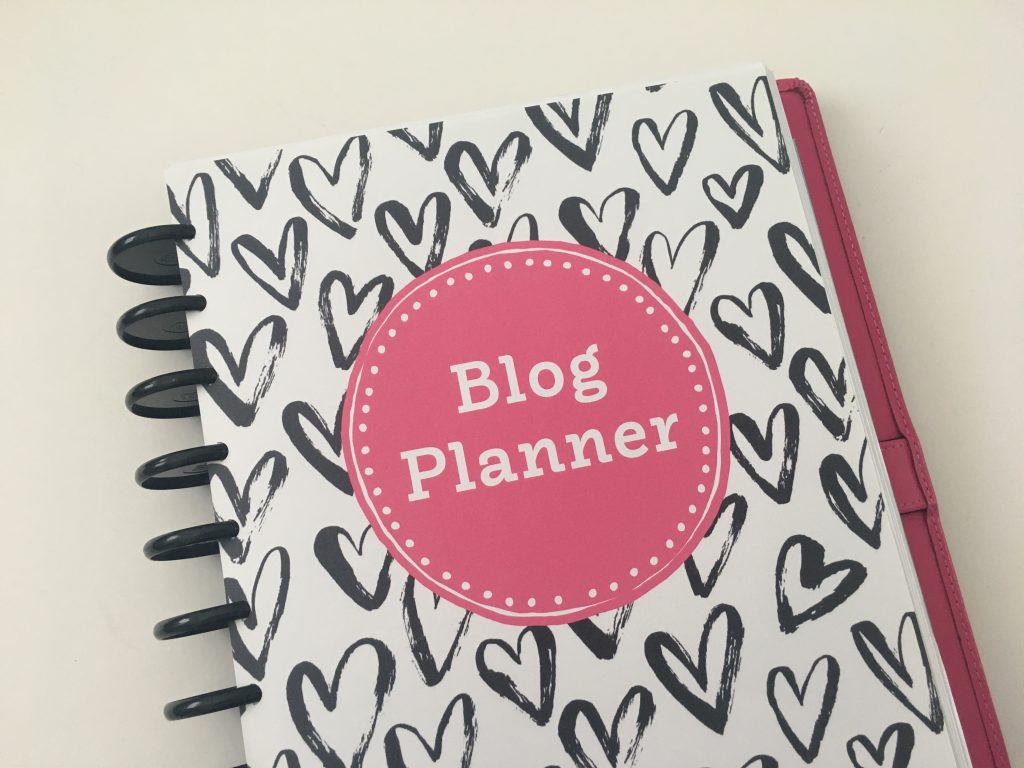
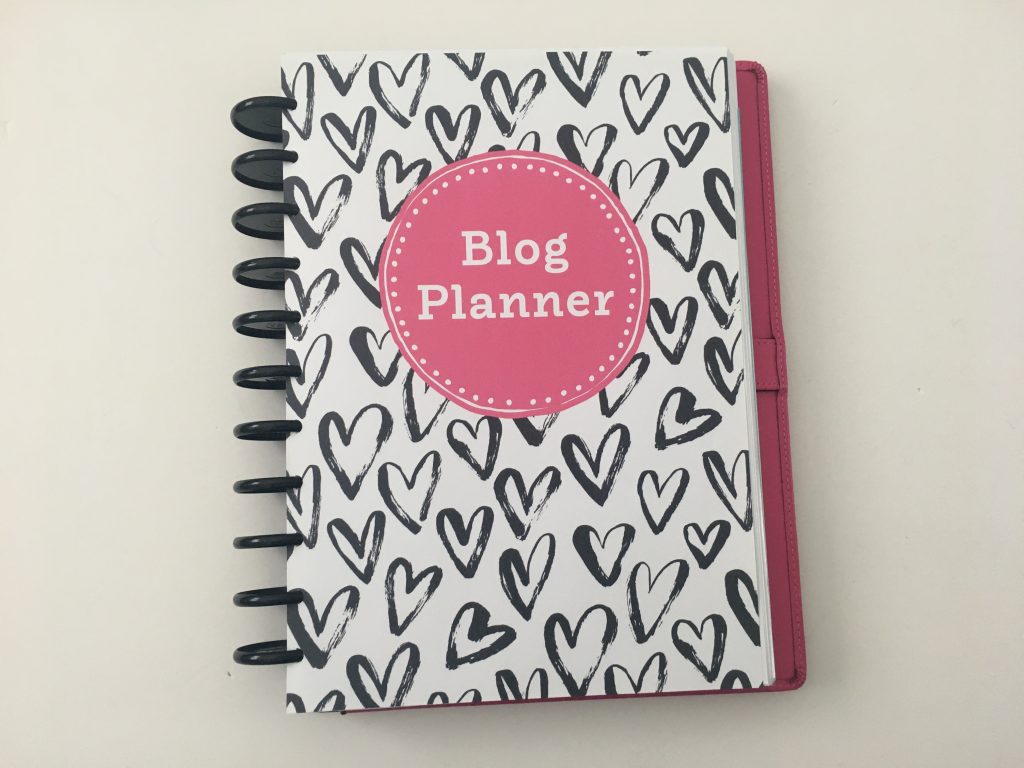
How to make a personalised planner or binder cover using PicMonkey (Video Tutorial)
I previously shared a tutorial on how to make printables using Picmonkey. Today’s tutorial is how to make a custom cover for your planner, a 3 ring binder or if you want to make your own custom notebooks.
Disclaimer: This post contains affiliate links. If you click one of these links and make a purchase I’ll receive a small commission (at no extra cost to you) in exchange for referring you. As always, all opinions are my own.
Some ideas for using covers
- Recipe organizing
- Filing important documents – insurance, warranties and manuals, property info, taxes, receipts
- Organizing school / college notes
- Print some lined (tutorial here) or dot grid pages, add your custom cover and take to your local office supply store to have them bind it into a custom notebook for you
- Memorabilia (children’s scrapbook, keepsakes from school drawings, awards etc.)
- Your planner stickers collection
How to make a printable using PicMonkey
To enlarge the screen of the video, click the square icon in the bottom right hand corner of the video (it will say ‘full screen’ when you hover your mouse over the icon).

Subscribe to my YouTube channel for more planner videos
If you’d like to try PicMonkey, click here.
If you don’t like the patterns that PicMonkey offers you can use a digital paper instead (an image of a pattern). You can find these in my Etsy shop PaperCravings. I also teach how to make patterns in my ecourse.
To make a 3 letter monogram I use the same method I use to make one in Microsoft Word. See this post for that tutorial. Some fonts for monograms are Times New Roman or block fonts like Monroe. If you’re doing covers with multiple lines of text I would use a square. Circles are good for 1 – 2 lines of text.
Mentioned in the video
- Tutorial for making a printable in PicMonkey
- How to make a weekly planner using Canva
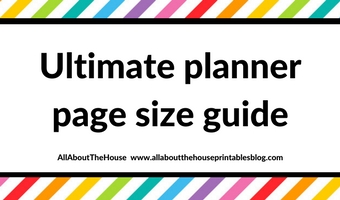
- Planner page sizes guide (free printable)
- How to resize and printable for any page size
- How to download & install custom fonts (and where to find them)
- My favorite color tools websites
- My digital paper shop, PaperCravings if you want different pattern backgrounds to what PicMonkey offers
- Download free polka dot pattern digital paper here
- How to make a 3 letter monogram
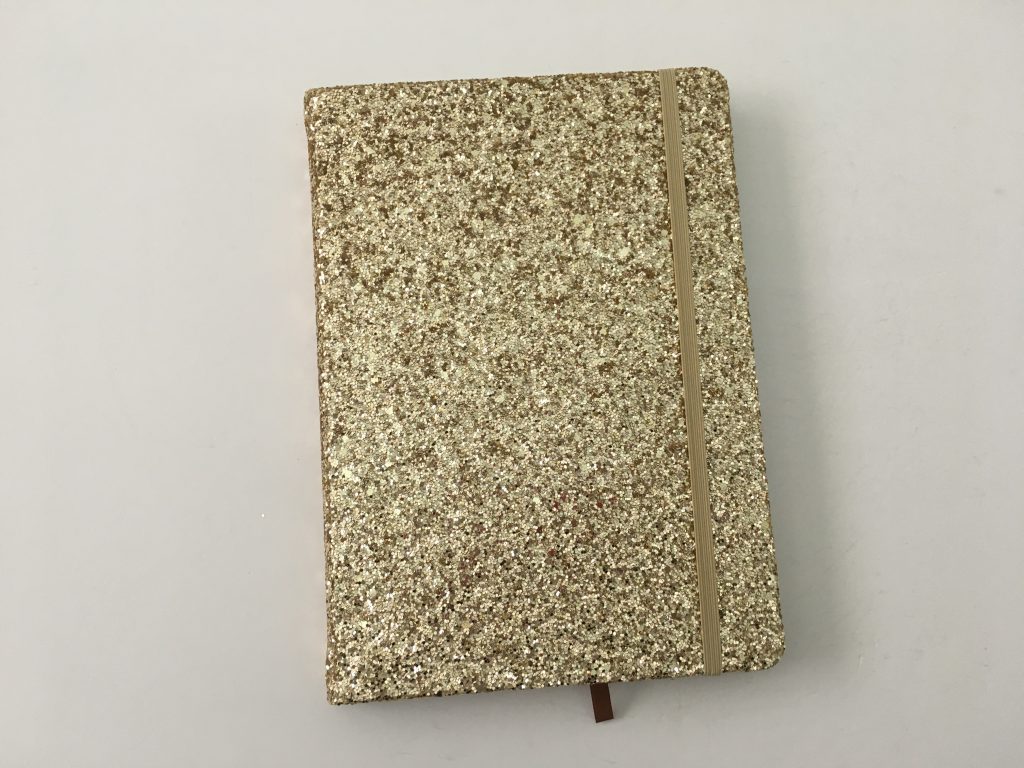
- How to make a DIY planner or notebook
Using your custom cover
I printed my cover onto cardstock. I use ‘quill board’ which is thicker than copy paper at 210GSM. You can buy it at Officeworks. I’m sure places like Staples in the US sells something similar. Even though it’s thicker than normal copy paper it doesn’t jam my printer. Amazon also sells cardstock.
If you are printing a binder cover that you want to be fade-resistant and last a long time I’d use photo paper.
If there’s an option to buy sheets of cardstock individually I recommend doing this so you can test it with your printer and make sure it doesn’t jam it. Once you find a brand you like, cardstock can be purchased in bulk relatively expensively.
Related post: Best Paper for Printing Printables
If you’re using a planner that doesn’t have a sturdy leather cover like the ARC, I’d laminate the page. If you want to laminate the cover and punch holes a few things to keep in mind:
- I always print these on cardstock and then laminate. Laminate can be a bit flimsy with just paper – cardstock gives a bit of extra sturdiness it needs.
- Most at home punches are not strong enough to punch through laminate. I’ve tried using the Happy Planner punch through laminate before but I thought it was going to break the punch so didn’t do it. My ARC can punch through laminate. I believe the Levenger punch can as well
- Trim the corners with either a rounded edge punch or I just use scissors
- If you don’t own a laminating machine, I’d take the cover to your local office supply store and have them laminate it for you (it’s not worth buying a laminating machine and the pouches unless you’re going to be making a lot of covers)
If you want to use the cover with your Happy Planner, I like their Create Your Own Cover. There’s no laminating required and you can easily change out the cover as often as you like. See how I made a DIY discbound notebook in this post.
If you want to use your cover with a 3 ring binder, get the ones with the clear pocket at the front like these on Amazon.
Making covers for any planner size
Make the cover at standard page size (US letter or A4 page size depending on where you live in the world). It is easier to resize the printable after saving the file as a PDF, JPG or PNG from Picmonkey via your printer menu. See these posts for tutorials & screenshots of what to select in your printer menu:
- How to print any printable at any page size
- How to print printables at MAMBI Happy Planner Size (step by step tutorial)
- How to print printables at Erin Condren planner size from your home printer (step by step tutorial)
- How to resize a printable to fit A5 or US half letter (5.5 x 8.5) page size
- How to resize any printable for any size bullet journal
More ways to customise your planner
- 7 Quick & Easy Ways to Personalise Your Planner
- Where to find discs to make a discbound planner or notebook (downloadable comparison)
- How to choose a binding system for your planner (comparison and which one I like the most)
- Buying a planner versus DIYing and making your own (pros and cons)
Planning tips
- Using blank pages: 50 useful lists to add to your planner
- 7 Quick & Easy Ways to Personalise Your Planner
- 6 Useful ways to efficiently plan your week using highlighters
Found this post helpful? Pin it!