Trying out the Day Designer Daily Planner by Whitney English (Review)
I’m normally not someone that gravitates towards a daily planner but since I’m trying different weekly planners I figured I may as well give day to a page planners a go. Given the popularity of the Day Designer planner I decided to give it a try to see what all the fuss was about!
Setting up the week
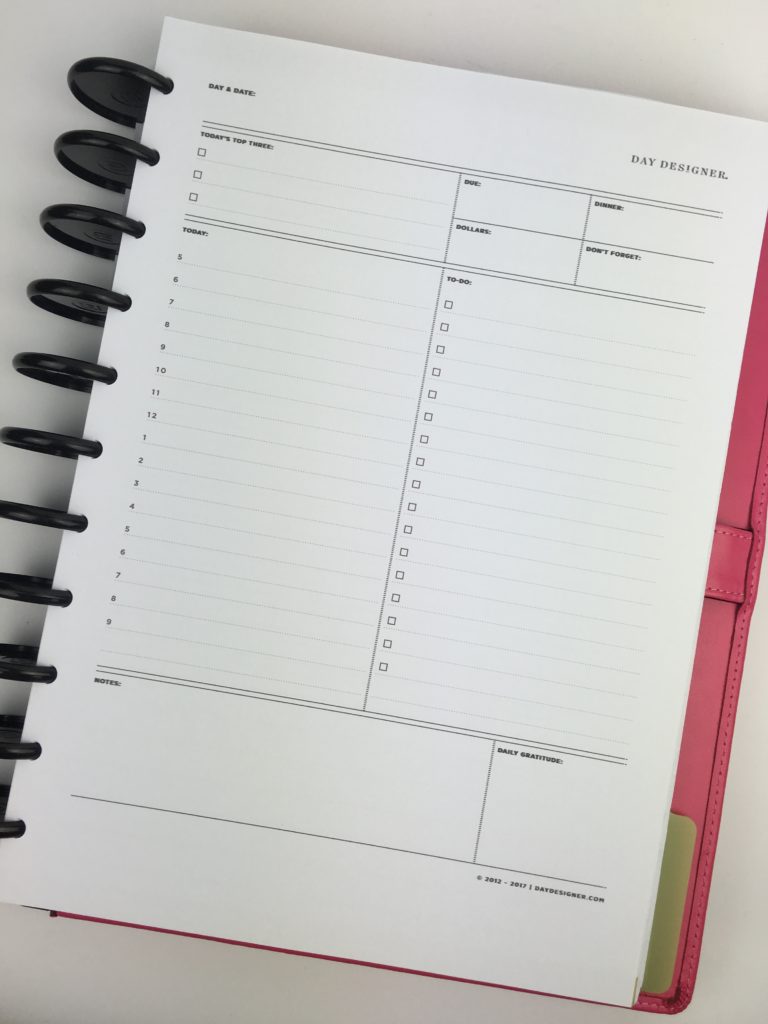
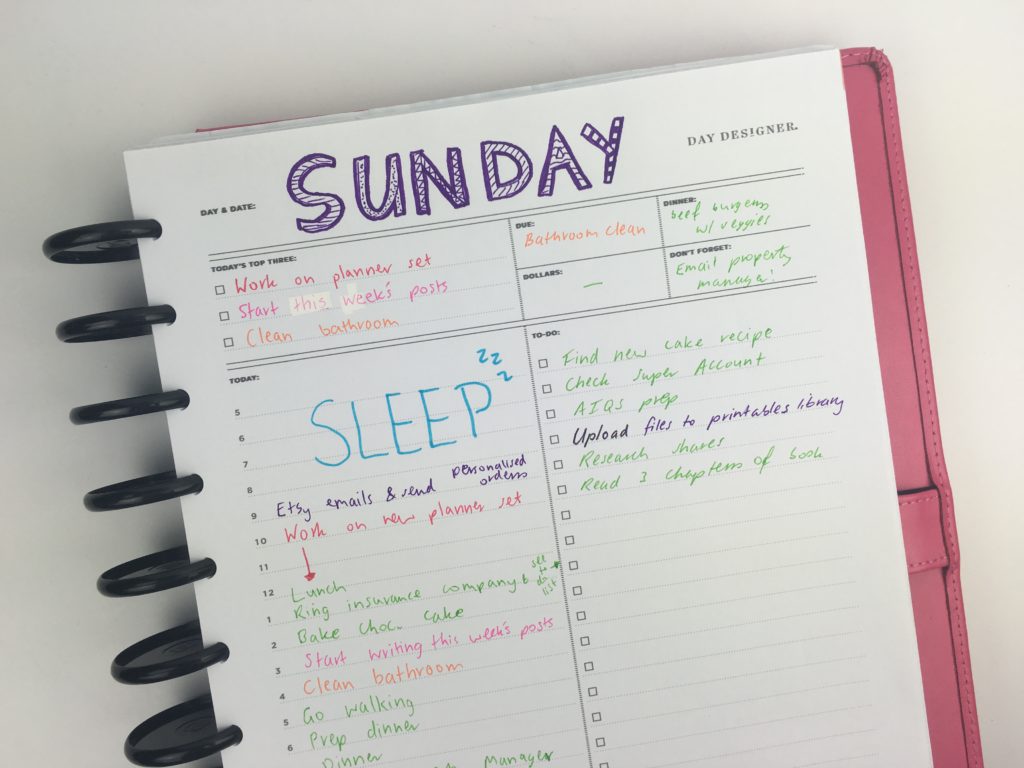
Rather than paying for an expensive planner + expensive shipping to Australia I decided to take the cheaper route and download the free printable of the Day Designer Planner from their website.
I printed it out and added it to my Arc notebook:
Related: Arcing my Plum Paper Planner – everything you need to know if you’d like to try it yourself!
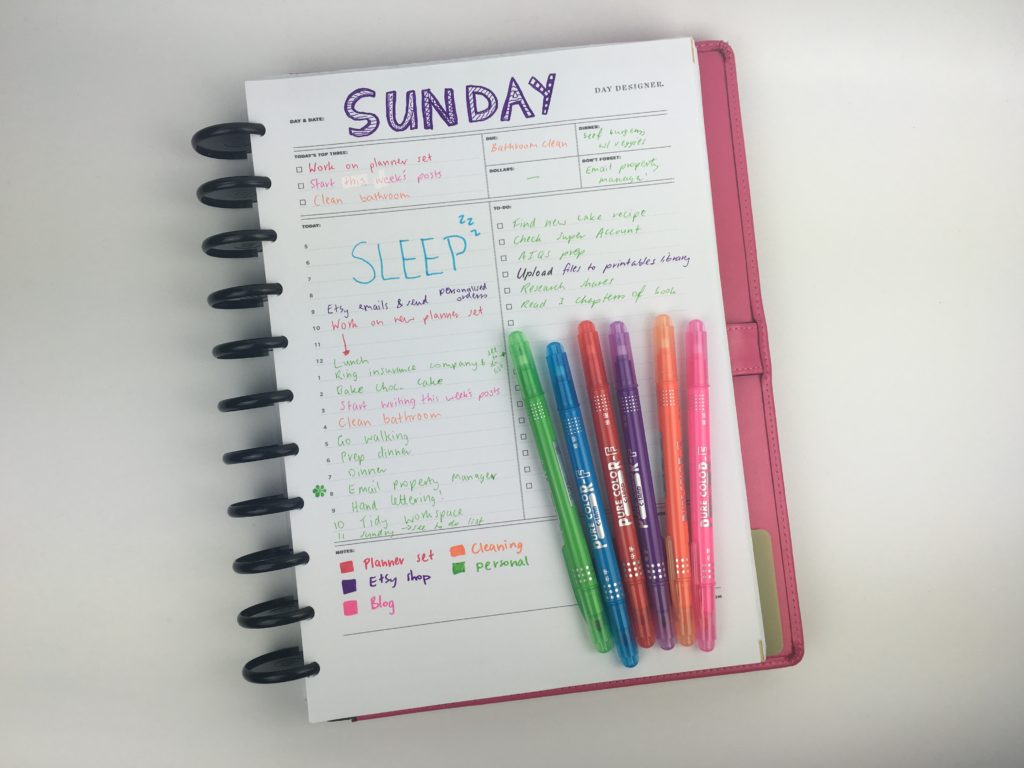
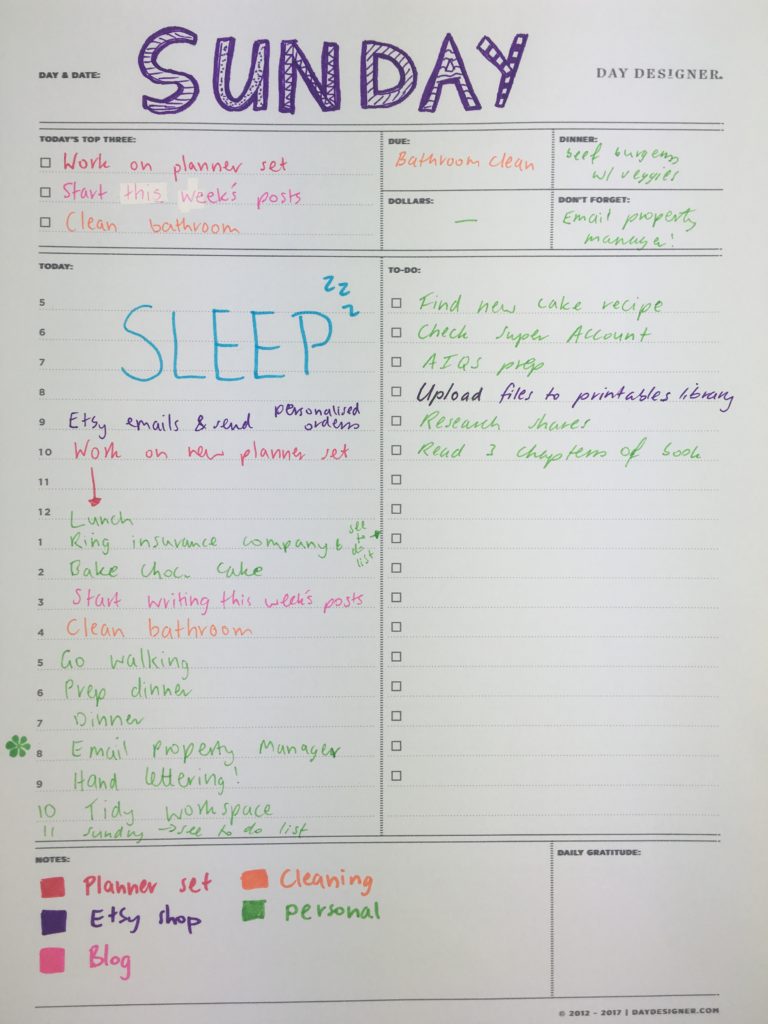
My spreads end up being a bit boring when I only plan using pens so I opted to add some doodles to the day of the week..
Since the planner has a very minimalist black and white style, I wanted to add a pop of color using pens so opted to color code:
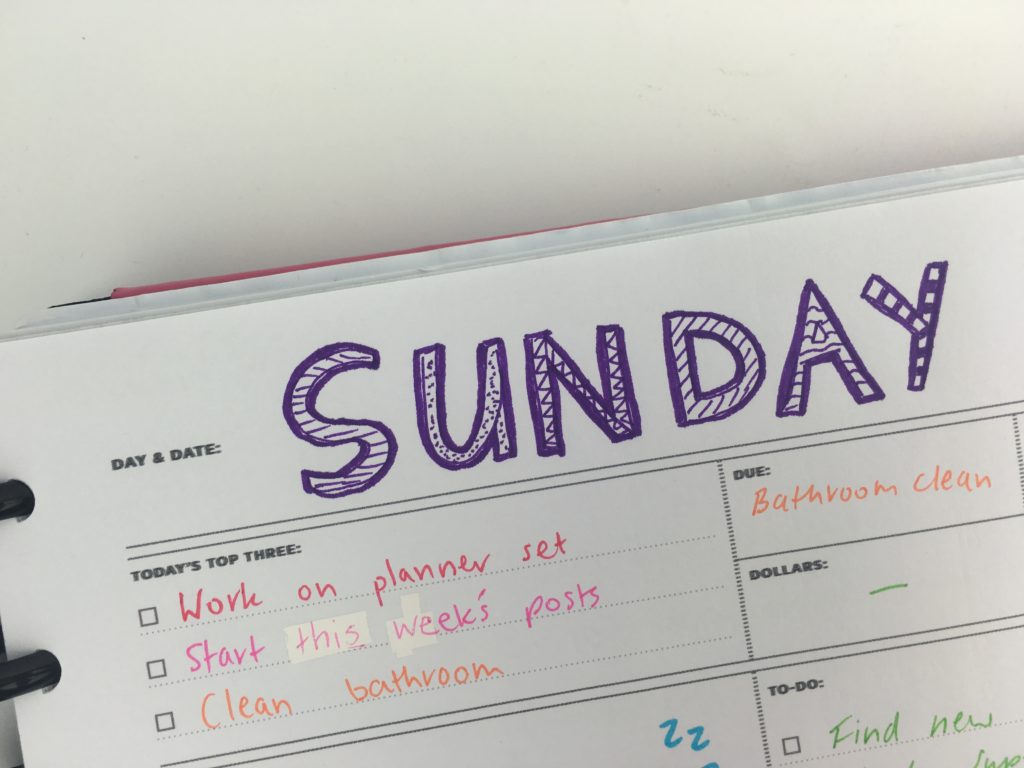
- Red = work on planner set for the shop
- Purple = ‘Behind the scenes’ Etsy shop maintenance
- Pink = blogging
- Orange = Cleaning
- Green = personal
I’d add another category next time: health (food + exercise) as using the same color (green) meant a lot of stuff just ended up being green. Color coding this way did help me realise that I spend a lot of time on all those annoying little tasks rather than what I want to be doing (making printables and blogging!)
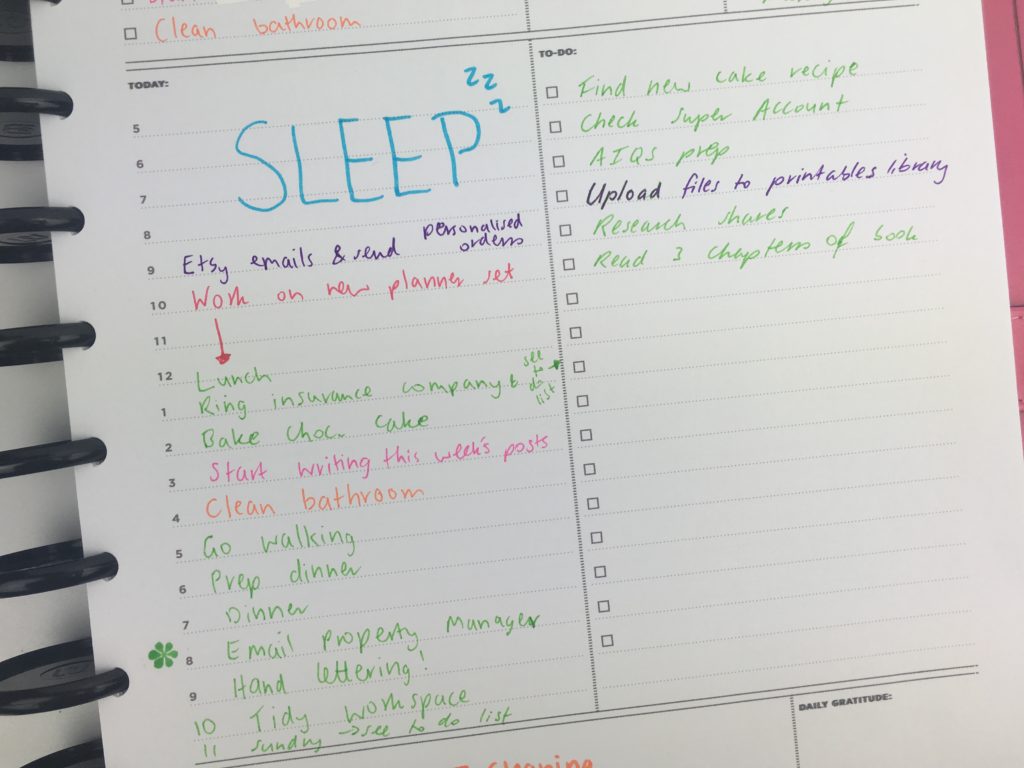
I scheduled in ‘if I have time’ space in the schedule where I could work on something on the to do list which I opted to use as an ‘if I have time’ list.
![]()
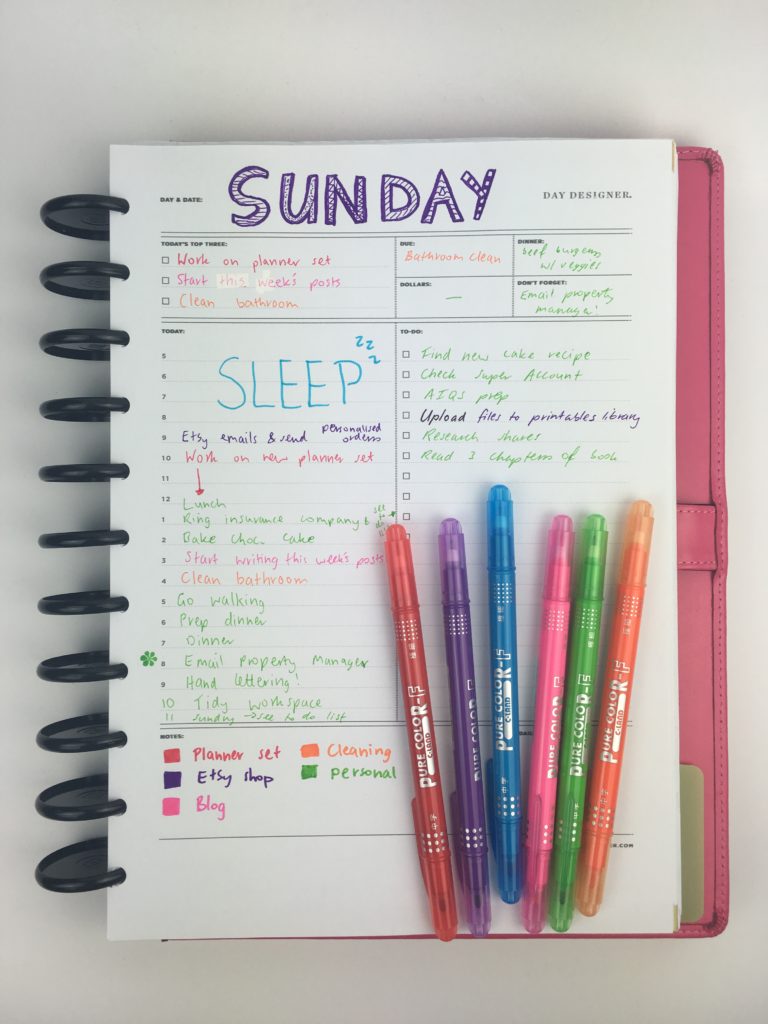
Pens Used
I used the Pure Color – F pens which have 2 ends: a fat marker tip and a thin fine tip. They’re very similar to the Tombow Twin tone markers I used in week 35 but come in more traditional rainbow colors <3
Pros of the Day Designer Daily Planner
- Free printable – print as many copies as you need! (although there is a printed and bound option if you prefer it)
- Simple, minimalist design
- The right amount of space for each section – some planners make the columns too narrow so you have to write really small to fit all the words in – the size of the Day Designer columns are just right!
- Top 3 section – I really like top 3 sections in planners to help me prioritise
Cons of the Day Designer Daily Planner
- Some sections that I wouldn’t use very often such as bill paying (I use a printable bills checklist) and the gratitude and notes section
- Scheduling sections starts at 5am. For a night owl like me, that is never even going to happen!
- Scheduling section is hourly. I much prefer 15 to 30 minute increments for adding all those small tasks and for breaking down bigger projects. I ended up adding these the to do list column
Would I use this planner again?
Probably not. Daily planners don’t really work for me – I only use them if I’m working on a big project or have a very busy day. I find they keep me bogged down too much on the day to day rather than seeing the bigger picture. Flicking between multiple pages every week also gets really annoying compared to just having 2 pages for each week laid out in front of you where you can see it all at once.
Catch up on Past Weeks of the Challenge:
- Week 16: Minimalist 1 page categorised planning using black pen & highlighters
- Week 28: Planning the entire week using only sticky notes
- Week 34: Review of the Planner Pad Weekly Planner
- Week 35: Planning with a functional minimalist DIY weekly planner printable
Related Posts
- Best Paper for Printing Printables
- How to choose a binding system for your planner (comparison and which one I like the most)
- How to make lined note paper DIY planner insert refills in Photoshop (quick and easy step by step tutorial)
- Planners you’ve probably never heard of (but will want to know about!)
- Pen and paper versus digital: which is better for keeping track of your money?
If you’re tired of drawing up weekly spreads, this printable bundle of 52 different 1 page weekly planners (you can mix and match to create 2 page spreads if you prefer), is available in my Etsy shop and online store.