How to Make Printables: The 10 Photoshop Tools I Use Most Often
Photoshop is a very powerful software – you can create almost anything from editing photos, to making printables, patterns, labels and party invites. Photoshop is actually a very easy to use software you can use to quickly make a new creation!
This post contains affiliate links. If you make a purchase after clicking one of these links I’ll receive a small commission (at no extra cost to you) in exchange for referring you.
You might be thinking: ‘easy to use?’ I hear you, I remember feeling intimidated the first time I opened Photoshop. I had no idea what all the buttons did, how to use them and let’s not even mention Photoshop’s hidden secondary menu (why Adobe, why did you hide all the cool features in multi-use buttons? – that one took me forever to figure out)
The first time I opened Photoshop it was too overwhelming, I closed the software and didn’t open it again for a month. But it got to a point where I needed to learn how to use Photoshop for the things I wanted to make. Once you know how to use Photoshop, everything seems to ‘click’ and you’ll start thinking of new things you can create using the buttons you know how to use. The awesome thing is, I only use a small portion of all of Photoshop’s tools for making printables. It becomes repetitive after a while – I use the same tools to make address labels, that I do for making planner printables, recipe binders etc.
So if you’re just starting out using Photoshop, here are the 10 tools I use most often.
Related: How to download Adobe Photoshop (the software I use to make all my printables)
To enlarge the screen of the video, click the square icon in the bottom right hand corner of the video (it will say ‘full screen’ when you hover your mouse over the icon).

Subscribe to my YouTube channel for more Photoshop tutorials!
If you don’t have Photoshop, you can purchase and download it here (my affiliate link).
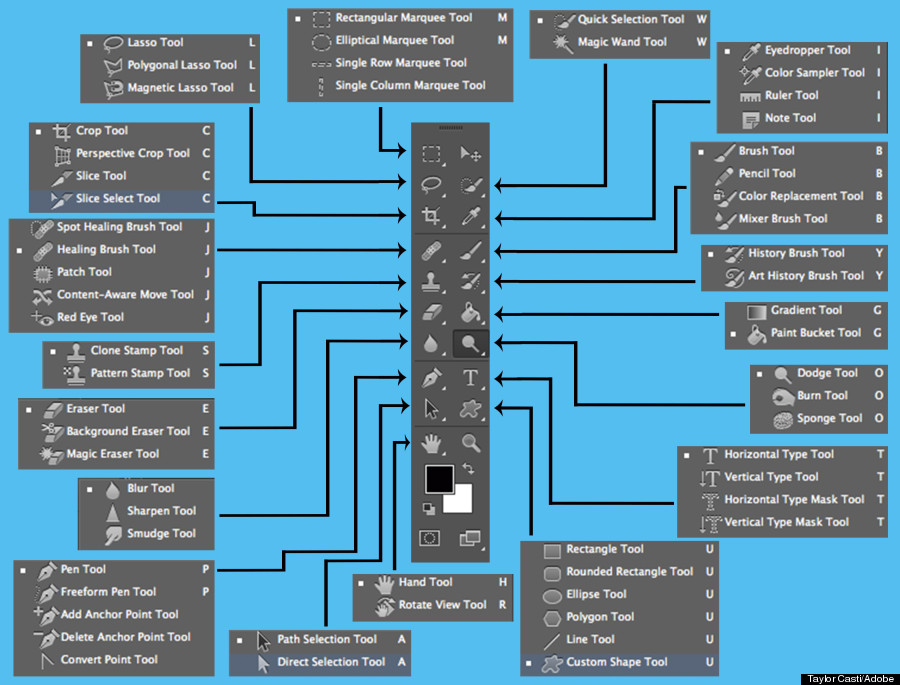
1. Photoshop Secondary Menu
I promise it’s not as intimidating as it looks!
When you see an arrow in the bottom right hand corner, it means there’s a secondary menu. If you right click it’ll bring up more options. So if you panic because you can’t see the paint bucket tool, it’s there, it’s just that you’ve got the gradient tool selected so that is what’s showing in the menu.
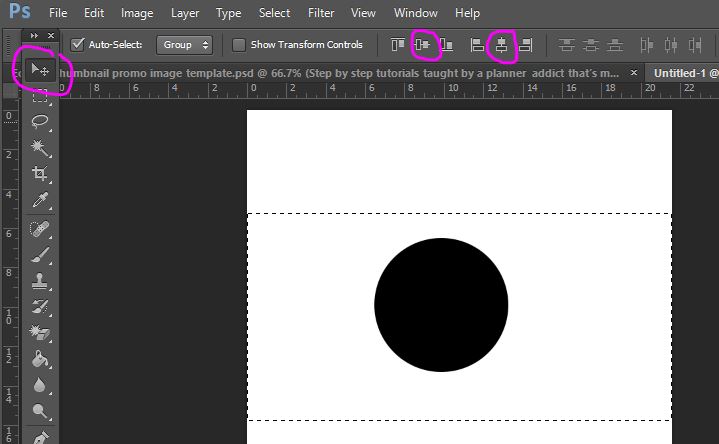
2. Align tools
This is my favorite tool in Photoshop. I can quickly align something to the centre of the template with just the click of a button – no more trying to calculate how much distance there should be from the left and right sides of the page (yes I really did used sit there and manually calculate that).
You can also use these tools to align things to a portion of the overall Photoshop template. So if I was making a printable that had 2 columns, I can quickly align the text to the middle of only 1 of the columns, not the middle of the page (I went through how to do this in the video tutorial, above ^).
In addition to the align buttons, Photoshop has a rulers tool. CTRL and R is the keyboard shortcut.
Related: How to use the rulers tool in Photoshop
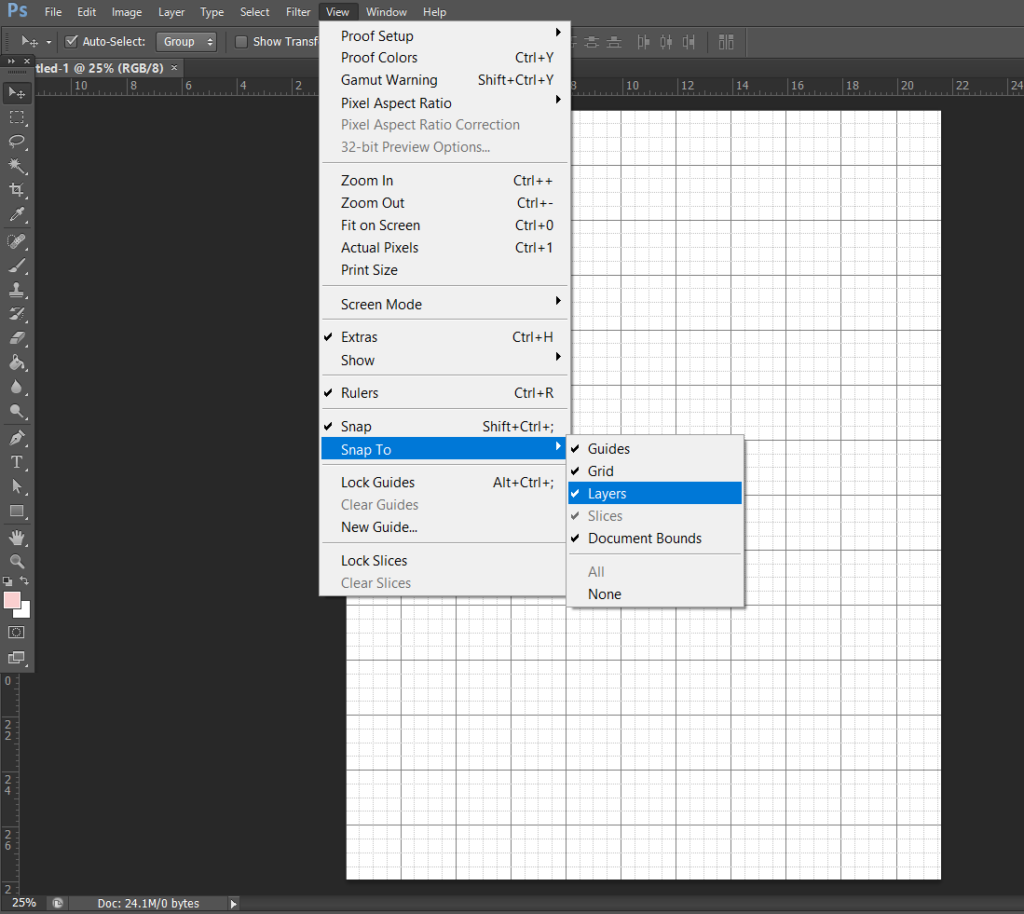
3. ‘Snap’ tool
This nifty tool automatically pulls your mouse towards the edge of the template, a ruler etc. to align things.
To turn on the ‘snap’ function go to view > snap to and make sure guides, grids etc. are selected (they should show a tick next to them)
Another useful tool for aligning things is the rulers tool. The keyboard shortcut is CTRL and R
4. Clipping Masks
Ever wondered how people take a rectangular photograph and made it into an oval shape? The answer is clipping masks.
Clipping masks allow you to add a color, pattern or image to text or a shape.
Related post: How to use clipping masks in Photoshop
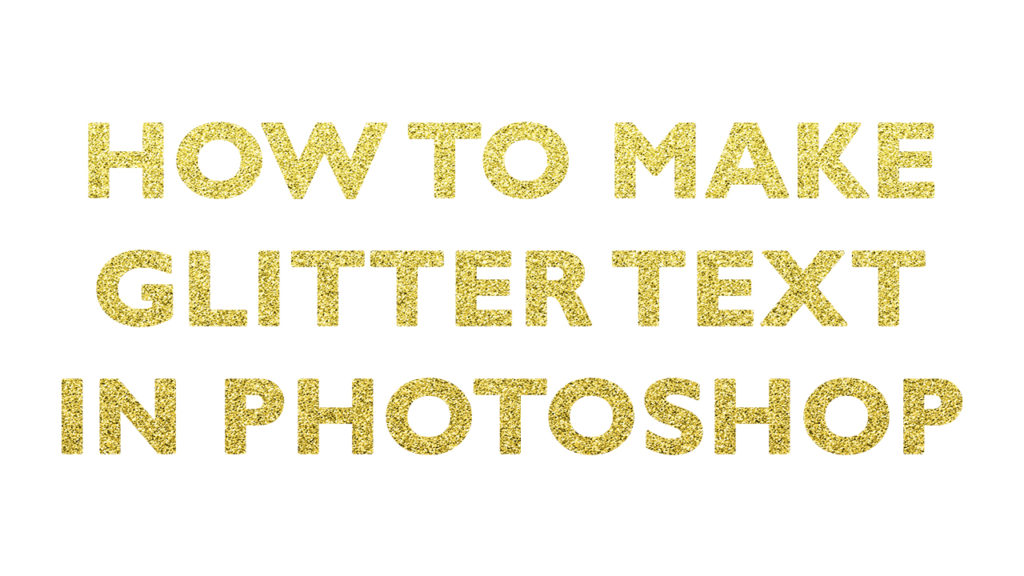
I added this glitter effect to text using clipping masks. Get the tutorial in this post
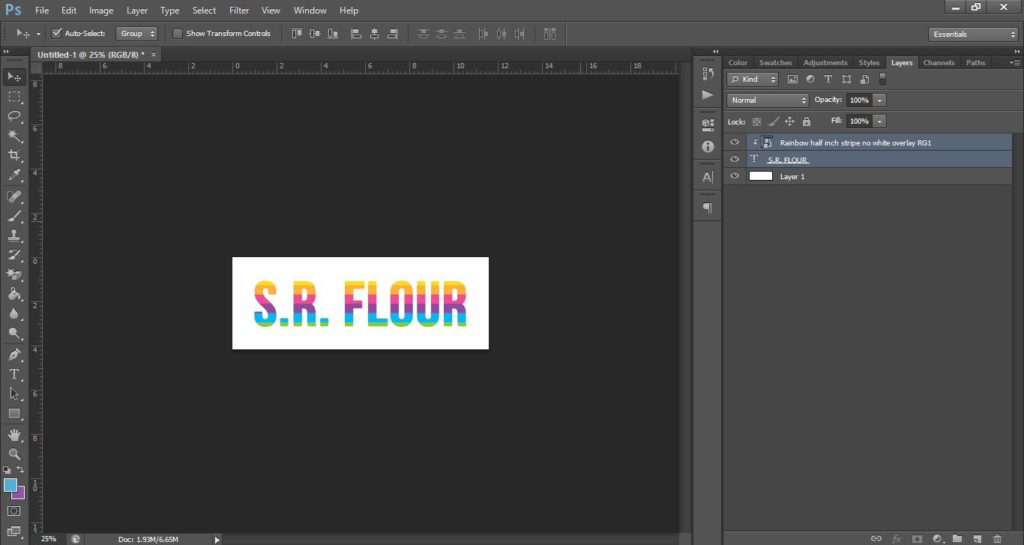
I also used clipping masks to add a rainbow pattern (using this digital paper) to this kitchen label:
5. Shape tool
Shapes can be used for making boxes, drawing lines, circles, squares, rectangles, rounded rectangles, stars, hexagons etc.
Photoshop comes with some shape brushes pre-installed but you can find hundreds online.
See this post for my video on how to use shapes in Photoshop
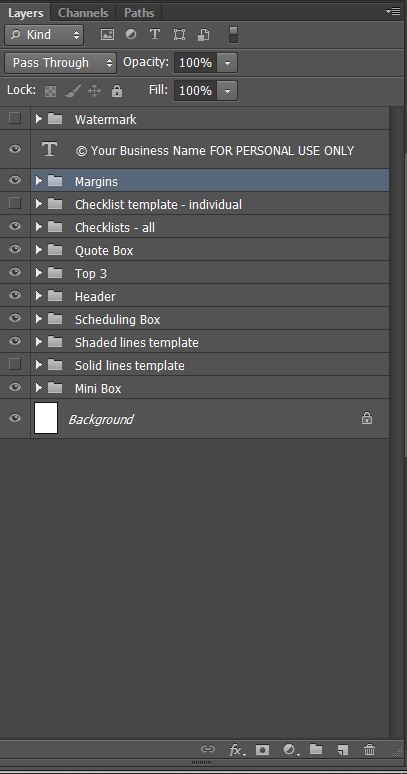
6. Layers Menu
The layers menu is where you organize all your design elements. I use it for:
- Hiding and unhiding layers to compare colors, sizes, layouts etc.
- Creating Folders
- Merging layers
- Duplicating layers
- Selecting multiple elements at once
7. Resizing & Rotating
To resize:
First, select the layer/s in the layers menu and resize them all at once by selecting CTRL and t on your keyboard to bring up the move tool menu. If the layers are adjacent to each other in the layers menu, you can click the first layer, press SHIFT on your keyboard then select the last layer (it will pick up all the layers in between), instead of individually selecting them all while holding down CTRL.
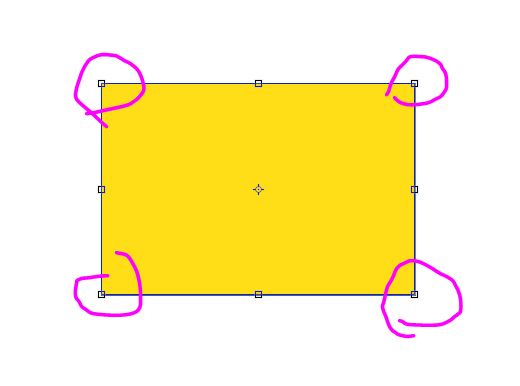
Next, left click on one of the corners (refer to the ones circled in pink below), and drag your mouse inwards (towards your computer screen). Make sure you choose a corner, not one of the squares in the middle of the shape as this will distort it.
Press enter to apply the change.
You’ll want to avoid increasing the size of a design element as it can make it blurry. For this reason if you’re not sure what size to make your printables, I’d start at US letter page size so that you can shrink down without loss of image quality if you later find you prefer to use a smaller page size.
To rotate, you do the same as above (click on the layer/s, press CTRL and the letter t on your keyboard), then at the top of Photoshop will be the menu shown in the screenshot below. Change the number in the degrees icon from the top menu:

More detailed on how to use the rotate tool in this post
8. Color Tools
The 2 color tools I use the most often are:
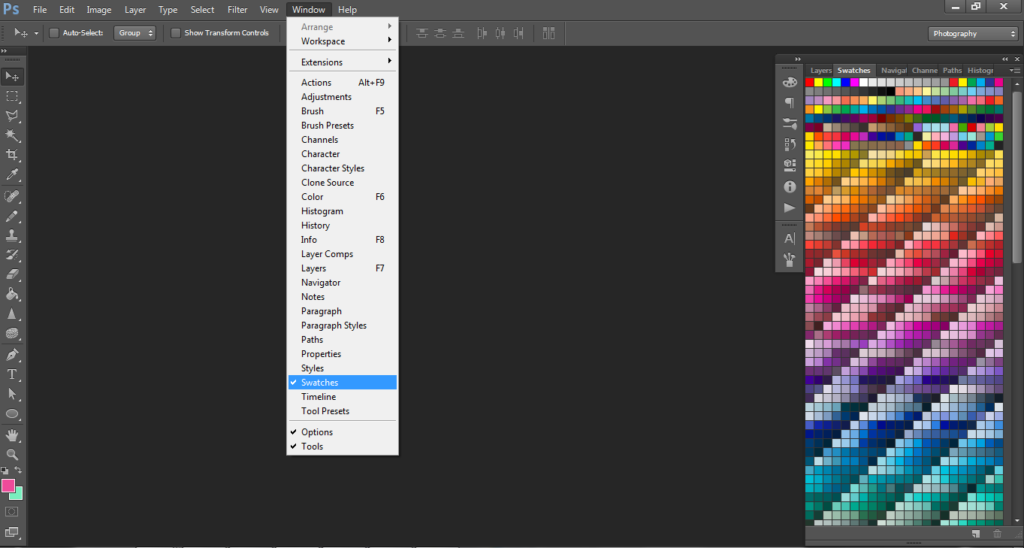
- Color swatches menu
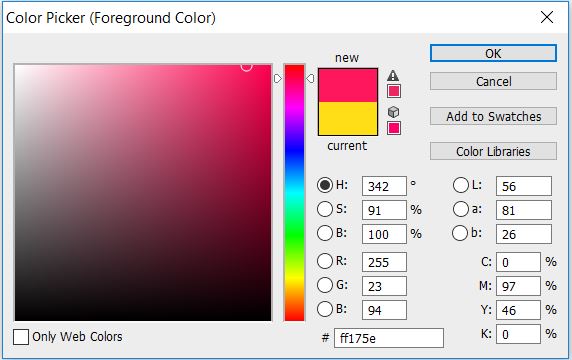
- The color picker
The color swatches menu is ideal if you’re creating a collection and using the same colors for multiple projects. So I have the color swatches for my printables, party printables, teacher printables etc. all saved into Photoshop. I don’t need to keep a record of the color codes, Photoshop stores that for me. It’s also much quicker to just select the color swatch than manually enter in the color code each time you want to use it.
Related posts:
- How to use the color tools in Photoshop
- How to color match anything in Photoshop (step by step tutorial)
- My 5 Favourite Color Tools for Graphic Design
If you want access to the free graphic design video tutorials library, here is the link to enroll (yep, it’s free!). In the library you’ll find tons of different graphic design video tutorials if you want to dip your feet into the world of graphic design.
The color picker tool lets you play around with different colors, or enter the exact color you want to use via the RGB or 6 digit hex code (ff175e in the screenshot below)
9. Characters Menu
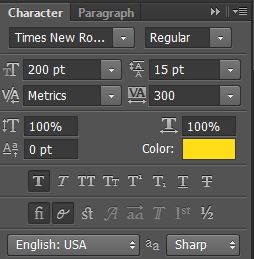
The characters menu works much the same as Microsoft Word. There’s tools for:
- Vertical line spacing
- Changing font style
- Changing the font color
- Styles – bold, italics etc.
To create a text box (i.e. so the text is confined, otherwise it’ll continue in a straight line and may extend beyond the boundaries of your template), with the text tool selected, left click and drag to create a square or rectangle (it will show a dashed border).
10. Duplicate
Photoshop allows you to quickly make a lot of copies of a design element (such as a shape, text etc.) which you can then use the align tools (refer above) to quickly and evenly space in your document. I particularly use this for lines and creating borders / dividers.
You can duplicate within the same Photoshop file (press CTRL and J on your keyboard), or duplicate between Photoshop documents.
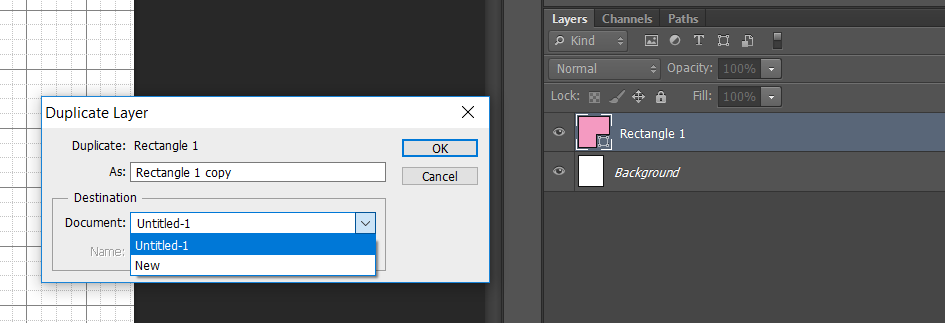
To copy something to another Photoshop document without wasting time re-creating it:
- Right click on the layer (or multiple layers at once by pressing CTRL and then selecting the other layers you also want to copy across)
- The pop up menu below will appear
- Choose the document from the dropdown menu (if you already have this open it will appear in this menu, otherwise ‘new’ will move it to a blank, new template)
Tip: Saving in different file formats
Always save your Photoshop file in PSD (Photoshop file format) FIRST before saving as PDF. If you don’t, then any changes you made between when you last saved it and then saved as a PDF will be lost. Photoshop converts the file to PDF. If you go back to the Photoshop PSD file, some of your latest edits may be missing.
Related: How to create a new file in Photoshop and how to resize (without distorting!)
Practice using these tools
If you’d like some practice into using Photoshop’s tools, here are some tutorials:
- How to make a planner bookmark (DIY Page Markers Tutorial)
- How to make lined note paper DIY planner insert refills in Photoshop (quick and easy step by step tutorial)
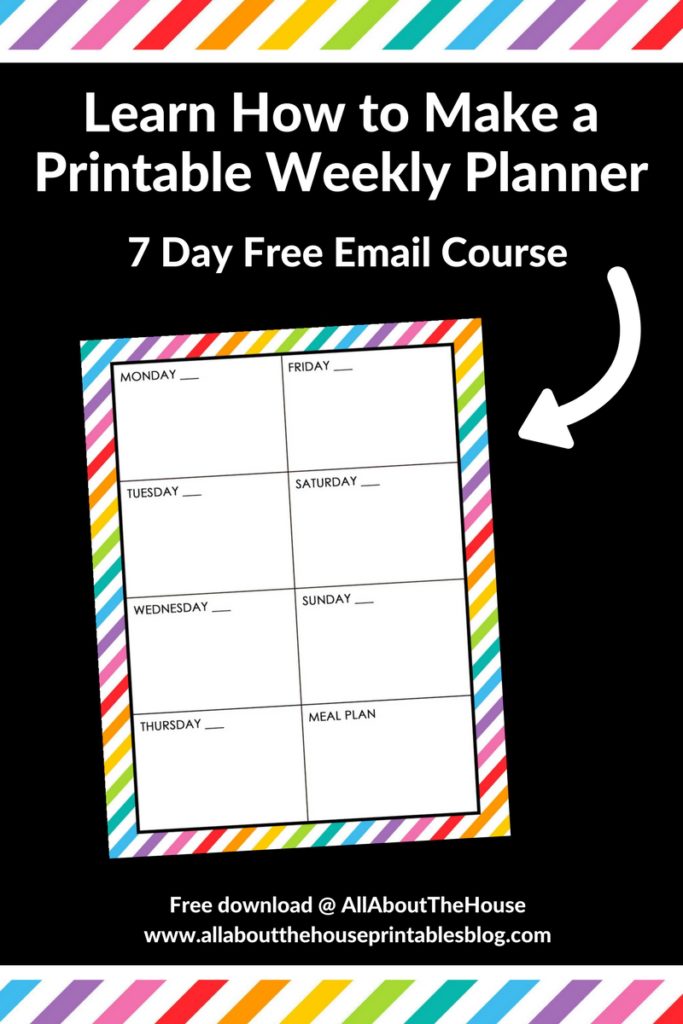
Enrol in my email course for a tutorial on how to make a weekly planner from scratch! (Click here)
More Photoshop tutorials
- 50 Things you can make using Photoshop
- How to make a photo black and white in 30 seconds
- How to use the crop tool in Photoshop (step by step video tutorial)
Found this post helpful? Pin it!