How to use Clipping Masks in Photoshop
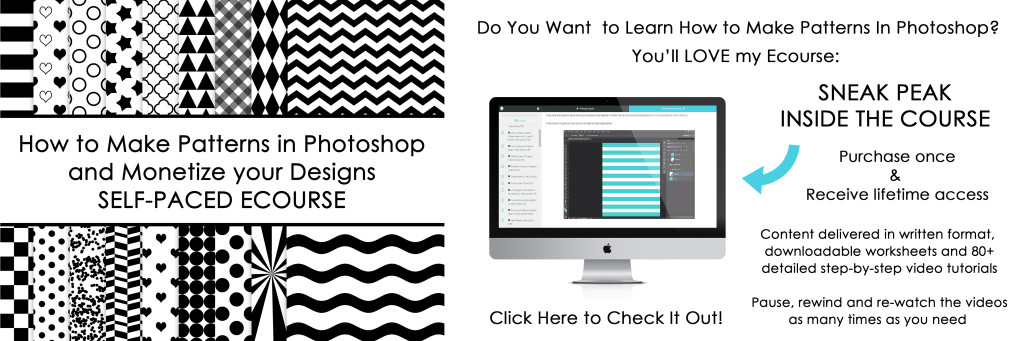
If you’ve ever wondered what a clipping mask is in Photoshop, how it works and why you would use it, then this video tutorial is for you 🙂 It’s from my ecourse: How to make patterns in Photoshop and Monetize your Designs.
This post contains affiliate links. If you make a purchase after clicking one of these links I’ll receive a small commission (at no extra cost to you) in exchange for referring you.
How to use clipping masks in Photoshop
If you don’t have Photoshop, you can purchase and download it here (my affiliate link).
To enlarge the screen of the video, click the square icon in the bottom right hand corner of the video (it will say ‘full screen’ when you hover your mouse over the icon).
Subscribe to my YouTube channel for more planner related videos & graphic design tutorials!
Why I love clipping masks
Clipping masks allow you to clip a color, digital paper, pattern overlay, texture (e.g. gold) or photo to text or a shape to create a new design. They are useful when re-coloring pattern overlays to create digital paper and when creating word art.
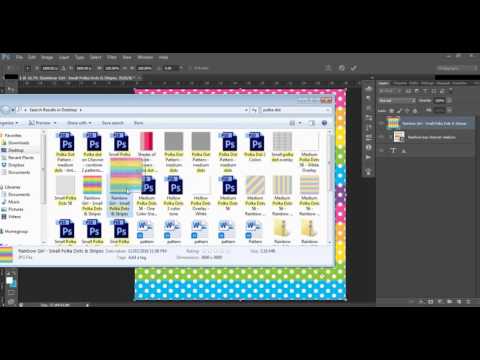
- To create a clipping mask, type your text, draw your shape or bring your pattern overlay into Photoshop.
- Create a new layer and fill it with a solid color, or drag and drop a digital paper into Photoshop.
- Position the color, image or pattern you want to apply to the shape, text etc. ABOVE the layer you want to apply it to in the layers menu (left click on a layer and drag to re-position it in the layers menu).
- Then right click on the solid color, pattern layer or image layer (that you want to clip to the shape or pattern) and choose ‘create clipping mask’
If you want to, for example, see how a pattern looks in different shades of pink, then use the eye tool (on the left of each layer) to hide/turn on each pink layer to compare how they look.