
What to do if your planner isn’t working
So you’ve bought a planner. It’s really cute and pretty, but you’re not really using it for much else beyond adding decorative stickers and washi. Or you may have bought a planner with the intention of using it, but the pages are looking a little blank and you’re not really planning anything in it. So if, for whatever reason, your planner isn’t working for you, here are some things to try:
-
What don’t you like?
If you’re planner isn’t working, in order to solve the problem that your planner isn’t working, you need to know why it’s not working. Some of the reasons that might strike a cord with you could be:
- Not enough room to write
- Too cluttered
- Planner is too big to fit in your handbag
- Color-coding takes too long
- Using the wrong pens (pen tip is too thick, they smear, they bleed through the pages, pens don’t come in enough colors etc.)
- There are sections of your planner that you never use or you don’t know what to do with e.g. the sidebar
Some ideas for using each section:
For things that need to be planned in advance, take them out of the weekly/daily planning space and move them to the monthly view. Some things you’ll want to plan in advance are:
- Meal planning (so you know what ingredients to buy)
- When bills are due (so you know when you need to transfer money for it to arrive in the company’s account on time)
- Birthday’s (so you don’t leave buying a gift until the last minute)
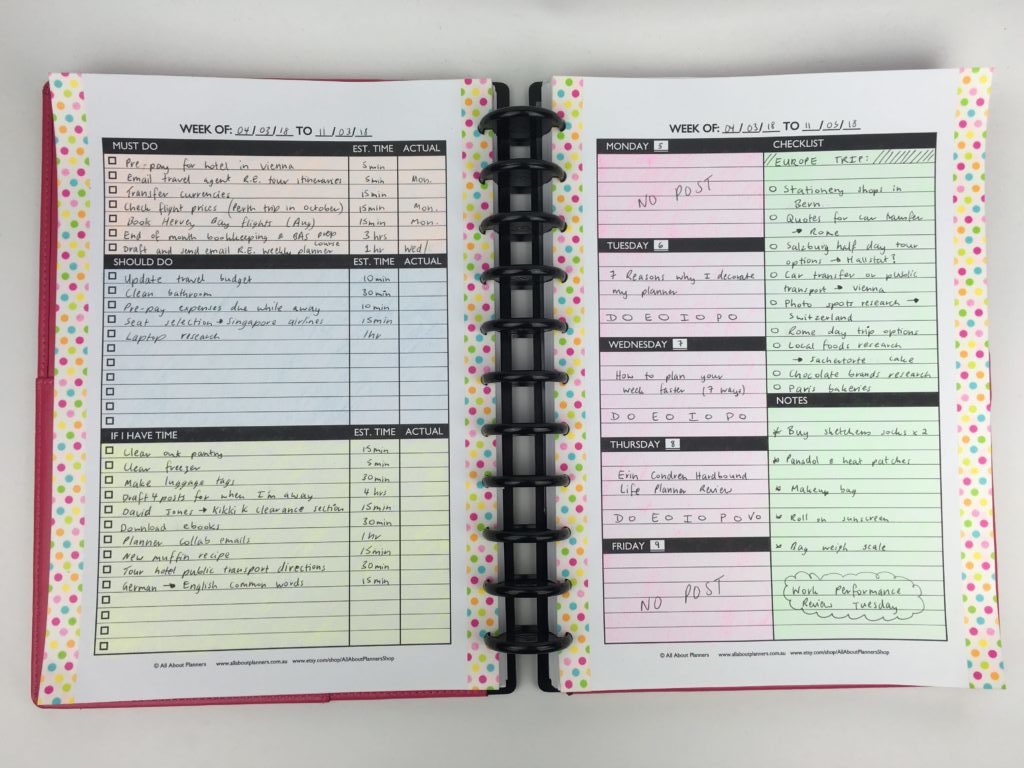
The sidebar of your planner is good for:
Things that need to get done that week, but they don’t need to get done on a certain day.
- This is where I typically jot down routine tasks that I do each week e.g. bookkeeping
- Quick to do’s such as a digital file cleanup
- Things to do if you have time
- Recurring tasks that happen each day so you don’t have to keep re-writing them e.g. exercise, daily cleaning
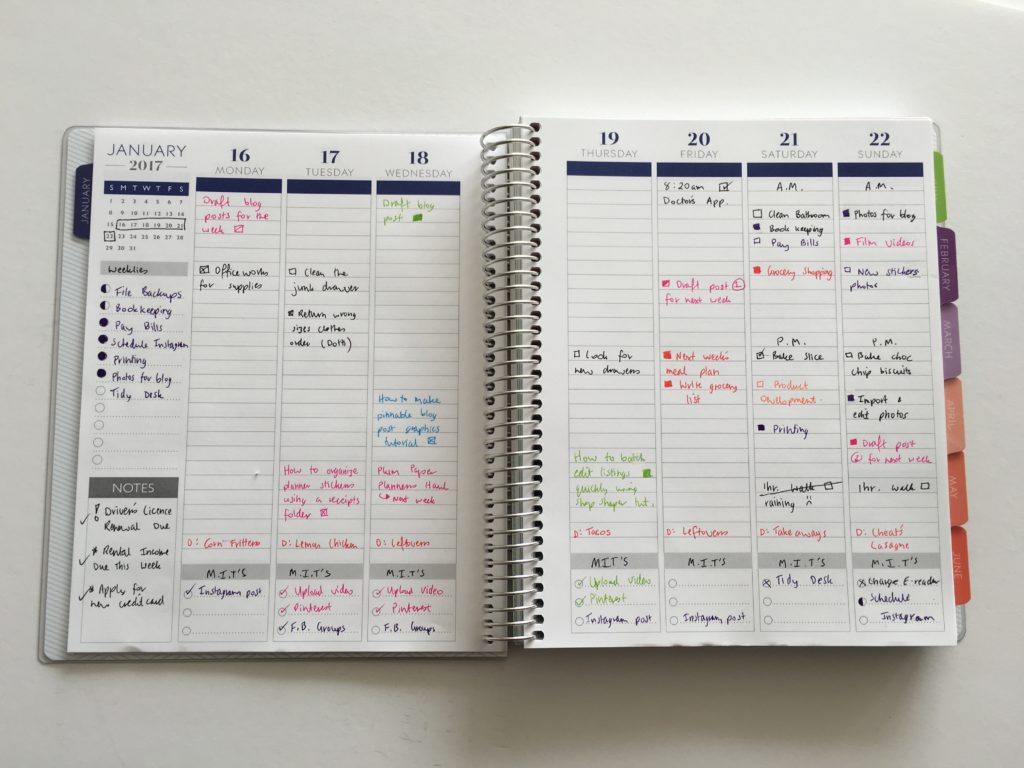
Daily/weekly planner spread:
I try and restrict the daily/weekly planning space for how I’m going to get everything done.
- So if one of my goals is to blog 4 times per week, I need to plan when I’m going to take the photos, write the post etc.
- Due dates – you can record things like when school assignments are due on the monthly view to see the bigger picture – but this is one thing I would actually write out twice back when I was in school (to help with time management when multiple assignments and exams were due in the same week)
- Look at the monthly spread and monthly goals, then filter the things I need to do to achieve them those throughout the weeks of the month
- I tend to only use a daily planner on a Saturday and Sunday (as I’m at my day job during the week but have more time to plan to get things done on weekends)


-
Try more flexible planning tools
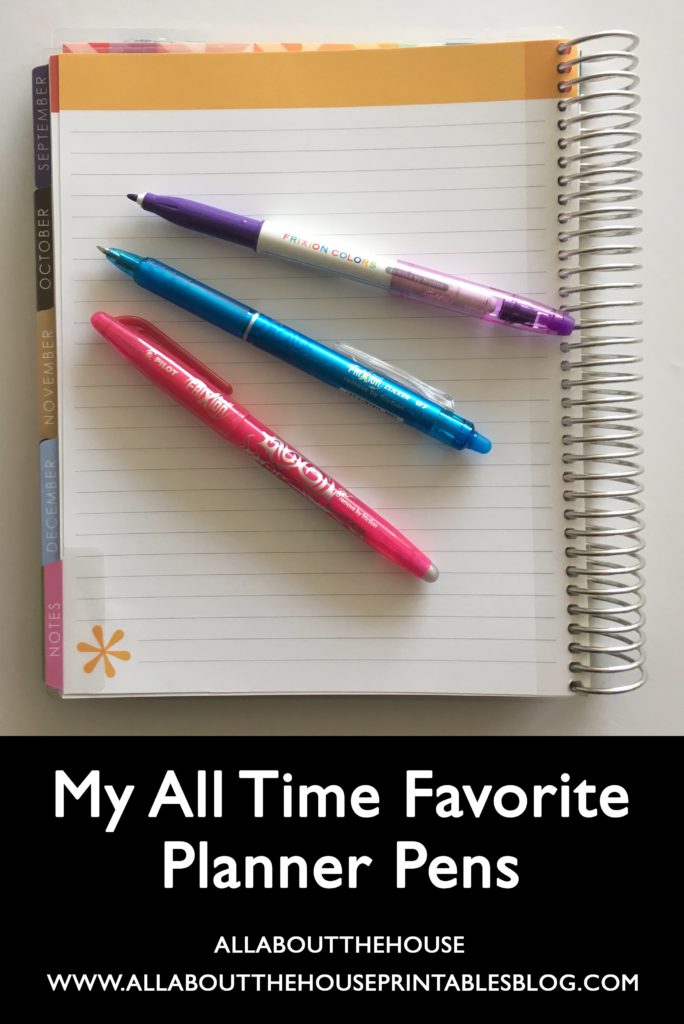
If you like keeping your planner neat and organized and don’t like having messy crossed out writing or big clumps of whiteout on the page, try the Frixion erasable pens.
If you want the ability to rearrange your plans, use to sticky notes.
Related post: Color coded monthly meal planning using sticky notes
If you like planning using stickers, use planner stickers printed onto matte removable label paper.
-
Try a more structured system
I’m one of those people that tend to not know what to do with blank notes pages. They’re too open-ended and the blank space ‘paralyses’ me – I need a structured planning space.
One of the problems I have with regular off the shelf planners that are designed to be adapted to everyone e.g. vertical or horizontal, is that there’s so many ways you can use them. So instead of getting on with the planning process, I sit there thinking, should I plan dinner at the top of the daily planning space, or the bottom, or just plan the entire week in the sidebar?
To get around this, I sketch out the layout of the planner I’m going to use onto scrap paper (ideally when you first buy the planner or when you’re planner shopping).
Then I jot down all the things I want to use the planner to keep track of e.g. meal planning, appointments. You may decide to keep some things separate such as bill paying in a household binder.
Then jot down on the sketch what you’re going to plan where (kind of like an instruction manual for yourself). It may sound silly but that’s what I do when I plan out a new week for the 52 planners in 52 weeks challenge, because the earlier weeks I found I planned on the fly and ended up with awkward blank spaces and things scattered here and there rather than clustered by category.
Related Post: Week 3: Plum Paper Vertical Planner – Better than the Erin Condren?
-
You may need more than one planner
If you’re trying to keep track of multiple things they can get lost among everything else in your planner. You shouldn’t be lugging around planner pages you only refer to every so often. This is one of the reasons I rip out the contacts pages of a new planner as that info is already stored in my phone.
A good rule of thumb is if you don’t refer to it at least once a week, then take it out of your planner.
Using a household binder in conjunction with your daily planner is a good way to save space in your planner.
-
Try DIY inserts with your planner or instead of your planner
Everyone’s planning needs are different. If you’re finding that you don’t use some sections of your planner or you want to add your own, try some printed & shipped inserts from the numerous shops on Etsy, or try some printable planner inserts from my shop, AllAboutTheHouse 🙂
If you find a printable you like but it’s not in the same size as your planner, do not fret! You can print printables at any size you like by following the tutorial I shared in this post.
If you want to learn how to make your own planner, my ecourse: How to Make Printables in Photoshop would be a good fit for you!

-
Use pencil instead of pen, or try to frixion erasable pens
I used to use tons of whiteout, or scribbled things out and my planner was a mess. Then I discovered the Frixion Erasable pens. <3 Those pens (I recommend the medium tip 0.7mm).
-
Use stickers to save room
Rather than writing out recurring tasks, save time and use stickers instead. You can get functional icon stickers for any type of task such as:
You could also use stickers with words such as daycare, payday etc.
If it’s a busy week I find my planner becomes too crowded and ‘cluttered’ when I use a lot of pen rather than stickers, especially if you’re using only one color pen, and are using a basic planner layout with a lot of open ended planning space.

-
Try highlighters for completed tasks
If you’re having trouble keeping track of what tasks have been completed, highlight tasks as you finish them. I did this in week 1 of the 52 Planners in 52 Weeks challenge.
![]()
-
Color code
I did an entire post on how to color code your planner so you actually use it effectively.
Jot down all of the things you plan and categorise them. My categories are:
- Printables blog posts
- Business blog posts
- Graphic design blog posts
- Behind the scenes stuff e.g. keyword research)
Each of these topics gets a different color.
If you don’t want to use different colored pens use black pen and a highlighter to categorise and identify which tasks belong to what category.
Color coding helps to quickly see what needs to be done next. So if I’ve allocated an hour to blogging I can glance at my planner for pink (which is the color I use for blogging) and move onto the next task on the list, rather than skimming through all of the tasks that need to be done and not knowing what to work on next. Color coding also means you end up with a pretty rainbow spread at the end of the week 🙂
You could also color code by:
- Using a different color for each day of the week
- Using a different color for time of day e.g. blue for morning, green for afternoon, purple for evening
- By priority e.g. red = must do, blue = should do, pink = only if you have time
-
Remove un-used pages
There’s no point lugging around pages you’re never going to use!
Some of the pages you may want to take out of your planner include:
- Contacts pages if you store this information in your phone
- Notes pages that you’ve used as scratch/scribble paper such as for grocery lists and which you won’t need to refer back to later
- Pages you’re never going to use that just don’t suit you and which are just adding bulk to your planner
Related posts
- Plum Paper Planners Haul & Review (better than the Erin Condren?)
- Favorite black pens for planner addicts
- Which is Cheaper: DIY Printable Planners or Pre-Printed & Assembled Planners?
- How to make use of blank pages in your planner
- Favorite color coding planner supplies for less than $5
- Ultimate list of the best planner pen brands and how to choose colors for color coding
- My all time favorite planner pens: Pilot Frixion Erasable Pens Review
- How to make a DIY Erin Condren Planner Cover for less than $2 (plus free printable cover)


I have tried so many different Planners and am still looking for the perfect one. Right now I have been using a bullet journal, but haven’t been great about using it on a regular basis.
Lots of tips and value here. Way to plan unstoppable!