How to resize printables for the MAMBI Happy Planner (tutorial)
One question I keep getting asked is how to resize printables for the Happy Planner.
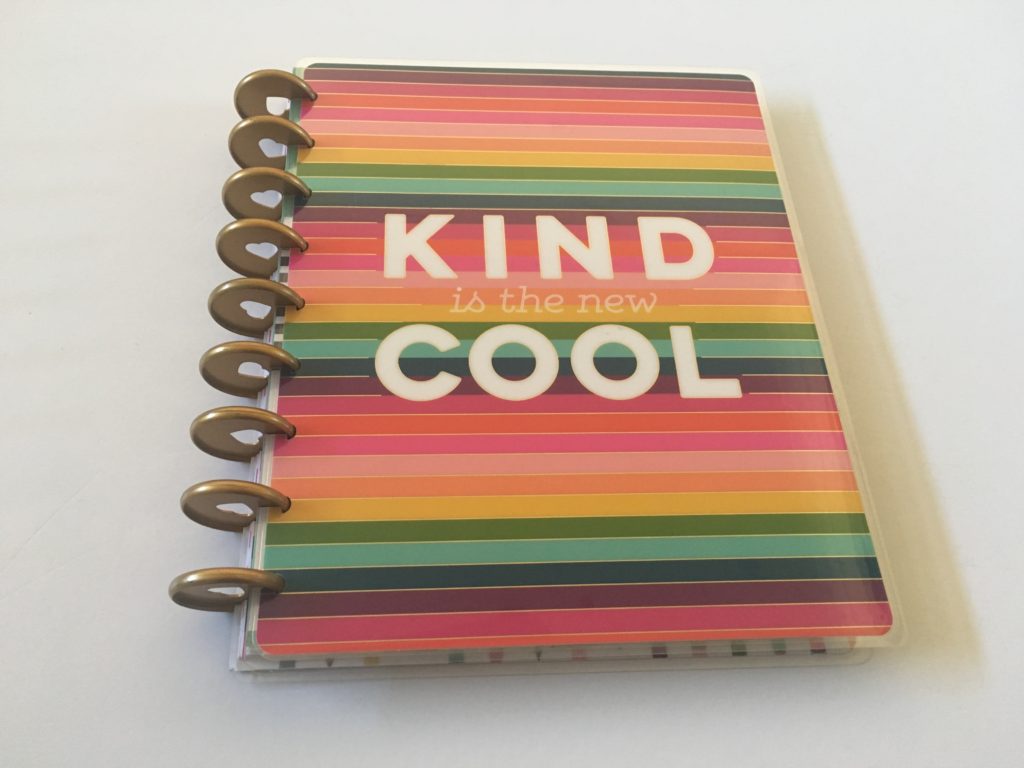
If you’re deciding what size Happy Planner is right for you – see this post.
Since the classic page size seems to be the most popular, that’s what I’m going to use for the tutorial. However, this tutorial will work for resizing any printable to any page size – just enter the page size you need in the custom page size menu of your printer.
Whenever you’re resizing printables it’s best to resize down i.e. use either an 8.5 x 11″ (US letter size) or A4 size printable to resize down to any other smaller page size.
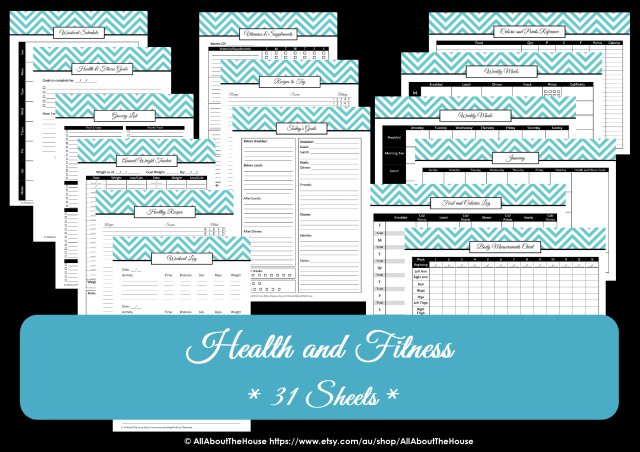
Try this tutorial with one of the free printables in the library (click here).
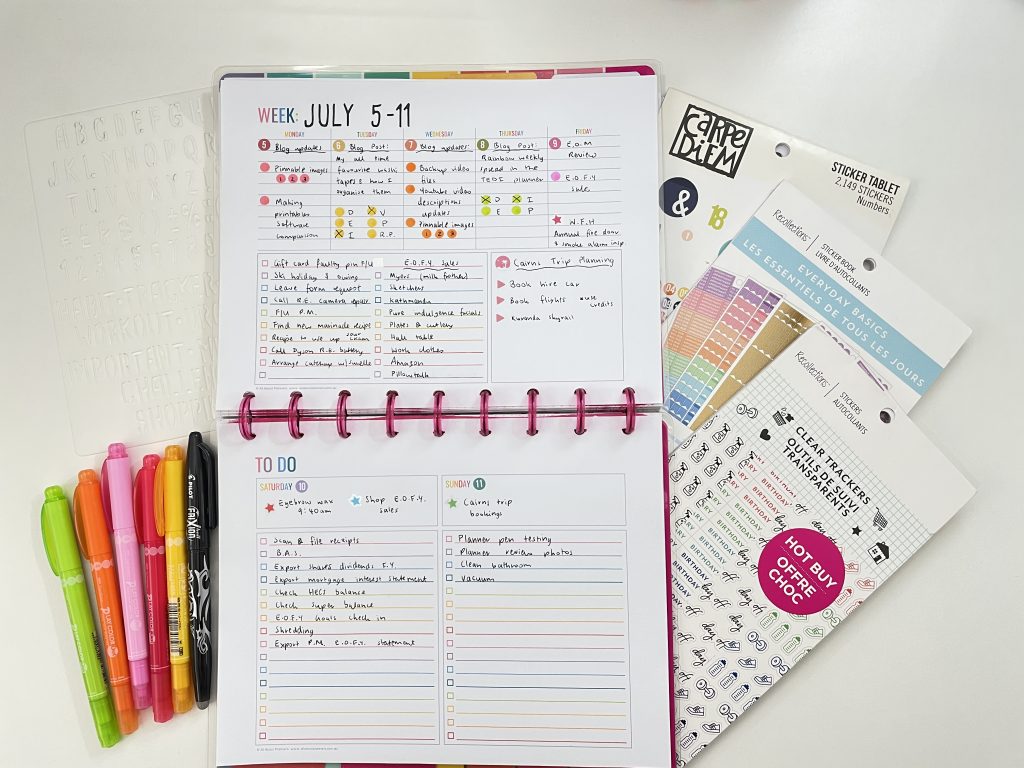
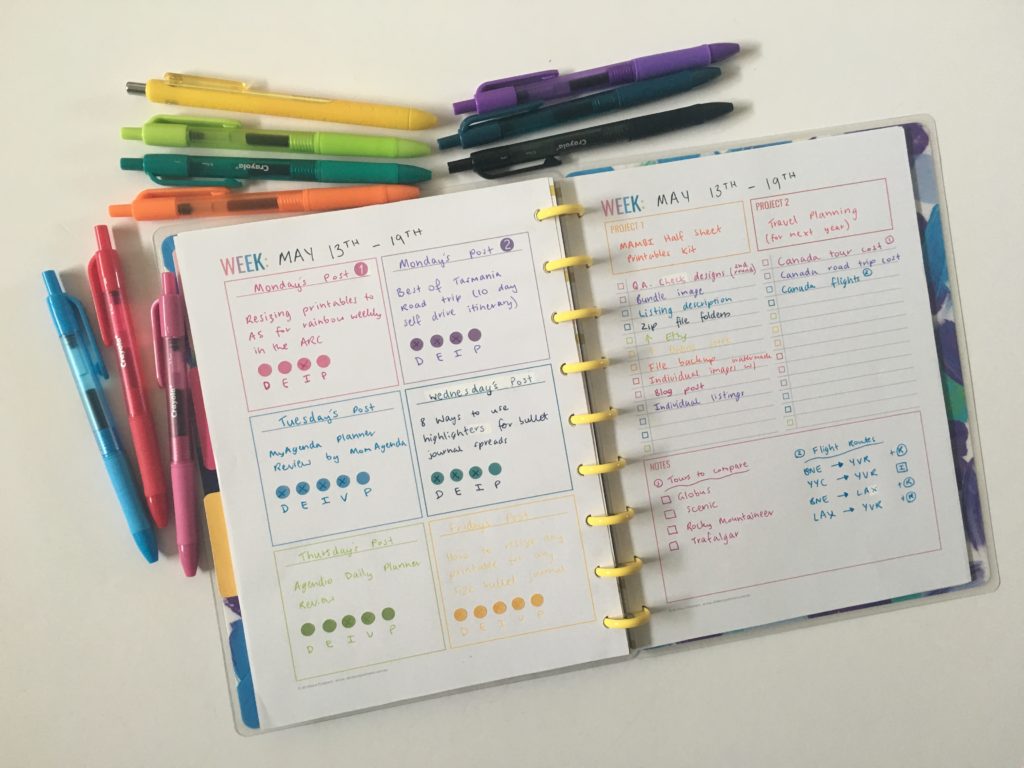
I made these printables at US letter size, then resized down to Happy Planner classic, let me show you how!
How to resize printables for the Happy Planner
The dimensions for each Happy Planner (the dimensions you should enter in your printer’s menu):
Mini Happy Planner dimensions
- 4.56″ x 6.96″ high
- 11.6cm wide x 17.7cm high
- 116mm wide x 177mm high
Classic Happy Planner dimensions
- 7″ wide x 9.25″ high
- 17.8cm wide x 23.5cm high
- 178mm wide x 235mm high
Big Happy Planner dimensions
- 8.5″ wide x 11″ high / US letter size
- US letter size is the page size that most printables come in so you probably won’t need to resize unless you have an A4 page size printable.
How to resize printables for classic Happy Planner
As each printer is different, I’ll give you 2 options:
- Enter custom dimensions
- Scale the printable
1. Enter custom dimensions
This is my preferred method for resizing printables. It’s fast, easy and accurate.
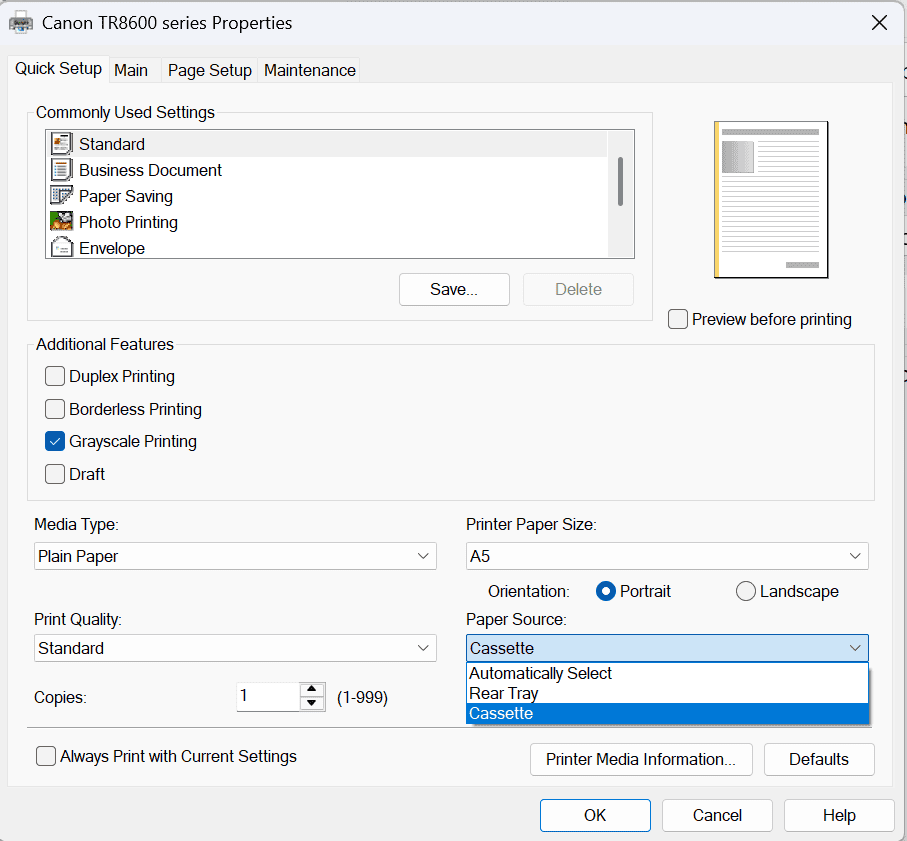
After you select print, most printers have a more detailed menu called something like ‘properties’ or ‘advanced’. Within that menu you can enter custom page dimensions.
Most printers will save the setting within the custom menu, so you don’t have to keep re-typing the dimensions each time.
If you’re printing onto A5 I recommend entering the dimensions into your printer menu using millimetres, not inches.
I prefer to print onto A4 size paper (as I live in Australia and A4 is our standard page size). So I keep my page size at A4 and trim the design after printing.
If your printer gives you the option to take the paper from the rear tray or the casssette, I choose the cassette (the front tray on the bottom of the printer). The paper can lay flat when you use the cassette so it’s less likely to print misaligned. It’s easy for the page/s to slip if you use the rear tray.
To enlarge the screen of the video, click the square icon in the bottom right hand corner of the video (it will say ‘full screen’ when you hover your mouse over the icon).

For more planner related videos and tutorials, subscribe to my YouTube channel
The editable cleaning checklist printable from the video is available in my shop here.
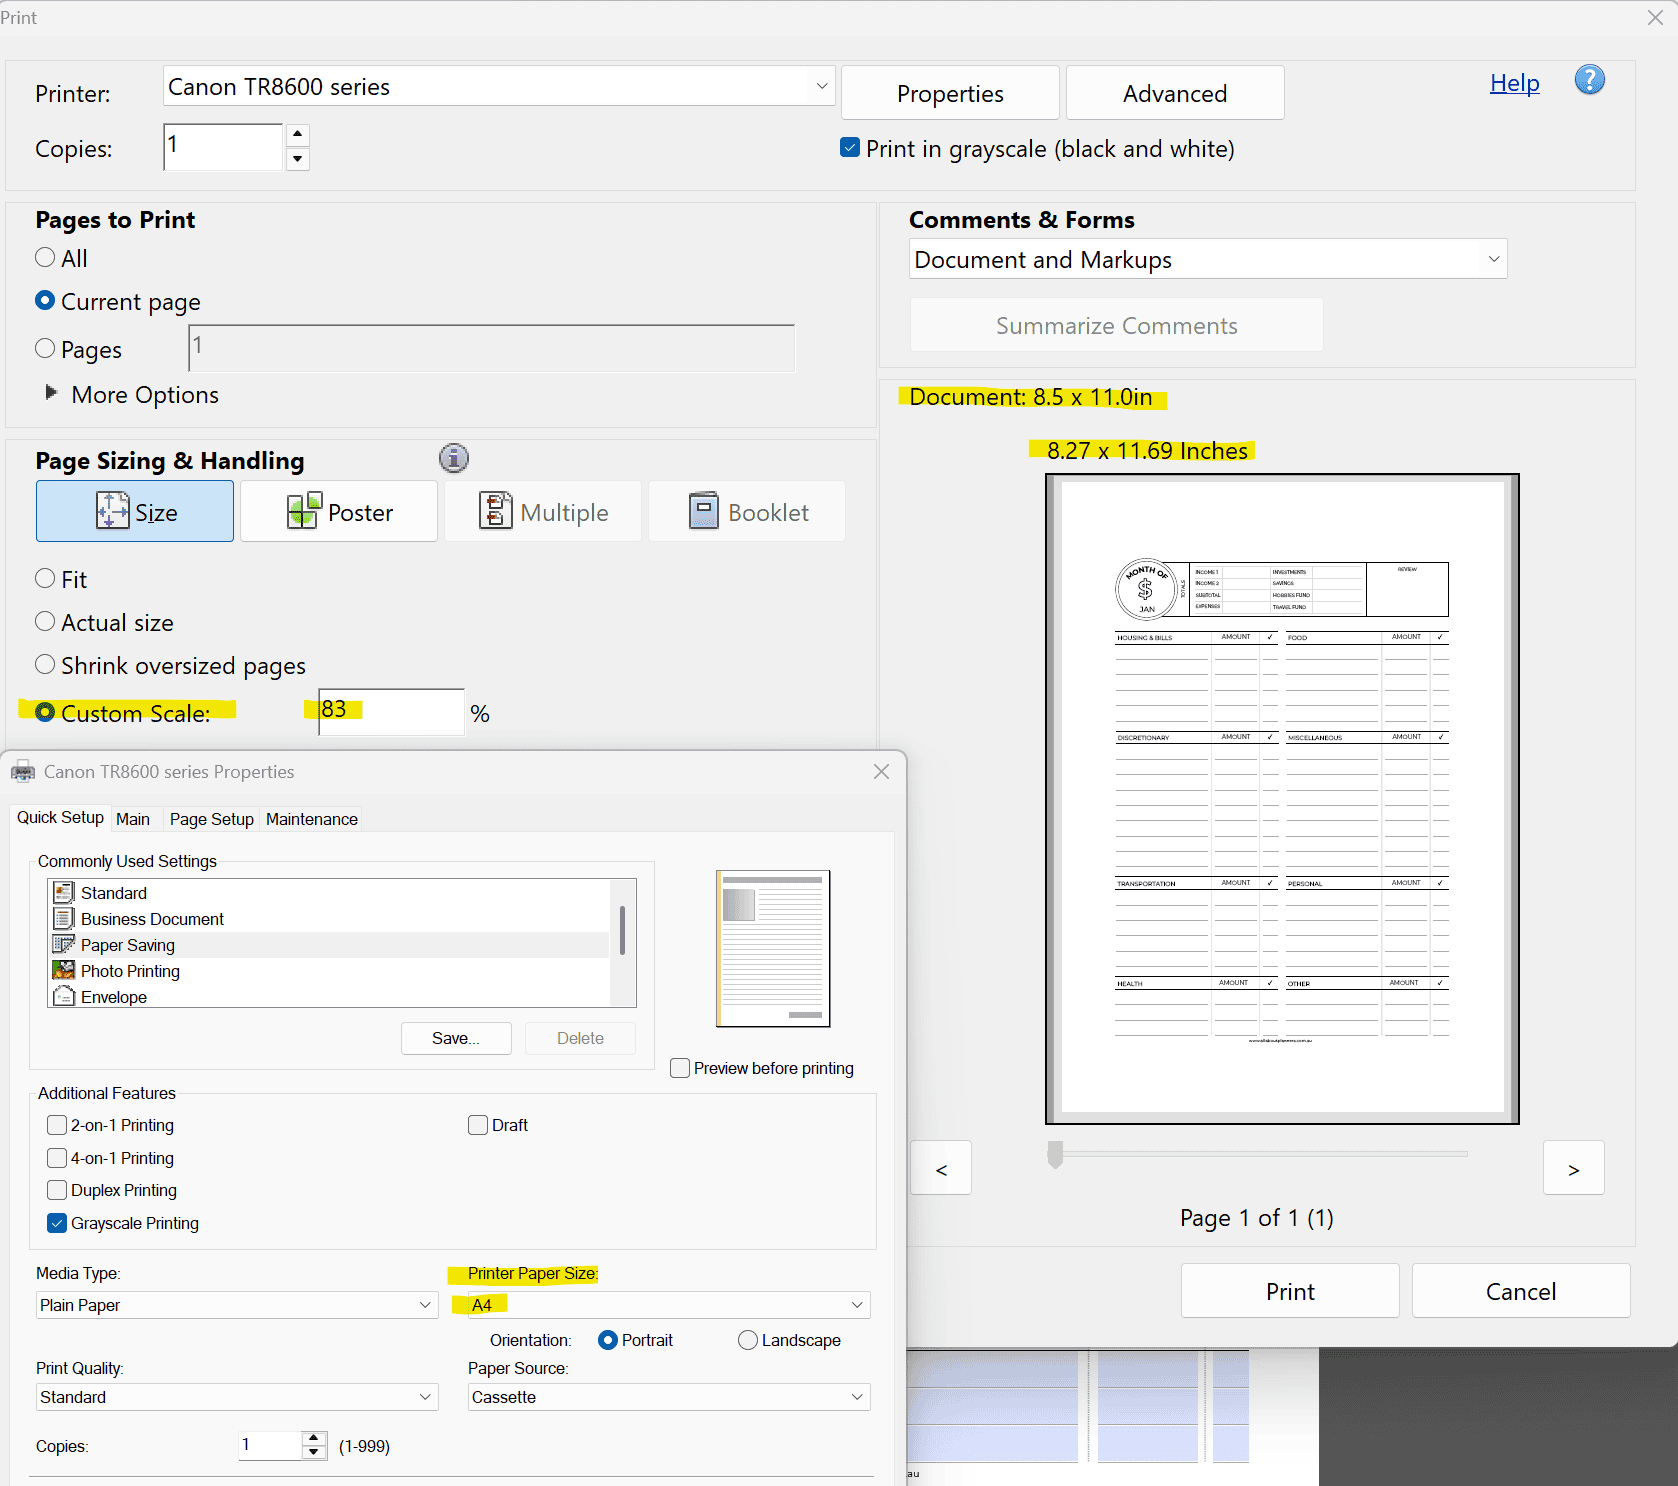
2. Scale the printable
You may prefer to use the scaling method if you’ve found a printable you like, but the creator didn’t leave big enough margins for hole punching. One of my peeves is when the mushroom holes for the discs cut into the design on the page, so I allow a 0.5″ margin on both sides of the page. That way you can print on both sides of the page and no part of the design will get cut into when you punch the holes.
If using the scaling method try:
- US Letter size to Happy Planner classic size = 82%
- US Letter size template to Happy Planner classic size, printed on A4 page size = 83%.
You can see in the screenshot below, even though I made the printable at US letter size to cater to my customers that live in the USA, I can still print that design onto A4 size paper.
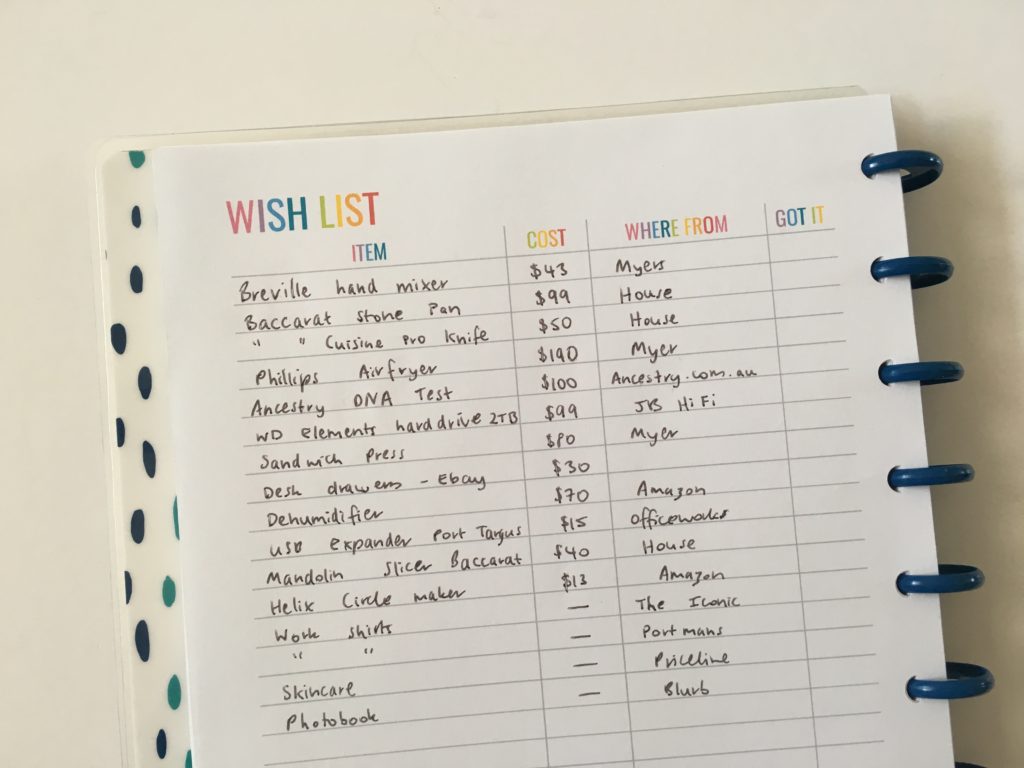
This budget printable is available in my Etsy shop and online store
As a sidenote, you can print US letter size onto A4 and no part of the design will get cut off. Just select ‘actual size’. More details in this post: How to print an A4 printable onto US letter size paper (and vise versa)
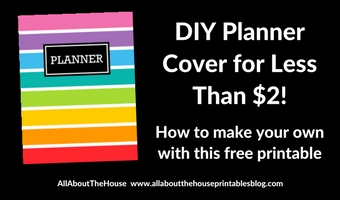
You could also use this tutorial to resize printable binder covers to create new covers for your planner. Download these covers from the free printables library.
More printing tips
- 7 Ways to make colors POP when printing using an Inkjet printer
- How to get rid of a white border when printing printable (borderless, no bleed, no scaling step by step video tutorial)
- How to Choose a Printer (Including the best printer for printing printables and planner stickers)
- Best Paper for Printing Printables
- How to clean your printer (prevent smudging, streaks and make the colors POP!)
- How to print any printable in black and white (greyscale) using your home printer
- How to easily print printables double sided (duplex printing tutorial)
![]()
Planning tips
- 130+ functional ideas to use blank notes pages of your planner or an empty notebook
- Overwhelmed by the planner community? Read this post
- Using a planner key and symbols to code your planner (efficient planning methods)
Found this post helpful? Pin it!