How to add any printable to your Goodnotes digital planner
In this post where I tried planning using Goodnotes for the first time I mentioned that I used a printable PDF. If you want to try this too, you can do so with any printable you’ve downloaded from the library, my shop or elsewhere.
How to import any printable into your Goodnotes Planner
First, you’ll need to import the PDF into Goodnotes.
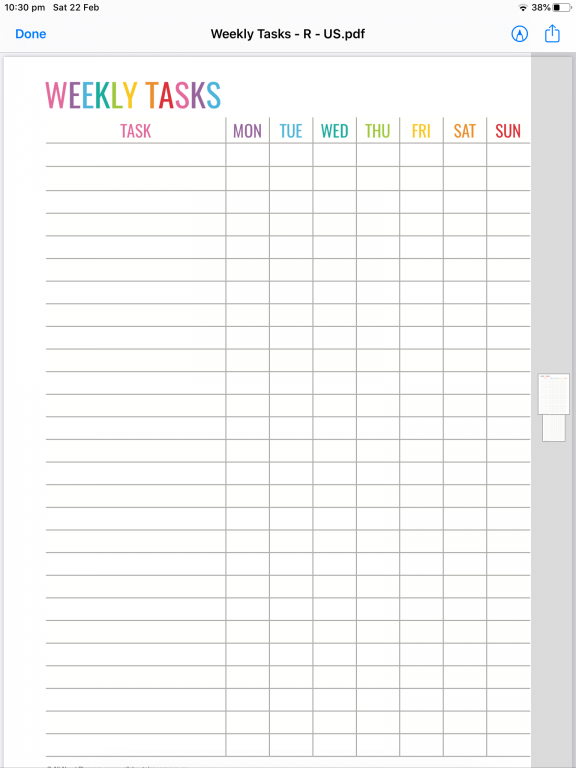
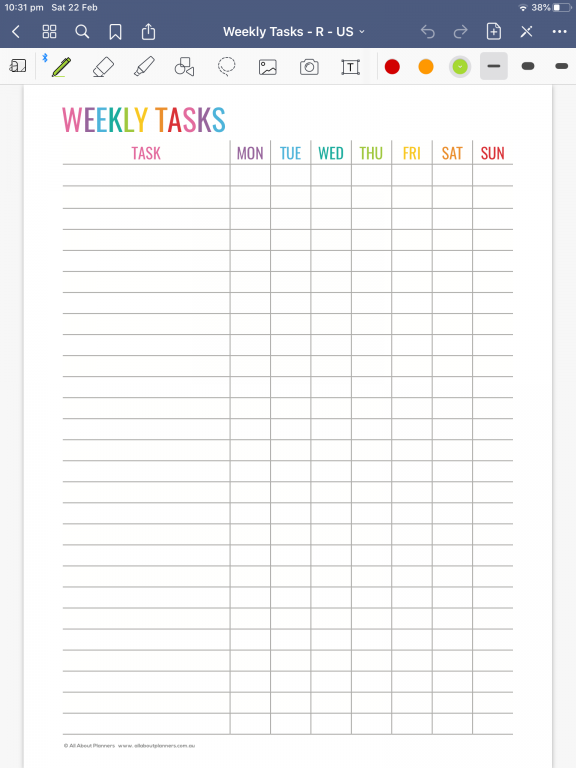
For this tutorial I’m using this weekly habit tracker printable from my shop. It’s part of the habit tracker printables set.
This tutorial will work with any printable (a printable planner, planner stickers, binder cover etc.) including the ones in my shop!
1. I like to email the files to myself but you can also add the files to the cloud or Google Drive.
2. Open the email, click on the file attachment and then click the box with the arrow pointing upwards in the top right hand corner.
3. Select ‘open in Goodnotes’
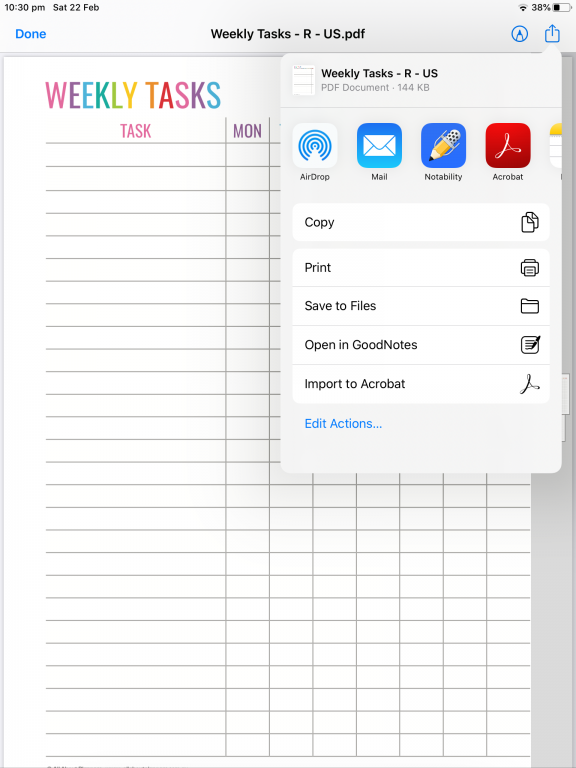
4. Select ‘open’ (doesn’t matter that the file is already in PDF format, still select ‘open’)
![]()
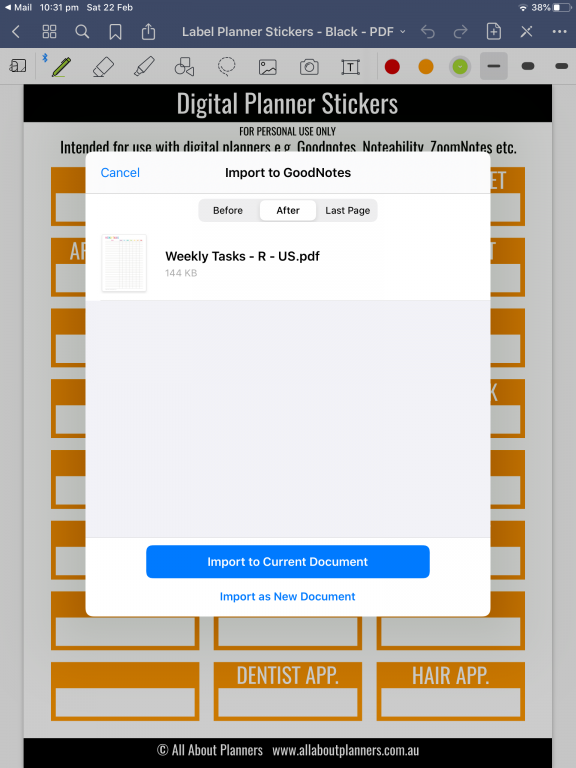
5. You’ll be given the option to either ‘Import to current document’ or ‘import as new document’ as well as whether you want to add the page before the current page, after or at the end.
6. That’s it – repeat for as many PDF as you like.
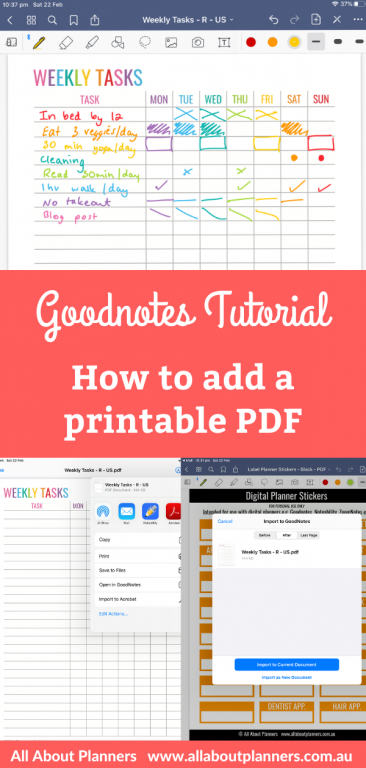
Here’s an example where I was experimenting with different ways to mark off habits and practising my handwriting with the Apple Pencil (it’s surprisingly a lot heavier than a normal pen and is taking a bit of getting used to).
![]()
This tutorial will work with any printable including the ones in my shop!
If you want to change the order of your pages
You don’t need to re-import the PDF from your email, Google Drive etc. Instead:
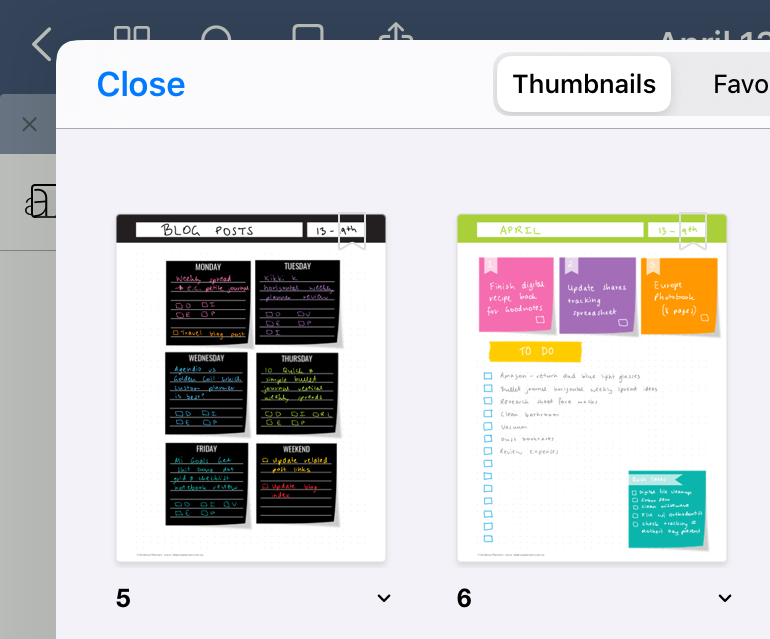
- Click the 4 squares in the top left corner of Goodnotes which will give the page thumbnails menu
- Hold your finger or Apple Pencil over the page you want to move until it has a shadow (sort of like it’s lifting off the iPad)
- Then just drag it to where you want it to go and lift your finger or Apple Pencil off of the iPad screen
At the time of writing this, Goodnotes don’t have the option to move multiple pages at once, you’ll need to re-order each page individually.
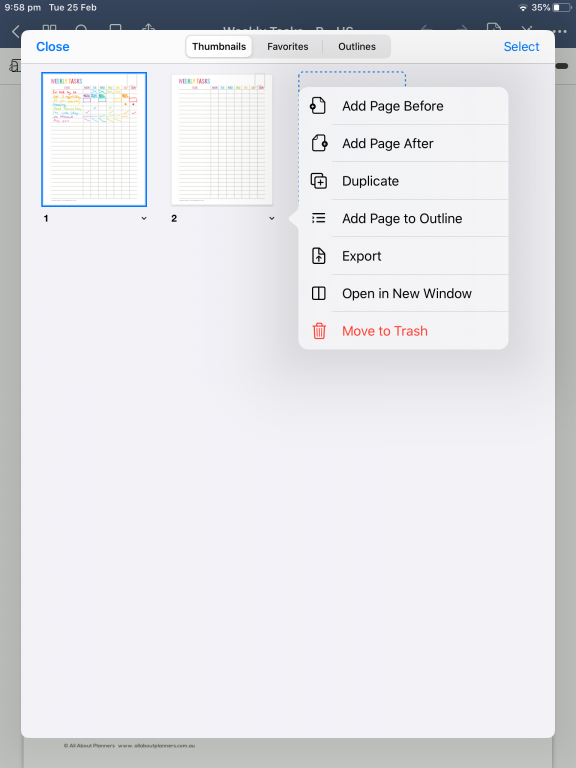
If you want multiple copies of the same page
Select the downward pointing arrow underneath the page preview and select ‘duplicate’ from the pop out menu:
More Goodnotes tutorials:
- Resizing any printable to insert into your Goodnotes planner (if you like to use a linked / tabbed Goodnotes notebook)
- How to crop individual stickers from a sticker sheet
Planning tips
- Why I Switched from paper to Excel spreadsheets for budgeting
- How to make printable graph paper in Photoshop (perfect for habit tracking and bullet journalling!)
- The Process Behind Making a Printable Planner
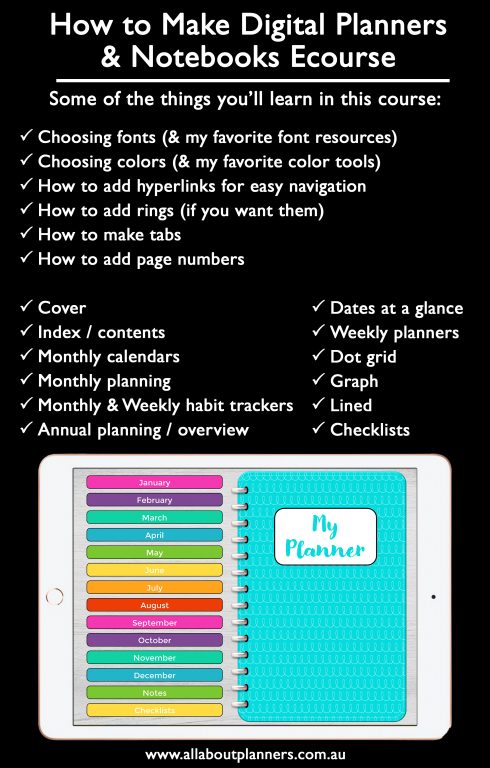
Learn how to make your own digital planner!
Found this post helpful? Pin it!
![]()