How to resize any printable PDF and add it to your digital planner (in Goodnotes)
If you’re using a digital planner in Goodnotes (with tabs) you can add any printable PDF into this notebook and keep the hyperlinked tabs. Here’s how:
Step 1: Add a PDF into Goodnotes
To add a PDF (or any other file) into Goodnotes, see this post for a tutorial.
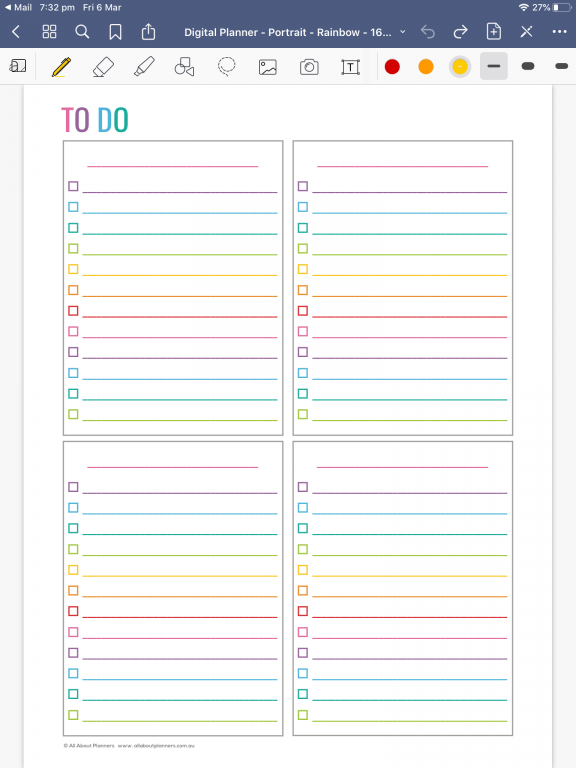
For this tutorial I used the anything mini checklists from the checklists editable printable PDF’s set from my shop.
Step 2: Resize the printable and add to any digital planner
Once you’ve imported the PDF into goodnotes, the next steps are:
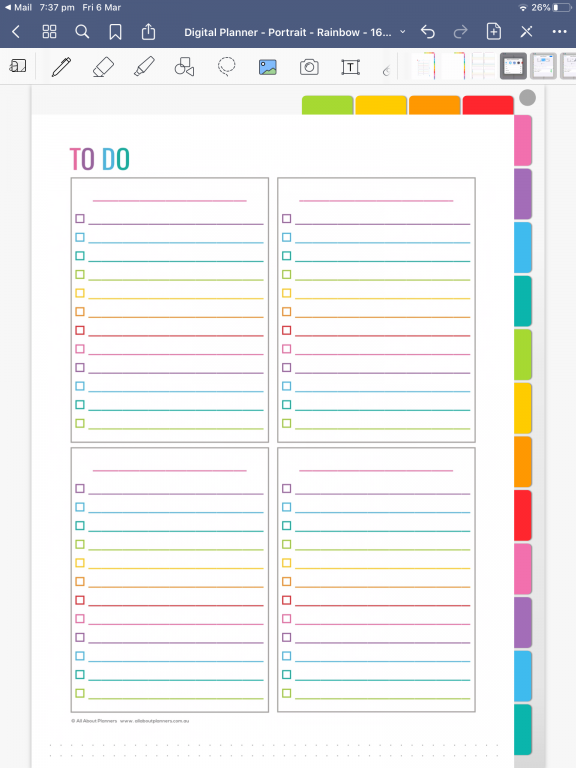
1. Open the page where you’ve imported the printable you’d like to use
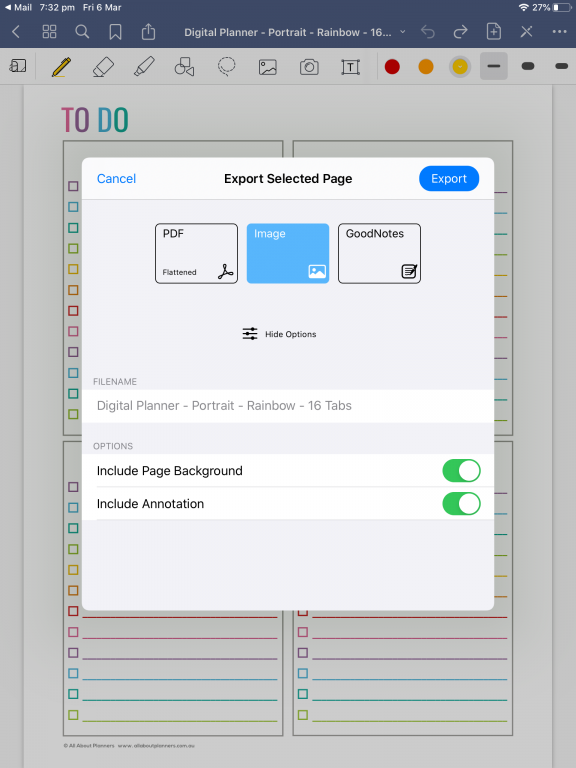
2. Go to the top left menu in Goodnotes and select the box with an arrow pointing upwards and select ‘export this page’
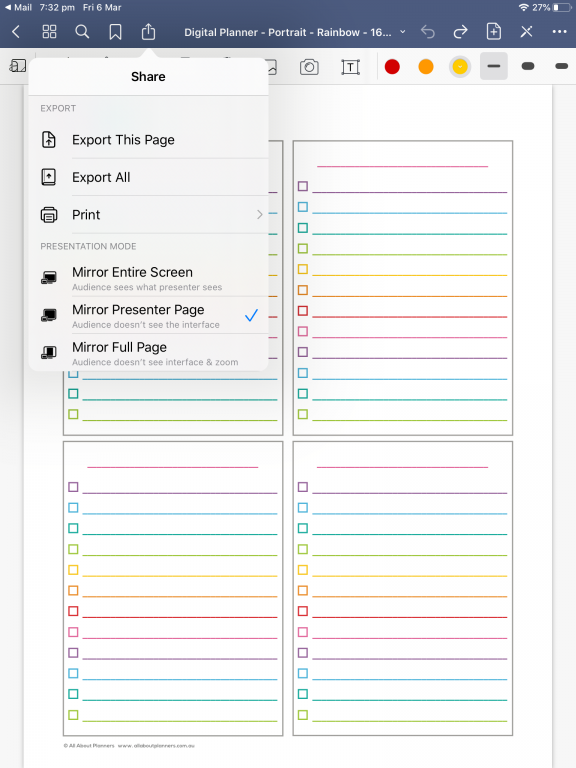
Choose image and click export.
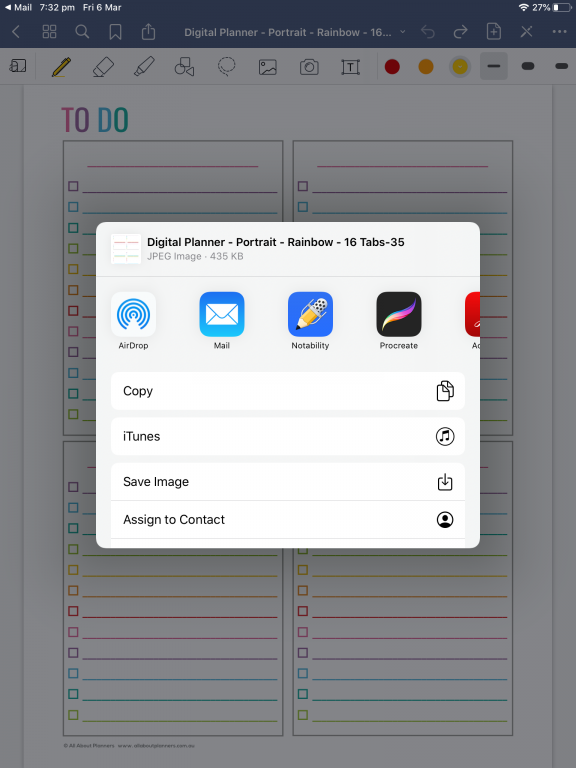
Click ‘save image’
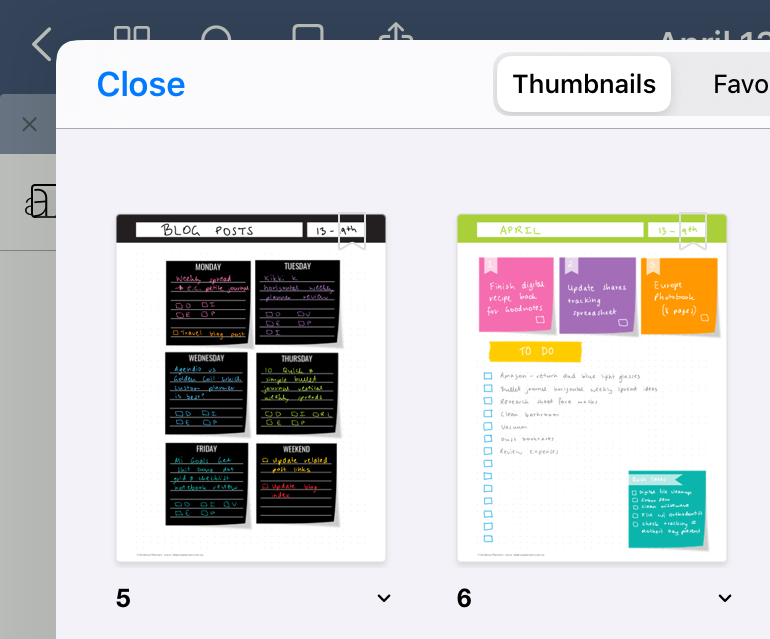
3. Now navigate to your digital planner…
And add the image like you would any other image. Click on the photo icon (beside the camera icon). Since we just screen-shotted the page it’s the first one in the preview.
If you want to use one you screenshotted a white ago you’ll need to scroll through either ‘All Photos’ or if it’s a page you’re going to be using a lot (e.g. a checklist) I’d create an album and save it in there so it’s quicker to access.
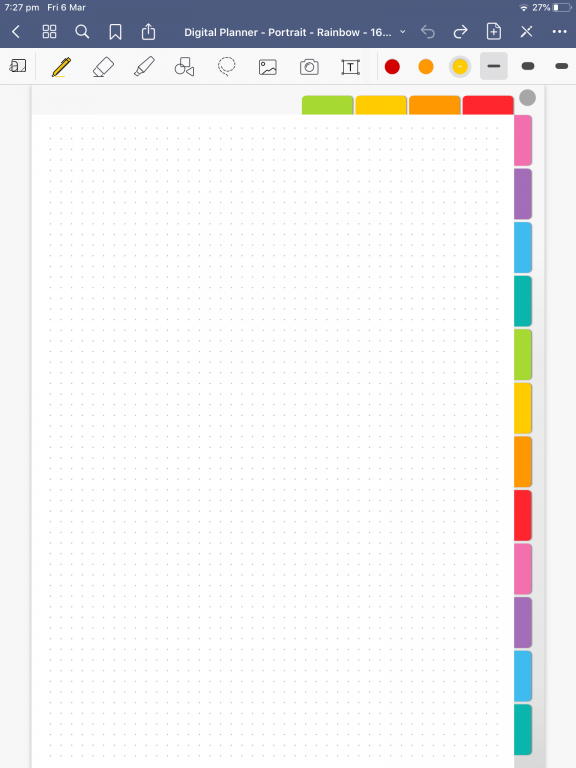
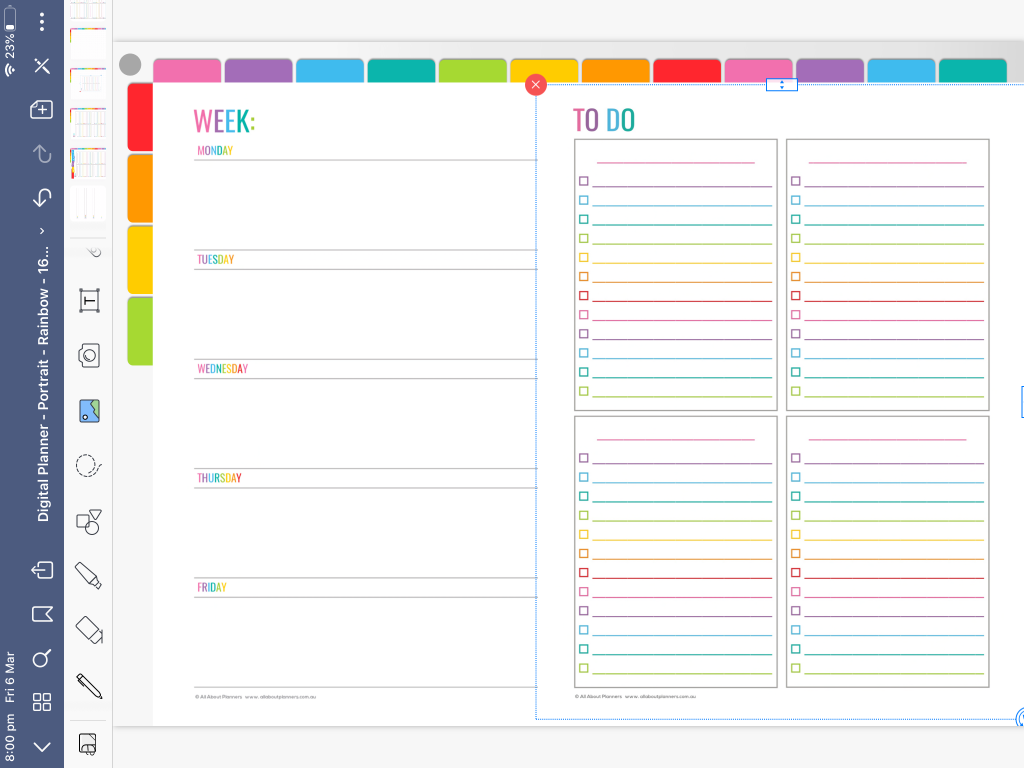
4. When you click on the image it may be small like this:
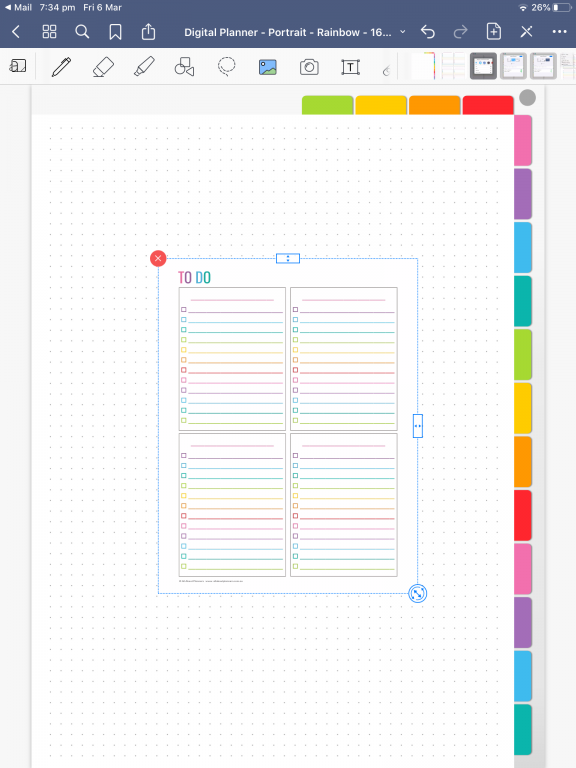
You can increase it by selecting the circle with 2 arrows and dragging outwards to fill your page. You can use this same method to lay 2 pages side by side in your planner i.e. convert 2 portrait page orientation planners into landscape planner.
Using either your finger or your Apple Pencil, you can expand it to fill the entire page:
You could also rotate and add 2 to the same page in your digital planner. E.g. if you want to use a 2 page weekly spread or 2 page monthly calendar printable
As all digital planner page sizes are different (and depending on what page size your printable is – I’ve used a full page US letter size 8.5 x 11″ for this tutorial), as well as the margin sizes of the design – there may be some blank space at the top and bottom. If you use a blank page of your digital planner this won’t matter.
If you don’t have blank pages and the little bit of extra space bothers you, you can use the extra space for decorating with digital washi tape or other graphics.
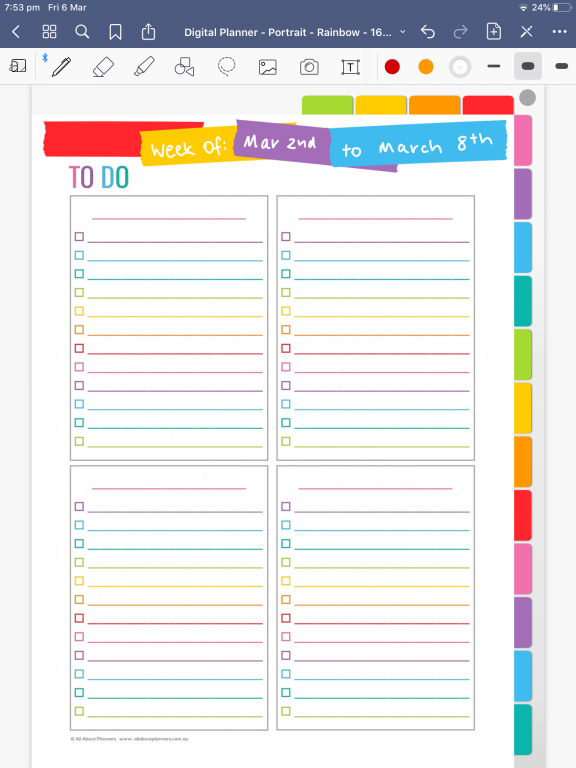
Now use the pages as you would any other page in your planner.
If you want to add the same page later on, or add another copy to another section in your planner – insert it the same way you would a picture – it’ll be saved to your camera roll. I’d create an album and save it in there so it’s quicker to access.
For this tutorial I used the anything mini checklists from the checklists editable printable PDF’s set from my shop. as well as my digital notebook
Learn how to make your own digital planner!
Digital Planning
- How to add any printable to your Goodnotes digital planner
- Digital weekly planning in the Goodnotes App
Planning tips
- 7 Bullet Journal Weekly Planner Spreads you probably haven’t thought of
- Quick and easy weekly meal planning using sticky notes
- Planner Hack: Using binder covers to create a reusable checklist (plus free printable binder covers)
Found this post helpful? Pin it!