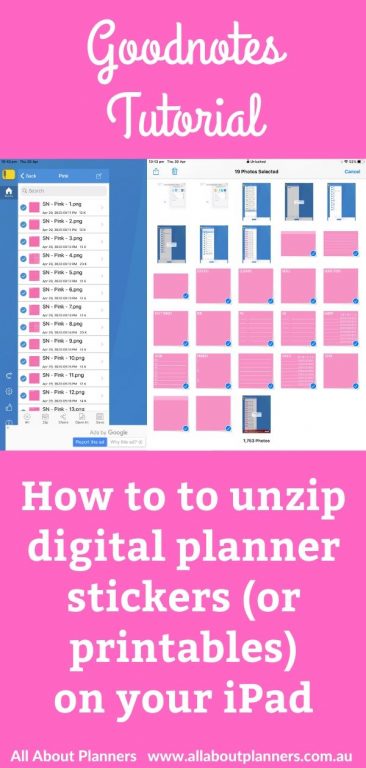
How to unzip files on an iPad (Printables, Digital Planner Stickers etc.)
If you’ve purchased printables or digital planner stickers, they’ll probably be in a zipped file folder. Here’s how to unzip them.
I use iZip which (at the time of writing this tutorial in 2020) is a free software. There are some ads that pop-up but if you hit the x they’ll disappear.
For this tutorial I’m using these sticky note digital planner stickers from my shop, and will be unzipping on my iPad.
How to unzip files
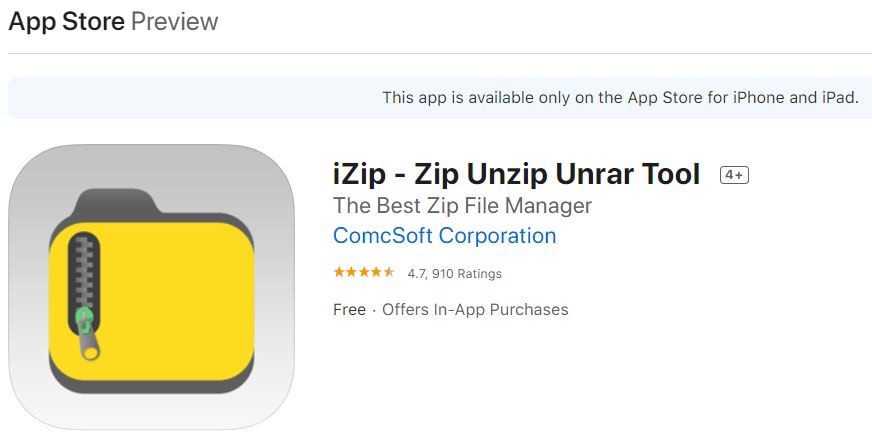
Download iZip from the app store. It’s icon looks like this:
If you’ve purchased files from my shop, go the email you would’ve received containing the link to download the files (it may have gone to the spam / junk folder). Click the link in that email and download the files. If you’ve purchased files from elsewhere, they may be in your Etsy account order history page
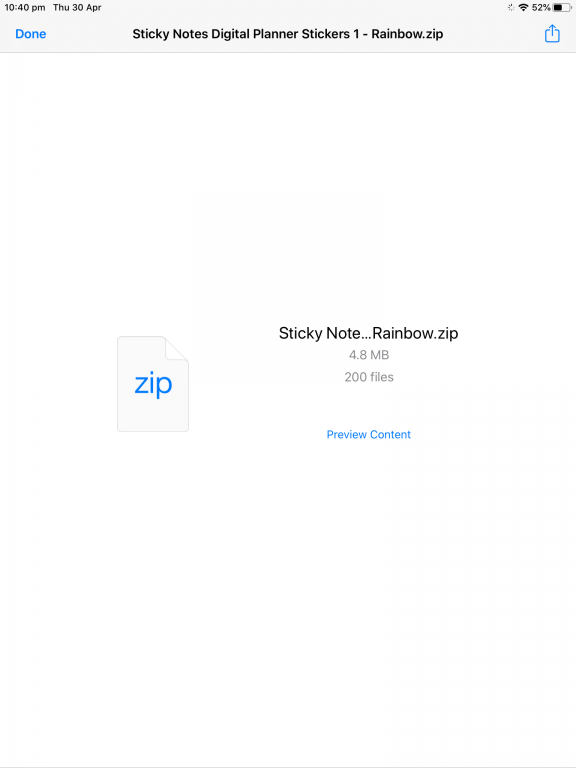
When the files have finished download, this menu will appear. Click the box with the upward pointing arrow on the top right of the screen
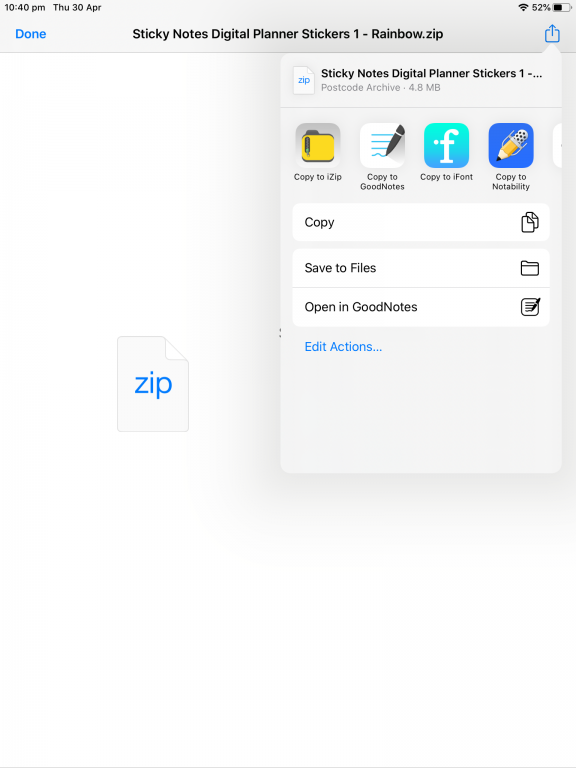
Scroll across the app icons menu until you see ‘Copy to iZip’ and click that button
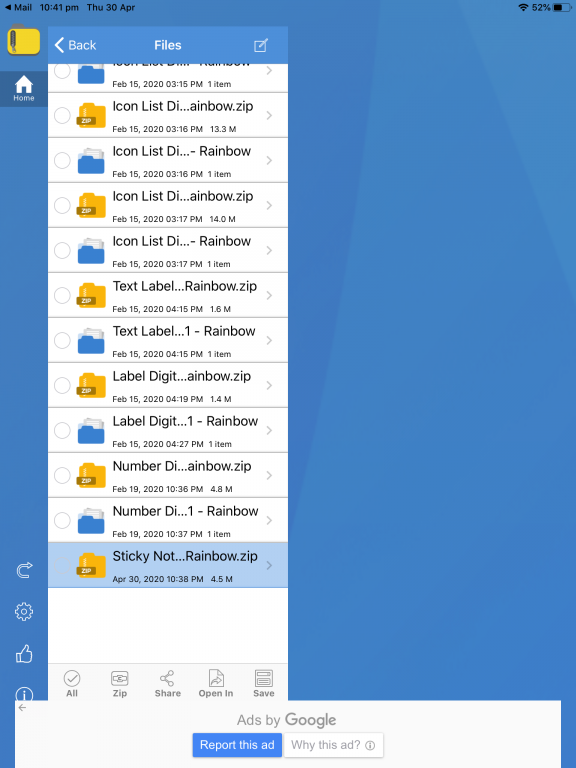
This screen will appear with all of the zipped file folders you’ve downloaded. I’ve already used this software previously so the file I just unzipped appears at the bottom. Click that folder. (so for me it’s ‘Sticky No…rainbow.zip’)
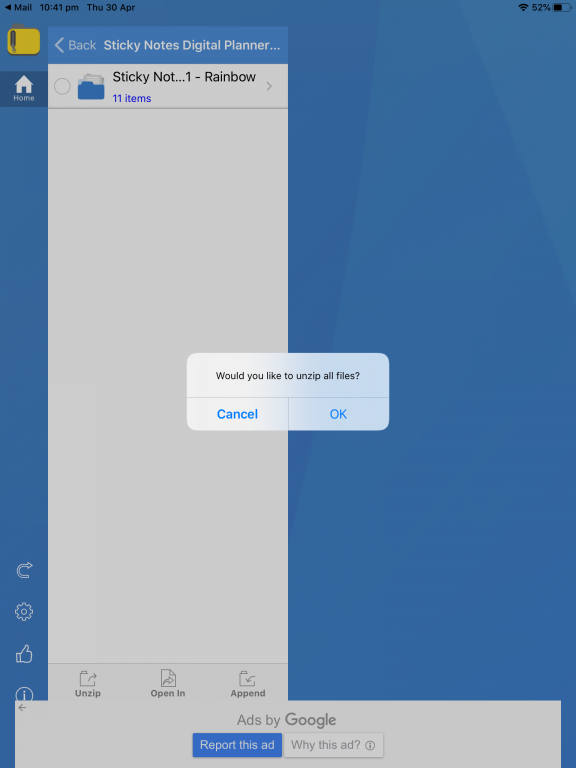
This pop-up menu will appear: Would you like to unzip all files?’ – choose ok
Or the menu might look like this:
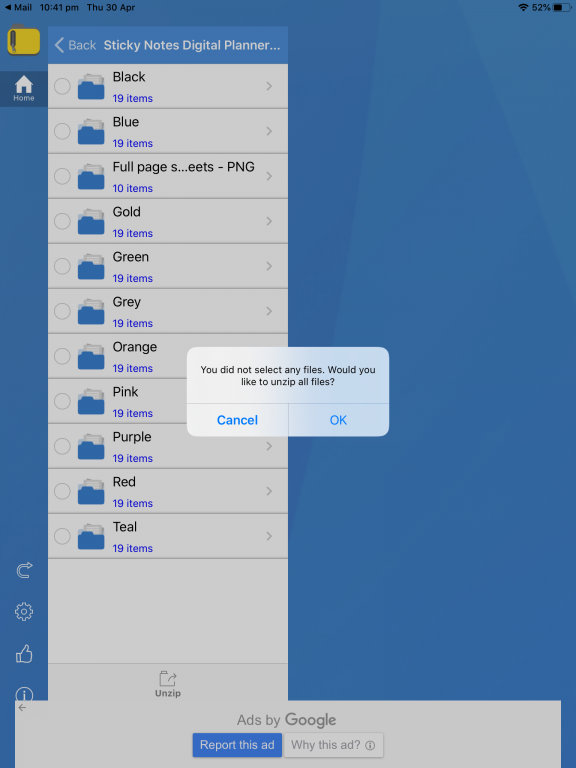
Now you can see all of the files that are in that zipped folder
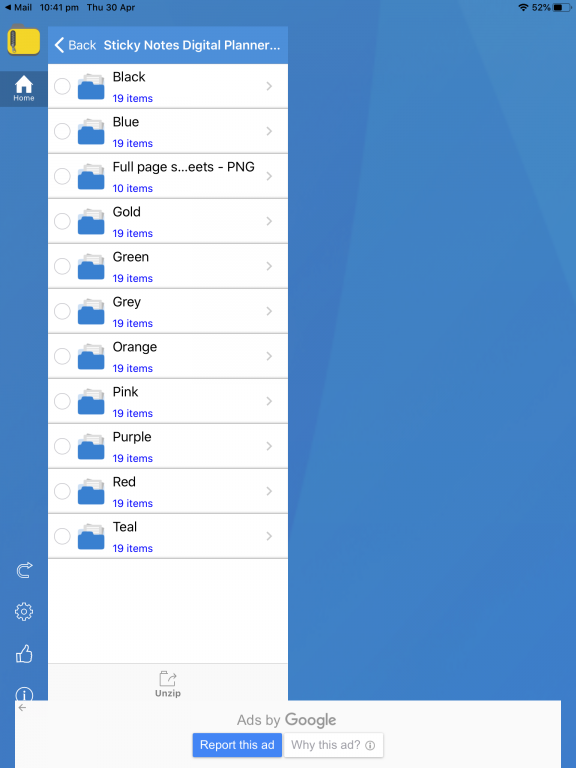
Click the tick inside a circle with the ‘All text underneath’ so that there are ticks beside each folder and choose unzip.
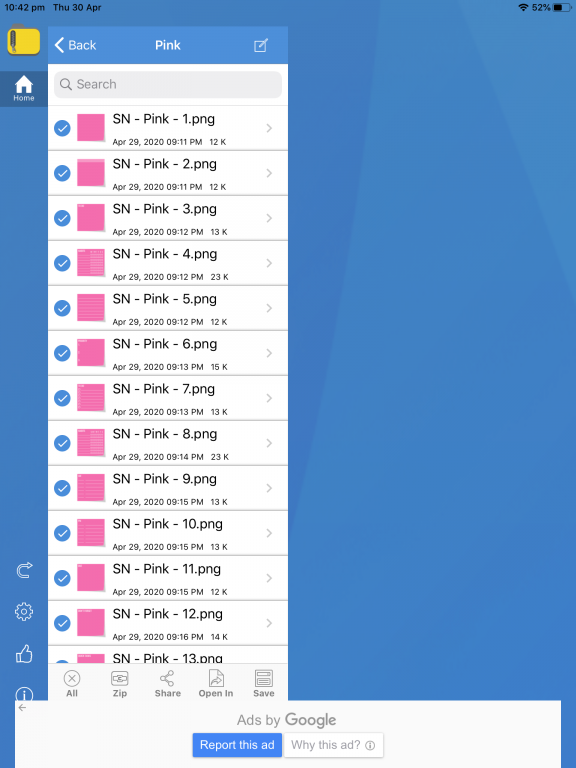
Note: If you don’t want all of the folders or all of the files e.g. you know you’ll never use grey stickers, then you can untick those you don’t not want
9. This pop-up menu will appear ‘Your photos / videos have been saved to your Photo Album’
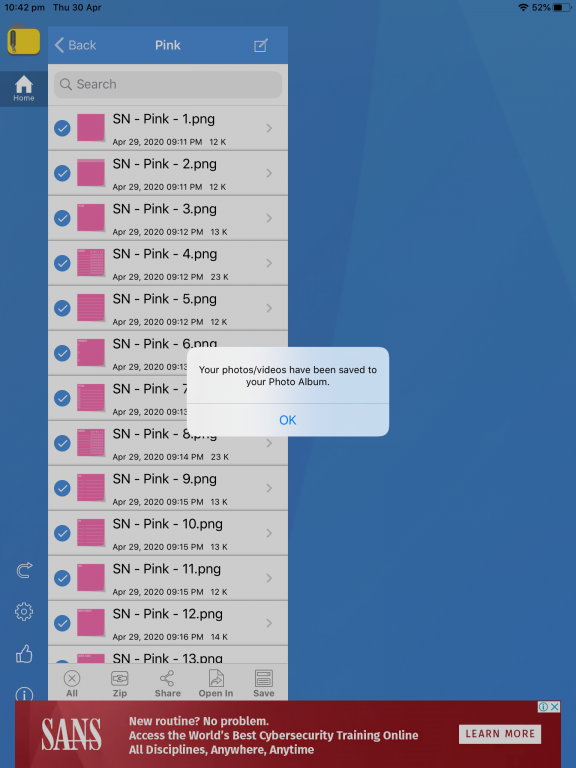
10. Navigate to your camera roll (photos app on your device) and the files will be in there
if you want to re-arrange stickers, or group stickers into albums (e.g. all of the icon stickers you’ve purchased from various shops, your favorite stickers, organize stickers by color), for quick access when planning, here’s how to do it:
How to add image files to an album
1. Navigate to the photos app of your device (if you’re continuing on from the steps above you’ll already be there)
2. Tap on ‘select’ at the top right corner of the screen
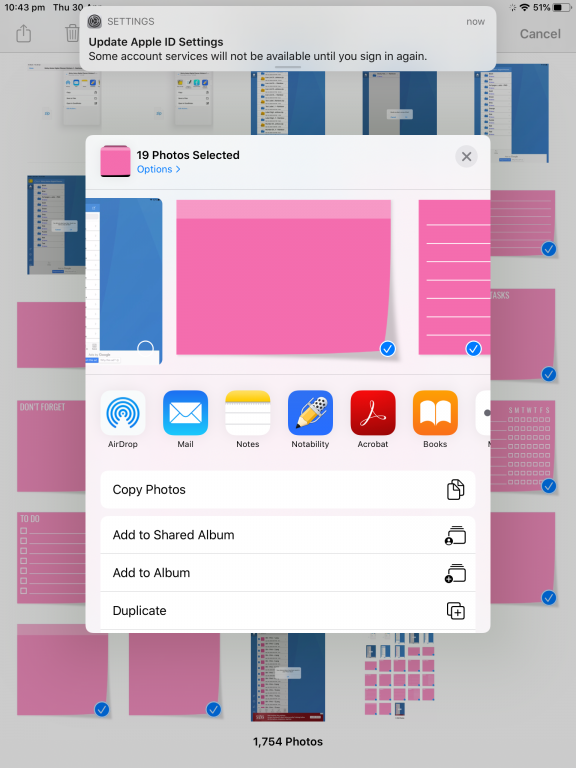
3. Tap on each of the image files you want to place in a folder. A tick will appear on them – like this:

Rather than individually tapping on images, if you want to select a group, tap, hold and drag your finger over all of the stickers, then lift your finger off once they’re all ticked.
Note: if you accidentally tap on an image you no longer want to add to that album, just tap on the image again to de-select it.
4. Tap on the square with the upward pointing arrow on the top left of the screen (refer screenshot above)
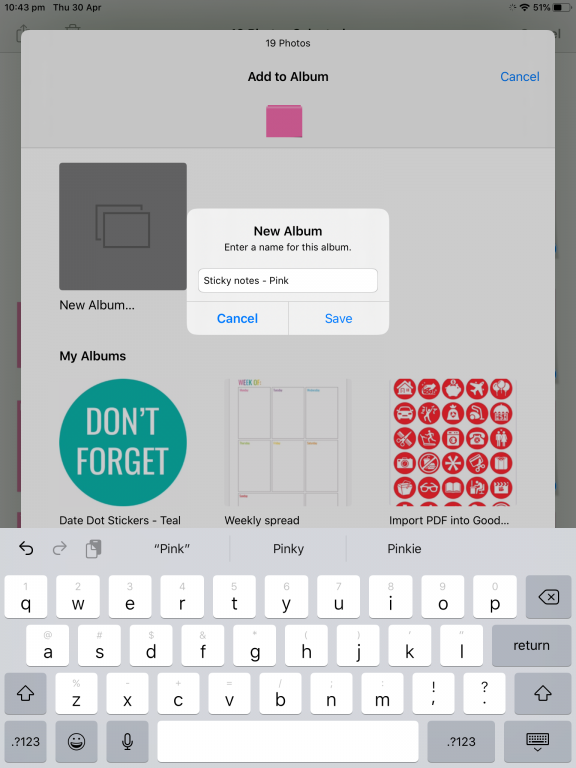
5. Choose ‘Add to Album’
6. Then ‘New Album’
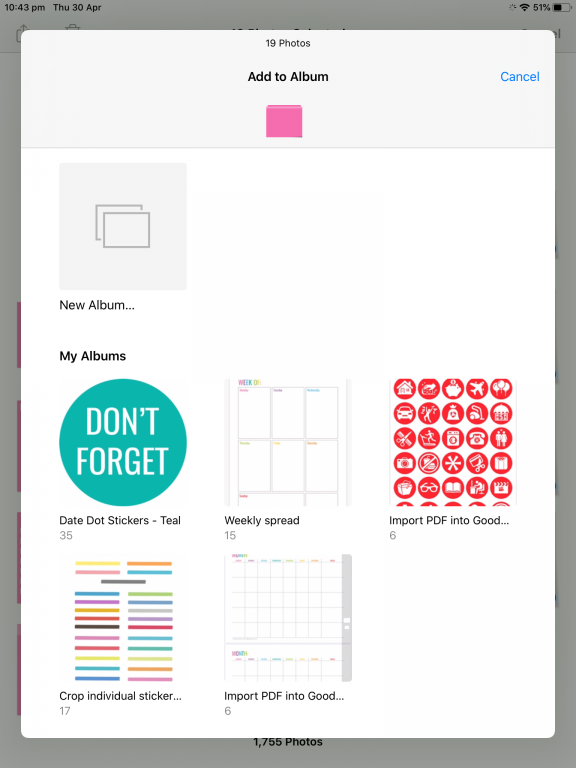
Label it whatever you like and hit save
That’s it!
It may seem like there was a lot of steps but I’ve just broken it down in a lot of detail. It only takes a minute or 2 to unzip files and add them to an album.
Adding printables into your Goodnotes Planner
If you want to add a printable to your digital planner, see this post for instructions.
More Goodnotes tutorials
- How to add any printable to your Goodnotes digital planner
- Goodnotes: How to crop individual images from a PDF, JPG, PNG, sticker sheet, clipart etc.
- How to resize any printable PDF and add it to your digital planner (in Goodnotes)
- Digital habit tracking in Goodnotes versus habit tracking on paper
Found this post helpful? Pin it!
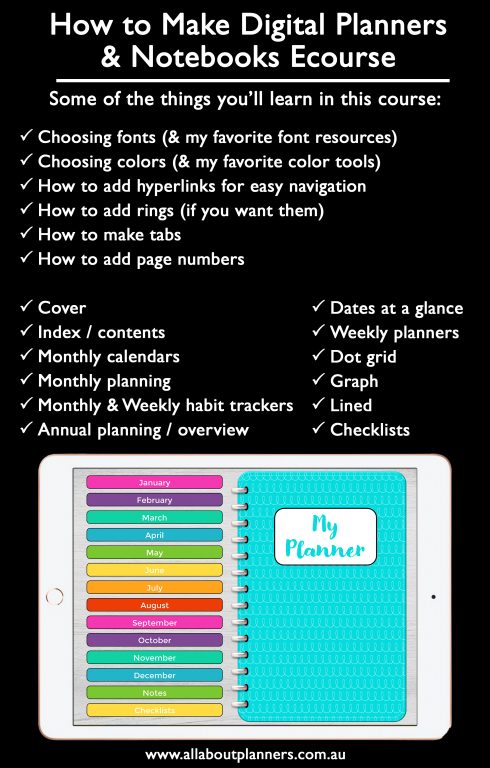
Learn how to make your own digital planner!