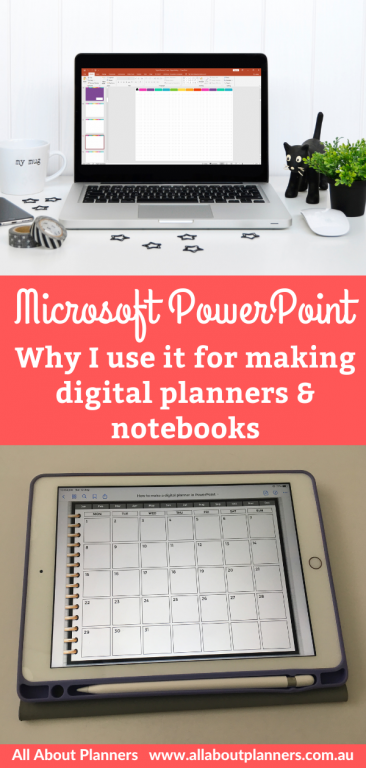
Why I Use Microsoft PowerPoint for making digital planners and notebooks
There are plenty of software programs you can use to make digital planners but the one I went with is Microsoft PowerPoint.
Why I chose Microsoft PowerPoint
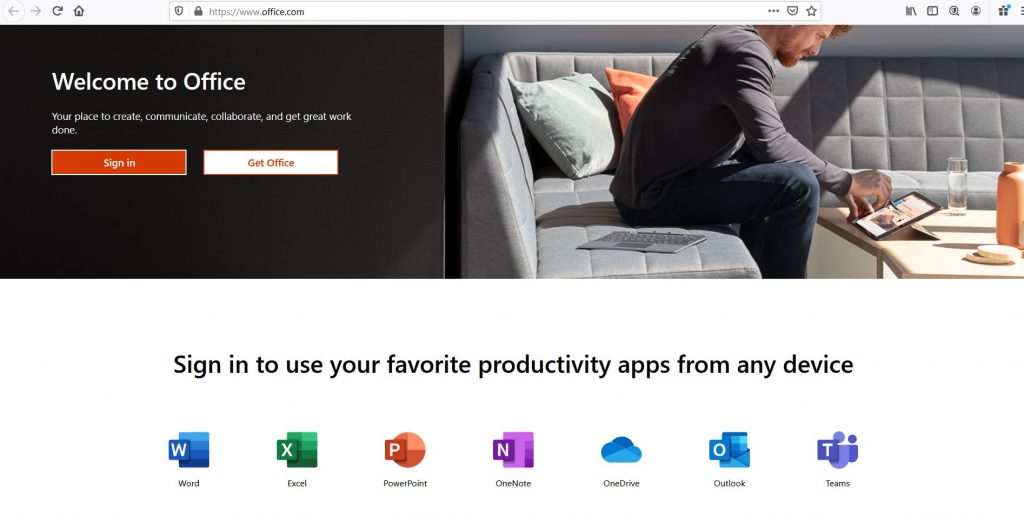
It’s a simple, easy to use software and I already had it as part of a Microsoft suite I purchased a few years ago. If you don’t already have Microsoft Powerpoint it’s cheap to purchase (price varies depending on what plan you choose), or you can use the online version for free.
Read more: How to use Microsoft Programs online and if you don’t have a PC (i.e. if you have a Mac)
But the main reason I chose it over other programs, is that it’s very easy to link pages which is the main factor that makes a digital planner different to a printable.
Why I chose Microsoft PowerPoint instead of other software
I have (and have always had) a PC with Microsoft software. So I’m familiar with Microsoft products like Microsoft Word and Excel, and have used PowerPoint for school and university. The functions and tools are similar between Microsoft products. Excel is great for budgeting spreadsheets but I knew it wouldn’t work for a digital planner. I tried making one in Microsoft Word but it was a bit clunky and I felt like it was more time consuming than it needed to be. Which led me to Microsoft PowerPoint.
If you use a Mac you might already be familiar with Keynote which is basically Apple’s version of PowerPoint.
While you can access Microsoft PowerPoint online so you could design on your iPad, I already had the software installed on my computer and wanted to use it on my computer. It’s much easier to use a mouse and physical keyboard when designing, and also when it comes to adding the links to your planner.
Pros of Microsoft PowerPoint
- Cheaper than professional graphic design software like Adobe Photoshop, Indesign etc.
- Simple, easy to use software
- Easy to access – can access online for free or download it onto your computer
- Computer application, you don’t need an iPad to use it
- Page preview pane on the left of the screen when designing is convenient to see how all the pages fit together and makes it easy to rearrange pages (just click and drag where you want it to go)
- Quick to design pages
- Easy to copy design elements between different templates / pages
- Can use custom fonts you’ve downloaded onto your computer (note: if you use the free online version I tested it and couldn’t find custom fonts I’d downloaded, only their default fonts)
- Can pick any color you want
- Can add as many links in the notebook or digital planner as you like
- Can group elements together so you can move and resize different elements in one go
- Auto align function is helpful to make sure things are evenly spaced
- Easy to use align tools
- Can chose the template size i.e. can set your template up to correctly fit the size of your device
Cons of Microsoft PowerPoint
- Not a proper graphic design software like those from Adobe – there are some limitations e.g. I never use the in-built pattern tools that come in PowerPoint, instead I make my own in Photoshop and then import them. If you don’t want to make your own it’s cheap to purchase digital paper on Etsy
- Has an annoying tendency to flick to the next slide / page if you zoom in near the bottom of the page
- If you want to use rings for your planner to make it look like a real notebook, I’ve tried making them in PowerPoint but it’s special effects are very limited so the rings don’t look that great (if you don’t have Photoshop, you can purchase some rings off Etsy for a couple of dollars and use those instead)

How does Microsoft PowerPoint work with digital planning apps?
Once you’ve made your digital planner or notebook in Microsoft PowerPoint, save as a PDF and import it into one of these digital planning apps
My preferred app is Goodnotes. It costs $13 USD. You only need to purchase it once, it’s not a subscription.
For a tutorial on how to import your digital planner into Goodnotes, see this post.
If you don’t want to make a digital planner from scratch but still want to try digital planning, see this post for a tutorial on how to import and resize any printable for any digital planner.
In addition to Goodnotes, you’ll need an iPad or other device e.g. Microsoft Surface Pro, Samsung Tablet or other device which you can use the Apple Pencil or a Stylus Pen. The Apple Pencil or Stylus Pen is usually an extra cost on top of the cost of the device.
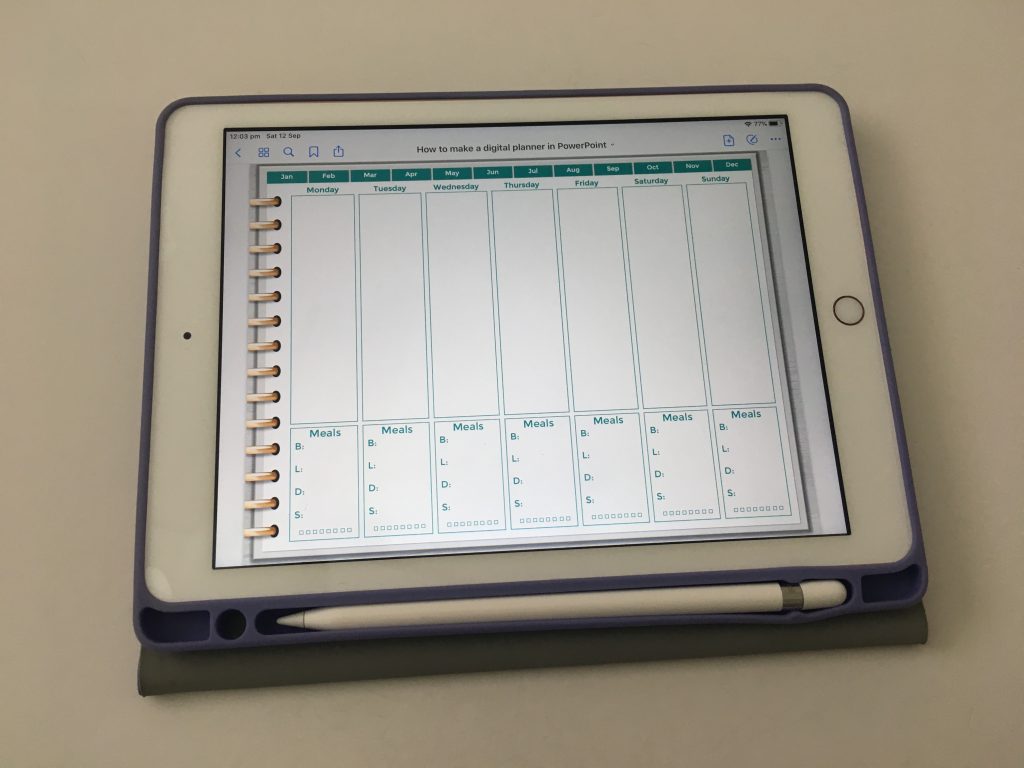
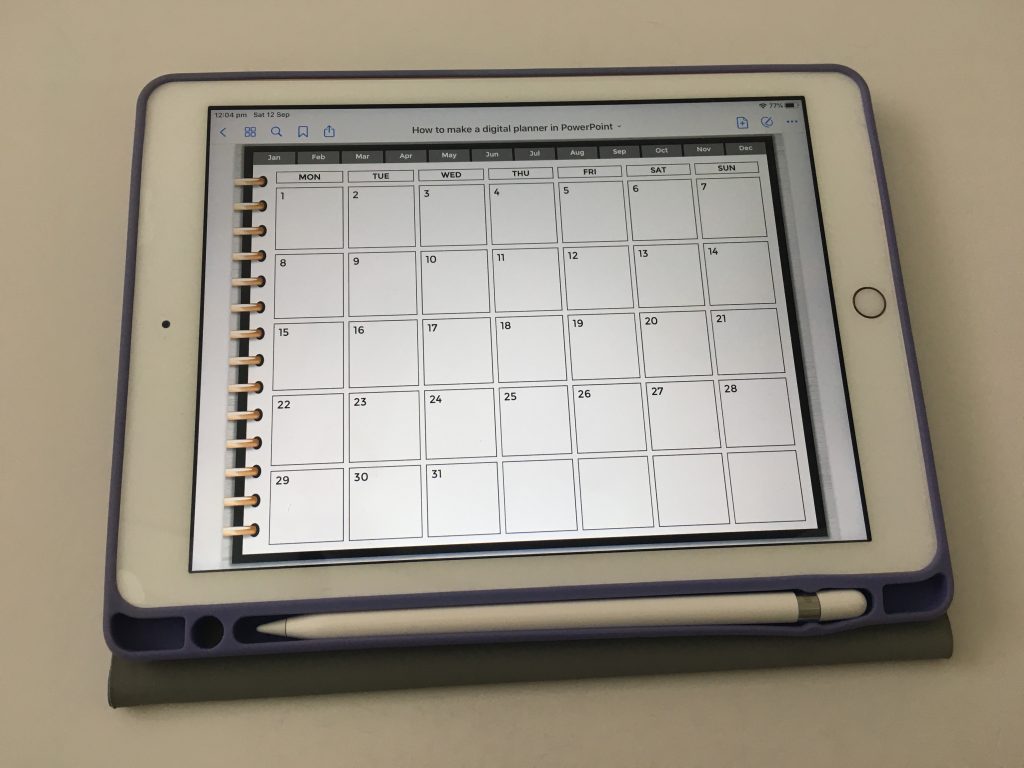
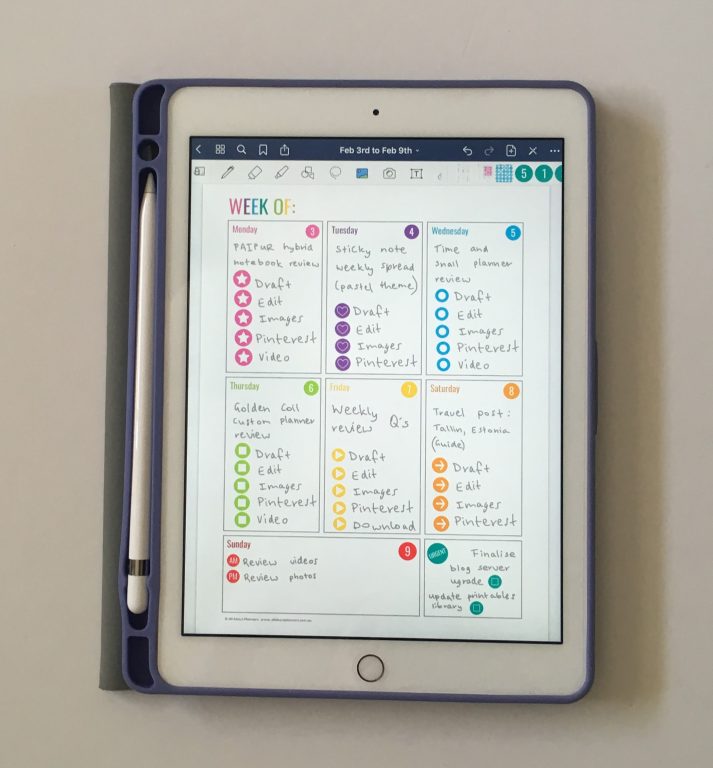
I have an Apple iPad 6th generation (9.7″ although you can get a larger screen size if you prefer) and the Apple Pencil (affiliate link). To charge the Apple Pencil you just take the lid at the end off (where the silver ring is around the pencil in the photo below), and plug it into the charging slot of the iPad. Once you take the lid of the Apple Pencil the end of it is the same connector as your charging cord. I usually plug it into the charging slot of the iPad for a minute or 2 and then start using it. I don’t know how long the charge is supposed to hold but I used it for half an hour the other day after doing this which I think is pretty good battery life!
With your Apple Pencil or Stylus Pen you can write on the screen just like you were writing on paper. I have a screen protector on my iPad just so it’s easier to clean but I’ve read that some people prefer no screen protector as it’s easier to write.
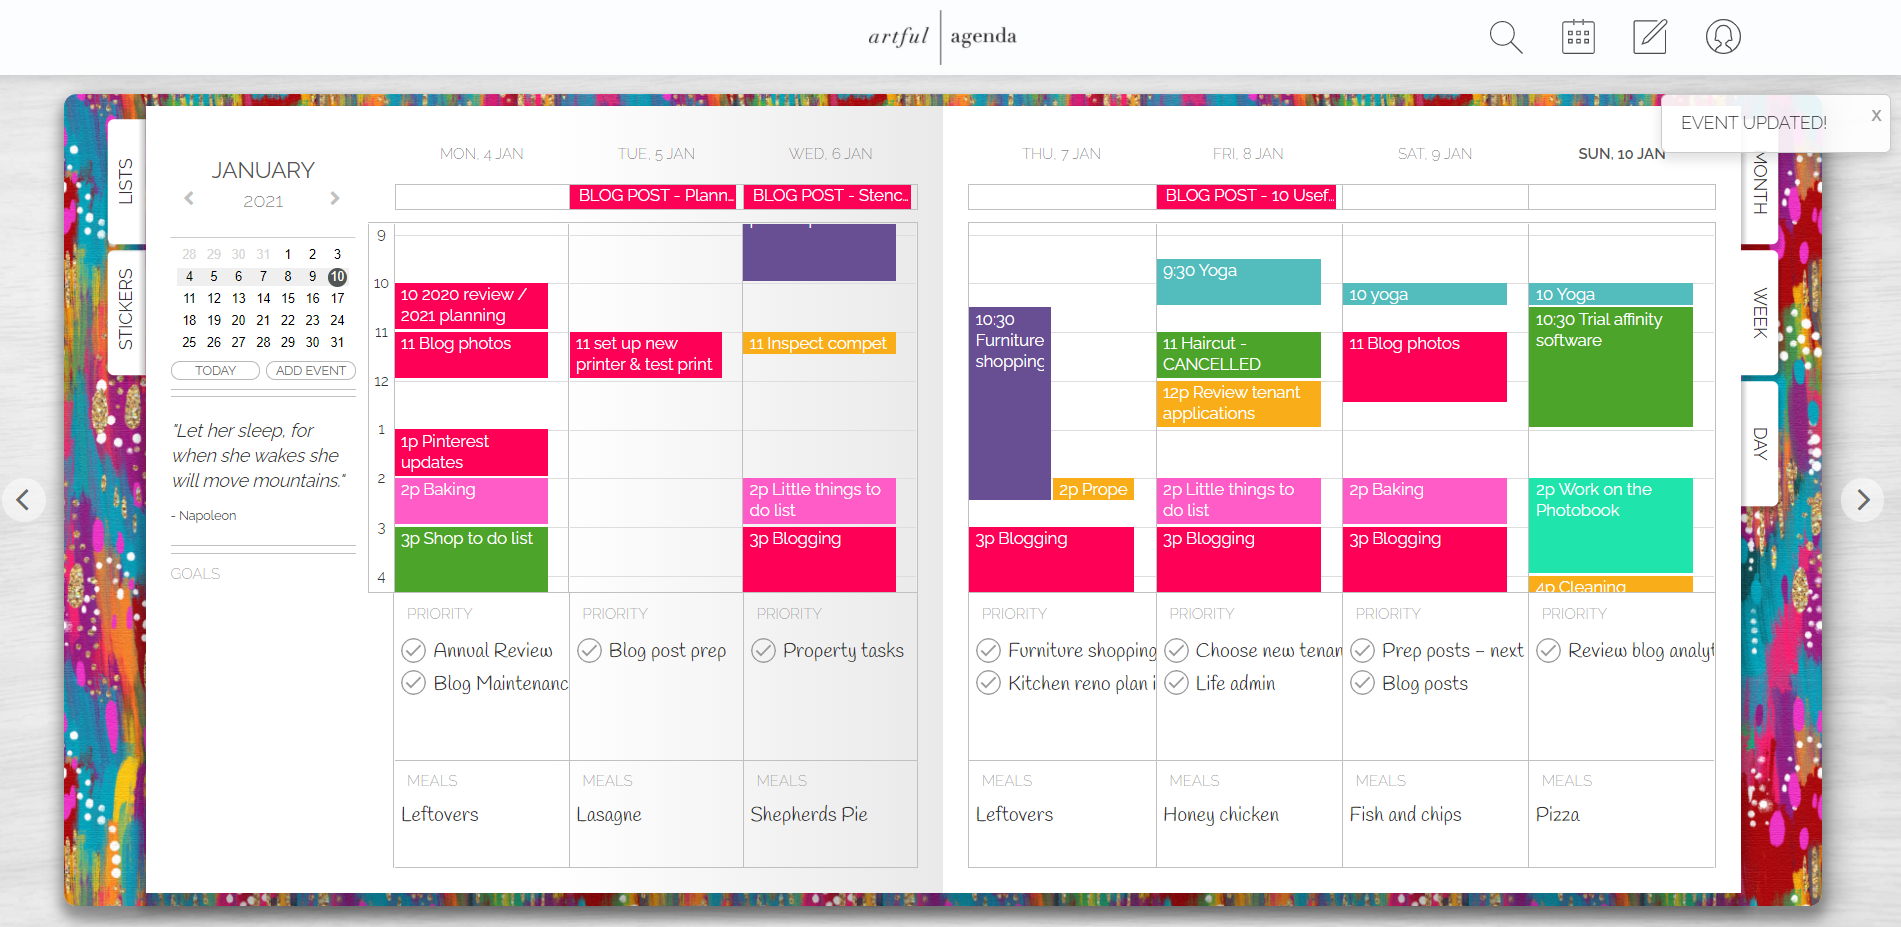
Here are some examples of how the digital planner will look on your iPad.
Read more: my first time trying digital planning
If you want some tutorials on how to make the digital planner templates in Microsoft PowerPoint, have a look at my ecourse.
More on Digital Planning
- Digital Planner versus Paper Planner: Which is right for you? (Pros & Cons)
- 10 Useful Tips for Digital Planning using Goodnotes
- Goodnotes: How to crop individual images from a PDF, JPG, PNG, sticker sheet, clipart etc.
Found this post helpful? Pin it!