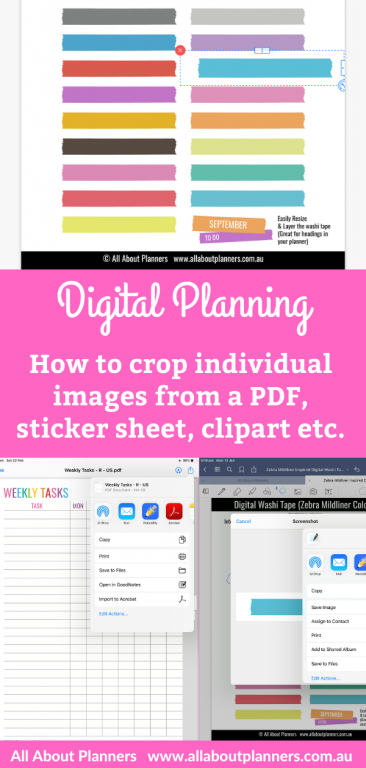
Digital Planning in Goodnotes: How to crop individual images from a PDF, JPG, PNG, sticker sheet, clipart etc.
Let’s say you’ve purchased a printable planner sticker sheet and now want to use it for your digital planner instead of your paper planner. You can do this with any sticker sheet (doesn’t matter where you got it from).
How to crop individual images from a PDF, sticker sheet, clipart etc.
I’ve lost count of the number of times people have asked me if I have digital planner stickers. While I’ve started making some digital planner stickers which you can find in my shop here, there are more than 400 printable planner stickers in my shop that can also be used for digital planning. Here’s how to do it.
It works better when there’s a large gap between images. So yes you can use my printable planner stickers – you just need to be accurate. I design printable planner stickers closer together to minimise cutting when using as a printable. The new digital planner stickers I’ve been making have a larger gap between each sticker so are easier to use with Goodnotes lasso tool.
If you purchase my digital planner stickers I already include all the individual PNG files for each sticker so you don’t have to worry about the steps in this tutorial. Just unzip the folder (I use iZip for iPad)
For this tutorial I’m going to use one of my digital washi tape sticker sheets.
1. Open the pre-imported Goodnotes file I include with my digital stickers OR open any JPG, PNG or PDF file saved on your iPad. If you haven’t done this already, see this post for instructions.
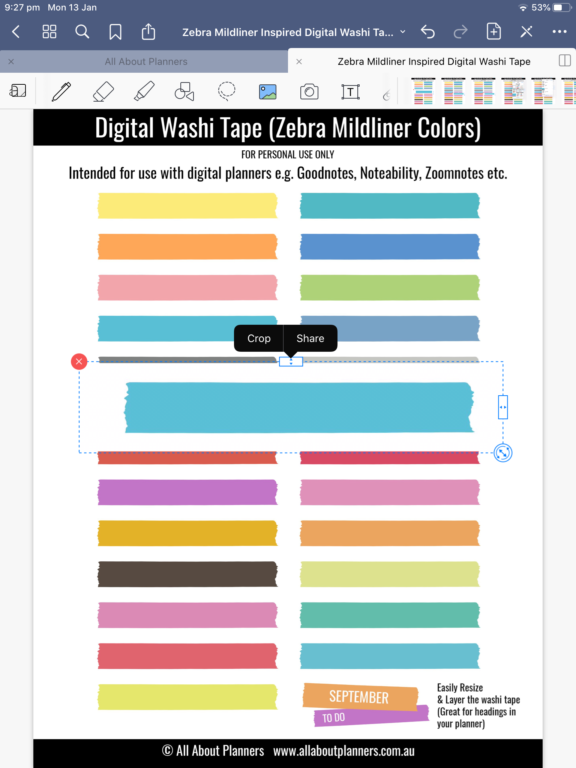
2. Using the lasso tool, take your Apple Pencil and draw around the shape / image you would like
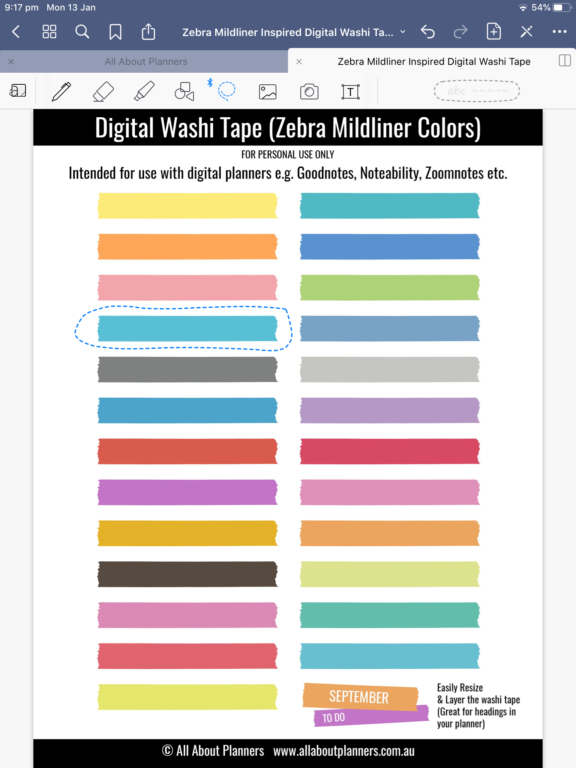
3. Hold your Apple Pencil over what you just circled, until the ‘take screenshot’ menu appears – click the take screenshot button
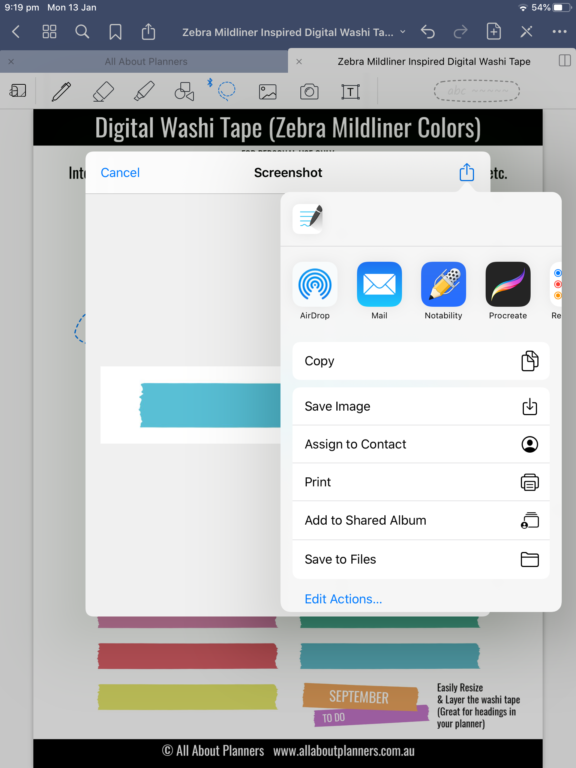
4. This pop up window will appear – press the square with the upward pointing arrow
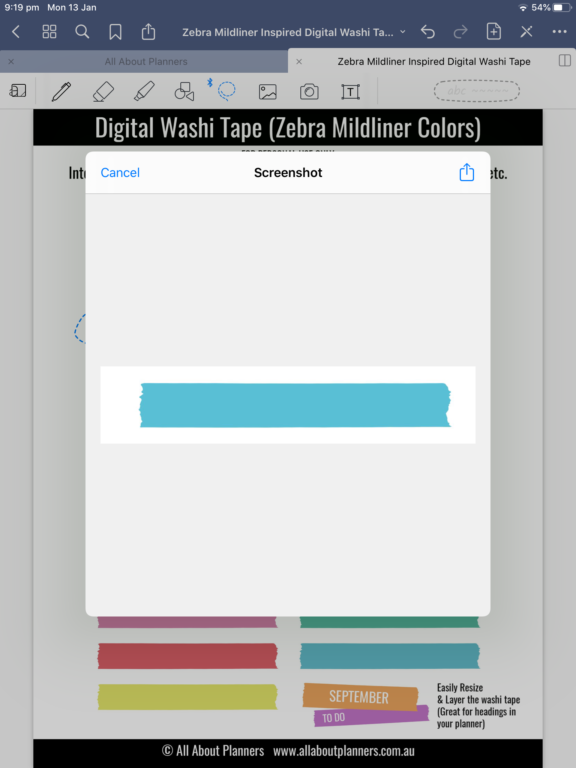
5. Choose where you want to save the image. You can add to an album, save to files. I normally just select ‘save image’
6. If you navigate to the top right of your iPad, you’ll now see the item you took a screenshot of in the top menu. For bigger screenshots you may only see the color of the item e.g. the washi in this example is just a blue rectangle
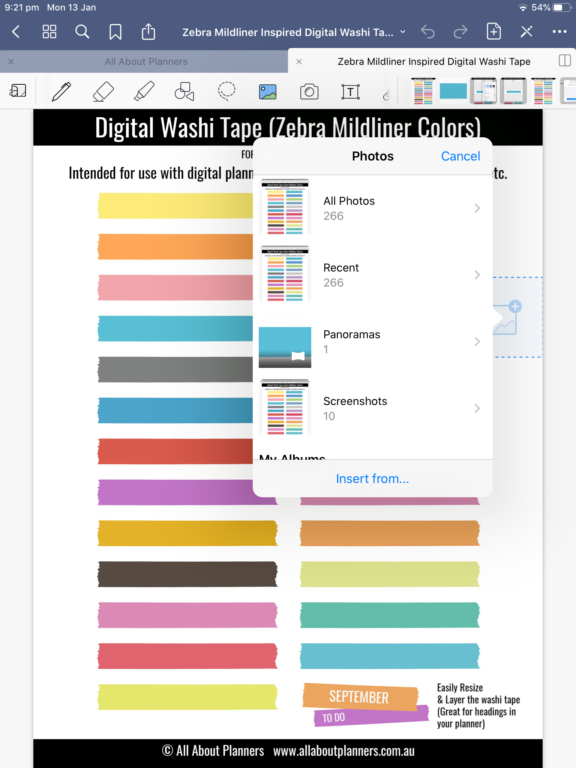
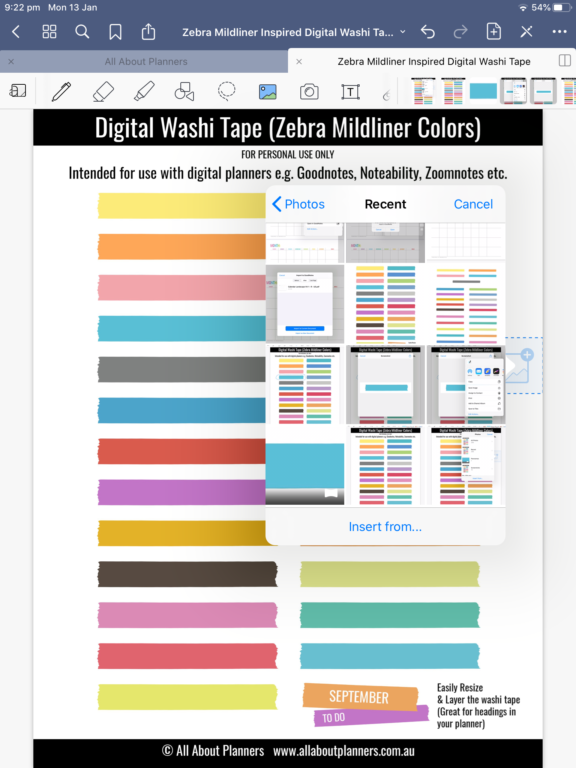
7. To insert the screenshot elsewhere in your planner (or in another Goodnotes planner), navigate to the page where you want to use it. Then double tap your apple pencil against the screen and this menu will appear.
Click on all photos and find the screenshot. Since you just took it, it should be at the end
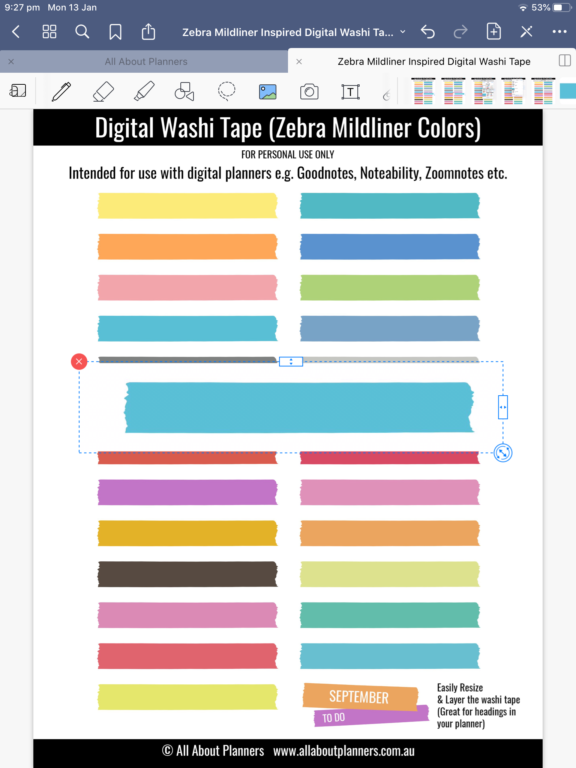
8. Now we have an individual sticker you can move around as you please. You can increase or decrease the size using the circle with the arrows in it (bottom right corner). You can also turn / angle the image using this same button – just move your hand left or right
Why don’t I recommend this method for individual stickers?
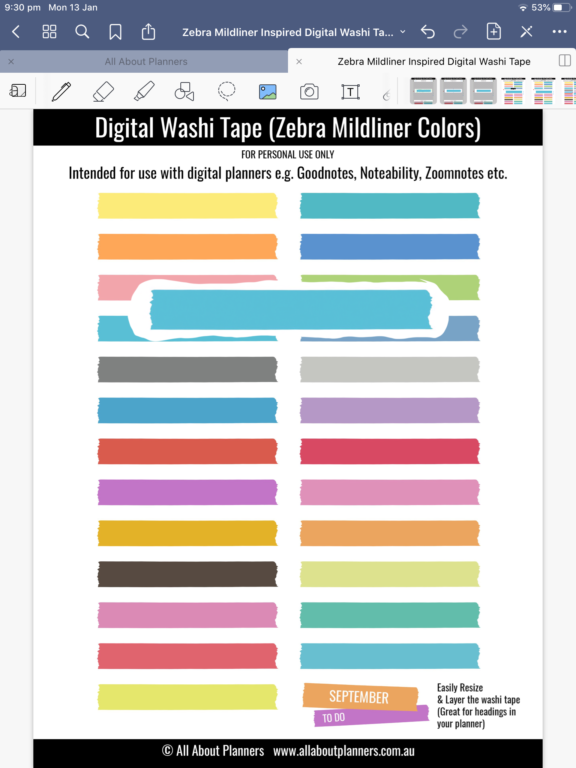
It takes too long plus the screenshot will have a white background. As you can see in the image below. The washi we just did a screenshot of is over the top of another washi i.e. it doesn’t have a transparent background behind the image. That’s why I include the individual PNG files of each design with the download. You can skip repeating all of the above steps for every single sticker and just go straight to inserting the image from your camera roll – much quicker, the image quality is better (can be resized up really big without blurring) and you don’t have to do dozens of times for each digital sticker sheet you purchase.
If you purchase a bundle of digital stickers they may come in a zipped file folder. To save time saving each from from your email, google drive etc. you can use the iZip app (needs to be downloaded, it’s free, just hit the x on the ads). I’ll be doing a tutorial on that soon.
Cropping stickers
Let’s say you weren’t super accurate with the lasso tool but you don’t realise until after you took the screenshot. All good, just press the arrows on the outside of the rectangle and choose crop
11. This menu will appear – you can either use the rectangle or freehand.
Freehand you do the same thing like with the lasso tool, rectangle is more like cropping a photo like you would on a computer.
Just note that with freehand if you’re a bit wobbly, all those wobbles will show on the final screenshot
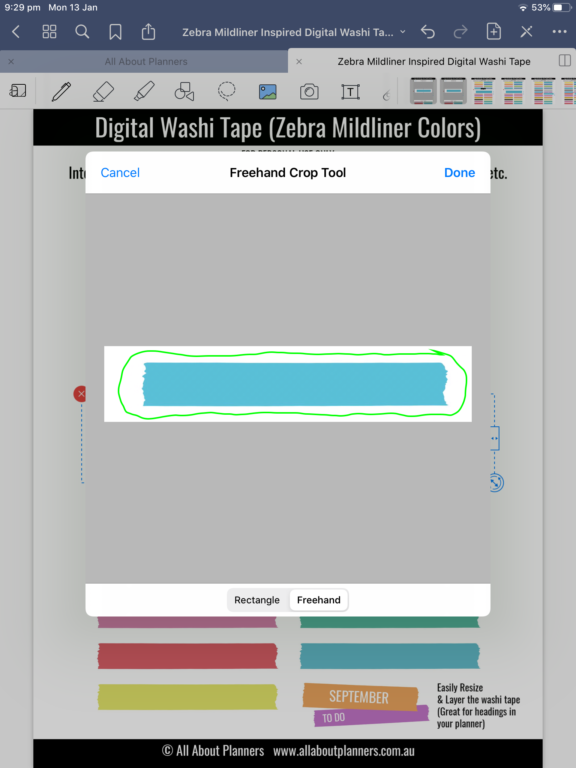
See what I mean…
12. If you make a mistake you can always undo – arrow button in the top right corner of Goodnotes.
When to use this tool
You can use this cropping tool for:
- Planner stickers
- Lasso tool for a chunk of text you’ve written e.g. listed tasks on your monthly calendar which you want to add to other days (good for recurring, routine tasks)
- Extracting parts of a design e.g. a mini habit tracker you created and want to replicate on other spreads in your planner
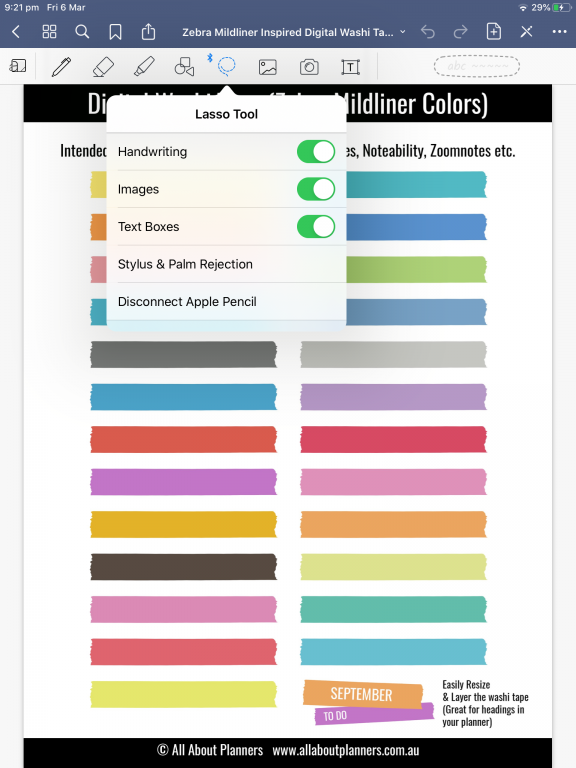
If you’re going to lasso text, or lasso a sticker that you’ve written over, just make sure the text option is selected in the lasso menu (the oval thing should be green). Double tap the lasso icon to bring up the menu.
Importing digital planner stickers into Goodnotes
See this post for a step by step tutorial on how to import digital stickers designed for digital planners, into Goodnotes.
Digital Planning
- How to add any printable to your Goodnotes digital planner
- Digital weekly planning in the Goodnotes App
Found this post helpful? Pin it!
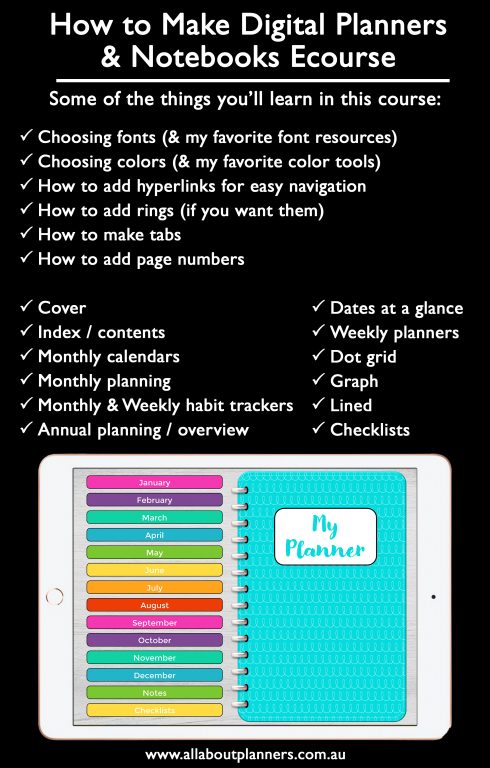
Learn how to make your own digital planner!