How to make a weekly planner in Photoshop (step by step tutorial)
Designing printables is my favorite thing to do! I’ve received a lot of questions over the past 4 years that I’ve been designing them, on how others can make their own. So I packaged up everything – all my best tips, shortcuts, resources etc. into one ecourse; How To Make Printables in Photoshop.
I’ve decided to share a new tutorial I just added to the course with you guys 🙂 This is a simple weekly planner that can be adapted in so many ways to suit your planning needs – it’s the perfect starting point if you’re just getting into making printables!
This post contains affiliate links. If you make a purchase after clicking one of these links I’ll receive a small commission (at no extra cost to you) in exchange for referring you.
I used it for week 18 of the 52 planners in 52 weeks challenge
How to make a printable weekly planner in Photoshop
If you don’t have Photoshop, you can purchase and download it here (my affiliate link).

Links mentioned in the video
- How to download Photoshop
- The font used is called Microsoft New Tai Lue (I used size 18pt for letter size 8.5 x 11″ paper – I wouldn’t recommend using any large than this as it starts to eat into your planning space!)
Related: Ultimate planner page size guide (with printable reference cheat sheet)
Other tutorials you may find helpful:
The free graphic design video tutorials library has plenty of tutorials on how to use Photoshop and it’s various tools.
Need to go back to the tutorial?
- How to change text/font style (22 minutes)
- How to change text/font color (22:15 minutes)
- Rotate to make a landscape planner (24:15 minutes)
- Rotate text (press CTRL and T on your keyboard) (24:30)
- To change the size of the boxes and add additional columns (25 minutes)
- Resize the printable e.g. to A5 page size (22:50 minites)
To keep this file as a template Go to File > save as and save in Photoshop file format (PSD).When you’re ready to print, save as a PDF file.
Make sure you save your Photoshop template then save as a PDF file, as once it’s saved as a PDF, any changes you make to the file will save in the PDF not your template Photoshop file. So if you want to re-use the template for a similar design, you’ll have to re-do the changes in the Photoshop file.
Tip: Make your template at full page size, you can resize it down later on, but if you start small and increase the size, the file quality will reduce and the lines and text could end up blurred.
Feeling overwhelmed?
The tutorial is a bit long as I explain each step in detail and not just what to click but also why.
If you’re a bit overwhelmed by the tutorial, don’t be! It’s super quick and easy to create a printable when you know what you’re doing. Don’t try and remember all of the steps off by heart, you’ll probably need to watch it a couple of times before it ‘clicks’. I’ve created thousands of printables and have been using Photoshop for 5 years so I’ve had a fair bit of practice!
If you’ve never used Photoshop before I recommend watching the tutorials in the free graphic design video tutorials library. Like with anything, there’s always going to be a bit of a learning curve. Pin this post and come back to it in a week, or do half the tutorial now and come back and finish it later.
When I was learning how to use Photoshop I tried using it and it just. Did. Not. Click. I was so frustrated I didn’t touch the software for a while. Then when I came back, it was like something just clicked. I went through and experimented with Photoshop’s tools (it was a painstakingly slow way to learn and you can skip all of that trial and error by by watching the video tutorial in the free graphic design video tutorials library) and didn’t rushed learning how to do things – I went slowly so what I was doing had time to sink in. Learning a little bit each day was more effective than doing a 3 hour stint in one day.
Design Tips
I share ALL of my design tips in my ecourse, but here are a few to keep in mind when designing printables:
Text
I recommend choosing a simple sans serif font that is easy to read. Cursive fonts have a time and a place but on a printable is not one of them unless it’s the title. It makes it hard to hard. I typically do 18pt (no more than 20ptas it starts to eat into the functional planning space).
I tend to use up to size 13pt for A5 and size 18pt for letter page size (8.5 x 11″)
Related: Ultimate planner page size guide (with printable reference cheat sheet)
Margins
I typically allow a 0.25” margin (I use a disbound system – the Arc notebook which doesn’t require large margins. If you’re having the planner printable printed and bound into a notebook or hole punching you may want to make the margin bigger at 0.5” wide so your hand it’s cramped on the binding rings when you’re writing.
Using Photoshop
I create a shape (usually a rectangle) in a contrasting color to act as a ‘marker’ to I can keep an even amount of spacing between all of the words and the edge of the page. You can use the ruler tool (press CTRL and R on your keyboard to turn them on) but I personally find it’s easier to create shapes and use that instead. It may seem a bit weird but that’s worked worked for me so I’m sticking with it!
To move multiple layers at once
Click on one of the layers you want to move, then press CTRL on your keyboard (and hold that button down) then left click to select all of the other layers you want to move at once.
2 page Weekly Planner layouts
If you wanted to make a 2 page weekly planner you would create one half of the page, then re-save that Photoshop file with the same file name and add ‘page 2’ or just ‘p2’ to the file name to create the second (right) side of the weekly spread. Then you can change the days of the week and any other lists / titles / design elements.
Templates
One you’ve created a template, you can tweak it to make a LOT of printables in a short amount of time. Once it’s created you can re-use the same template over and over (hence why I offer my printable planner sets in 6 – 7 different colors – I’ve made the design once so changing the colors doesn’t involved as much time as creating a new planner set from scratch).
Once you’ve used the planner for a while you may want to change it up, or choose different colors if you want to make themed spreads, or do color coding or just make it pretty using a bunch of rainbow colors. You can also change the font style and size, and the sizes of each of the daily planning sections.
Related post: The process behind making a printable planner
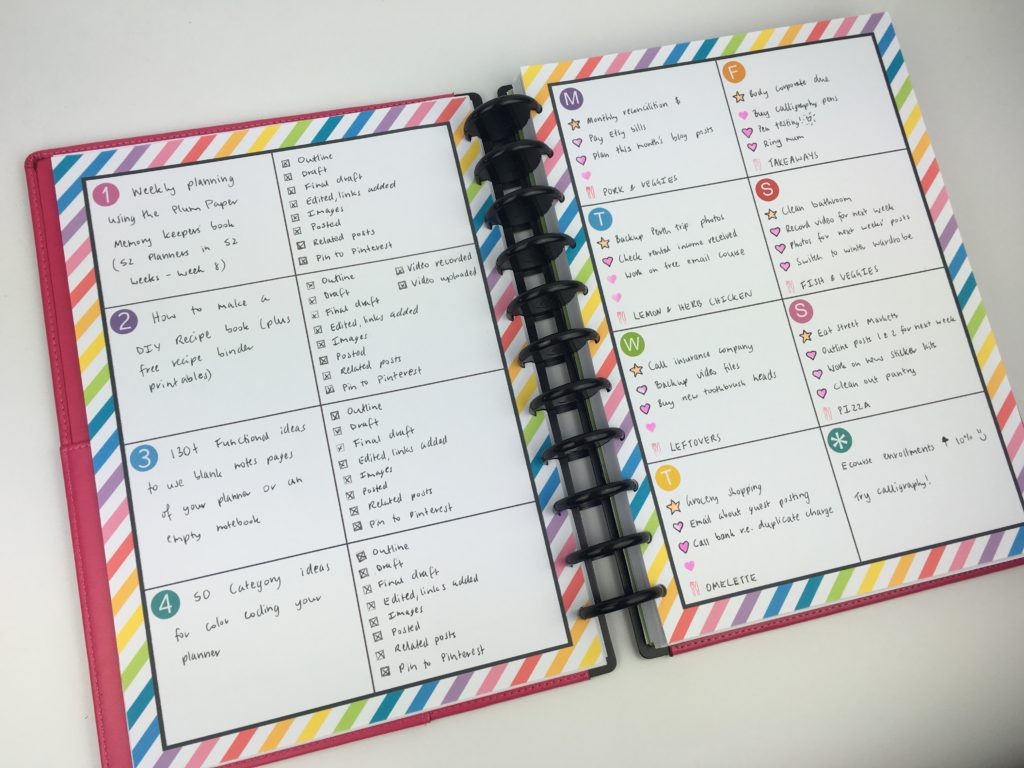
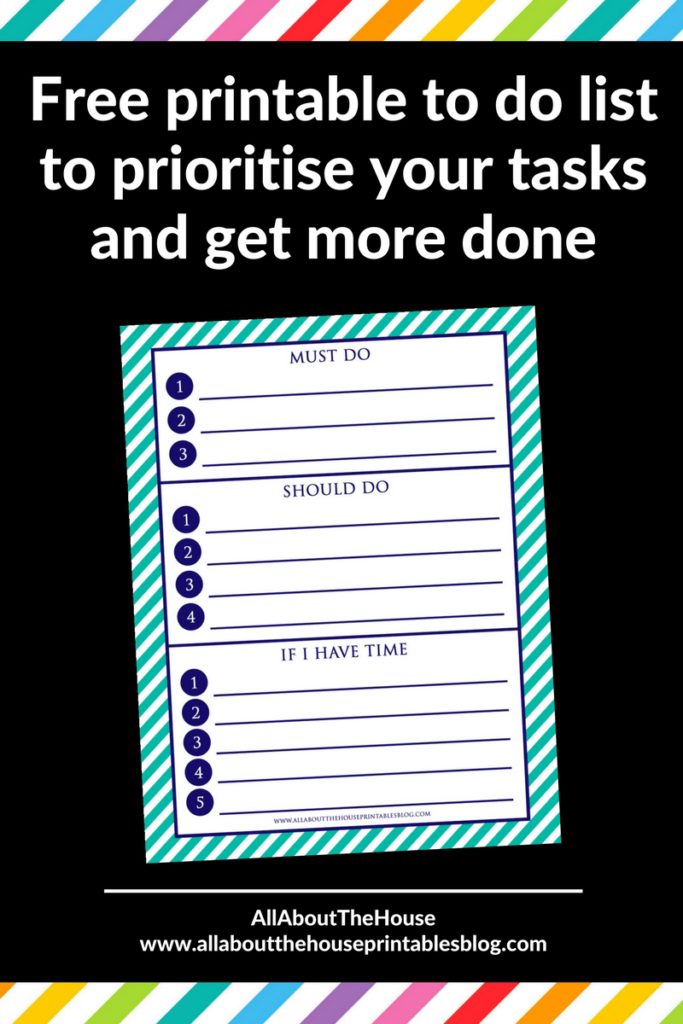
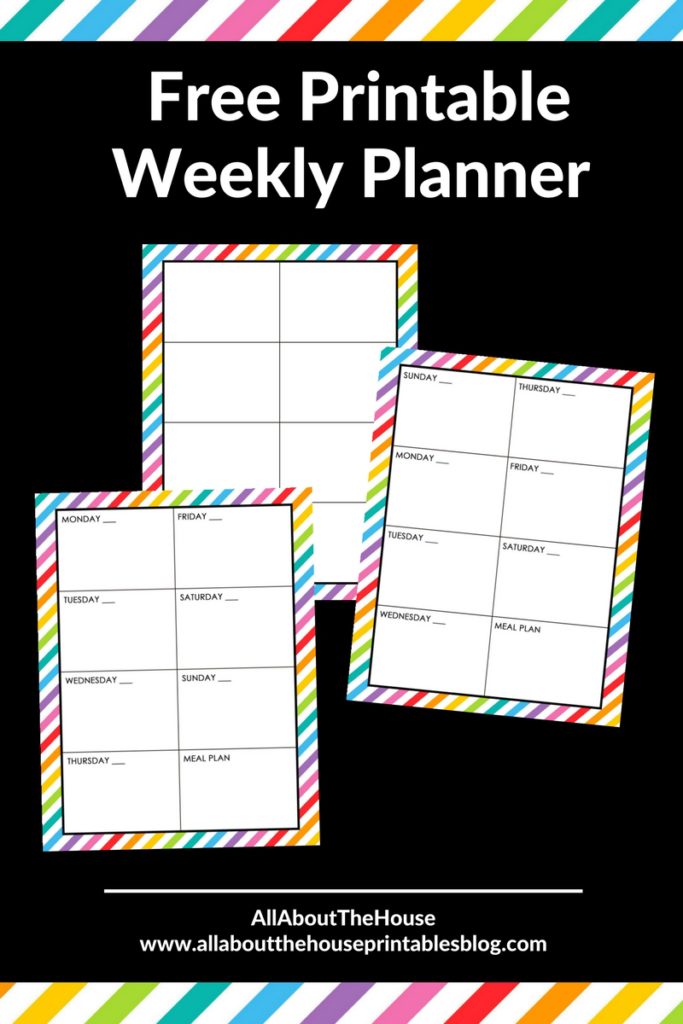
Here’s a couple of different designs made using the same ‘base’ template I showed how to create in the video
3 sections on the page
- Must do, should do and could do checklists
- 1 Hour tasks, 30 minute tasks and 15 minute task lists
- Only need to plan 5 days a week? Create one page with Monday, Tuesday and Wednesday, and a second page with Thursday, Friday and a notes / reminders / ideas / to buy etc. section
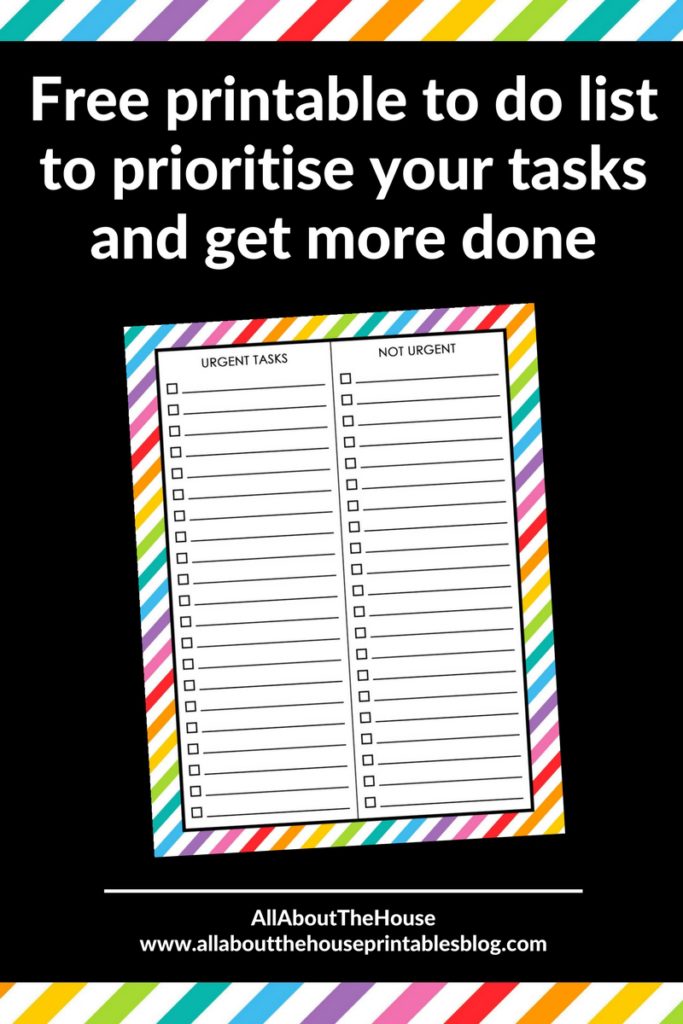
2 columns on the page which can be used in various ways such as:
- Meal planning on the left and grocery list on the right
- Work to do list and personal to do lists
- AM and PM lists
- Your to do list and delegate task list
- Weekly planning for yourself and the 2nd column for your family
This is the printable I used to plan week 18 of the 52 planners in 52 weeks challenge
I have a step by step tutorial on how to add patterns to your printable in my ecourse: How To Make Printables in Photoshop. I have another ecourse where I share how I make my patterns in Photoshop.
Want more tutorials on how to make planner printables?
This tutorial is just one of 62 tutorials in my ecourse: How To Make Printables in Photoshop. I’ve made over 4000 printables over the past 4 years – making printable is my favorite thing to do ! It’s super easy and very addictive! So if you want to create a planner that finally suits YOU then How To Make Printables in Photoshop is THE perfect ecourse for you 🙂
Click here to enroll in the course!
If you have any questions about this tutorial or about the ecourse, send me an email via [email protected]

Found this post helpful? Pin it!