
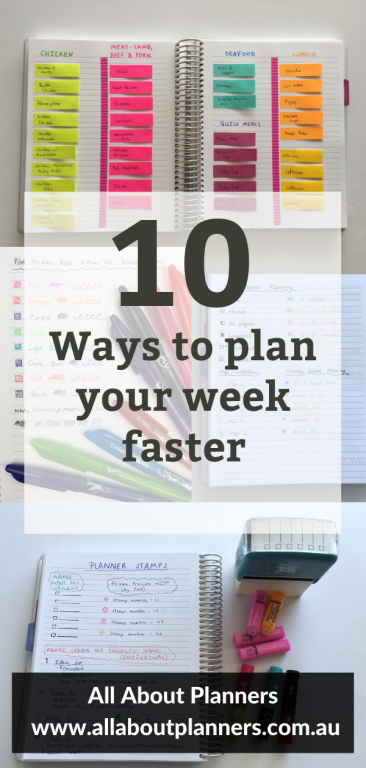
Planning Tips: 10 Ways to Plan Your Week Faster
We’re all short on time so here are 10 ways to speed up the weekly planning process (while still keeping your planning looking cute!)
10 Ways to Plan Faster
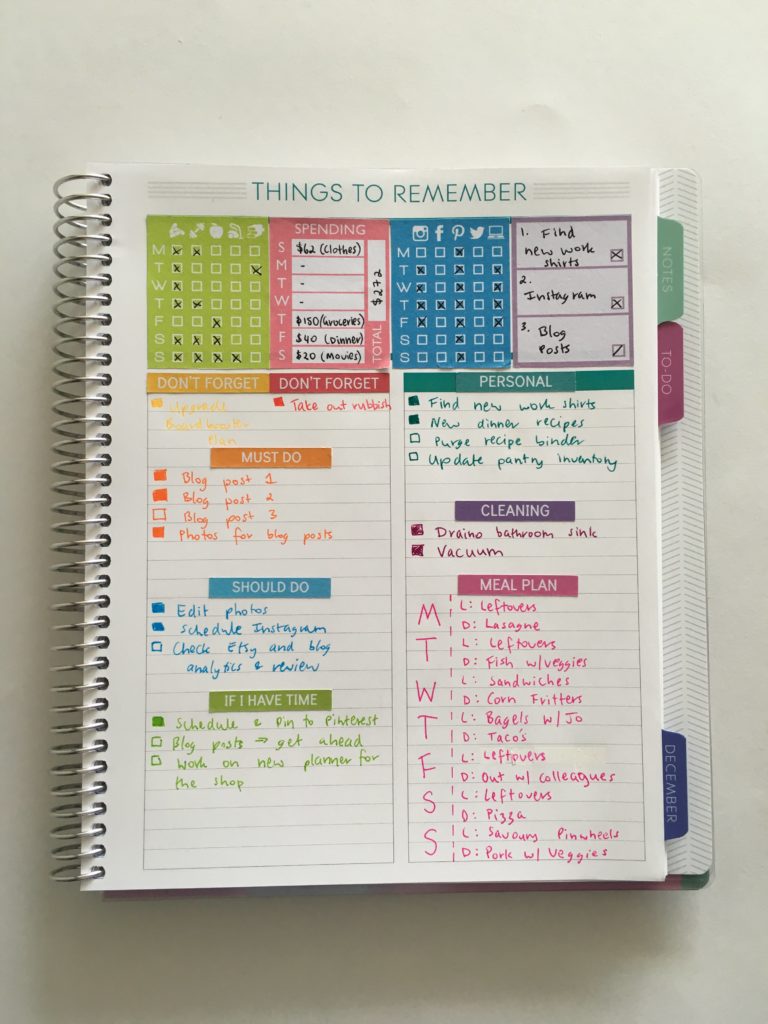
1.Use Planner Stickers
Header stickers, checklists, habit trackers and icon stickers are my favorite stickers for planning. Rather than wasting time re-writing the same tasks over and over each week (and especially if the task is not a regular occurrence), use an icon sticker you associate with something e.g. a computer icon sticker as a reminder to back up files on your computer.
If you use a bullet journal, save time by using stickers for days of the week and header stickers for lists rather than re- writing the same stuff out week after week.
Rather than re-writing your same weekly tasks, icon stickers are ideal for habit tracking e.g. cleaning icons.
>>> Learn how to make your own planner stickers with my free email course!
Related: Week 8: Weekly Planning using the Plum Paper Memory Keeper Book
Related: My weekly blog planning process (how I organize and plan for the week ahead every Sunday)
2. Use Planner Stamps & Stencils
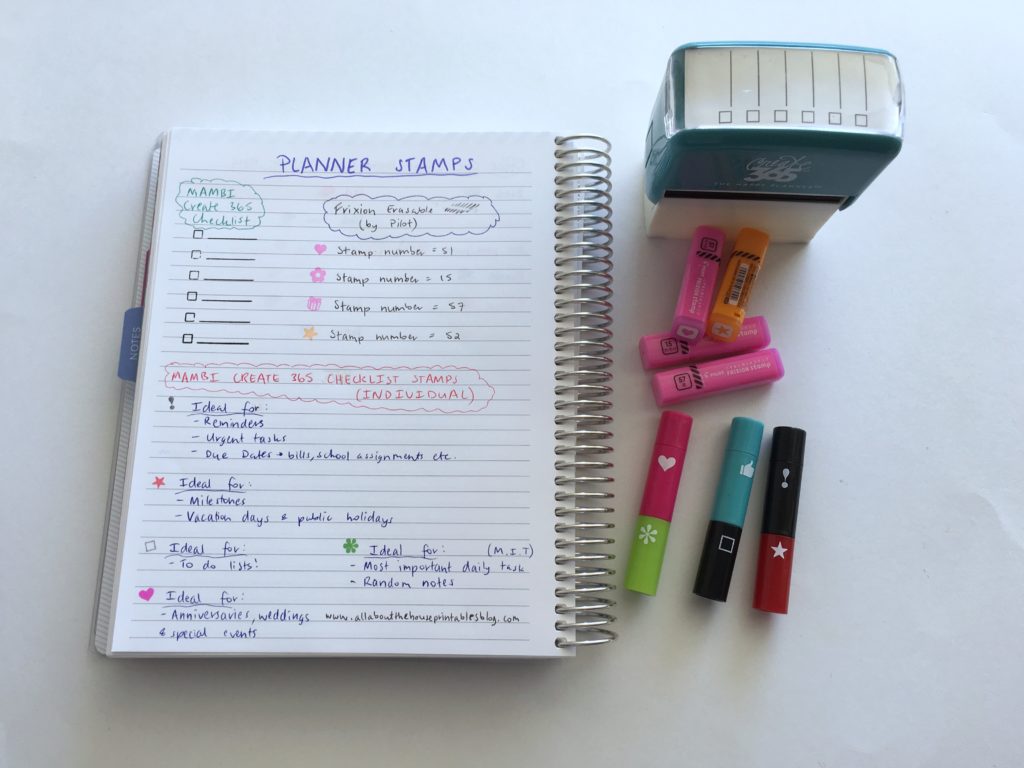
There are a plethora of planner stamps available these days but if you want to speed up the planning process make sure you choose self-inking stamps. These have no mess, are cheaper and you don’t need an acrylic block to stick the stamp onto. I also find the placement of where I want the stamp to go to be more accurate.
My personal favorites are the MAMBI checklist and icon stamps and if you’re a perfectionist and like to keep your planner neat – the Frixion erasable stamps come in lots of different icons. I use the heart and star for checklists, the cutlery for meal planning and the cake for birthdays.
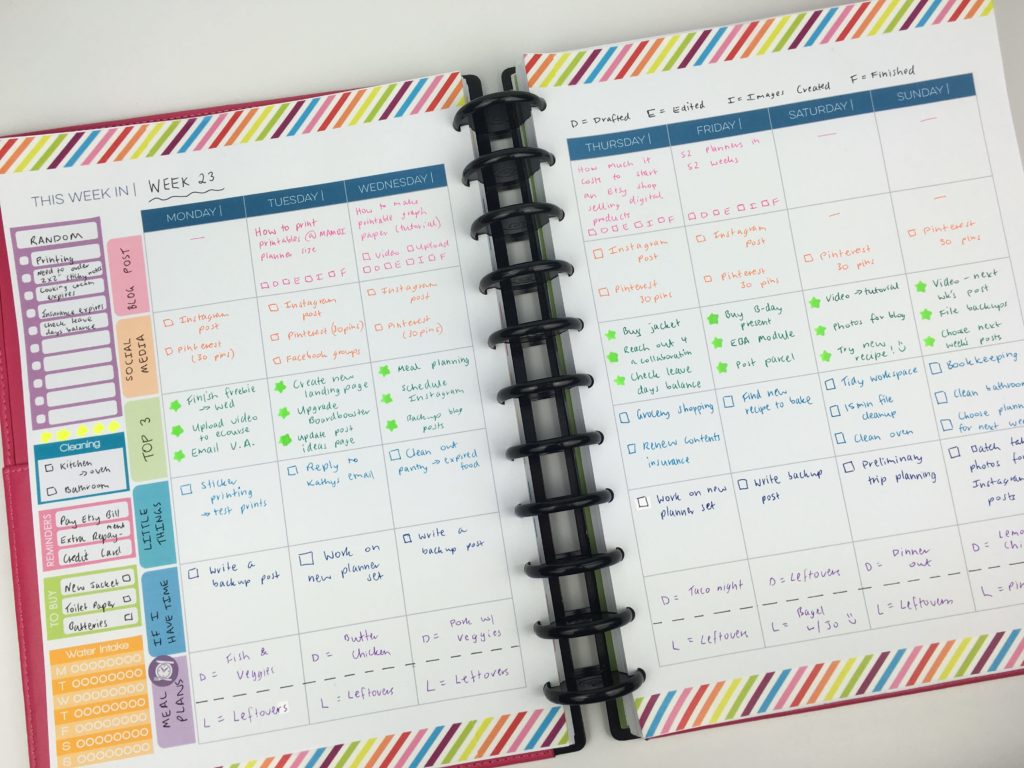
I used planner stamps in week 23 of the 52 Planners in 52 Weeks Challenge when I tried the Limelife Planner – it made the week very quick and easy to set up!
Stencils also speed up planning – this stencil is from my sister’s planner supplies shop.
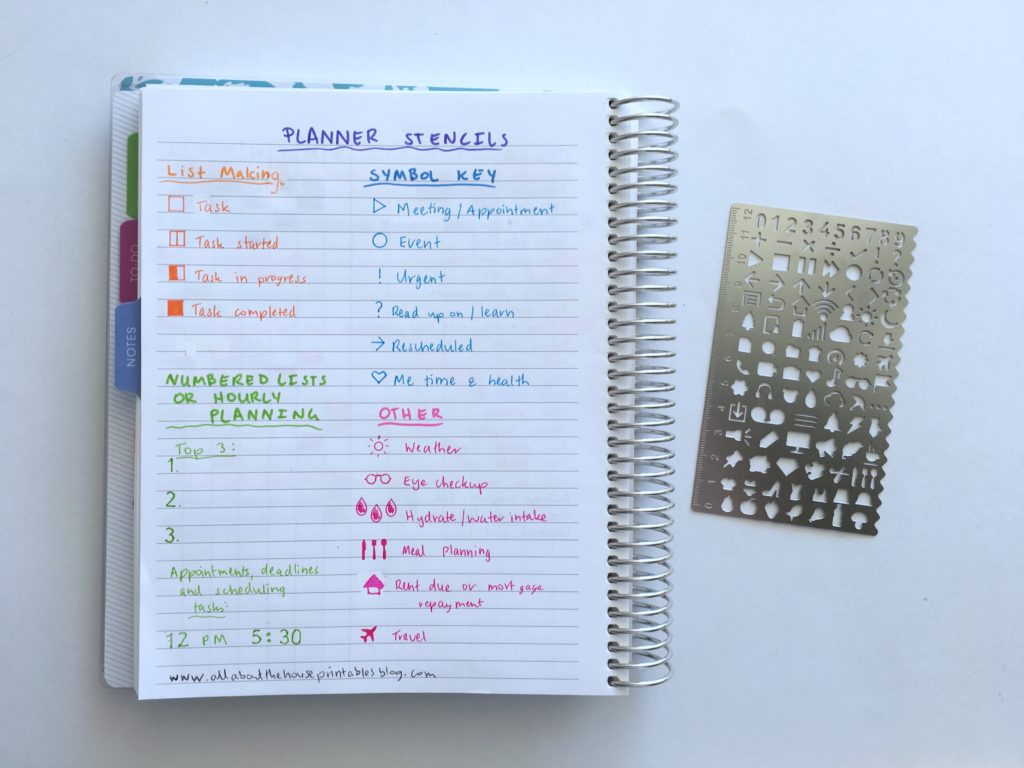
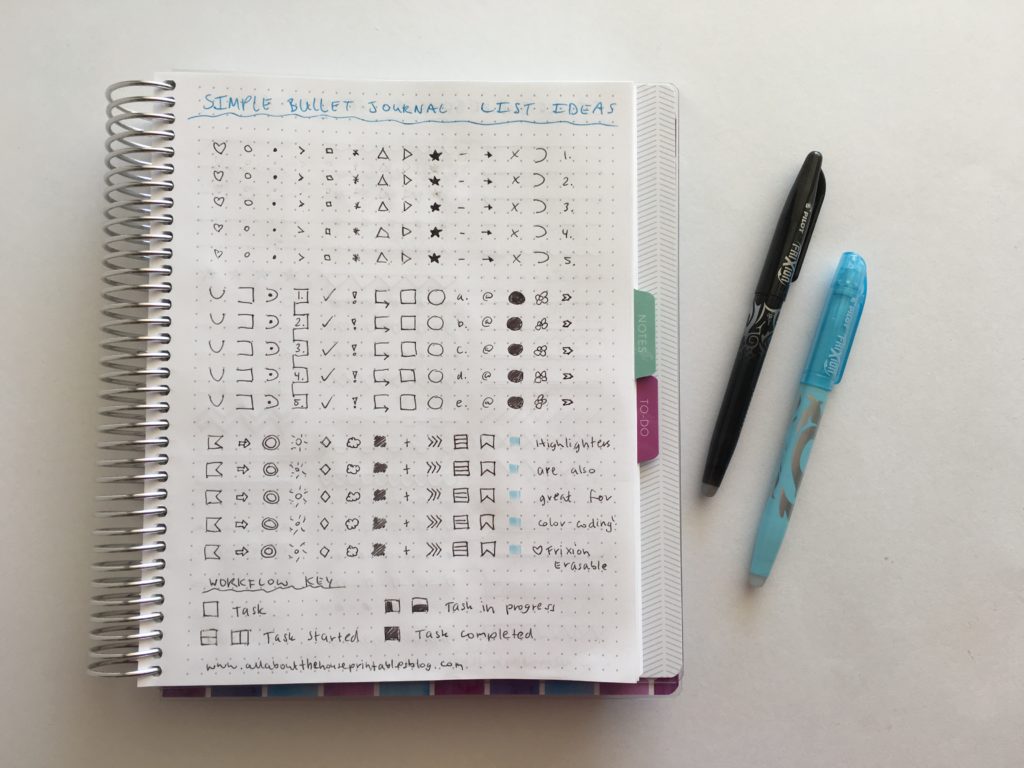
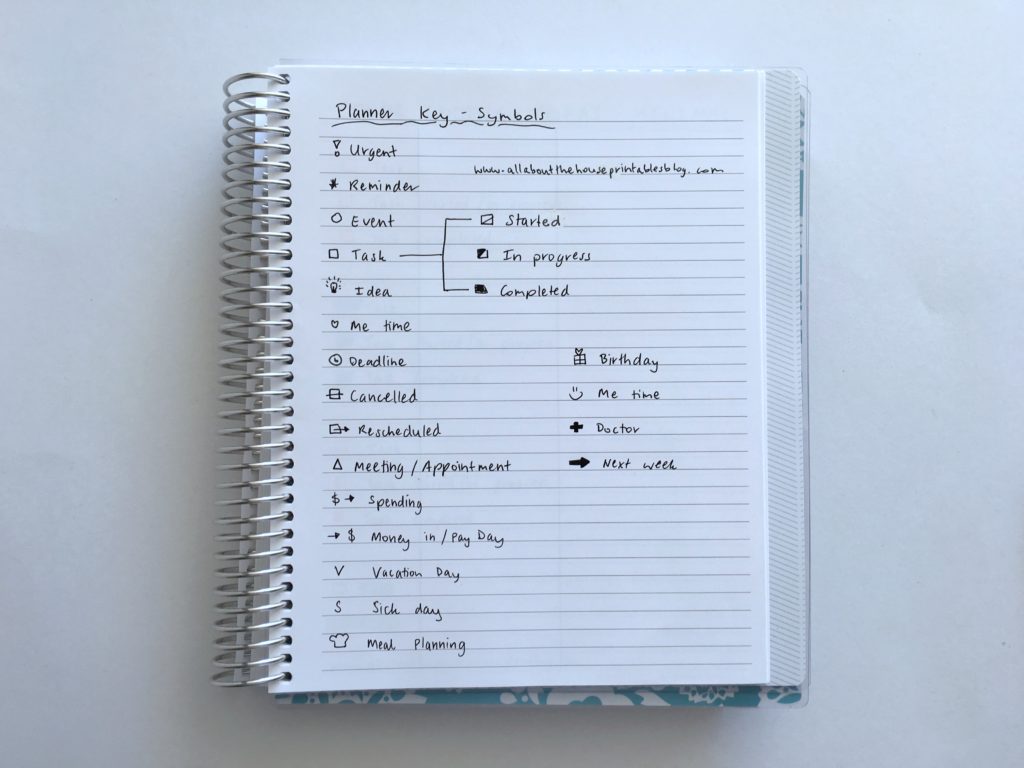
3. Planner coding
A few ways to code your planner:
- Symbols for different things
- Categorizing tasks by person (and giving each person a number,)
- Writing abbreviations to save time – especially for recurring tasks e.g. MP for meal plan, CB for clean bathroom etc.
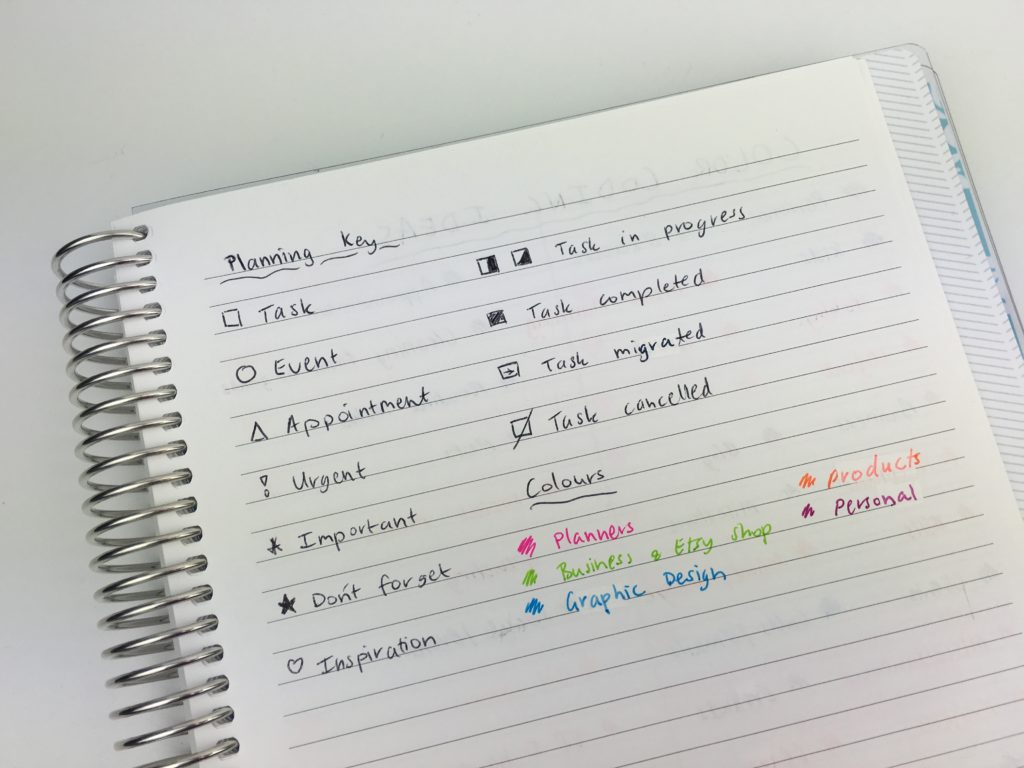
If you’re a fellow list lover, coding different types of lists using symbols rather than different colored pens saves a ton of time!
I shared more tips for coding: Using a planner key and symbols to code your planner (efficient planning methods)
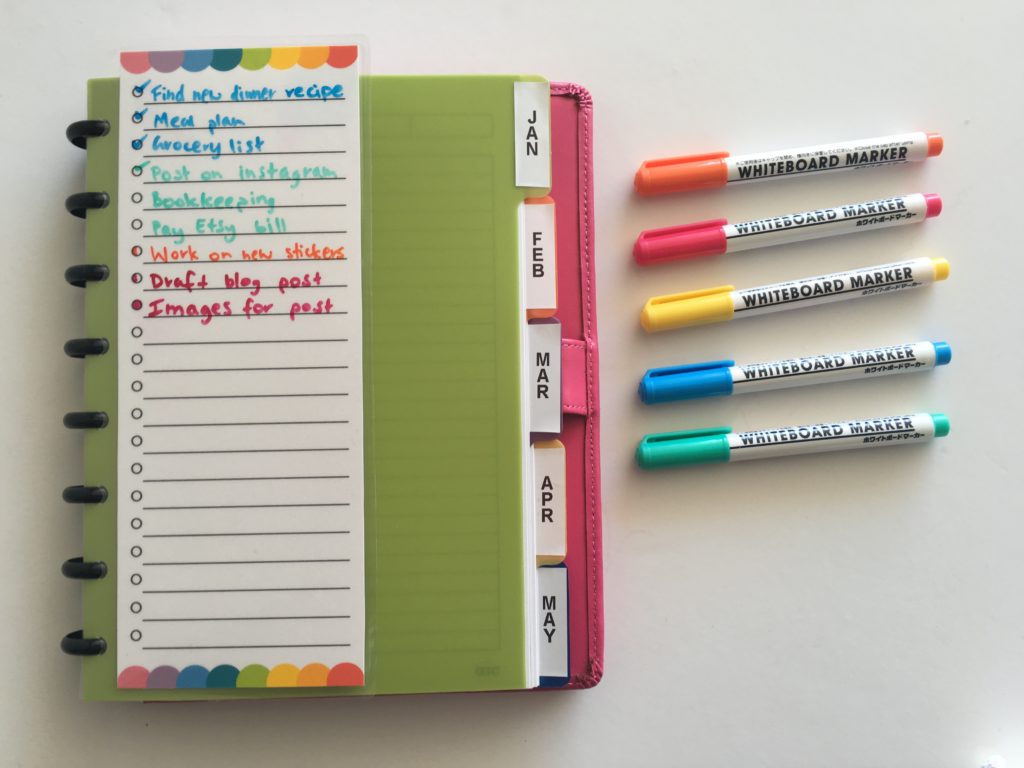
4. Use a dry erase insert or sticky note
List inserts and sticky notes are ideal for routine tasks so don’t have to keep re-writing them out all the time. Just note them down then move the list from week to week in your planner.
Small whiteboard markers are ideal for this and can usually be found in discount stores – the ones in the picture below are from Daiso.
Related: Free printable planner insert (for to do lists, grocery lists, weekly routine tasks etc.)
Sticky notes are ideal for:
- Meal planning
- Recurring tasks such as cleaning, bills, reminders to backup computer files
- Things that are prone to changing
- For time blocking e.g. small sticky note represents 30 minutes, a large sticky note represents 1 hour
- Homework, assignments and study prep for exams
- Tentative appointments
Because sticky notes come in so many pretty colors they’re also perfect for color coding.
Related: How to organize and color code your notes for school, college or university
I love sticky notes so much that I planned an entire week using only sticky notes!
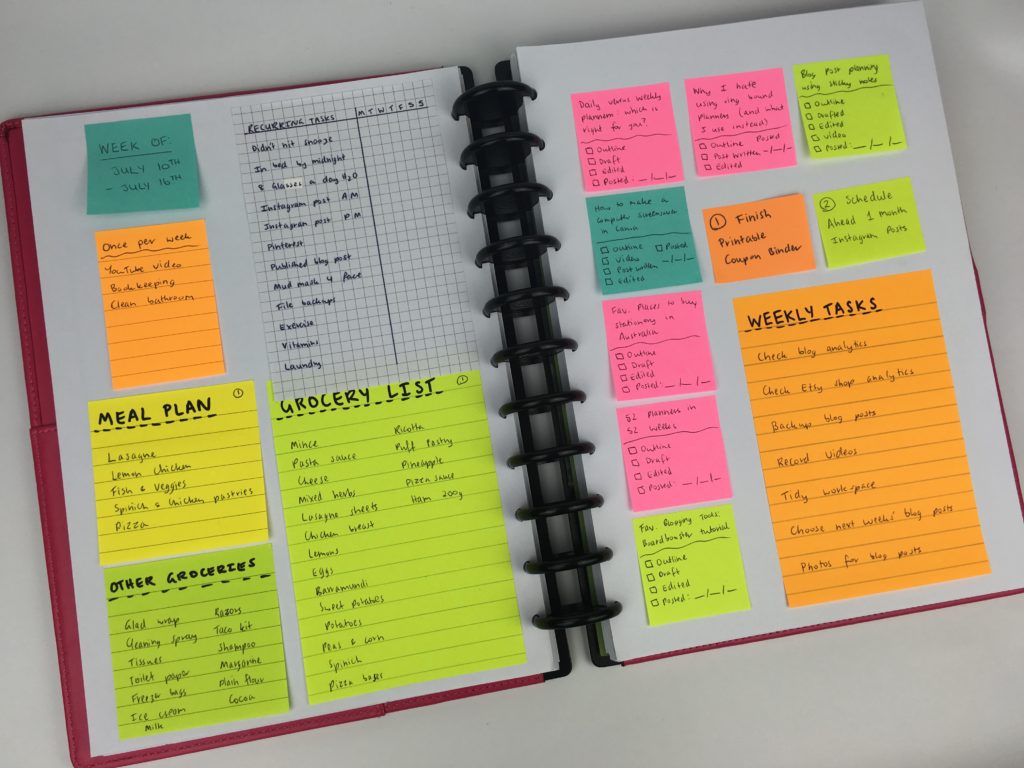
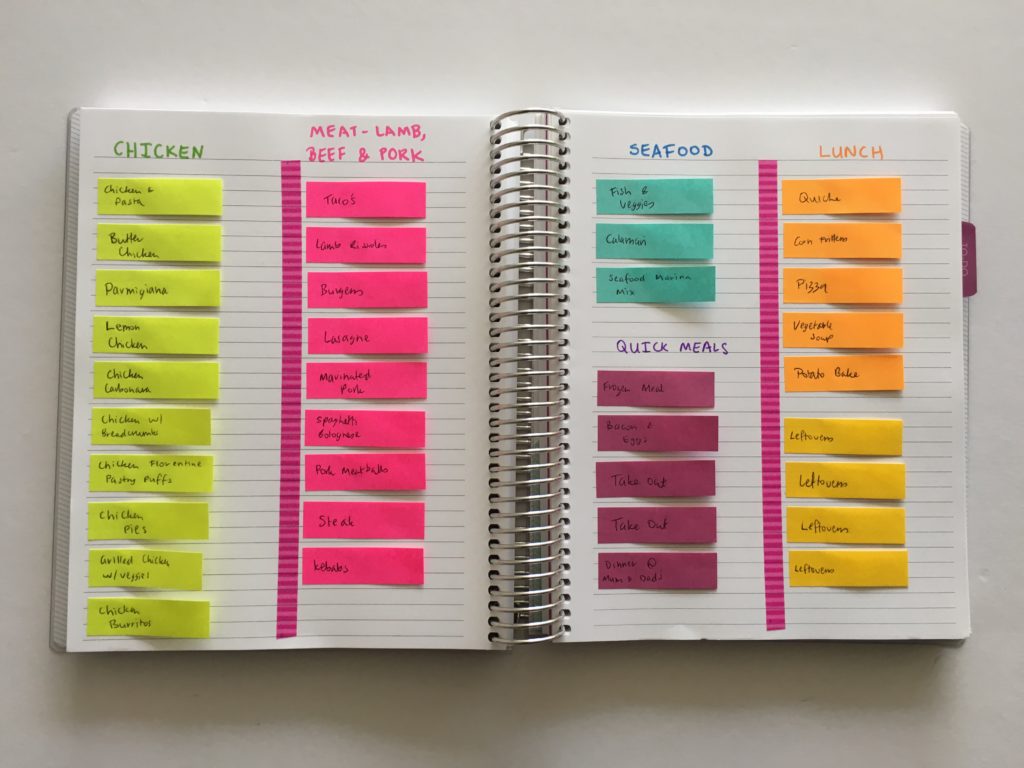
Tip: Keep a recipe bank of meal ideas on small sticky notes so you don’t have to re-write them out all the time (these are Post it Note 3M – bit pricey but highly recommend as they’re super sticky!)
Related: Quick and easy weekly meal planning using sticky notes
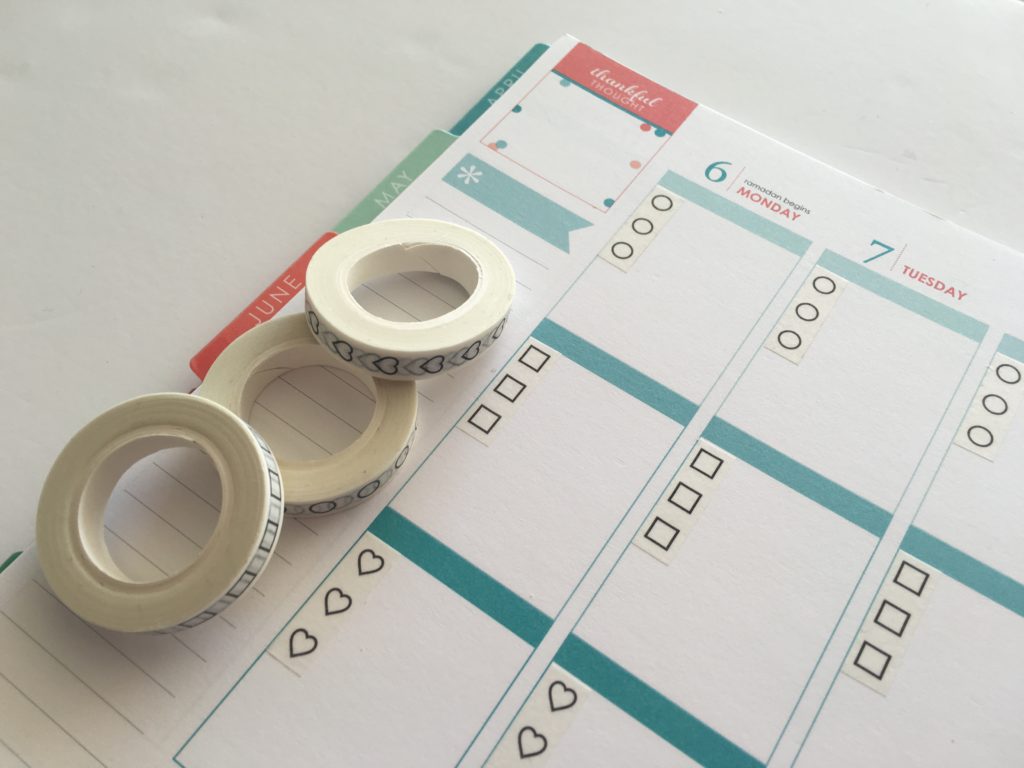
5. Washi tape
Washi tape for things that extend over certain days such as vacations – washi is ideal for vertical planners and monthly calendars.
Rather than writing the same stuff out again and again just use some washi tape. Since washi comes in so many colors and patterns you can relate a pattern or color to a certain task e.g. orange chevron washi = cleaning – you won’t have to re-write the same tasks over and over again, just peel the washi and restick!
In a rush and don’t have time to set up a fancy spread? Grab some washi, create some columns and you’re ready to plan!
Related: Colorful Bullet Journal Inspired Weekly Spread (Week 33 of the 52 Planners in 52 Weeks Challenge)
![]()
You can also get washi tape with the checkboxes already printed on the tape <3 (my sister stocks this washi in her planner supplies shop)
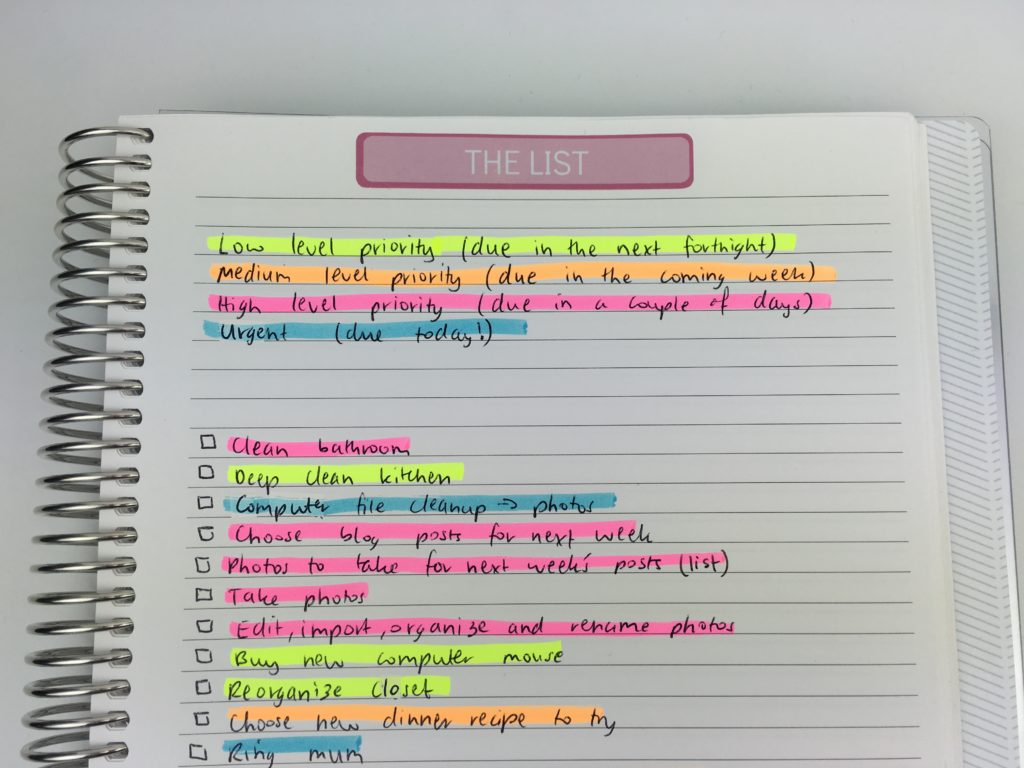
6. Use highlighters instead of colored pens
If you love color coding your planner as much as I do, it is must faster to write all your tasks in black pen and the use highlighters to color code. Highlighters are faster to color code with than remembering to switch pens – they’re cheaper too!
Related: 6 Ways to color code your planner to increase productivity
7. Use a printable
Click here to access the free printables libary.
Printables can be resized from full page size to A5, half letter, 7 x 9″ (Erin Condren and Plum Paper size) etc. See this post for detailed printing tips and instructions!

Checklist printables and pages you refer to frequently such as meal planning pages are well-suited to printable format.
Some useful pages to consider are:
- Cleaning checklists
- Meal planners
- Grocery lists
- To do lists
- Packing lists
- Habit trackers
![]()
8. Dry Erase
If there’s a printable checklist, meal planner etc. you use over and over again, place a clear binding cover (or a piece of laminate works too), over the top of the page and use a whiteboard marker. That way you don’t need to keep re-printing fresh copies of printables, just wipe the laminate clean with a tissue.
My favorite place to find small whiteboard markers is Daiso. Kmart also have packs with nice rainbow colors! <3
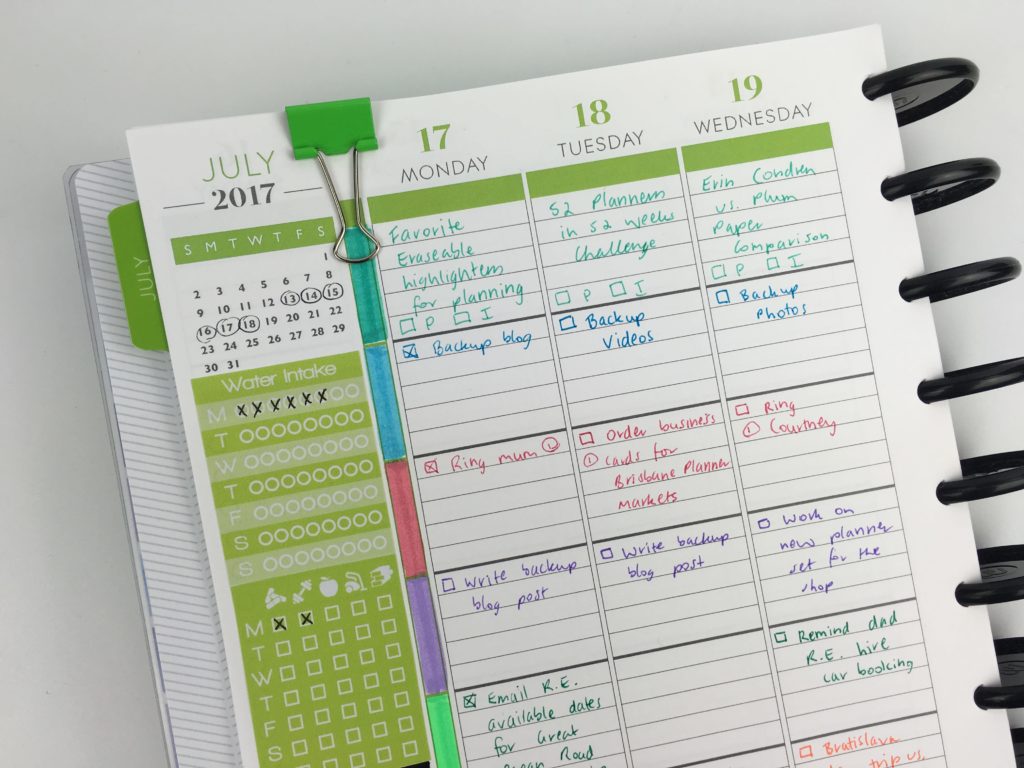
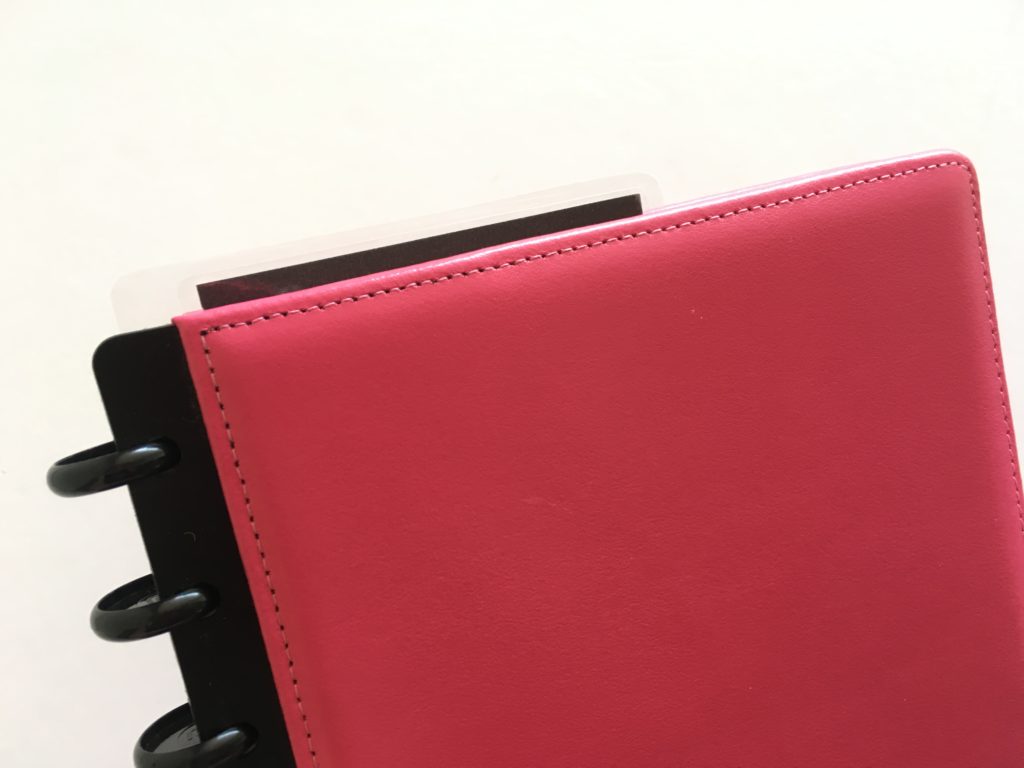
9. Bookmark your planner
Add a strip of washi to the edge of the page or cut the corner of the page off of the current week or use a butterfly clip so you can hold your place
![]()
Week 34: Review of the Planner Pad Weekly Planner
Use an insert and line up the holes so that the top extends slightly above the top of the rest of the pages in the planner is a functional way to bookmark your place!
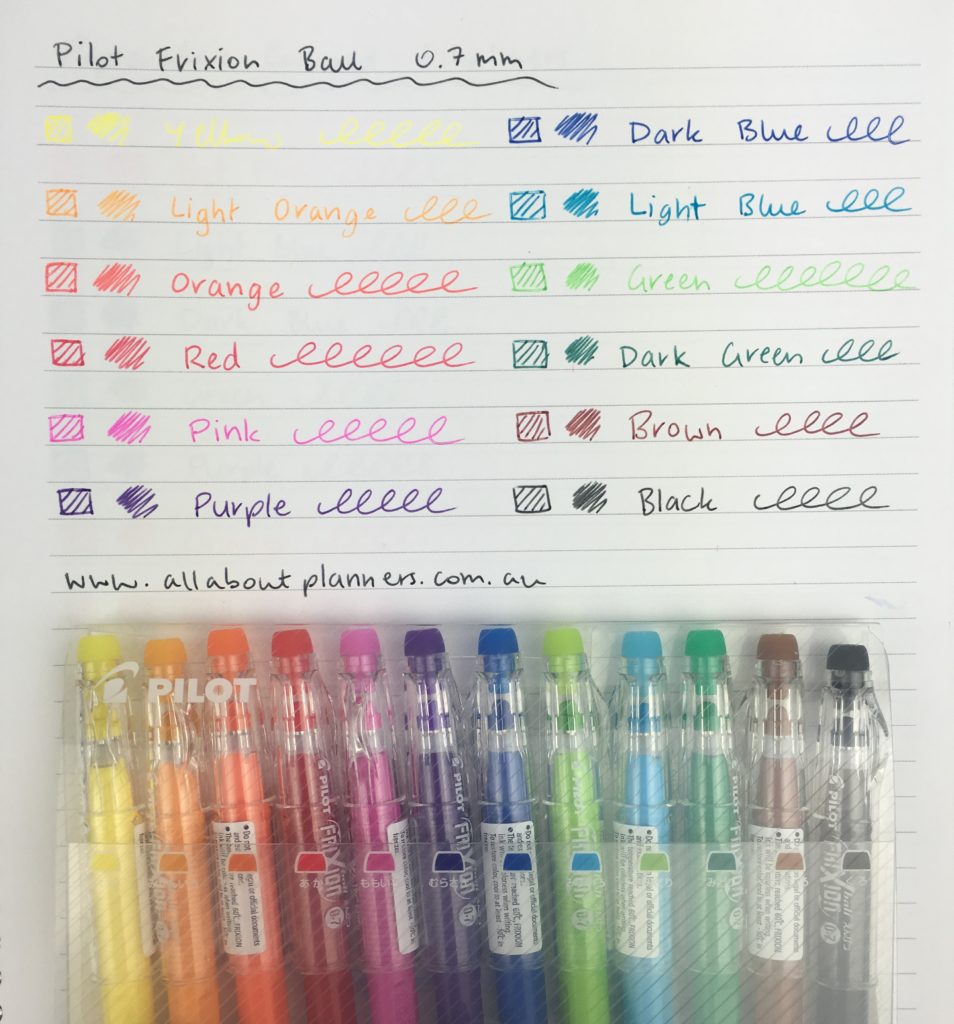
10. Use erasable pens & highlighters
If you’re a perfectionist like me, enough mistakes and you’ll just turn to a fresh page and start again. To avoid this, try the Frixion erasable pens and erasable highlighters. Smiggle and Typo also make some nice erasable highlighters. You’ll also save time not having to white things out, and if you use liquid whitout (which I don’t recommend – use tape!) you won’t have to wait for it to dry.
Rather than free-handing – use a Ruler or washi tape to divide up the page and keep it neat.
More planning tips:
- Planning using the daily plan bar method (bullet journal inspired)
- How to do color coded weekly meal planning in less than 5 minutes using sticky notes
- Best paper planners if you have large handwriting (and planners you should avoid)
Found this post helpful? Pin it!


Hey Rachael! I bought the MAMBI checklist and icon stamps and mine are not* self-inking. Did MAMBI perhaps change the way the stamps are made or did I get a bum set? I have to use stamp pads with all 6 of them which makes me wonder if they are manufactured different. If it was just one or two, then I could think they were dry. Any thoughts? I’ve had them about a month now so I doubt I could return them to the store.
Hi, that’s odd. Mine are the self-inking ones I linked in the post: http://carefullycrafted.com.au/create-365-me-and-my-big-ideas-happy-planner-stackable-icon-checklist-stamp/ it came with a checklist stamp and 6 small stamps with icons: exclamation mark, heart, asterisk, thumbs up, checkbox and a star. All are self-inking. I’ve had them for about a year and they’re still working fine. My sister stocks them in her shop and hasn’t had any feedback from customers about them drying out – maybe you did get a dud pack :/ Make sure you always keep the lids on them to stop them from drying out.
My set did not contain the checklist stamp, only the 6 small ones you mentioned. They were dry from the moment I opened the package. Because I then assumed they were not self inking, I’ve been very careful to match the stamp pad color I use with them to the color on the stamp itself. I hope that makes sense. And I’ve been putting lids back on as soon as possible.
My guess from what you’ve said now, is they were duds or old in the store.
Thank you for your input!