My weekly blog planning process (how I organize and plan for the week ahead every Sunday)
Each week, on a Sunday, I plan for the week ahead.
Rather than just writing stuff randomly in my planner, a bit of thought goes into it!
In my opinion, in order to move forwards and make improvements, you need to look backwards for a minute. So the first step in prepping for a new week, is to reflect on the past week.
Reflect on the past week
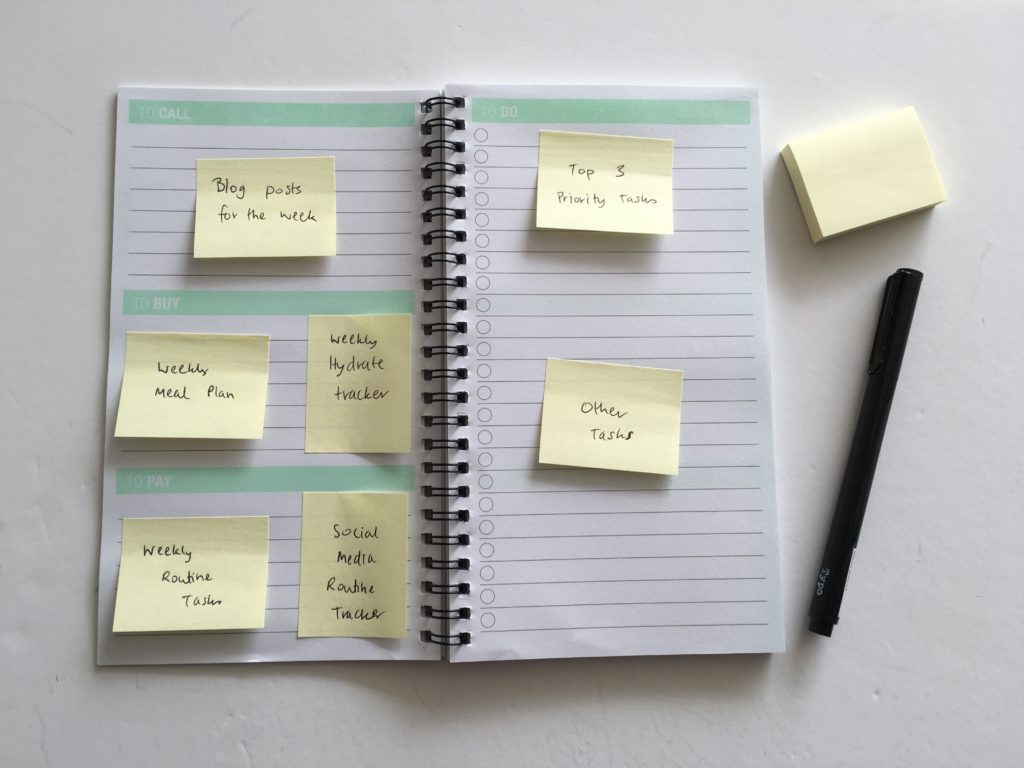
I like facts and that’s what I base my decisions off. I have my planner in front of me and see what tasks I did and didn’t complete. In less than a minute ask myself these 3 questions (and answer them) in my head:
-
What did you get done?
Answer: Posted 4 times on Instagram, published 5 blog posts, made 1 new product for the shop, recorded 1 video
-
What didn’t you get done
Answer: Wanted to do 4 posts on Instagram, record a 2nd video and outline the first 2 posts for next week.
-
Are you happy with how last week went? Why / why not?
Answer: Fairly happy – completed about 90% of my to do list.
Want to start a blog? I use and recommend Bluehost. It’s affordable and works well = win win ?
Prep for the upcoming week:
1. What goal are you focusing on at the moment?
At the start of the year I set a goal to increase pageviews on my blog. I wanted to hit 300,000 pageviews a month (a rather big goal considering I was stuck at around 20,000 views a month). In the past 30 days I’ve had a few pins go viral and reached 233,000 pageviews. So now my focus is on continuing to do more of what’s working to achieve that goal. So my sub-goals are:
- Increase the number of people on my mailing list (as these people click on emails when a post is published to go and read it, which increases pageviews)
- So to increase the number of people on my mailing list, I need to get them to my site and get them to join my mailing list
- And to attract people to my site, I need to create more content, market existing content and add more free printables (as these are the highest converting opt in)
My other main goal was to increase my income from ecourses. How well this goal goes is directly related to growing the number of people reading my blog and engaging an audience. AS the more people find my blog = more people likely to enroll in my ecourses.

2. Focus for the week
The next step is to choose your focus for the week.
What do you want to focus on this week that will bring you closer to achieving those goals you set at the start of the year?
I tend to break my year down into monthly goals. So obviously I don’t set a goal like increasing pageviews by an extra 280,000 month and leave it at that. I broke that goal down into a goal number of pageviews per month. E.g. January 30,000, February 40,000, March 60,000 etc.
The weekly goals are a further breakdown of those annual / monthly goals.
If I want to grow my email list then I need to get more people to sign up. So to do this I should:
- Add more links to my signup pages within old blog posts
- Create a new freebie to entice people to sign up for my lists
- Publish blog posts to drive traffic to my site which in turns, lead them to signing up for my email list
These become your tasks.
Related: 101 Blog Post Ideas (for any type of blogger)
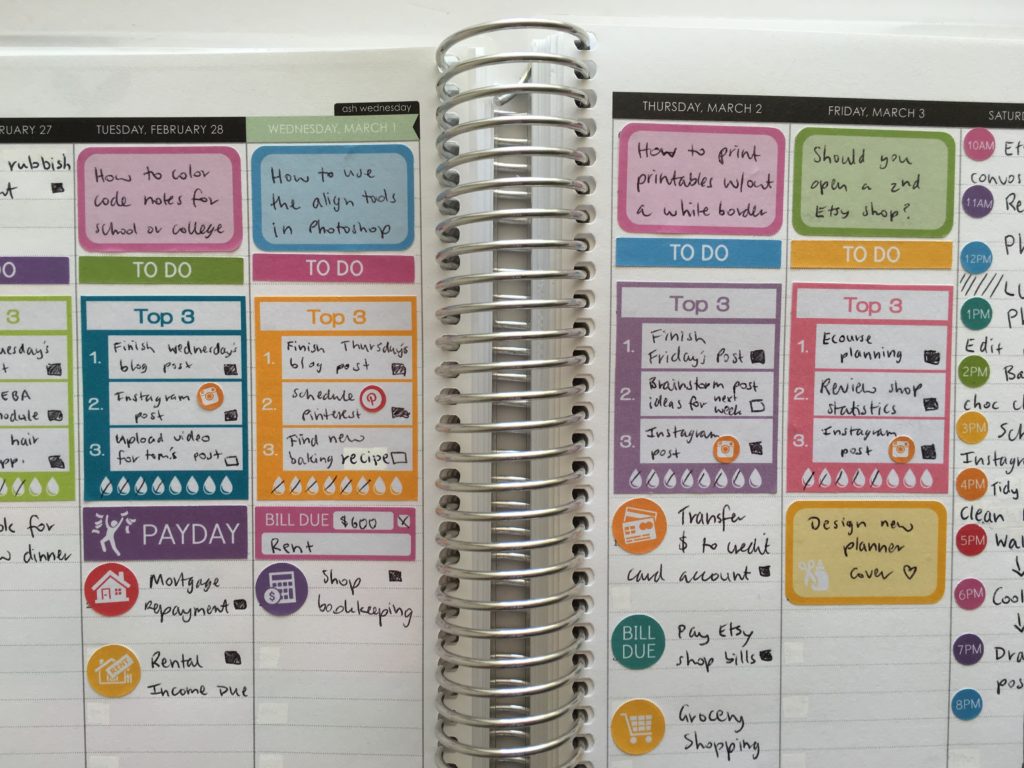
3. Choose a top 3
Choose your top 3 goals / outcomes you want that will contribute to you achieving those main goals. Think of these like your sub-goals. So if my top 3 goals are:
- Published 5 blog posts
- Post 5 times to Instagram
- Create 50% of a new product
I like to quantify each thing. So instead of just ‘post to Instagram’ I write down the number of posts I need to do. I suppose that satisfies the SMART goals idea behind goal setting but it’s not something I actually think of when setting goals. It’s more a case of:
This is what I want – now what do I need to do to get there?
I know that I won’t have time to create a completely new product for the shop in a week with blogging, the day job etc. so I don’t just put ‘create new product’ as the task. I put something more realistic – the portion I think I can get done. That way you still feel like you accomplished something by the end of the week.
I do the same thing with big goals like making ecourses (so instead of just, ‘work on ecourse’ I would write, create videos and worksheets for module 3)
The first 2 of my top 3 tend to be my regular tasks (maintenance such as blog posts). I also like to have a money – related goal (because well, you need money to survive), so my third goal usually changes from week to week.

4. Break your top 3 down into tasks
So if one of my goals is to publish 5 blog posts, to do this I need to:
- Choose what posts to publish
- Outline each of the posts
- Finalise the drafts
- Edit the posts
- Add links to related posts
- Make images – featured image (the image you see before you click on the post to read it, and pinterest optimised images within the post)
- Publish the post
- Pin to Pinterest
- Add links to this new post to relevant posts previously published
Break down all the things you need to get done into small, actionable and easy to complete tasks. If you don’t break them down they become overwhelming, you’ll be less motivated to complete them and it’ll likely take longer to complete (as least this is the case for me).
I read a theory somewhere that you should think of your tasks like rocks in a jar. You want to add the big rocks first, then the medium ones and then fill in the rest of the space with small rocks. Not fill the jar up with so many small rocks that you don’t have room for the big rocks.
Related: How to write and publish a blog post in 1 hour (plus a free printable blog post workflow checklist)
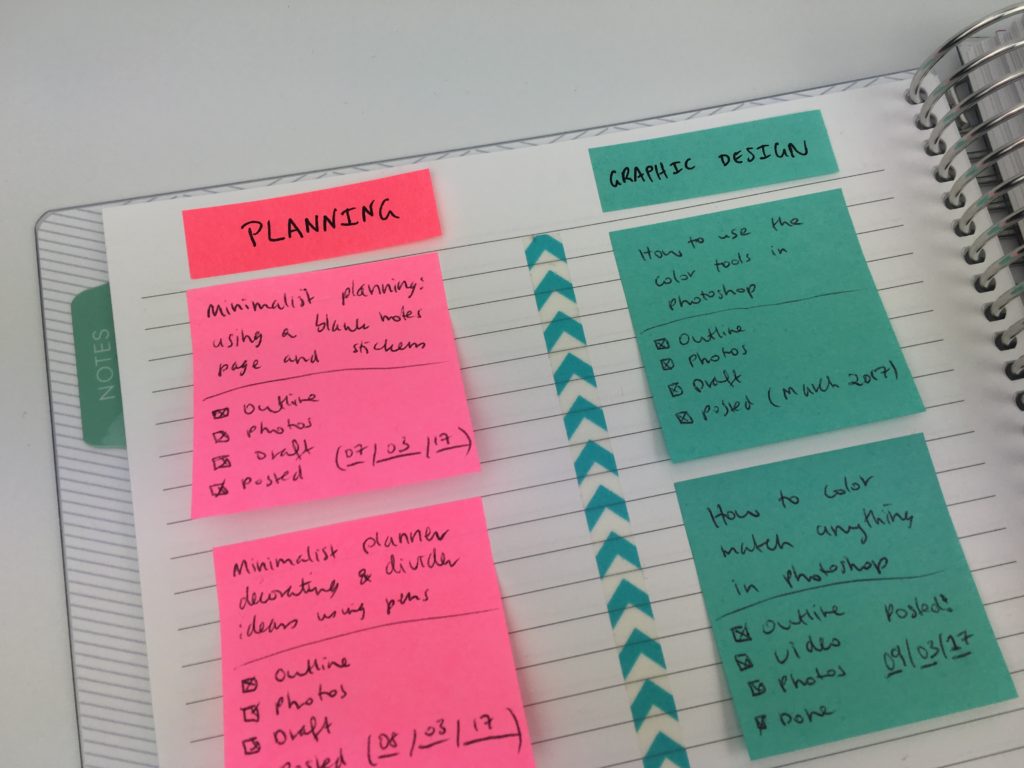
Choosing what posts to publish
I literally have over a thousand ideas for blog posts. I come up with at least 5 new blog post ideas daily. With so many ideas there’s obviously not enough time to blog about all of them so I need to be selective.
At the start of each month I choose what posts I’m going to publish. I don’t stick to any set routine of when these posts are published. So while I may schedule a post to go live in the first week of the month, as long as it’s punished sometime that month it’s ok. Because my blog content is evergreen, there’s no set dates as to when posts should be published.
In having said that, how I choose when each gets posted depends on:
- How busy I am that week and if I have time to write posts from scratch or need to use one I’ve already written the majority of
- Making sure I don’t post too much of the same type of posts too close together e.g. not 5 posts about planner pens in a row (since everyone may not be as addicted to planner pens as I am!)
- Which posts are seeing a lot of traffic. If I have a pin go viral obviously I want to capitalize on that my posting more directly related content. So when color-coding was proving popular I published a few posts on:
- Planner Organization: How to color-code your planner (so you’ll actually use it effectively)
- Favorite color coding planner supplies for less than $5
- Ultimate list of the best planner pen brands and how to choose colors for color coding
- 50 Category Ideas for Color Coding Your Planner
- How to organize and color code your notes for school, college or university
- Color coded monthly meal planning using sticky notes
The reason being so I could add more links to related posts in the new post I published, as well as the old post, as both methods increase pageviews (which ties back into my main goal for this year).
Pre-plan the week
Wonder how people get perfect planner spreads with no whiteout? They pre-plan before they start planning.
They likely have a notepad just out of view of the camera in their plan with me videos, which has what they need to get done each week.
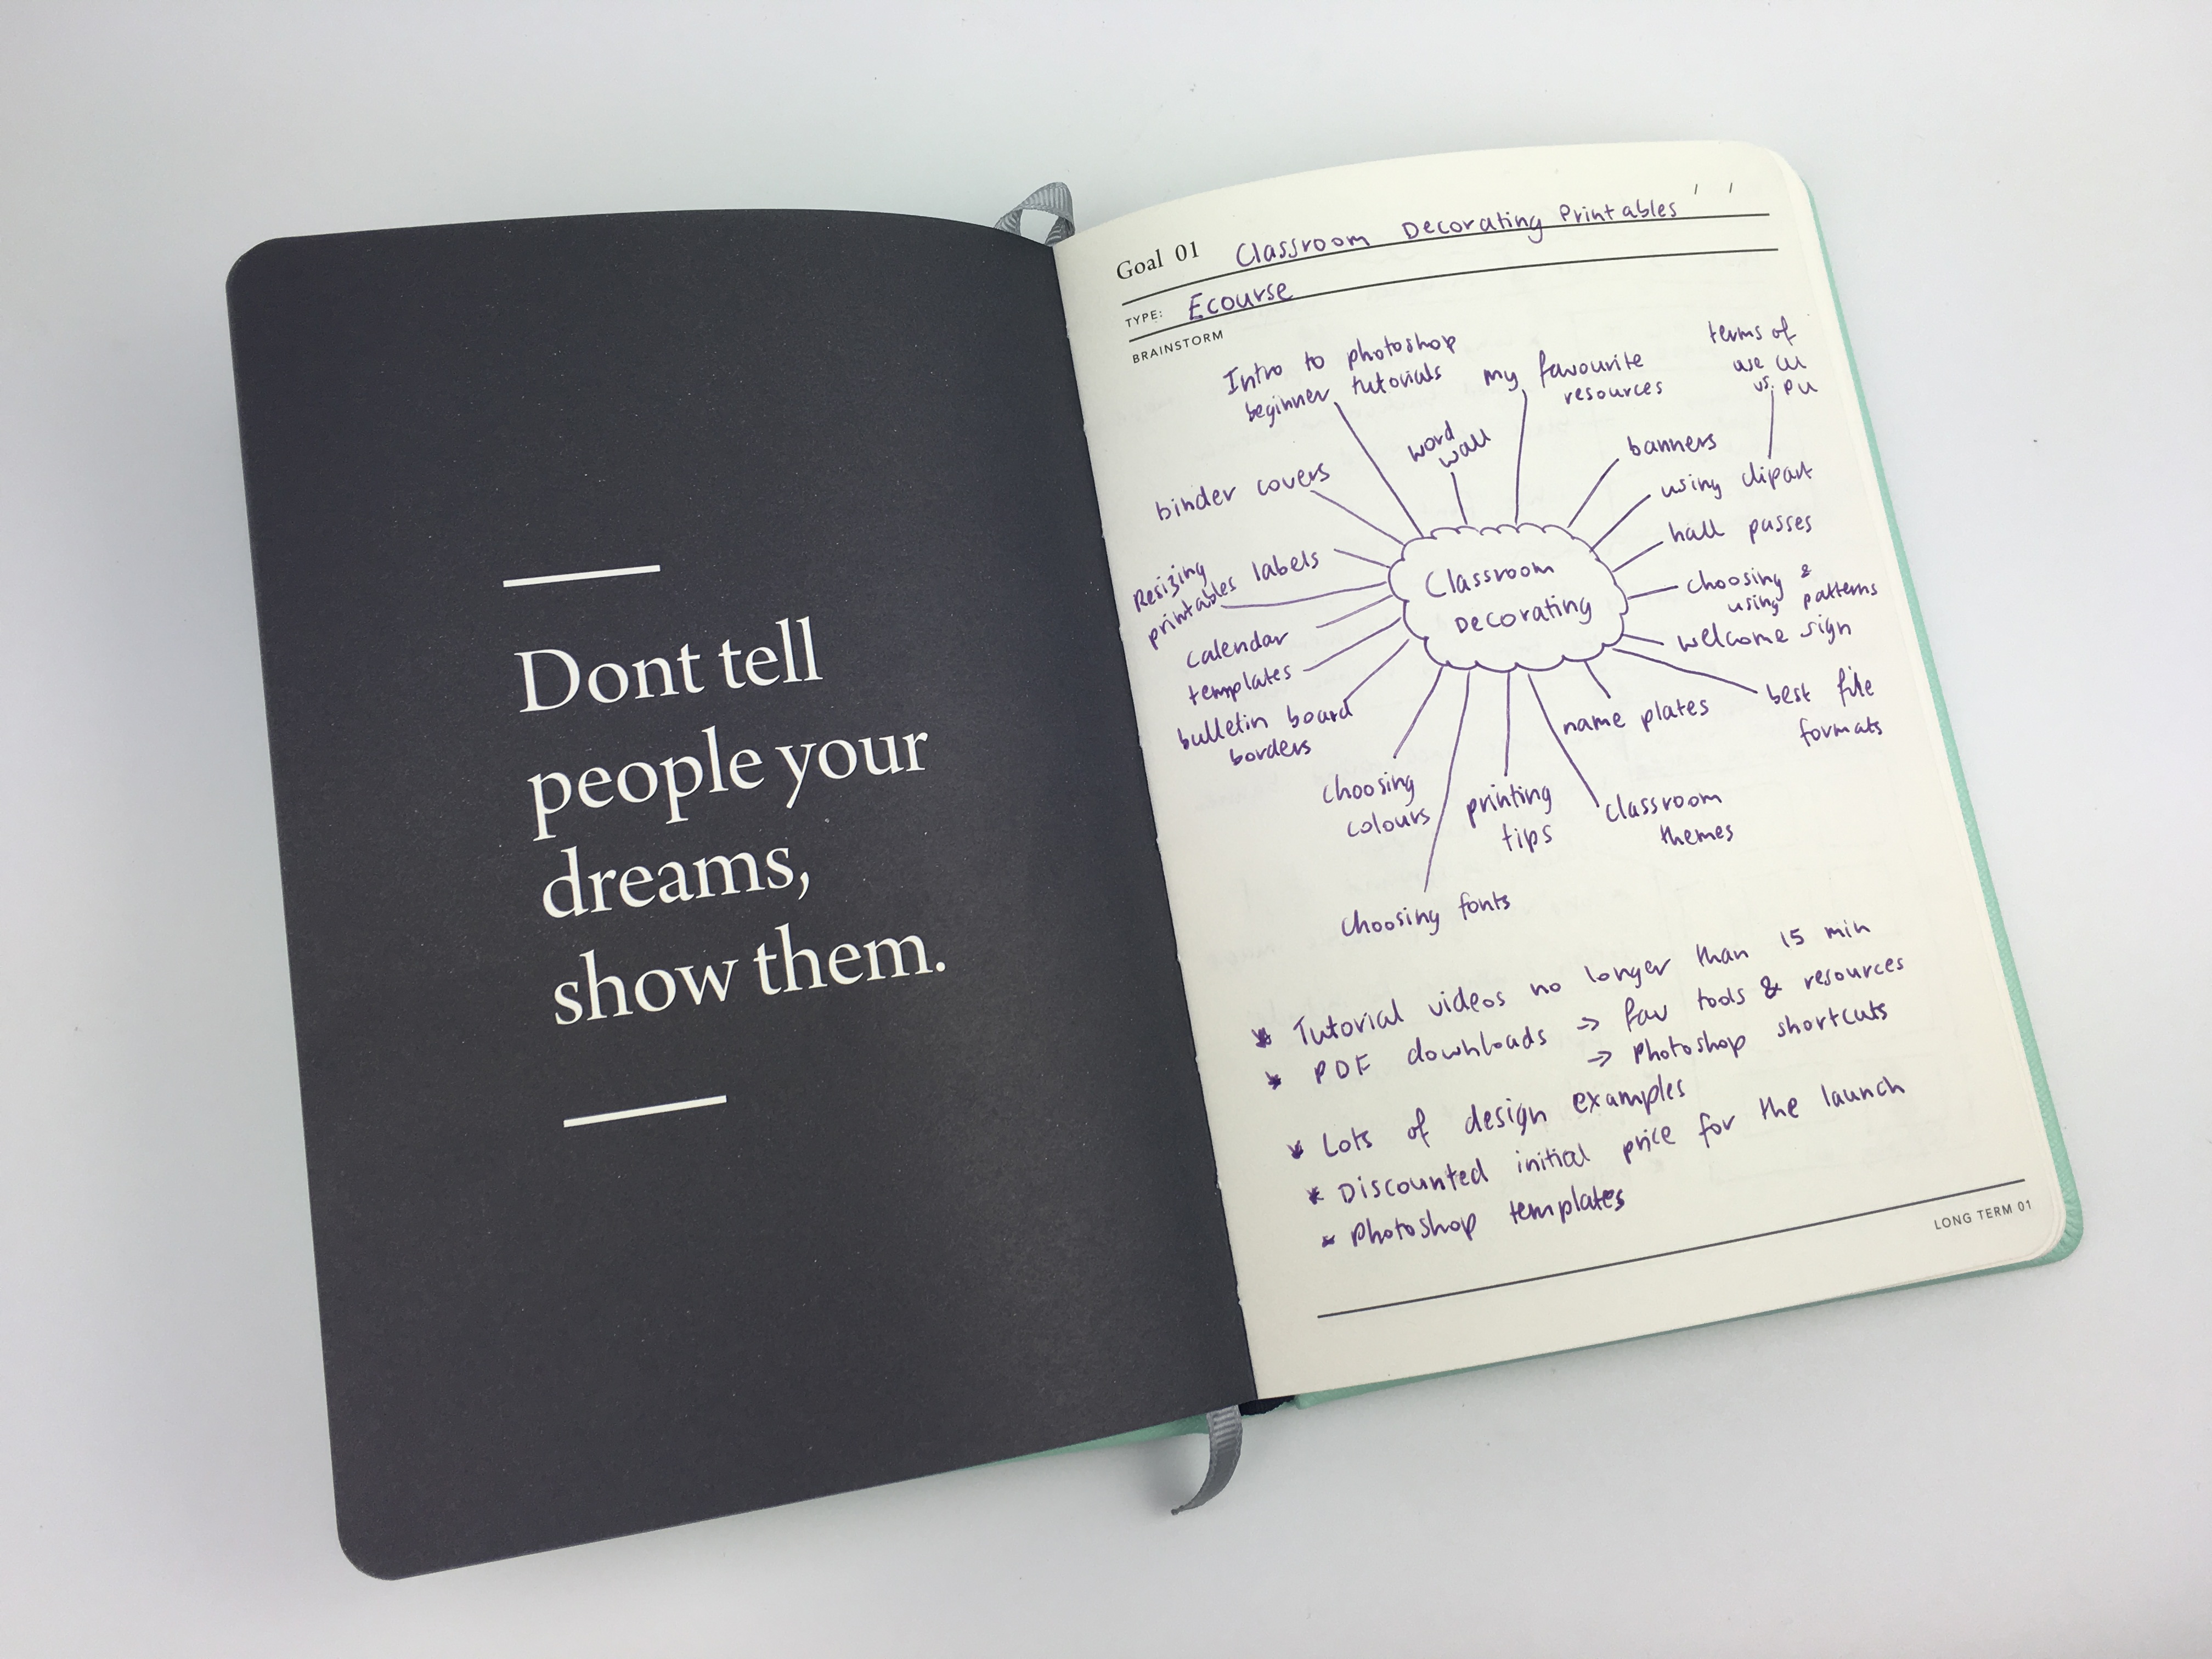
I myself, do a brain dump on scrap piece of paper before I translate that into a weekly spread. Sometimes I also do a sketch of how I want the spread to look like and what I’m going to plan where (i.e. what I’m going to put at the top, middle and bottom of the daily planning space, in the sidebar etc.)
Why do I bother doing this? I manly do this if I’m short on space and need to fit a lot in, or am using a planner layout I’ve never used before or am planning on using stickers (as I don’t use removable sticker paper).
Sticky notes are another good method for pre-planning the week – I used them for week 13 of the 52 Planners in 52 Weeks challenge
What planner is best for blogging?
As for what planner to use, there’s really no right or ‘wrong’ – you can use any planner you like! There are some elements within planner spreads that I prefer for blogging:
- Checkboxes so I can color them in or tick them off when a task is completed. If you didn’t want to use checkboxes you could list out all your tasks and highlight them or cross them off when completed
- Color coding – helps see what you need to do for each element of running a blog (so I use separate colors for each blog post category and another color for behind the scenes / social media) You could use another color for urgent tasks and another for self-education e.g. completing an ecourse, watching a video tutorial on taking better photos etc.
- Sidebar of planner spreads is ideal for maintenance tasks where there’s no due date on when they need to be completed
- Planner icon stickers are ideal for maintenance tasks such as Pinterest. I liked using half box ombre stickers at the top of each day in week 9 when I used the Erin Condren Hourly Planner to make the blog posts stand out.
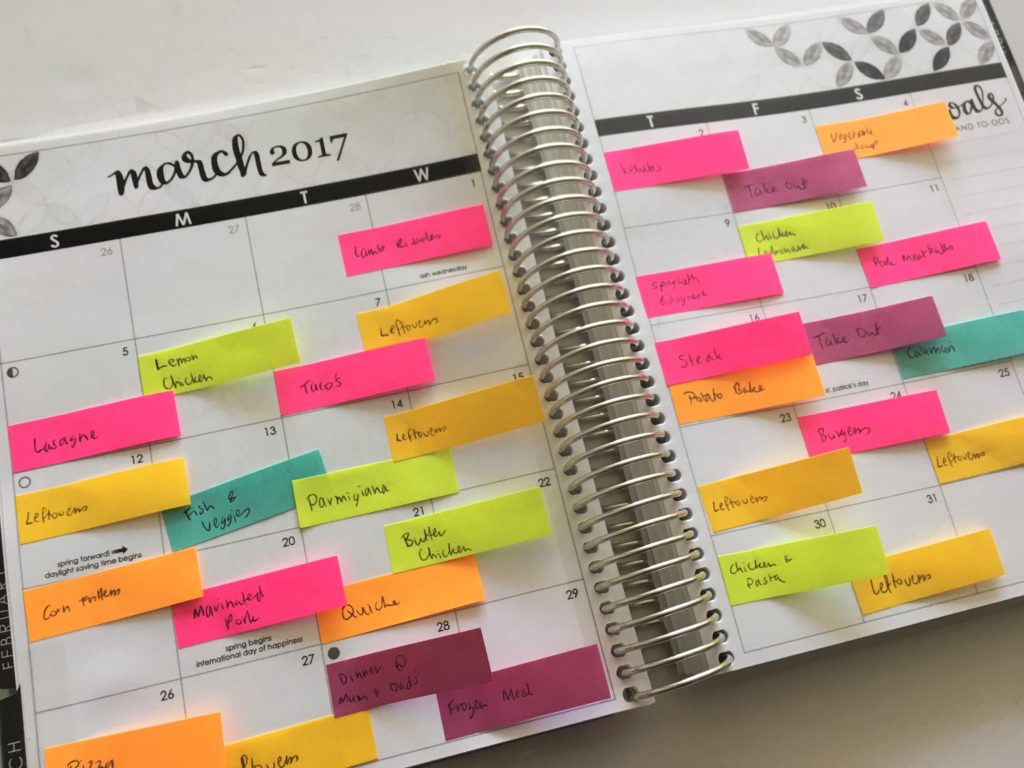
- Small sticky notes in the monthly view are also ideal like I did for monthly meal planning:
- In the monthly spread of a planner I like to keep a few backup blog post ideas – just in case. When deciding what posts for each week I can refer back to this if I want to do more than my usual number of posts, or if something happens that means I can’t published a post as planned (e.g. ran out of time to write it because I had to stay late at my day job, or I planned on doing a pen haul post but the pens haven’t arrived yet etc.)
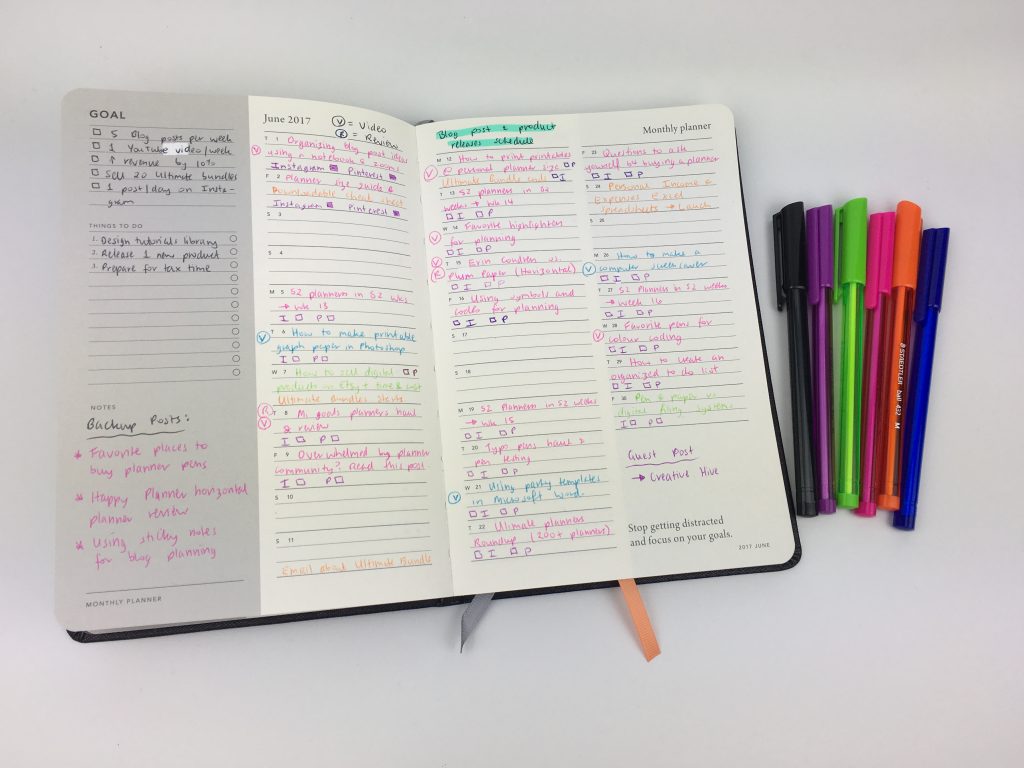
I used the Mi Goals Planner and Staedler Ball 432M pens for planning June’s blog posts
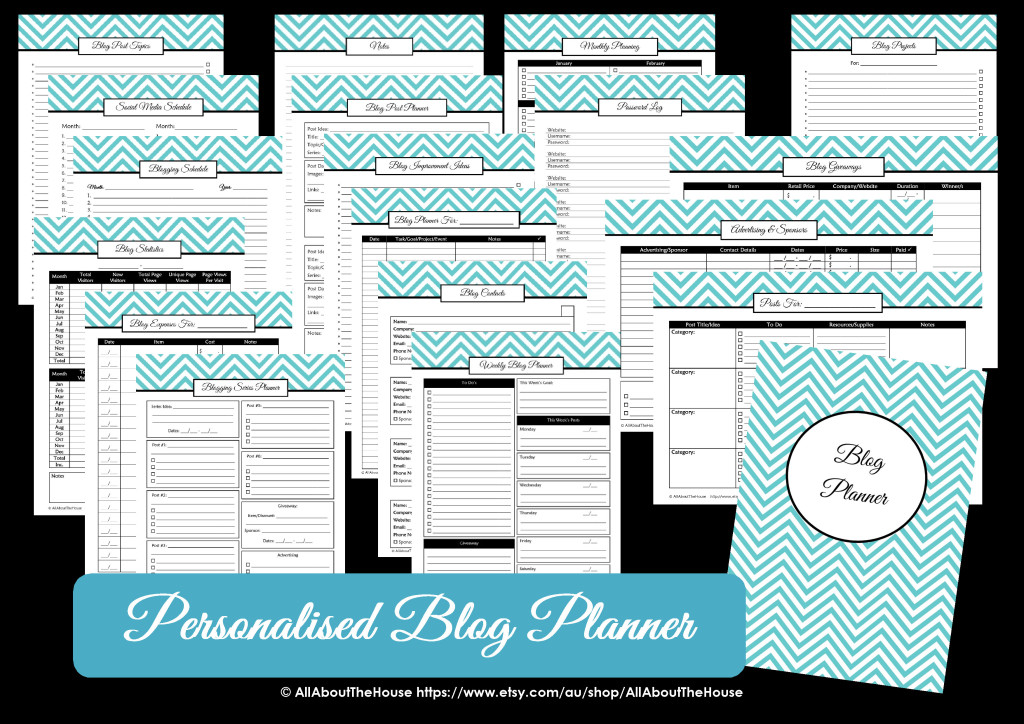
If you’re looking for a printable blog planner, I have one in my shop 🙂
So that’s my thought process behind how I set my planner up for blogging. By planning everything out beforehand rather than it being a case of ‘I should publish a blog post today, what should I blog about?’ means I’m more efficient – I’m not wasting time worrying about what I should be doing next – I can just get on with what I need to do!
If you have any other tips on how you use your planner for blogging please comment below – I’m always interested in hearing about how other people use their planners 🙂
Related posts:
- How to keep track of blog post ideas on your phone (no paid app required)
- How to set up ConvertKit and how to make a subscriber opt in image video tutorial
- How to write and publish a blog post in 1 hour (plus a free printable blog post workflow checklist)
- How to make pinnable graphics for your blog posts (step by step video tutorial)
- Ultimate list of 100 Free and Paid Stock Photo Websites for Bloggers, Etsy sellers and Entrepreneurs
Liked this post? Pin it!