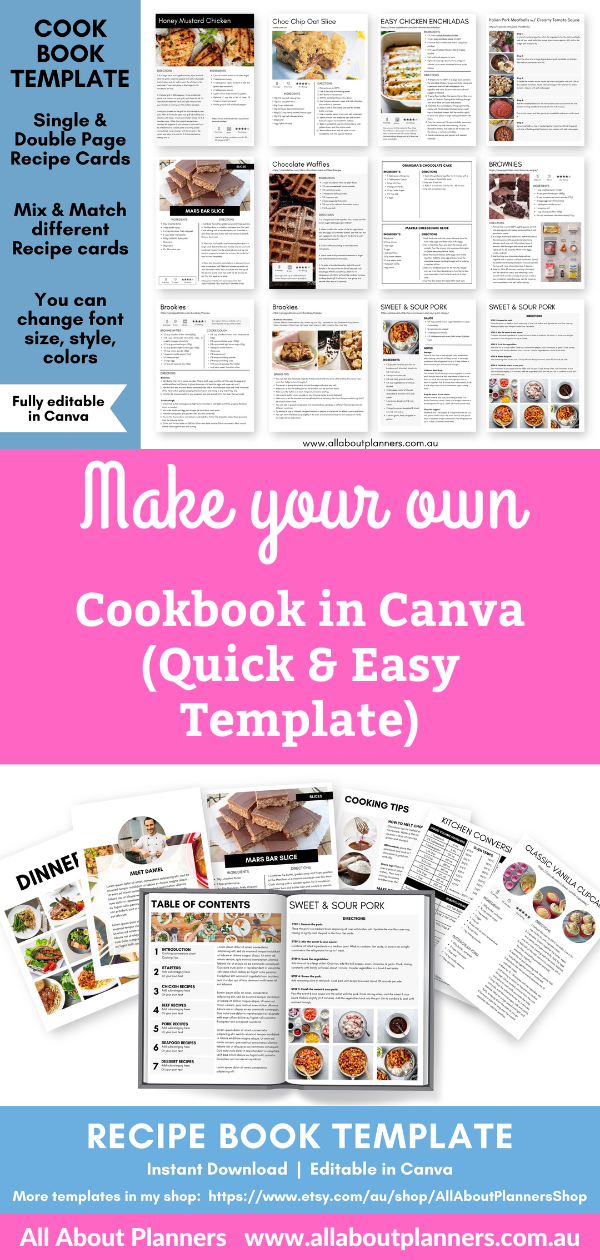
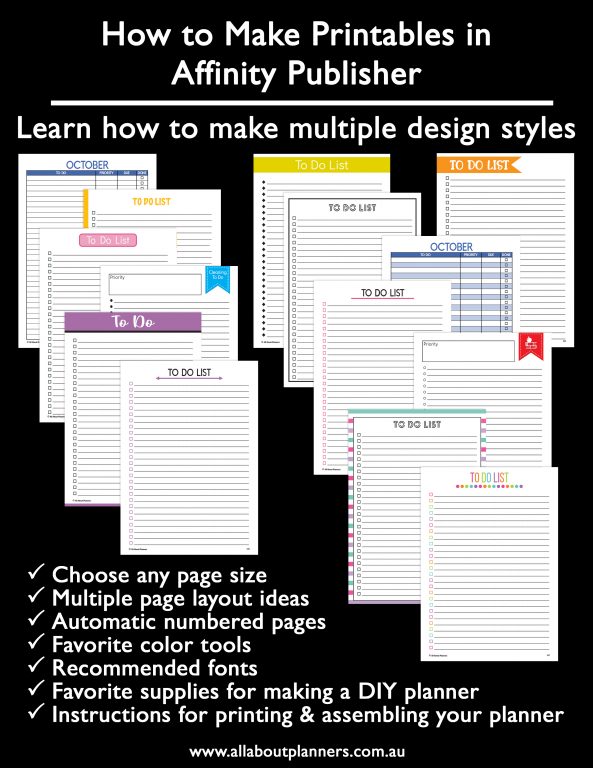
How to use fonts and the text tool in Affinity Publisher
Another beginner tutorial for making printables! This time I’ll show you how to use fonts and the text tool in Affinity Publisher.
How to use fonts & the text tool in Affinity Publisher
In this video I go through how to:
- Save your favorite fonts
- Change font size
- Change font line spacing
- Change font color
- Multi-colored text
- Text in 2 different shades
To enlarge the screen of the video, click the square icon in the bottom right hand corner of the video (it will say ‘full screen’ when you hover your mouse over the icon).

Subscribe to my YouTube channel for more planner reviews & graphic design tutorial videos
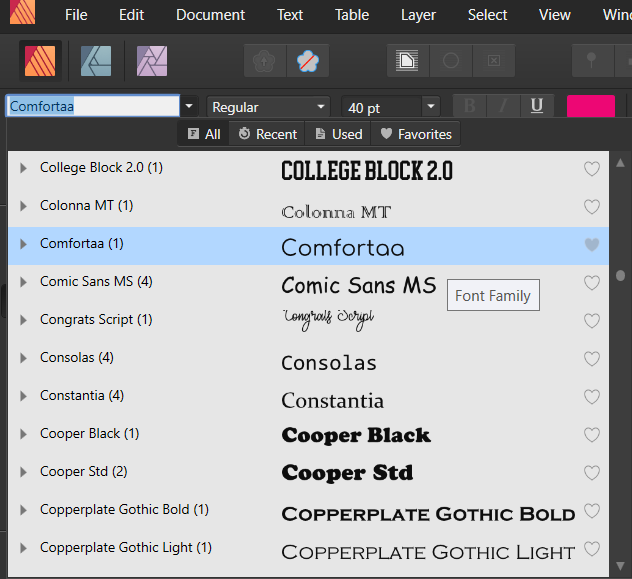
How to save your favorite fonts
You could have a separate document in Affinity Publisher with a list of your favorites and example text you use frequently. So for making planner printables you might use the days of the week, or you could use the phrase the quick brown fox jumped over the laxy dog like I have:
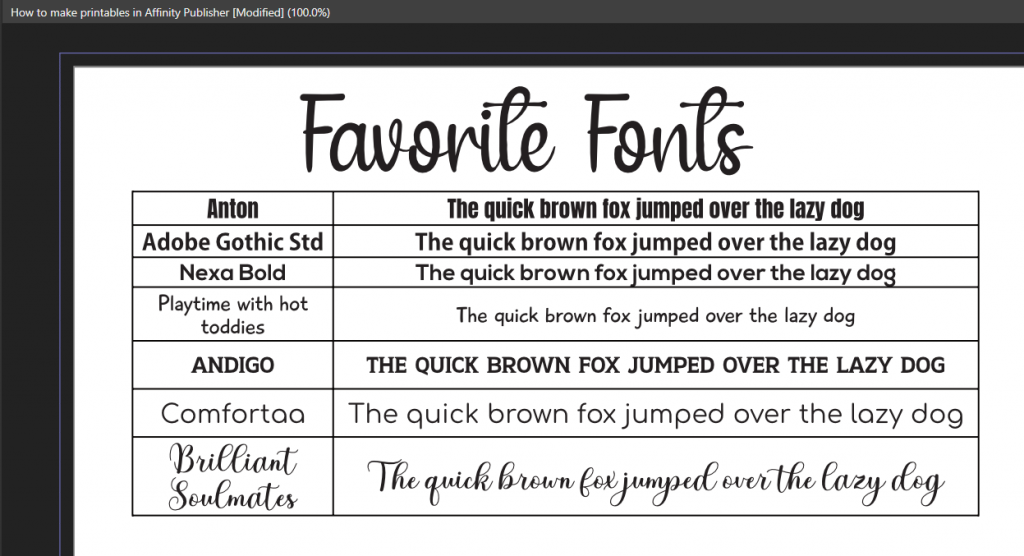
You can also click the heart icon on the right side of the font name to save it to your favoritres, then click the favorites button when you want to find that font quickly. You can also use the search bar to find fonts quickly.
How to download custom fonts
See this post for a tutorial for downloading and installing fonts on your computer. Once they’re installed on your computer they should automatically instantly appear in the fonts menu in Affinity Publisher. If it doesn’t, closing Affinity Publisher and restarting usually does the trick. And if that doesn’t work, restart your computer.
Found this tutorial helpful? There are more tutorials for using Affinity Publisher in my ecourse. Click here to find out more.
Pin this tutorial to refer back to later