Minimalist black and white weekly spread in the Moleskine Weekly Planner
After discovering the Moleskine weekly planner while in Rome I was keen to try it out as soon as I got back!
Related: My Favorite Stationery Shops in Rome!
Before the Pen
This planner has my all time favorite layout – days of the week in horizontal format on the left and lined writing space that’s perfect for list making on the right.
The planner comes in 2 sizes – the small and large.
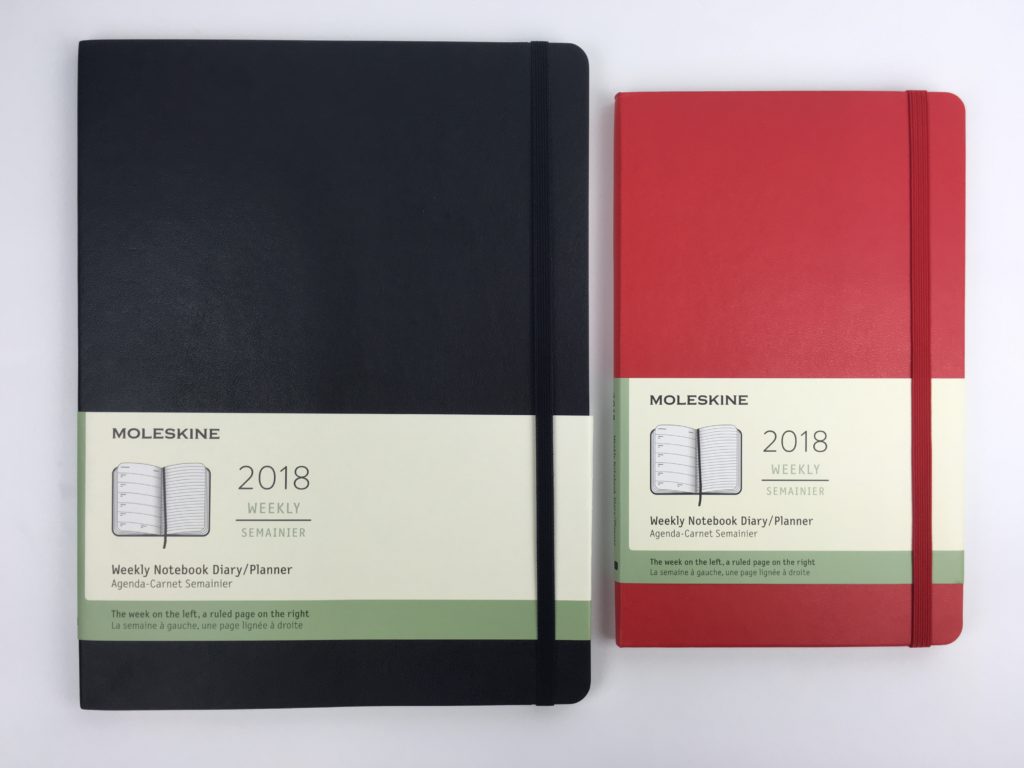
I was worried the small (below) might be a bit too small so opted for the large. Review of both planners is in this post.
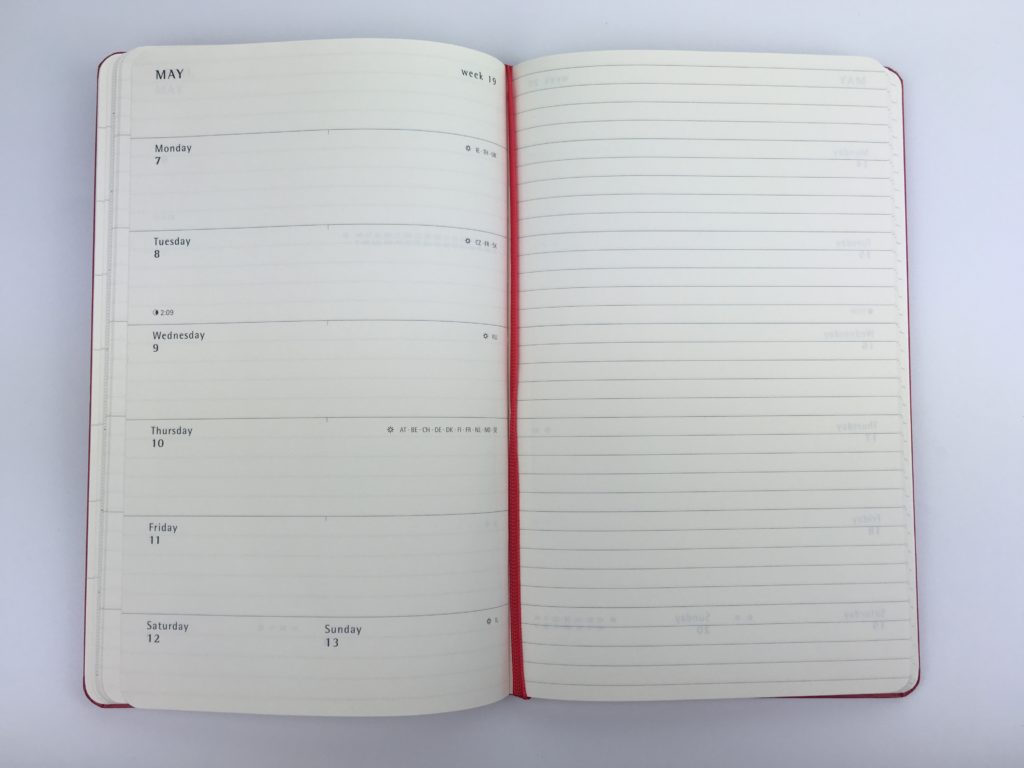
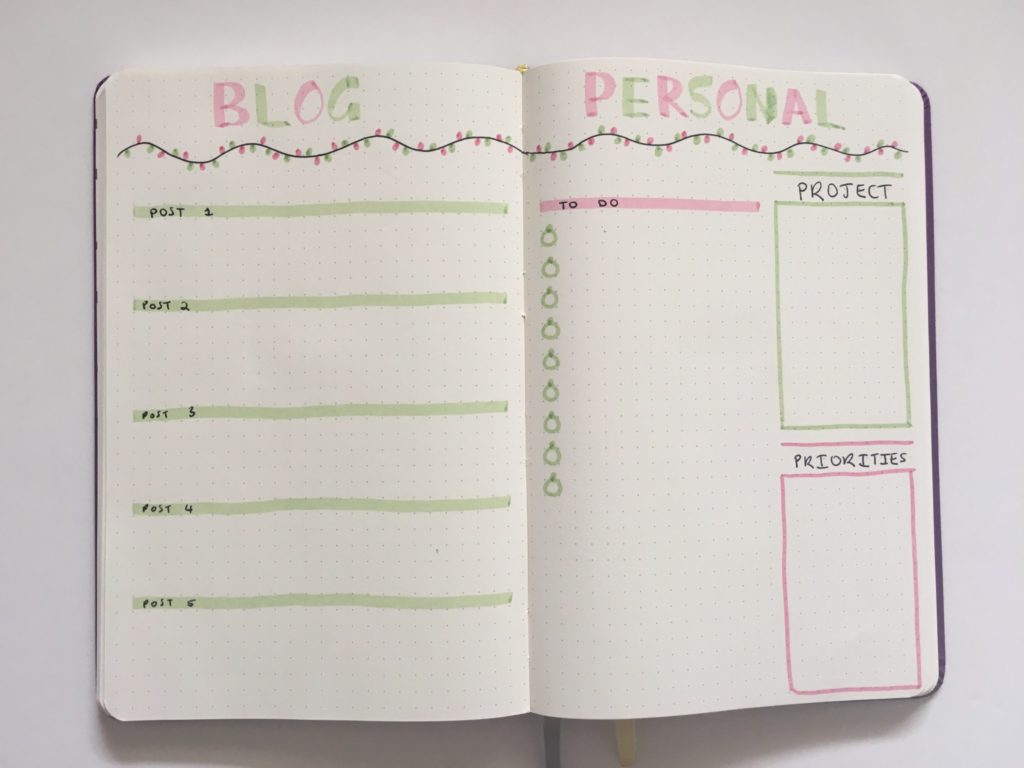
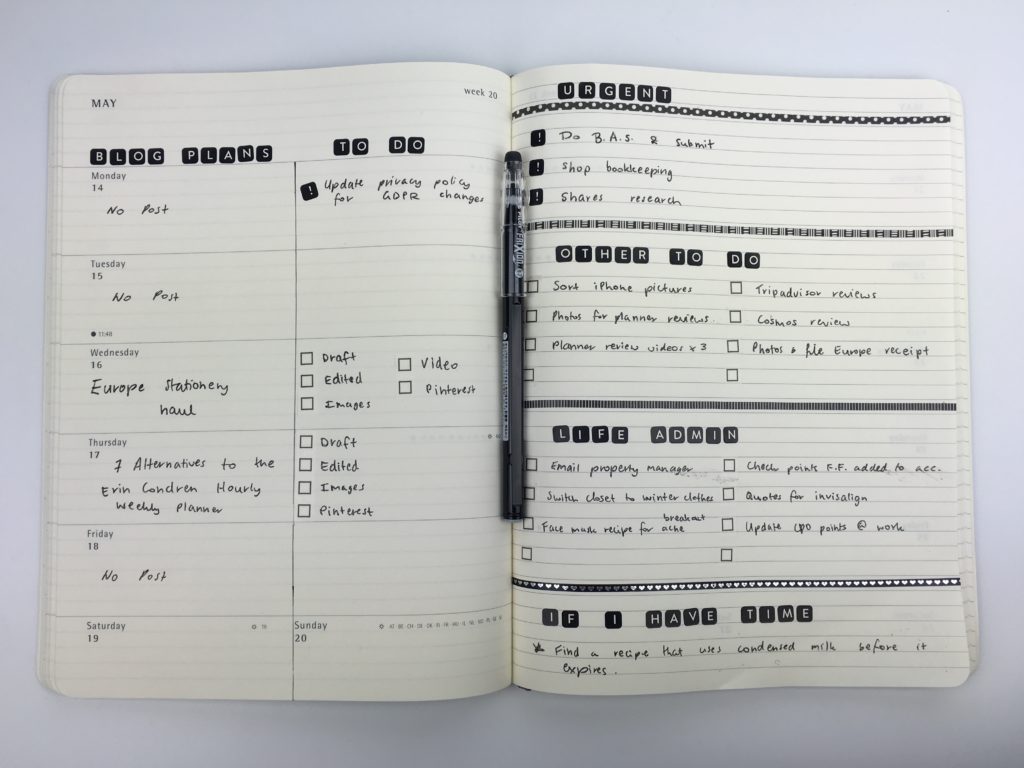
I wanted to keep the spread simple but still decorate so opted to plan the entire week using black. Just black. If you’ve seen any of my past colorful weekly spreads you’ll know this is completely out of character for me!

Love this thin washi tape from MAMBI – thinner than most washi tape plus lots of patterns and colors to choose from!

For something different, I used checklist washi tape instead of hand drawing or checkboxes (since the MAMBI checklist stamp I normally use is running out of ink). I like this washi tape but it’s only ideal if you’re using a continuous strip of it. It was too time consuming to cut the individual boxes.

After The Pen
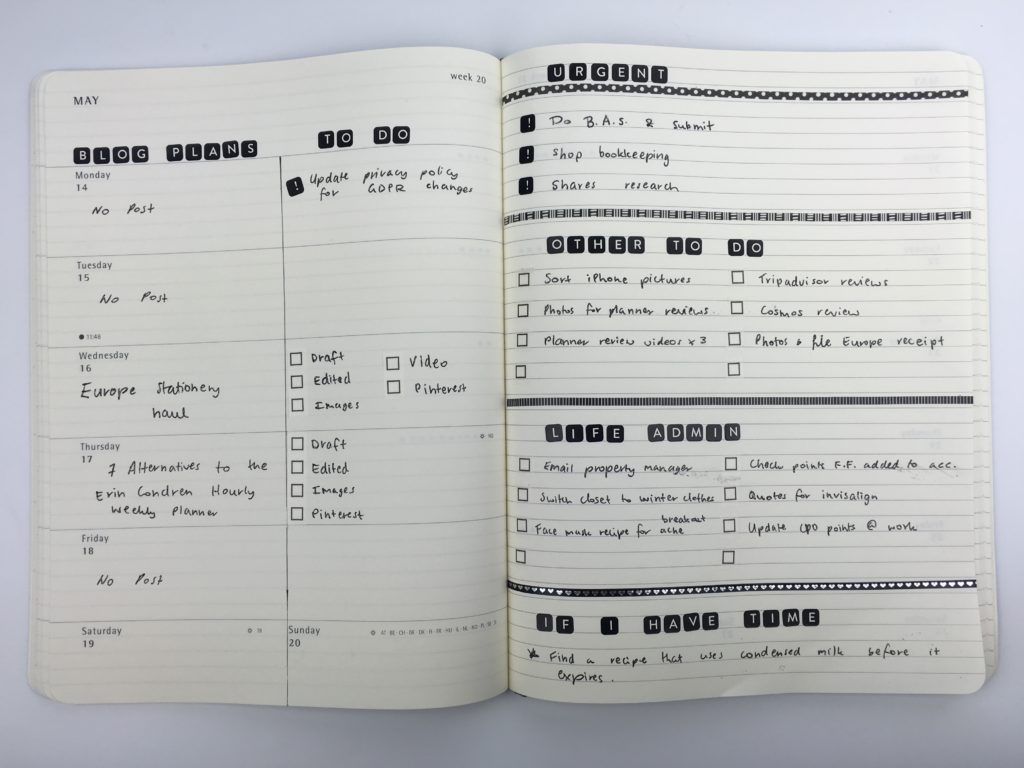
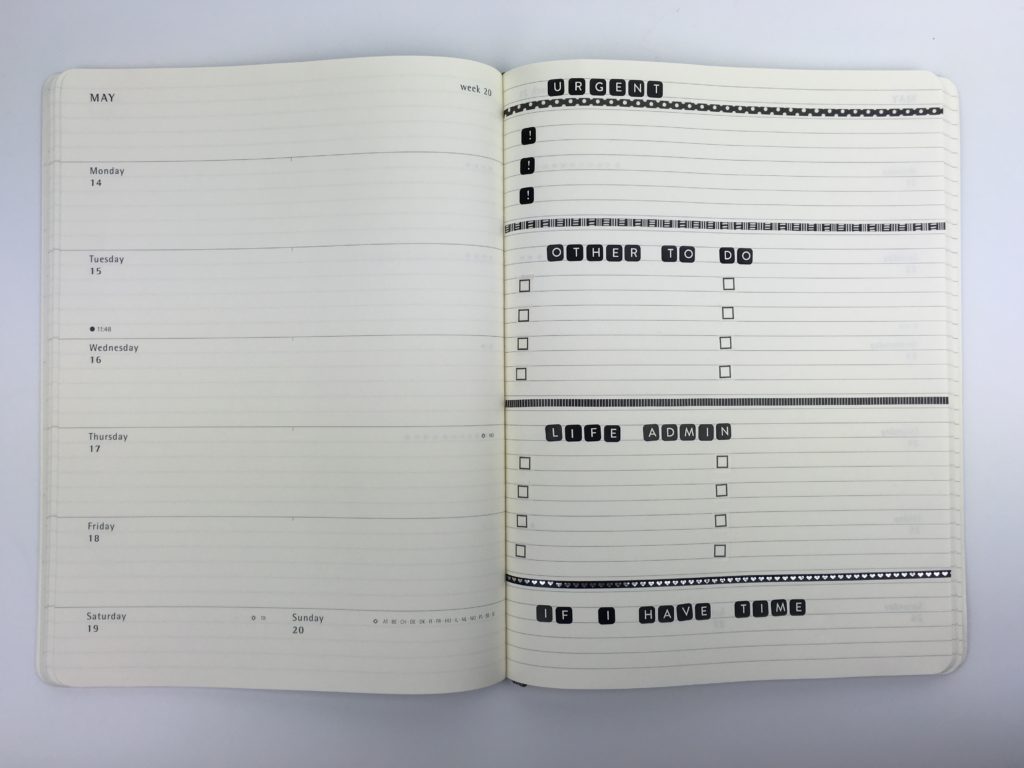
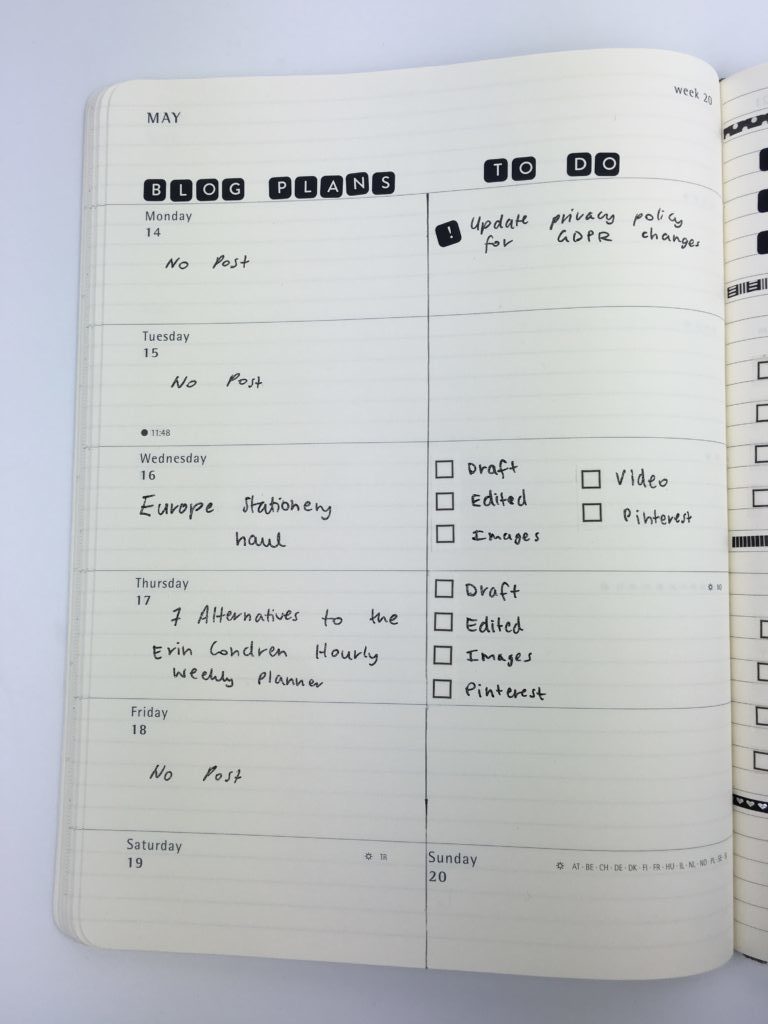
I ruled a line to split the horizontal section of the planner into 2 sections per day – blog post and blog post workflow tasks.
The top section of the planner is quite roomy – you could turn this into a weekly habit tracker, reminders, bills due, deadlines, birthdays, write an inspirational quote etc.
![]()
I stuck with my usual blog workflow tasks only used checklist washi tape instead of drawing the checkboxes.
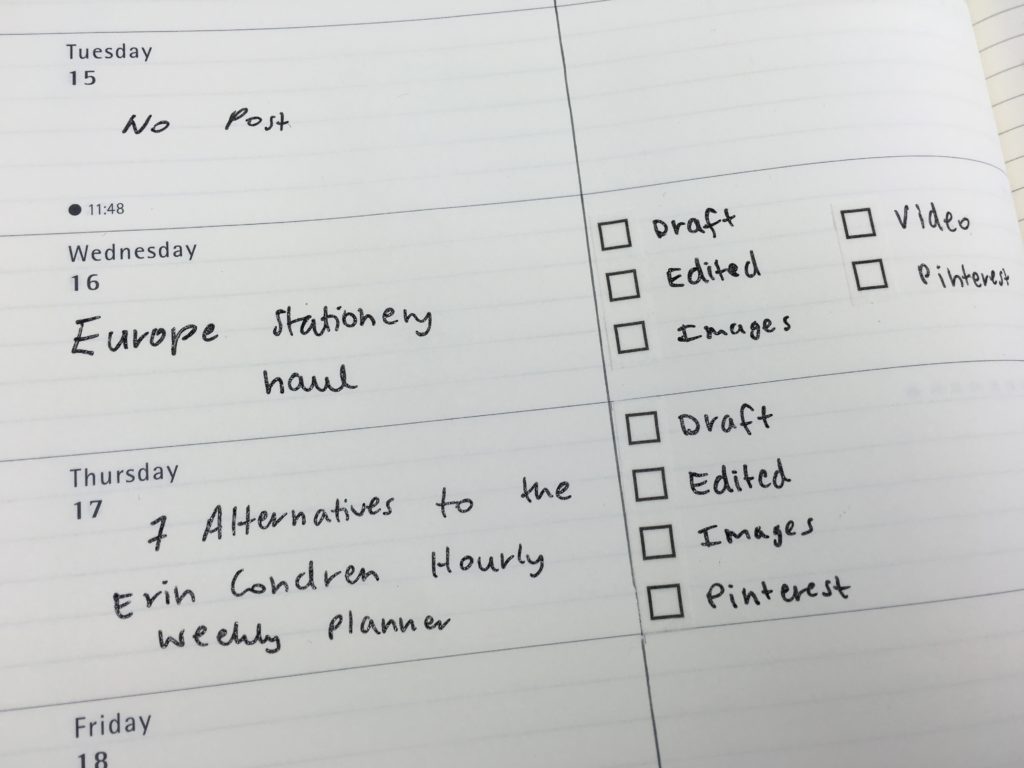
This planner is quite roomy – I ended up with more space than I needed in the daily planning section since I tend to just work off a checklist.
Because of the extra space I only wrote on every 2nd line which kept the planner neat at the start of the week… but as I filled those lines in with additional to do’s throughout the week the page ended up looking a bit cluttered. If I used the planner again I’d rule the line on the weekly spread but use the right column for additional list making space and squeeze everything blog related into the left column.
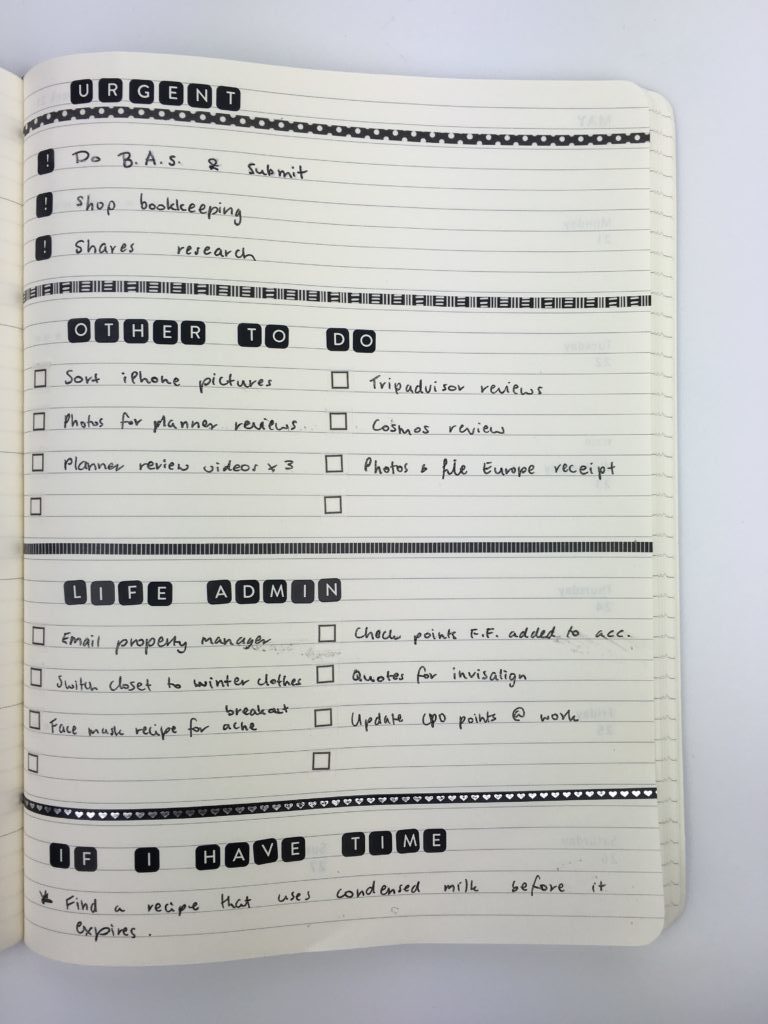
I opted to use the alphabet stickers that come with the planner. I don’t tend to buy alphabet stickers as I inevitably need more a’s an e’s than sticker sheets include so it ends up too expensive. However, a few sheets of these stickers were included with the planner so I figured I may as well use them. While they looked nice and were something different, it was time consuming to stick the individual letters.
Related: Minimalist Planner Decorating: Title Ideas for your Bullet Journal

Supplies Used:
- MAMBI Thin washi tape in black (various patterns)
- Frixion erasable pen 0.7mm (black)
- Kaisercraft Kaiser Color Glitter Gel Pens
- Black alphabet stickers that came with the Moleskine planner
- Checklist washi tape (square, although the tape comes in circles and hearts as well)
Would I use this planner again?
I like the layout of this planner. It has a simple layout that can be customised in so many ways. I just wish the paper quality of the planner was better and that the paper was bright white instead of yellow. For being a bookbound planner I was surprised that the pages did, in fact, lay flat without me having to hold the pages with one hand while writing with the other.
I’m normally someone that loves to use lots of colors to create a rainbow weekly spread however I actually didn’t mind using only black this week. I might do another spread in an all blue theme, all purple etc.
To see the full review of this planner, click here.
Past planner spreads
- Using the priority quadrant for weekly planning
- Review of the Planner Pad Weekly Planner
- Using Erin Condren Size Planner Stickers in MAMBI Classic Happy Planner
If you want to try your own version of the 52 planners in 52 weeks challenge, this printable bundle of 52 different 1 page weekly planners (you can mix and match to create 2 page spreads if you prefer), is available in my Etsy shop and online store.

Found this post helpful? Pin it!