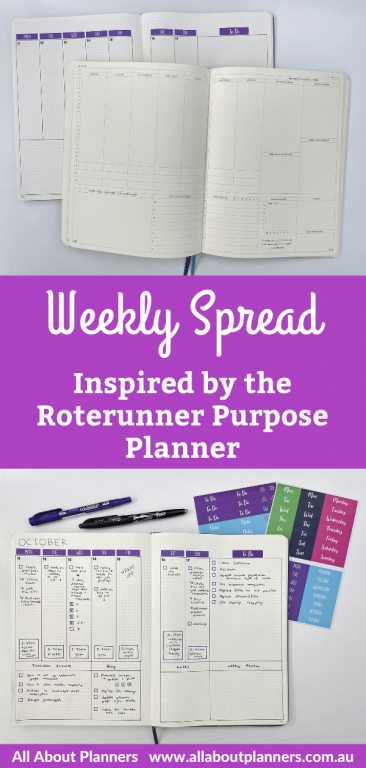
Roterunner Purpose Planner inspired bullet journal weekly spread
For this week’s spread, I took my inspiration from the Roterunner Purpose Planner.
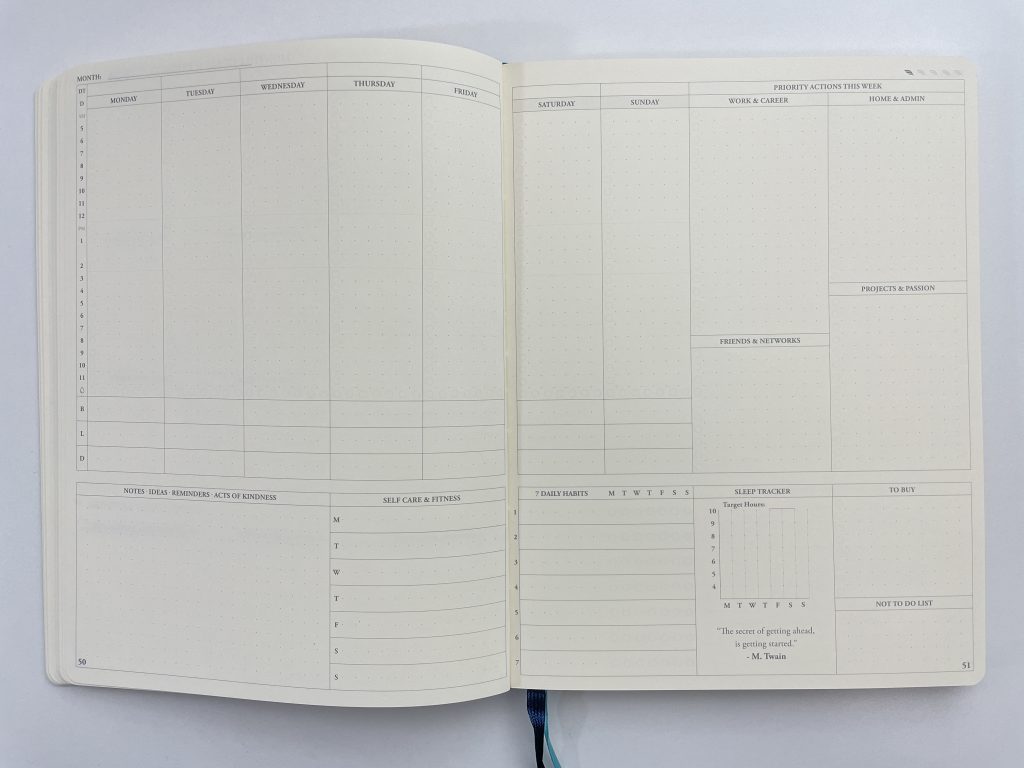
Roterunner Purpose Planner
I really like the base layout of the Roterunner Purpose Planner and how it flows through from the goal categories at the front of the planner, to their own section on the weekly spread, as well as the smaller days of the week and extra list sections. However there are a few elements that don’t quite suit my needs:
- I habit track monthly, not weekly
- I don’t need a sleep tracker
- I keep shopping lists separate to my planner (I use discbound notebooks so I can add and remove pages)
- I don’t need a separate section for fitness, I don’t have any fitness goals and already have an exercise routine which doesn’t change much from week to week
![]()
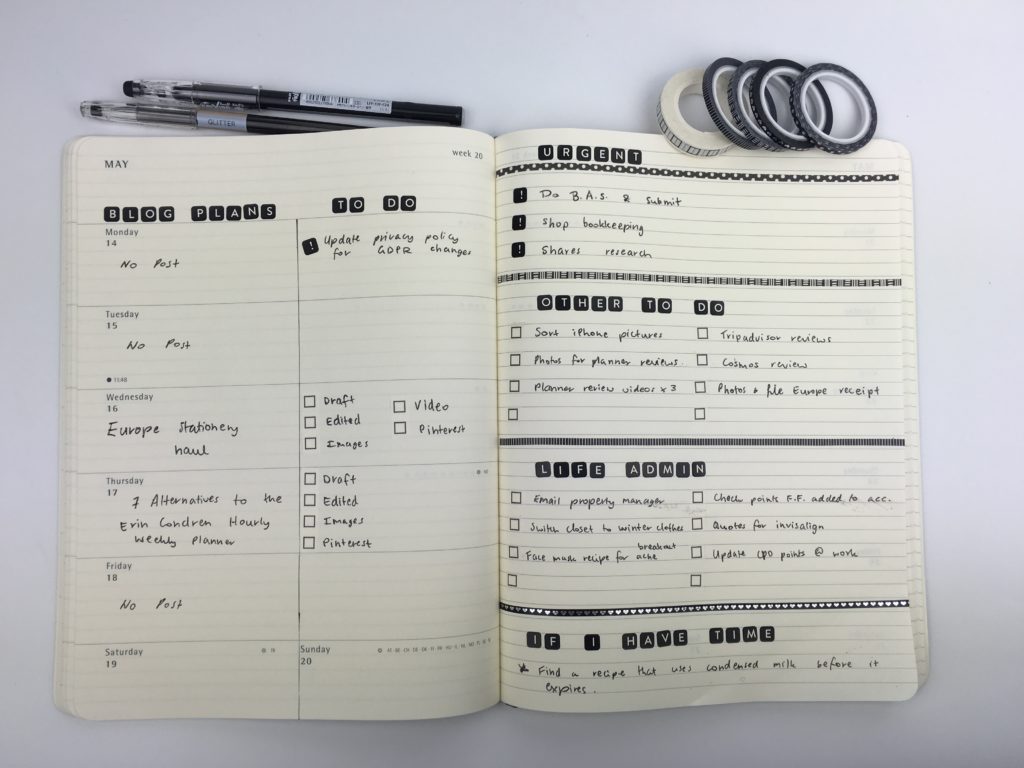
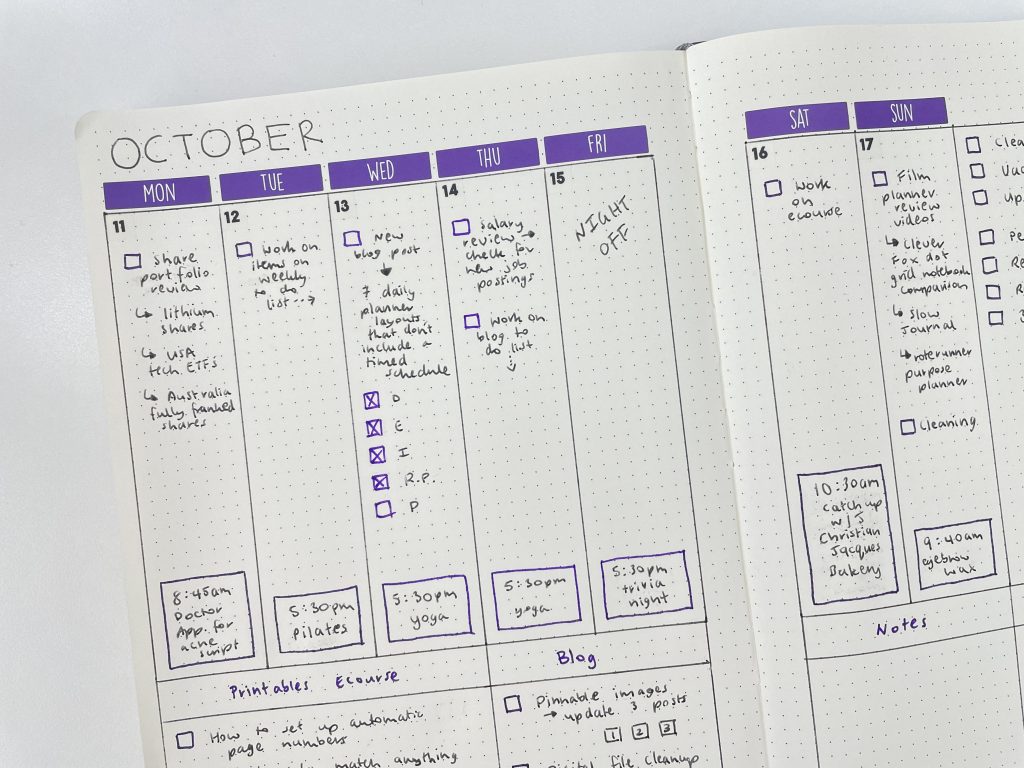
So keeping part of the layout of the Roterunner, this was the layout I came up with:

Before the Pen
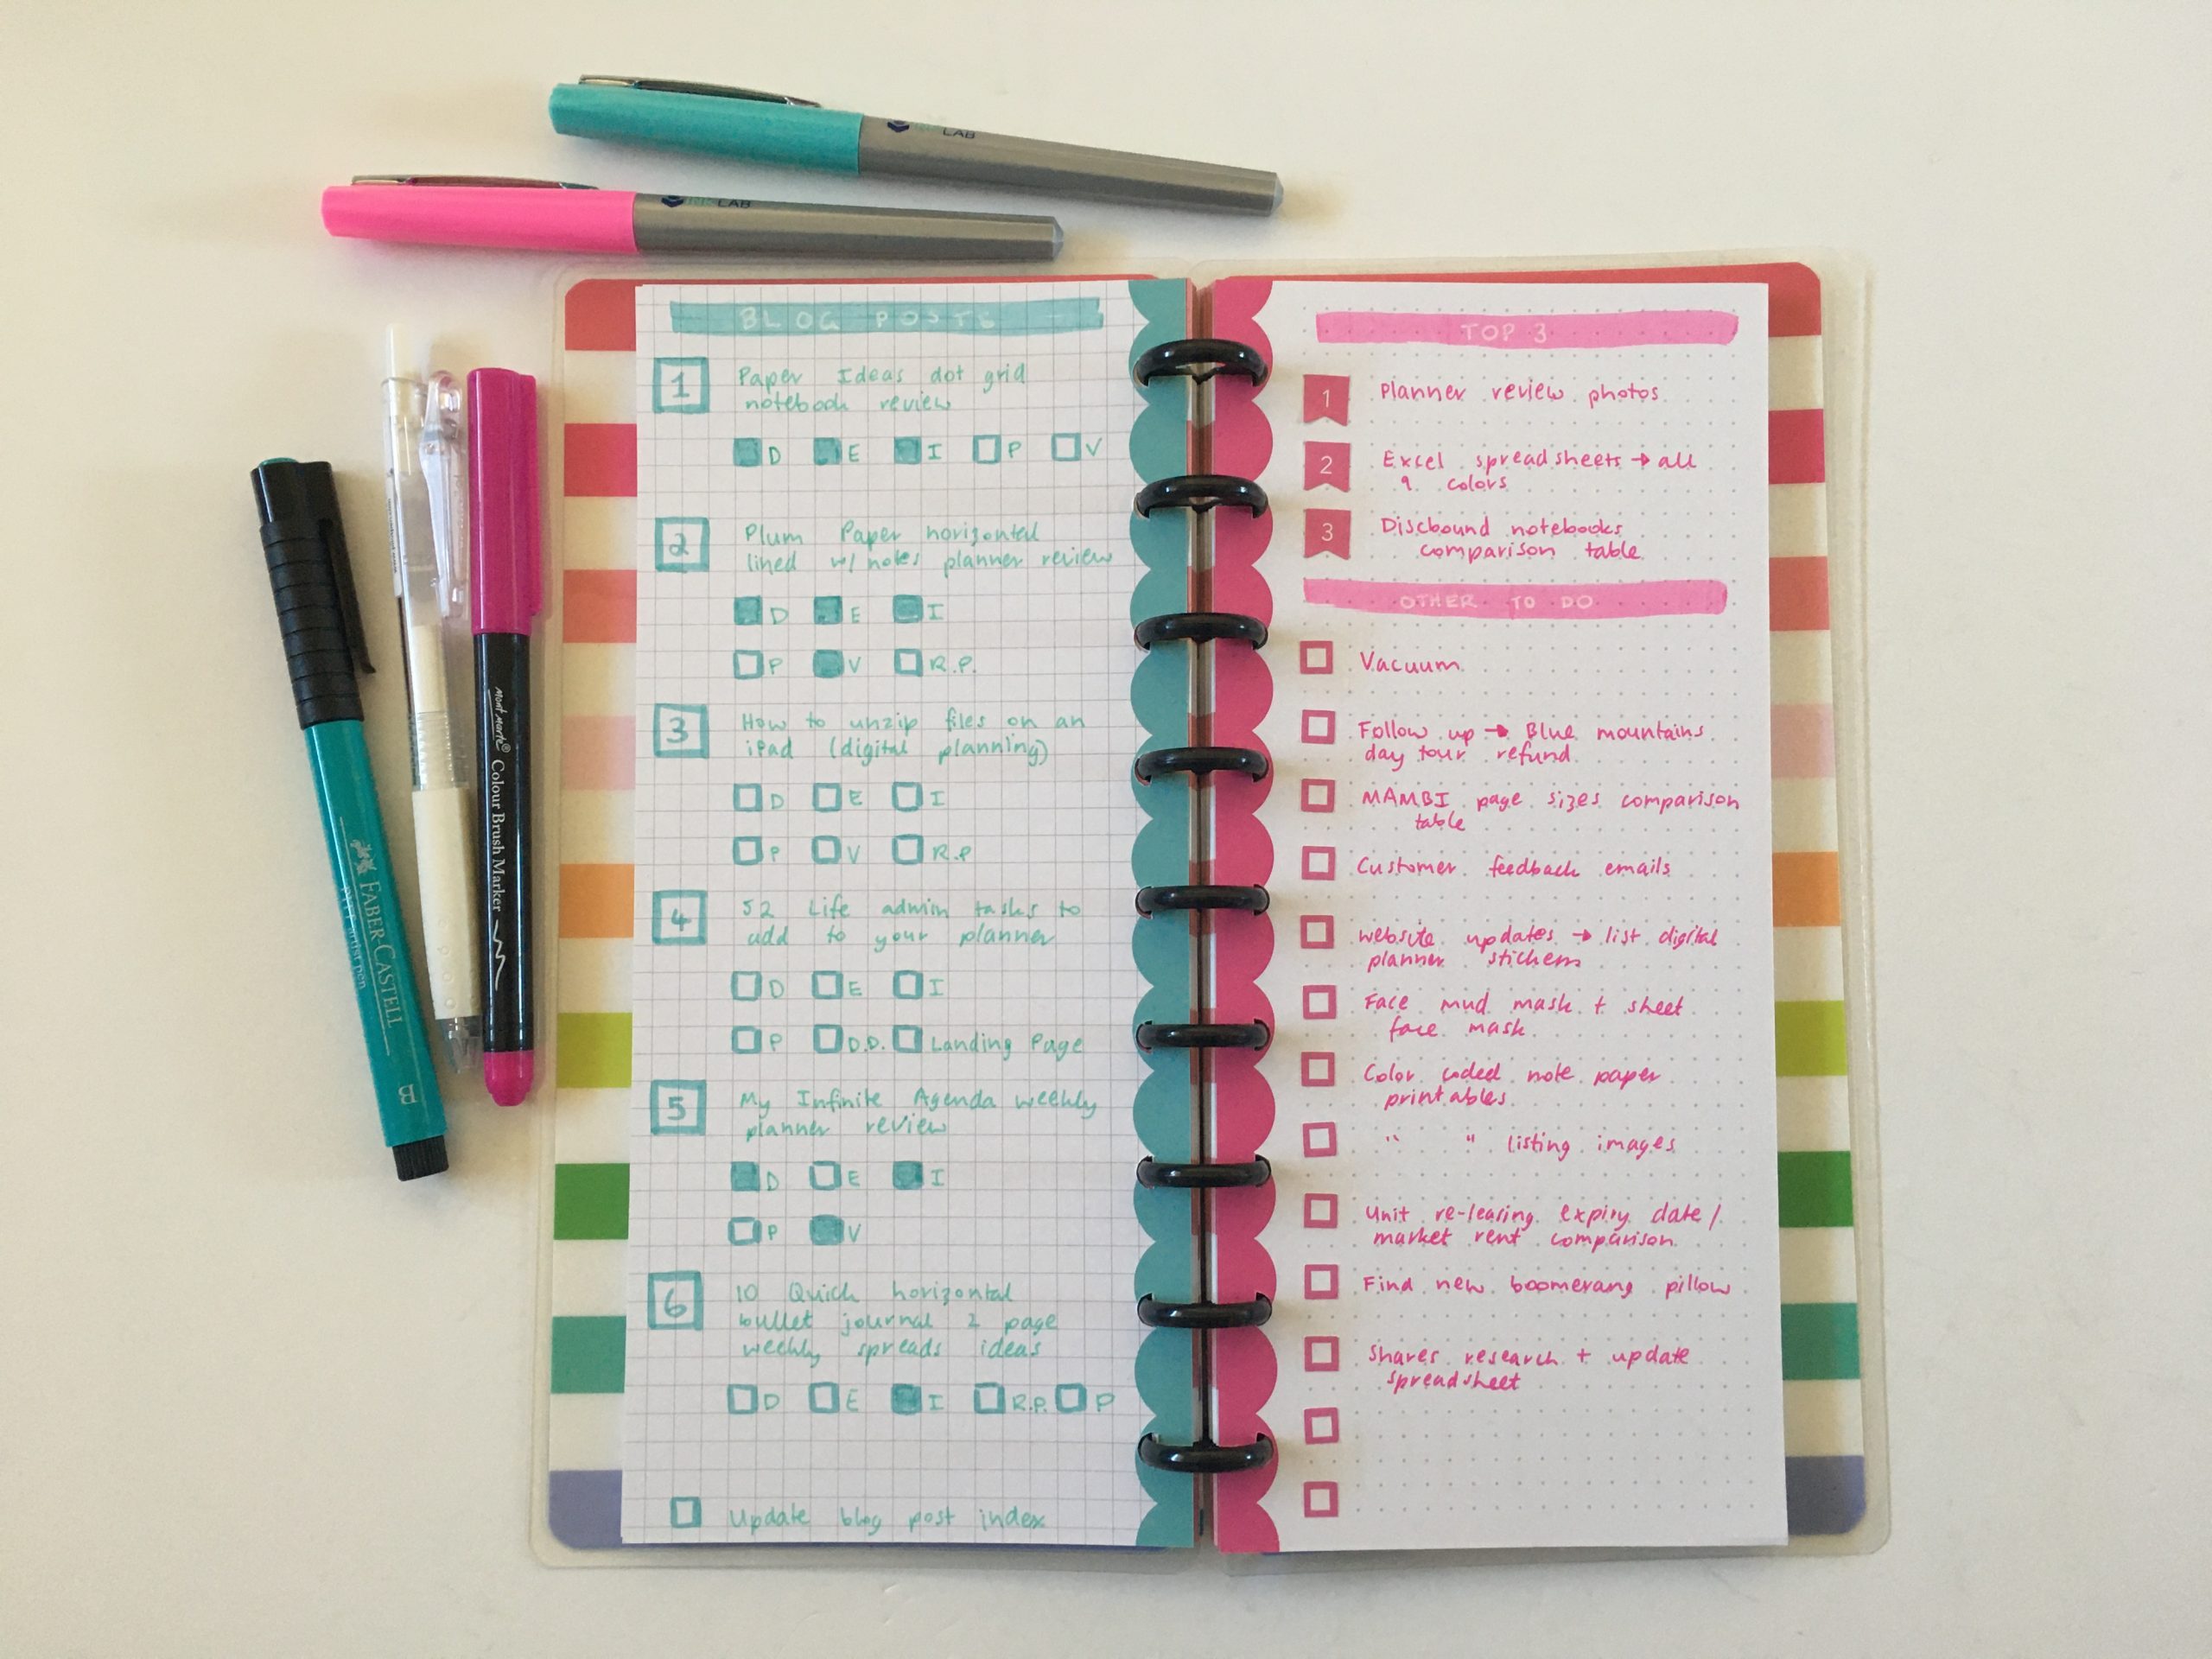
I wanted to use a similar page size to the real Roterunner planner so opted for the PaperChase hardcover dot grid that’s 18.3cm wide x 25.4cm high (approx. 7.25″ wide x 9.5″ high). The grid in the PaperChase notebook is 4mm, I prefer a 5mm grid (which the Roterunner has). 4mm means I either write really small to cram it in, or leave a gap between each line which wastes too much space.
While I didn’t have a separate section for each of the Roterunner planner’s categories, I considered those categories when putting things in my planner. I do struggle with balancing health, work, blog, business, relationships etc. and having those separate categories does make me a bit more intentional about how I plan my week.
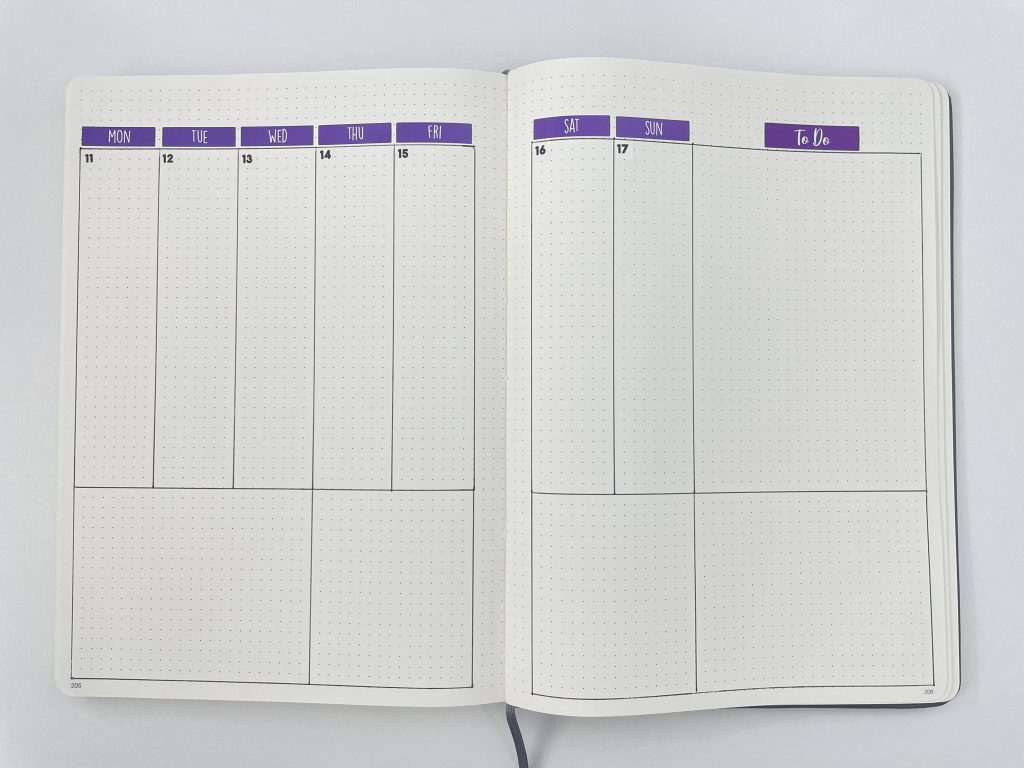
I’m glad I used the biggest dot grid notebook that I had, because there’s no way I’d ever do 5 weekday columns on a smaller page size, the columns ended up being only 3.2cm / 1 inch wide.
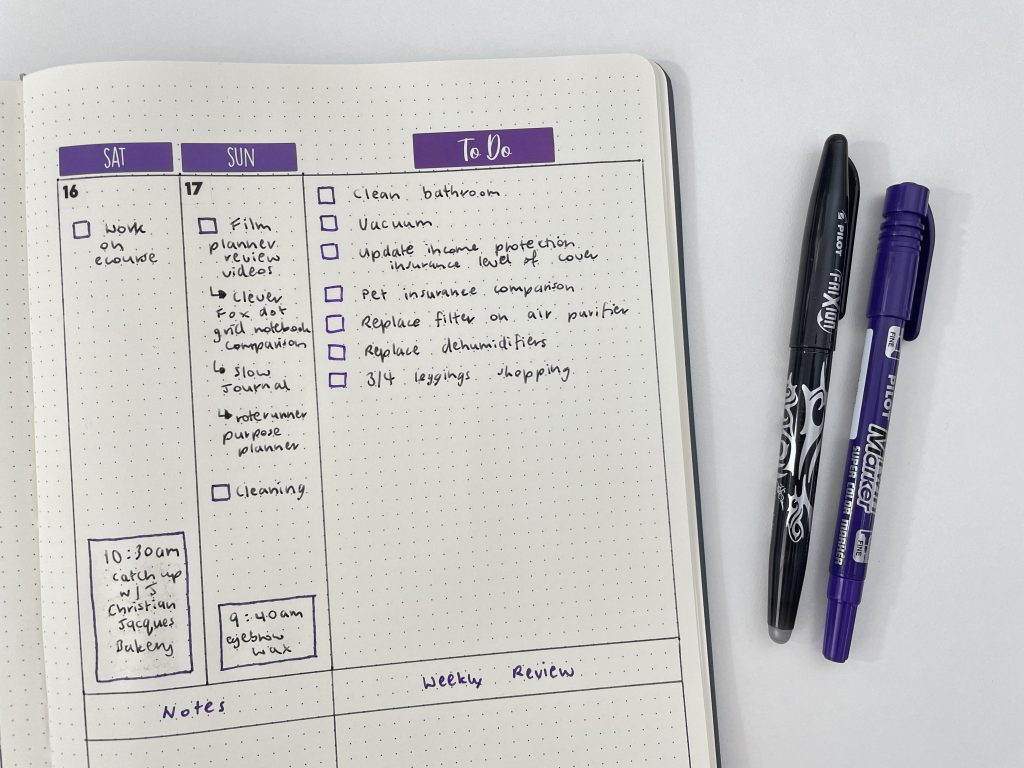
As I prefer a wider to do list column and didn’t need some of the categories on the Roterunner layout, I did a 1 column sidebar instead of the 2 columns in the Roterunner planner.
After the Pen
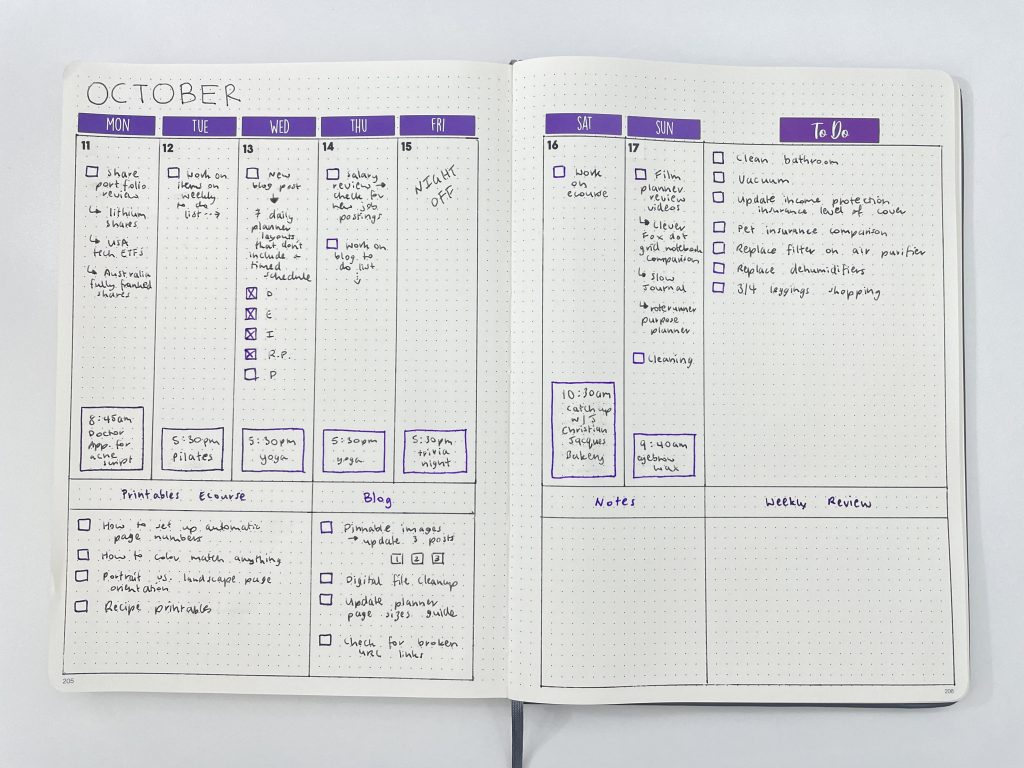
The paper in the Paperchase notebook feels really smooth and is nice to write on.
Supplies Used
This list contains affiliate links. If you make a purchase after clicking one of these links I’ll receive a small commission in exchange for referring you (at no extra cost to you).
- Paperchase hardcover dot grid notebook (18.3cm wide x 25.4cm high / approx. 7.25″ wide x 9.5″ high)
- Black Frixion erasable pen
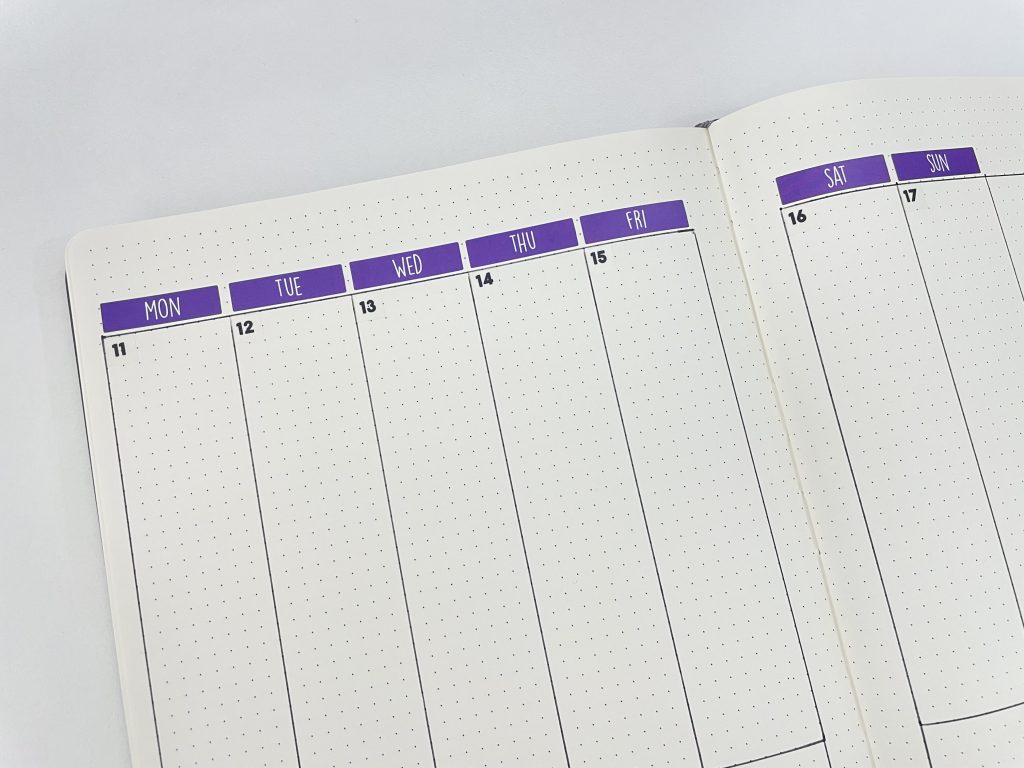
- Pilot Twin marker in purple for the checkboxes and category headings
- Number stickers from Kmart
- Days of the week stickers from this Sunny Streak planner stickers bundle
I thought about adding a strip of washi tape at the top of the page but thought it would end up looking ‘over-done’ so restrained from using washi tape… this time.
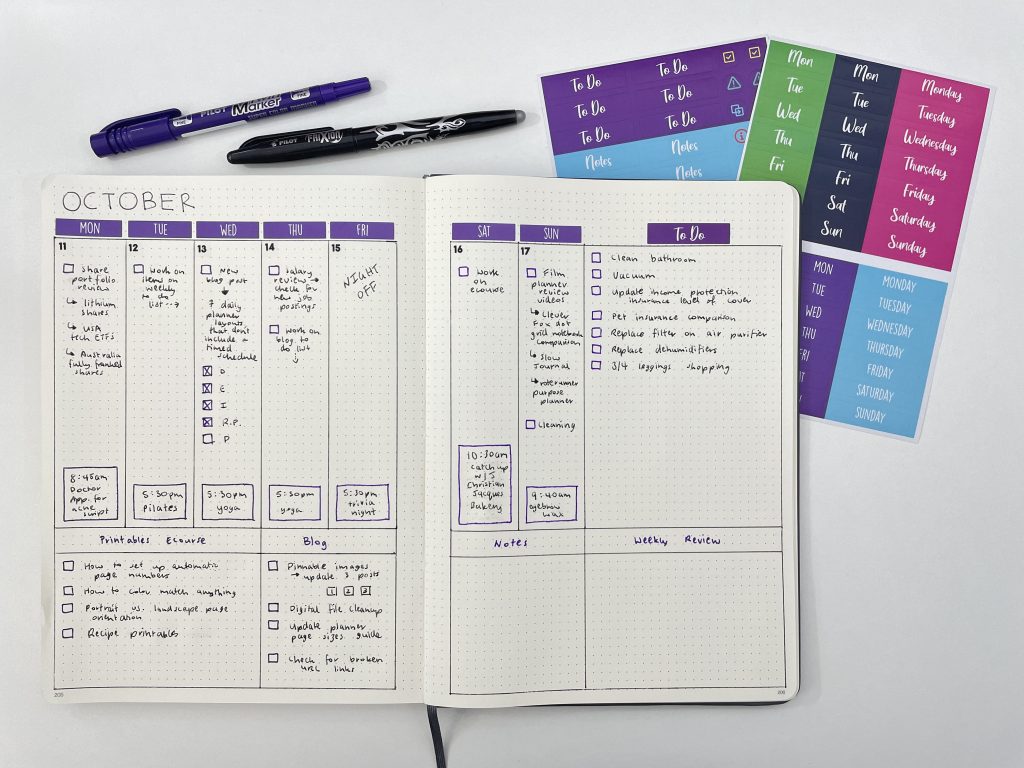
The colors of the twin tip markers are great – the ink never skips and I’ve had them for years without them drying out – but they’re very thick and have bad ghosting (the paper in the PaperChase notebook is only 80GSM though which is very thin).
Would I use this layout again?
Yes, but I’d turn the page landscape orientation next time so my columns for each day are wider.
Past weekly spreads
- Trying out the Happy Planner Dashboard Layout
- Converting the Day Designer daily into a weekly planner
- Stencils weekly spread in the Archer & Olive
Planning tips
- 5 Things I Plan (but not in my weekly planner)
- 7 functional ways to use an expired planner
- My monthly planning process (all 7 steps)
Tired of drawing up weekly spreads? This printable bundle of 52 different 1 page weekly planners (you can mix and match to create 2 page spreads if you prefer), is available in my Etsy shop and online store. It comes in US letter size and Happy Planner classic page size.

Liked this post? Pin it!