Using the Frank Horizontal Weekly Planner (52 Planners in 52 Weeks – Week 27)
For week 27 of the 52 Planners in 52 weeks challenge I used the Frank horizontal weekly planner.
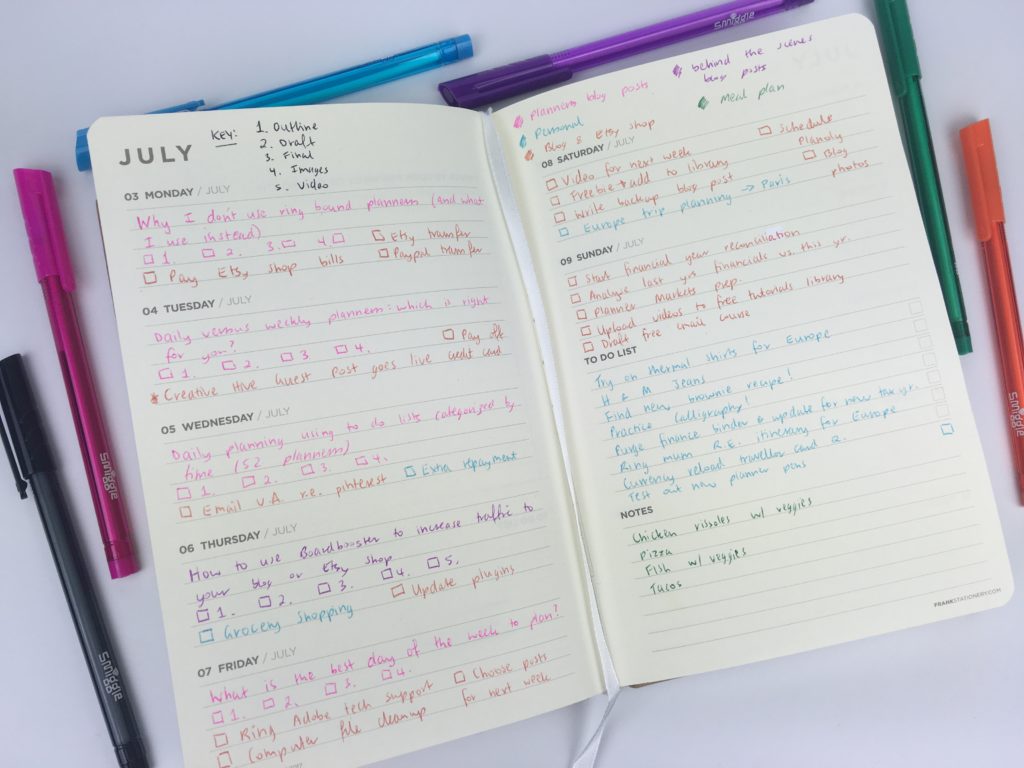
This planner reminded me of the Mi Goals planner with a simple black and white font and horizontal space for each day. Rather than the blank page on the right with the habit tracker, the days extend over 2 pages with a to do list and lined notes space.
Related: Using the Mi Goals Weekly Planner (week 19)
Related: Review of the Frank Horizontal Weekly Planner
Setting up the week
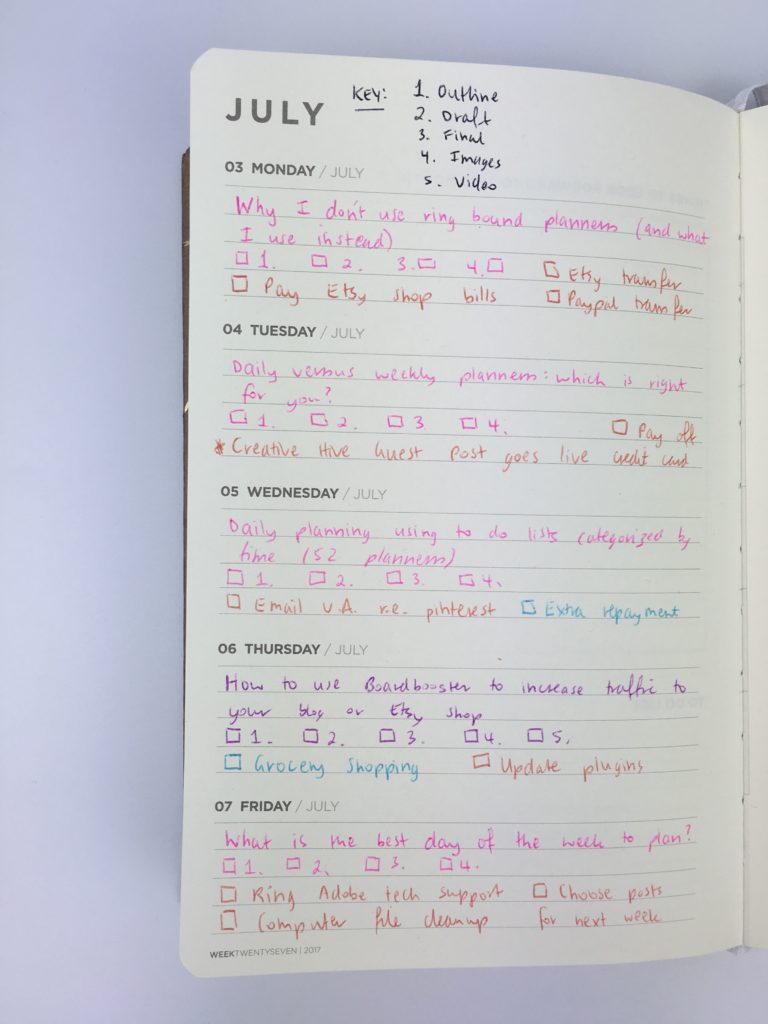
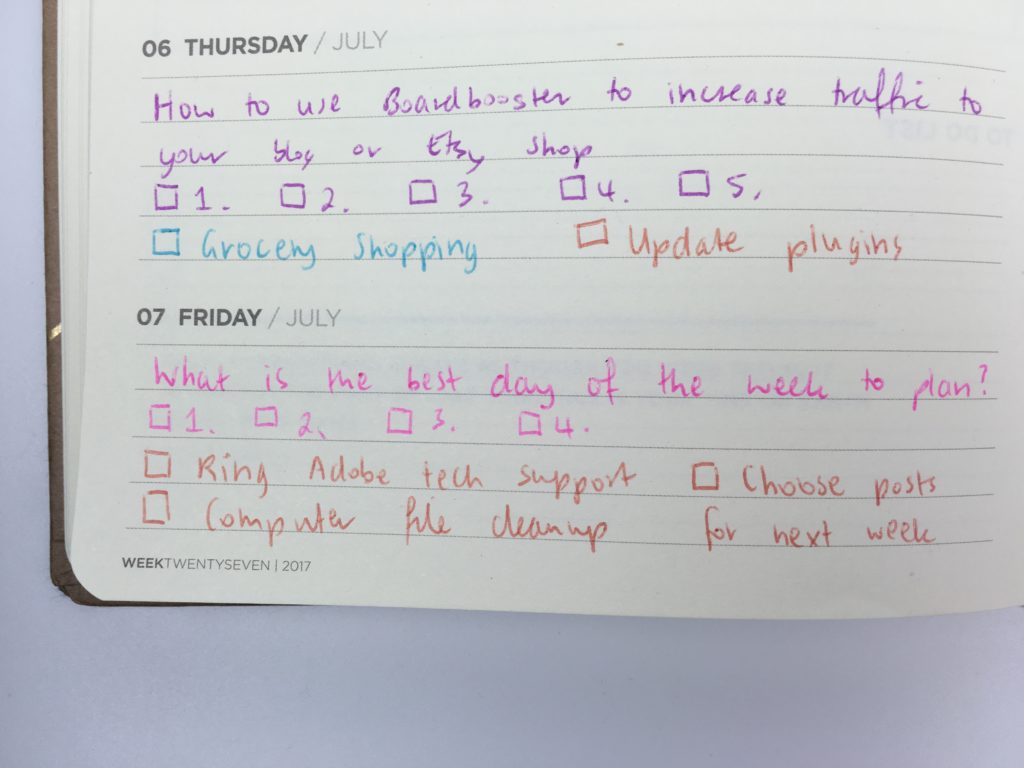
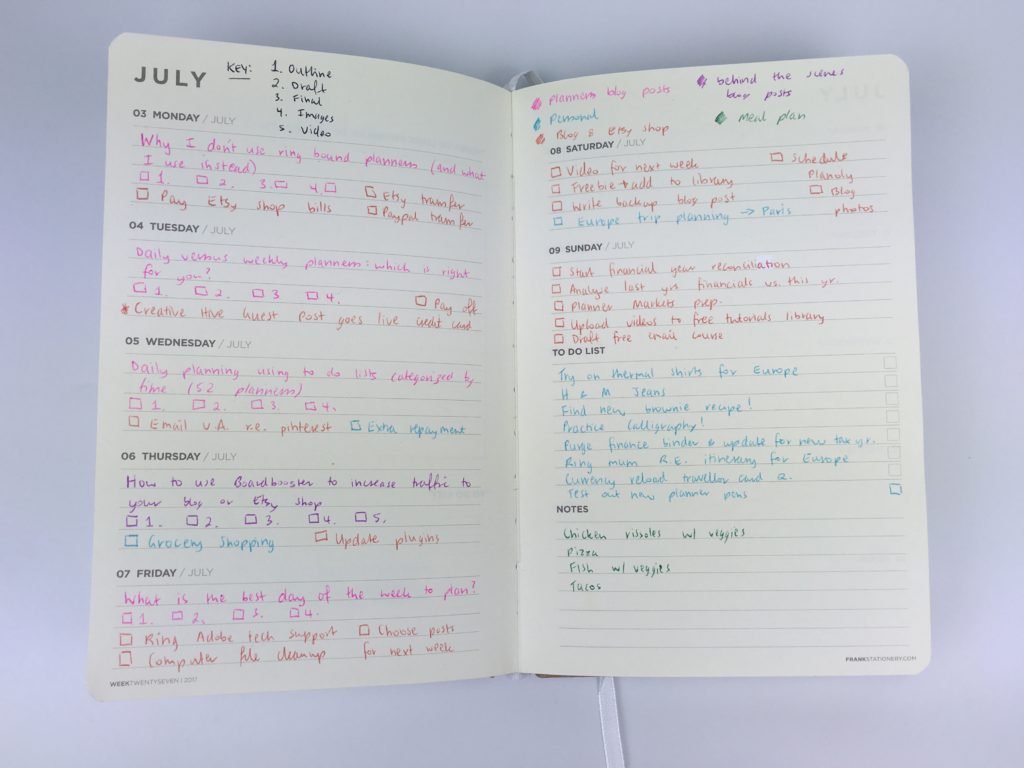
The planner has a 2 page spread for each week with Monday to Friday on the left
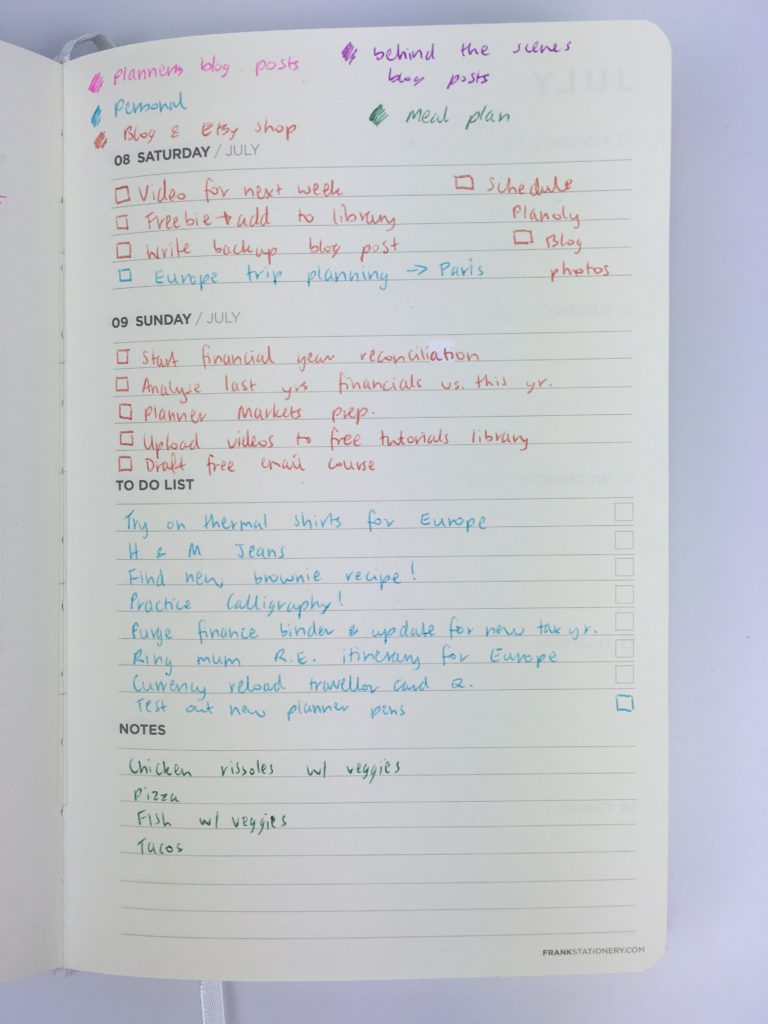
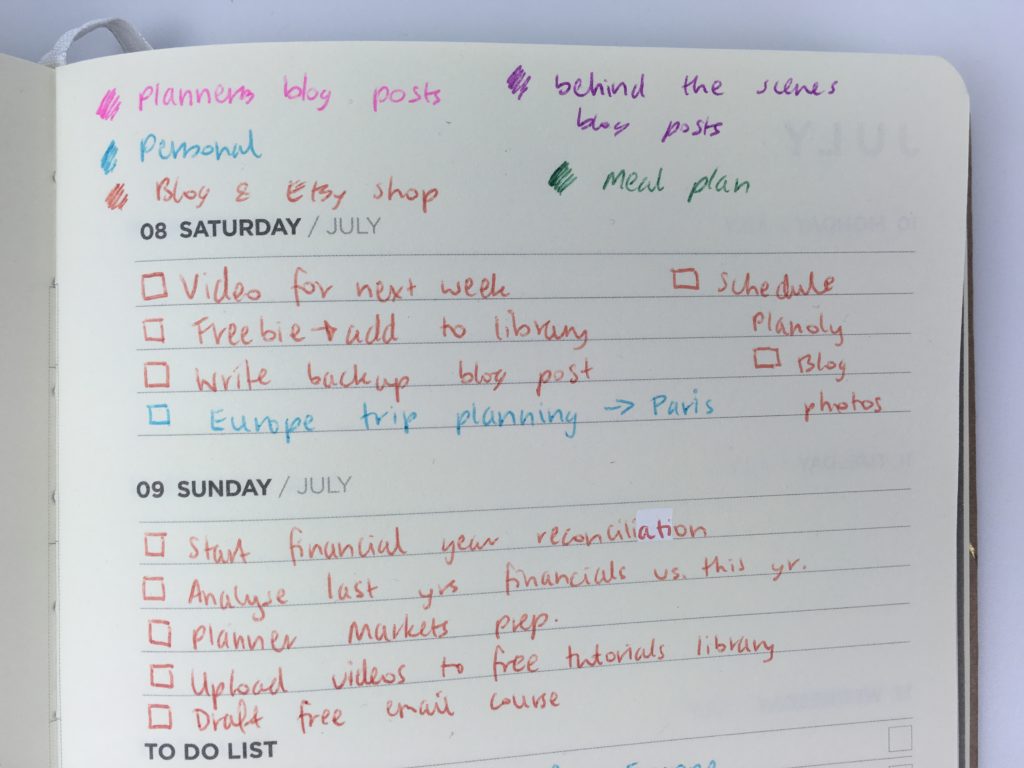
And the weekend, list planning space and a notes section on the right page
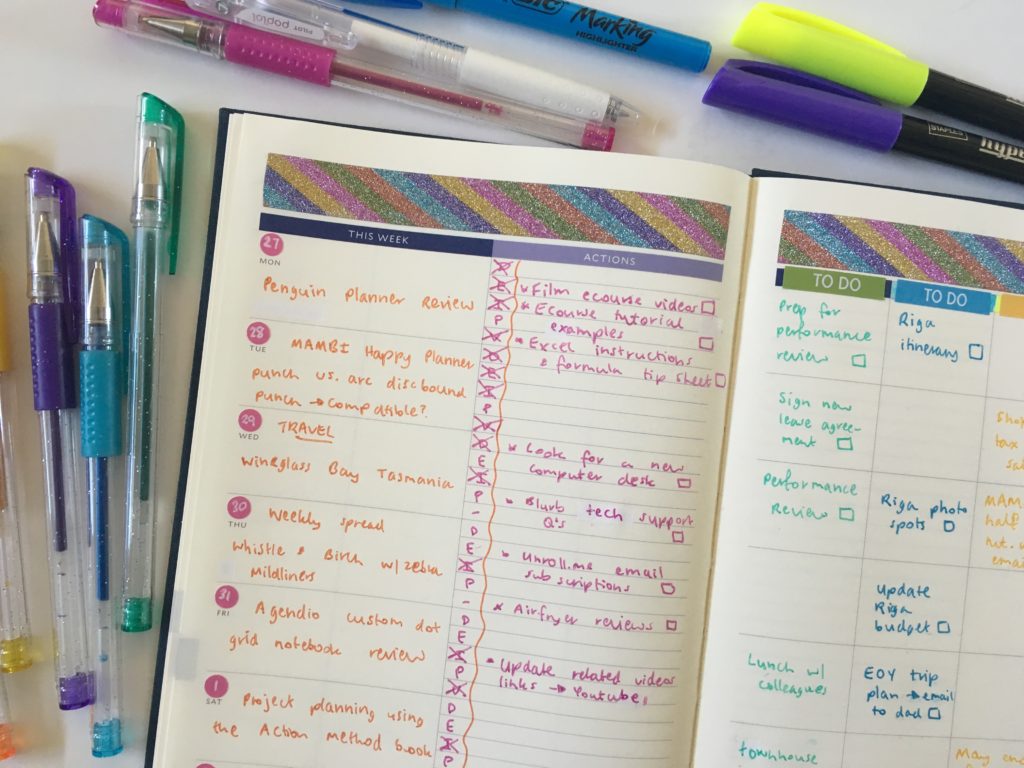
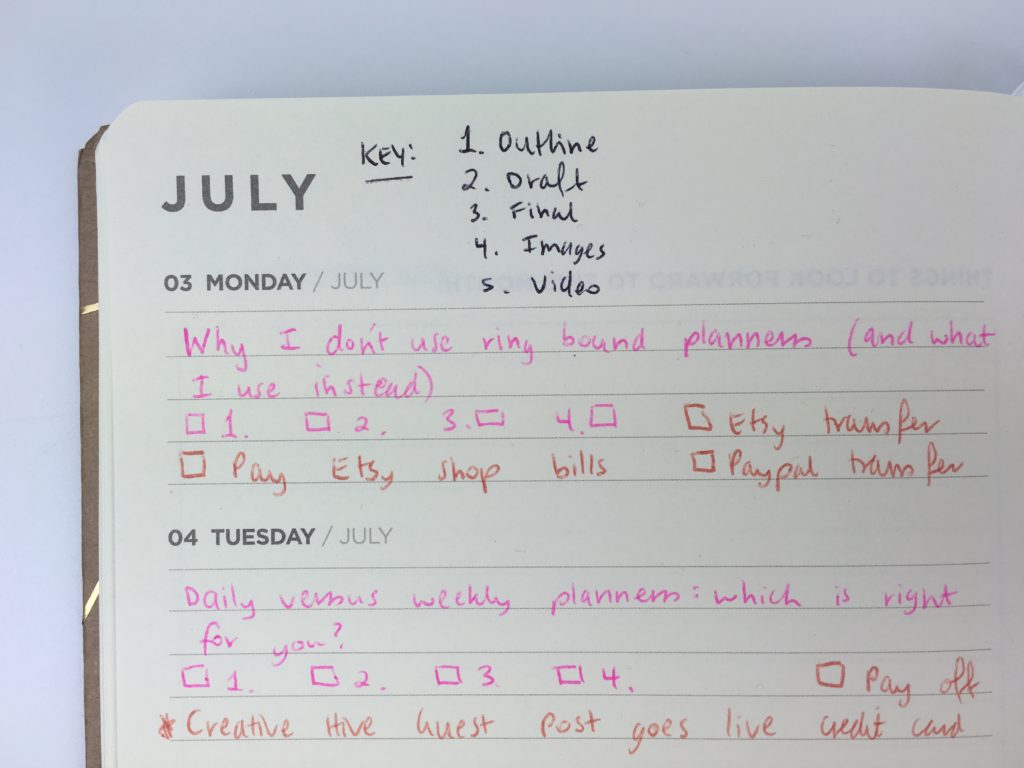
Because I knew space would be limited in this planner, I set up a key for each of the blogging workflow tasks and use a number code for reference and then drew a checkbox beside each task to cross off when complete
- Outline
- Draft
- Final
- Images
- Video
Doing this did save a lot of room but space still ran out quickly in this planner.
Related: Using a planner key and symbols to code your planner (efficient planning methods)
I color coded (of course!) These were the colors I used:
- Pink = Blog Posts
- Blue = personal
- Green = Meal planning
- Purple = behind the scenes blog posts
- Orange = Blog & Etsy shop stuff
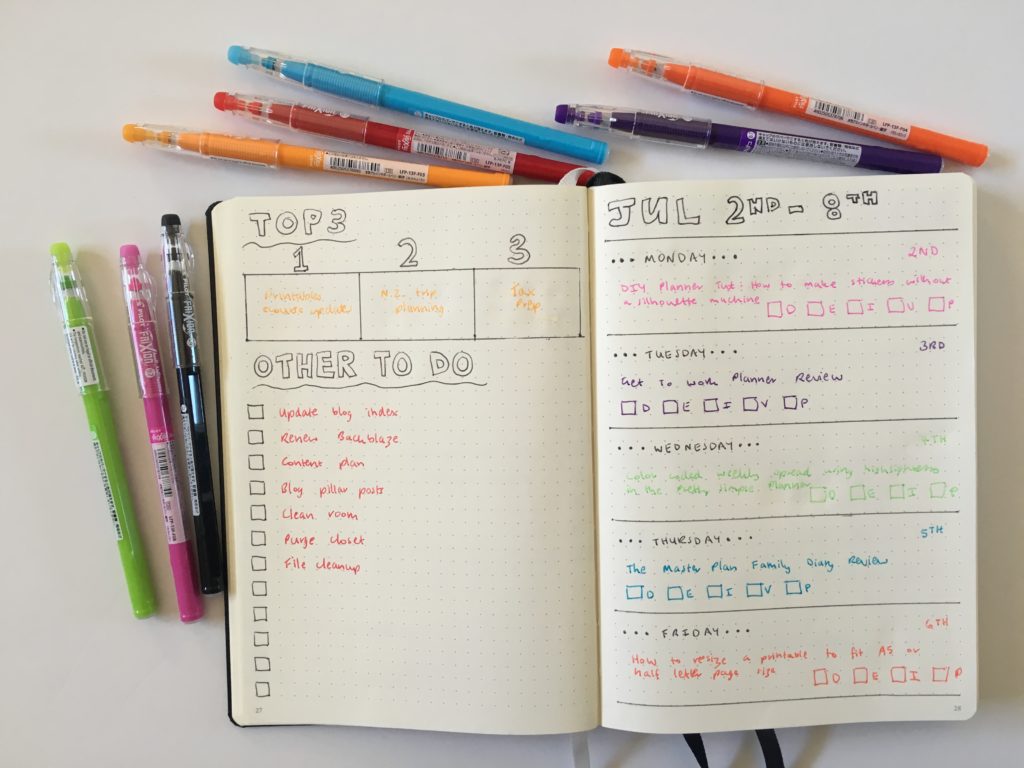
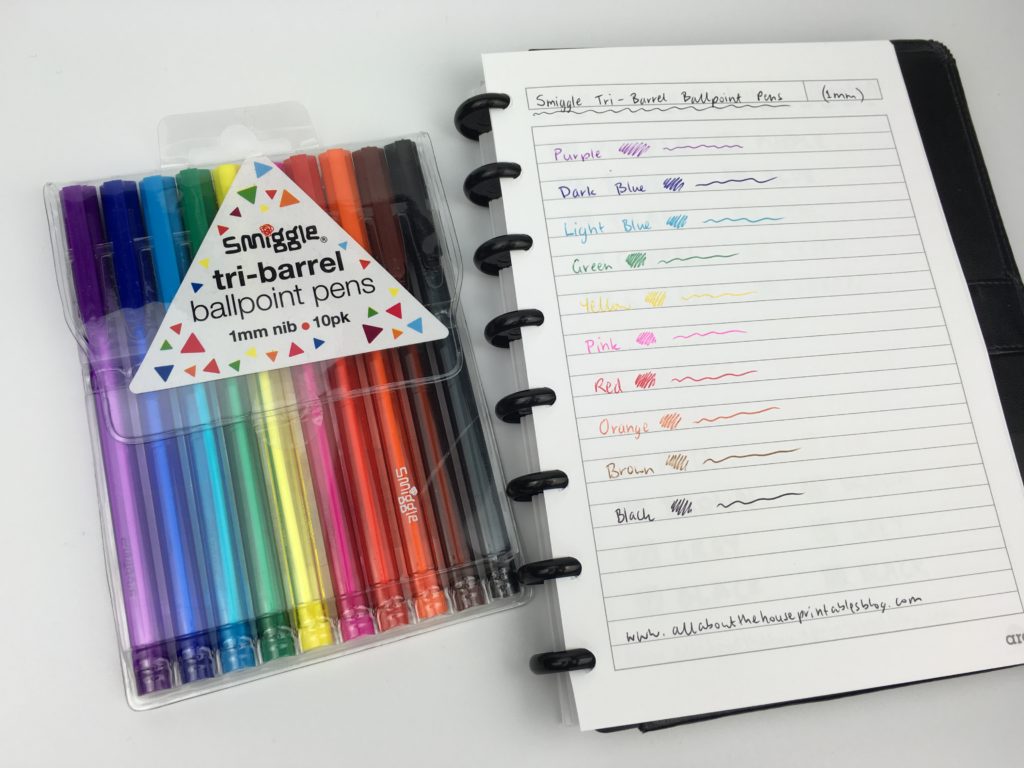
Pens Used
I used the Smiggle Tri Grip pens. The colors of these pens are ok except for the green which is too dark for my liking! The orange is also bordering on brown.
Related: Smiggle Stationery Haul (worth the cost?)
Pros of the Frank Weekly Planner
- Even though it’s bookbound, the more I used it / left it open, the more the pages wanted to lay flat
- Elastic band to keep it closed
- Bookmark to hold your place
- Small size means it’s portable. It also feels very light
- Cheap! This planner was only $14 AUD (on sale as I bought it part way through the year) with free shipping to Australia (it’s made in New Zealand)
Cons of the Frank Weekly Planner
- I started running out of room when allocating tasks to each day
- All of the pens I tested had some ghosting (i.e. could see the ink on the back side of the page)
- The proportions of this planner weren’t quite right for me – the notes section needed to be smaller and the daily planning space slightly bigger
Would I use this planner again?
If you don’t have much to plan and need something portable, this planner would work, but it just wasn’t quite right for me unfortunately. The space for each day wasn’t quite enough and the notes space was under utilized. If I used it again I’d white out the pre-printed headings and plan by category rather than by day like I did in week 5 – I think this planner would work much better that way!
Overall, this weekly spread felt a bit too dull. It needed some stickers or brighter pens or highlighters to liven it up a bit.
Catch up on past week’s of the challenge:
- Week 2: Planning using daily checklists
- Week 17 (Part 2): Daily planning using to do lists categorised by time
- Week 18: Making a DIY printable planner with a flexible layout
Related:
- 6 Useful ways to efficiently plan your week using highlighters
- 50 Tips for writing a better to do list that will make you more productive
- How I plan my week: my 6 step process
- Why I don’t use ring bound planners (and what I use instead)
If you’re tired of drawing up weekly spreads, this printable bundle of 52 different 1 page weekly planners (you can mix and match to create 2 page spreads if you prefer), is available in my Etsy shop and online store.