
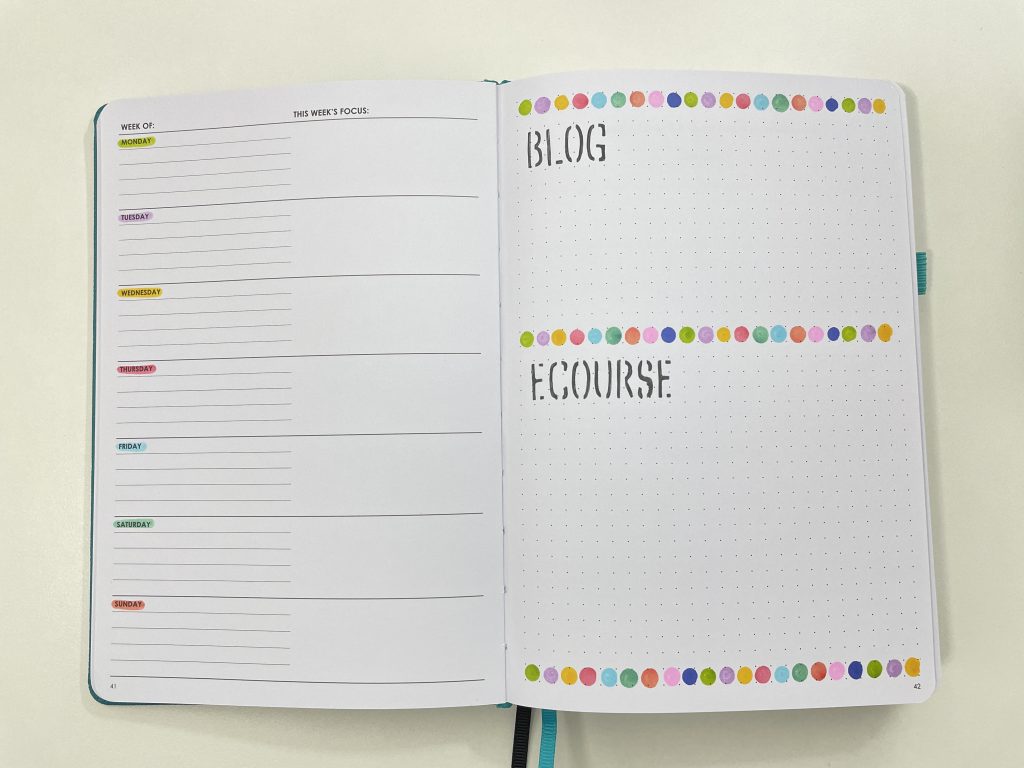
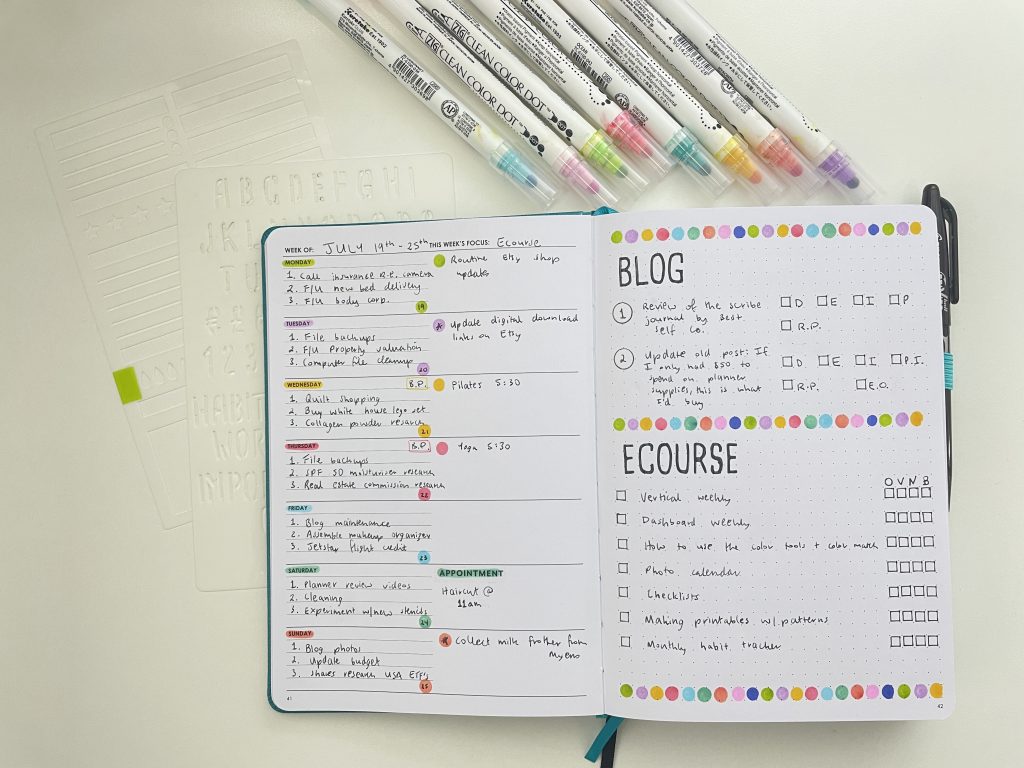
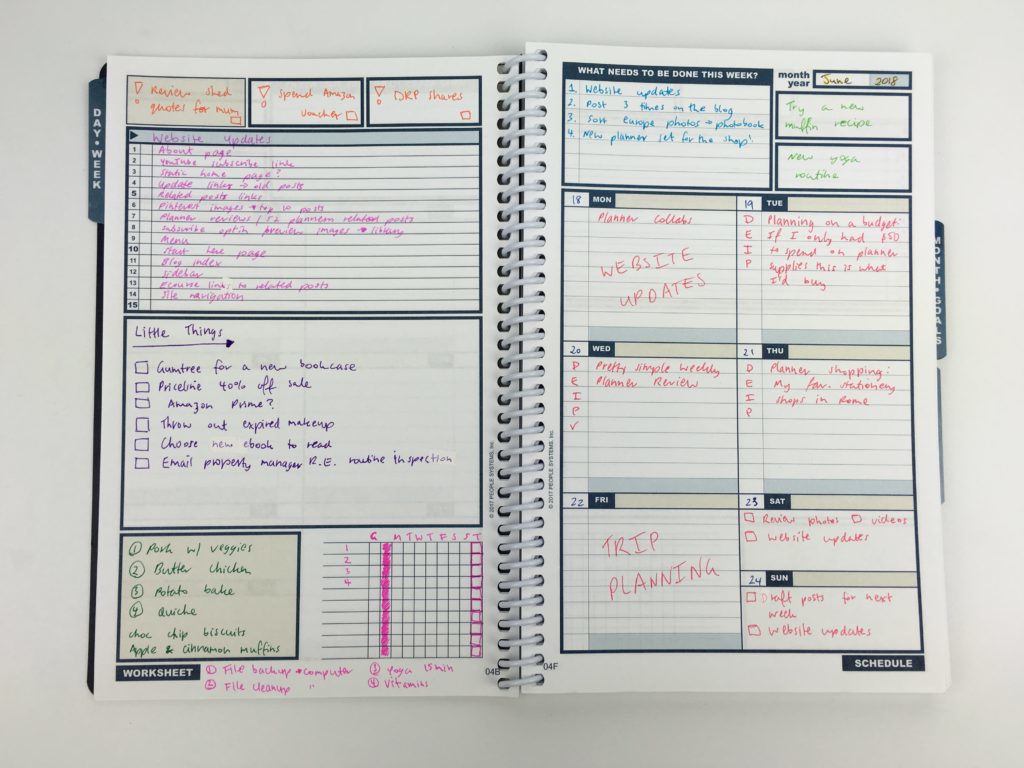
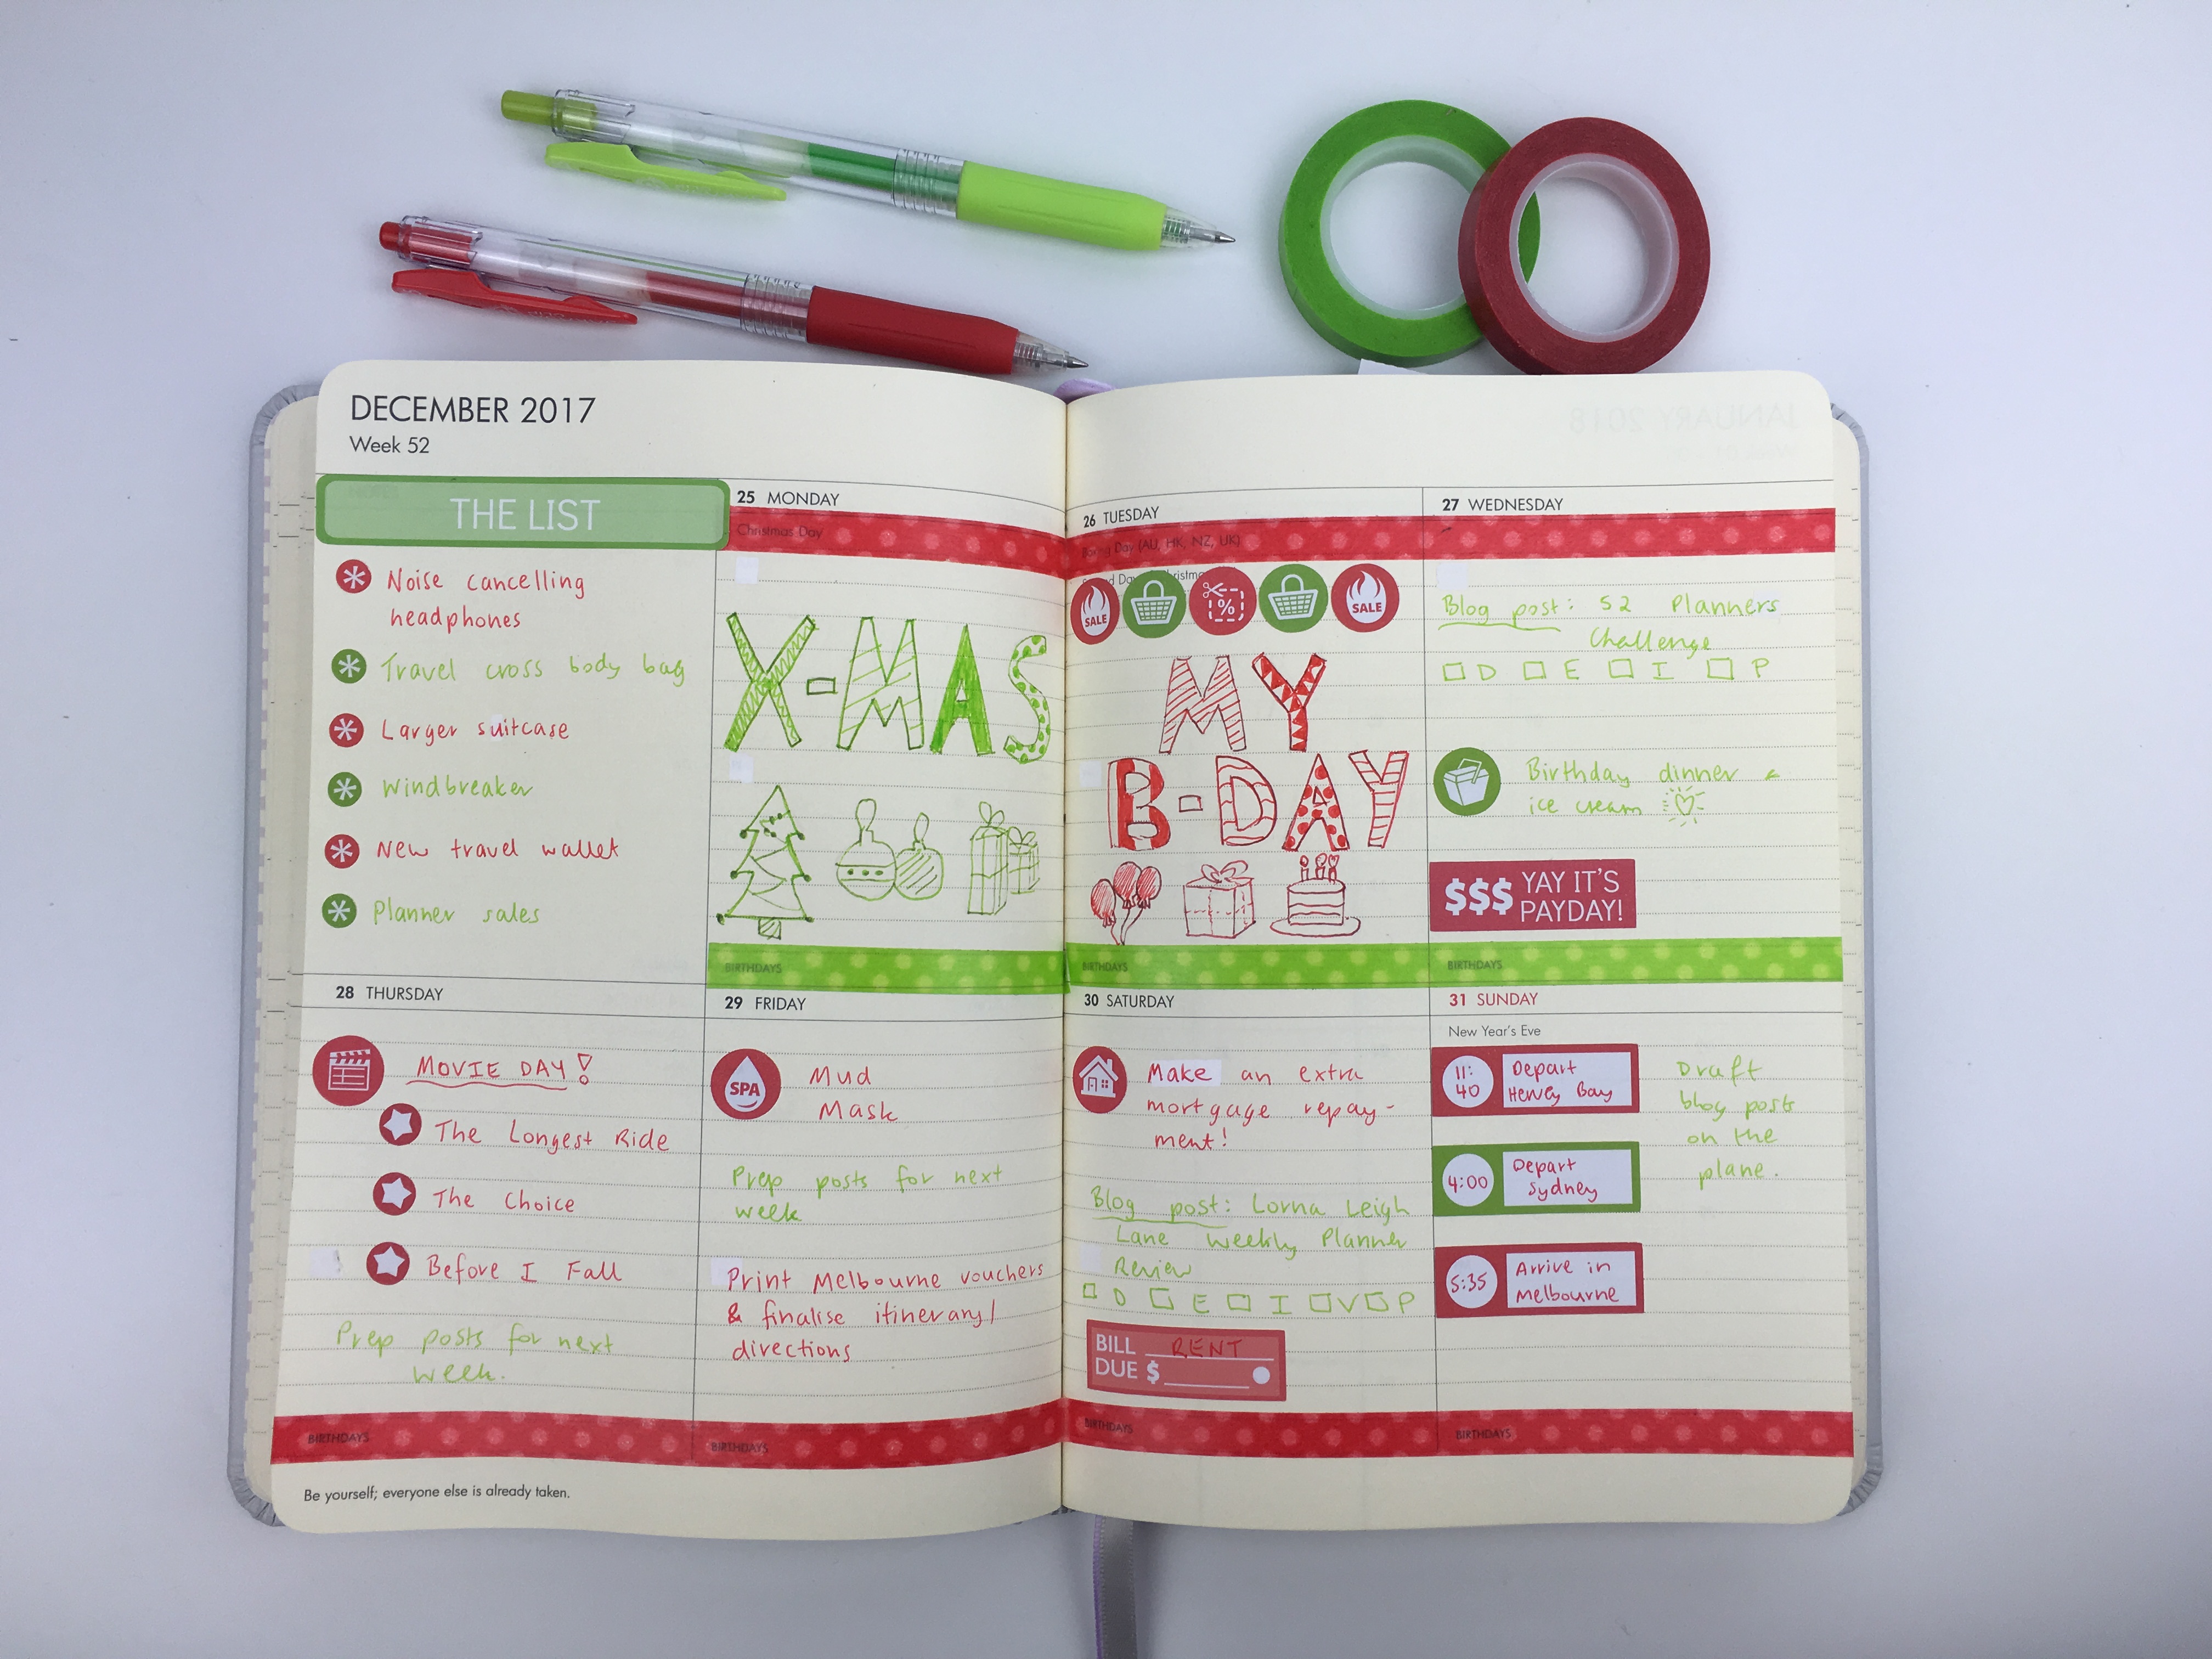
Weekly spread in the Wordsworth planner using dot markers & stencils
The Wordsworth Planner has 3 page formats – lined, blank and dot grid – which doesn’t happen very often. Combined with a dashboard weekly spread (my all time favorite type of weekly spread) I really wanted to try this planner.
This post contains affiliate links. If you make a purchase after clicking one of these links I’ll receive a small commission in exchange for referring you (at no extra cost to you).
Before the Pen
I kept it minimal this week. This spread has such a functional layout I wanted to keep it functional. Instead of highlighters, I decided this would be the perfect time to use dot markers.
Read more: Dot Marker Comparison: Zig Kuretake Clean Color Dot versus the Tombow Play Color Dot
After the Pen
I much prefer the colors of the Tombow dot markers. These ZIG dot markers are a bit too dull for me.
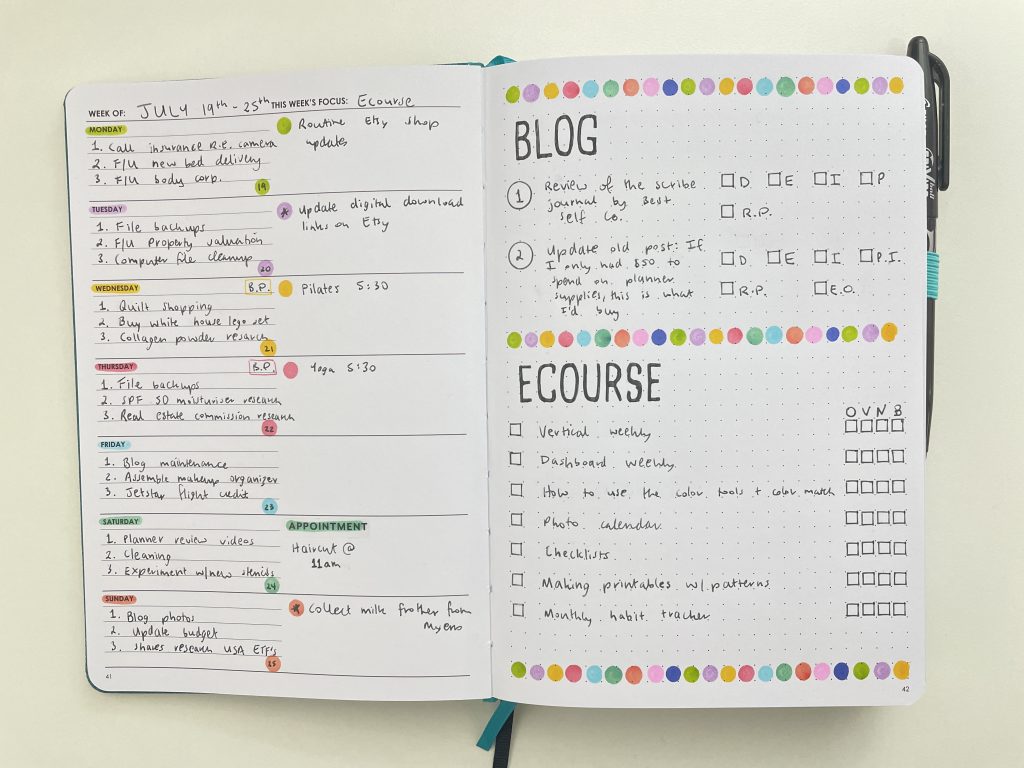
I’m working on a new ecourse teaching how to make printables in a software that I’m really excited about, and wish had been around back when I started making printables in 2012! The course will probably be available to enrol at the end of September.
The paper in this planner is thick and survived the pen test, but dot markers always bleed through or have heavy ghosting which was the case in this planner too.
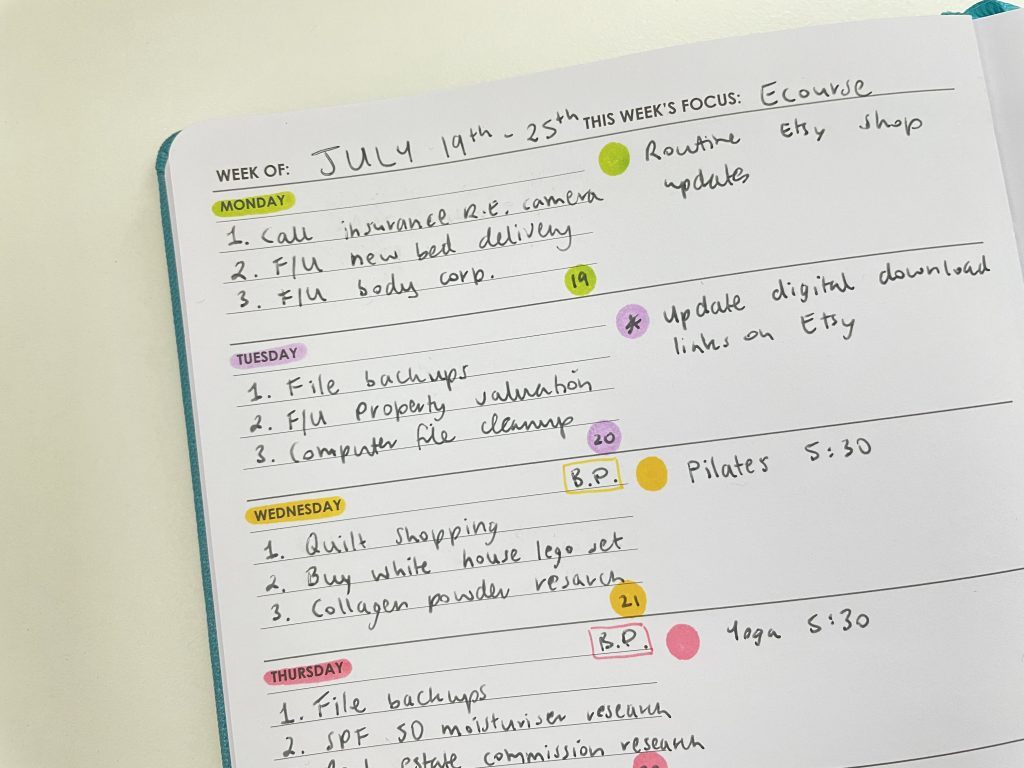
If you have transparent stickers but want to add some color, I used the dot marker to draw a line first, then placed the appointment sticker over the top.
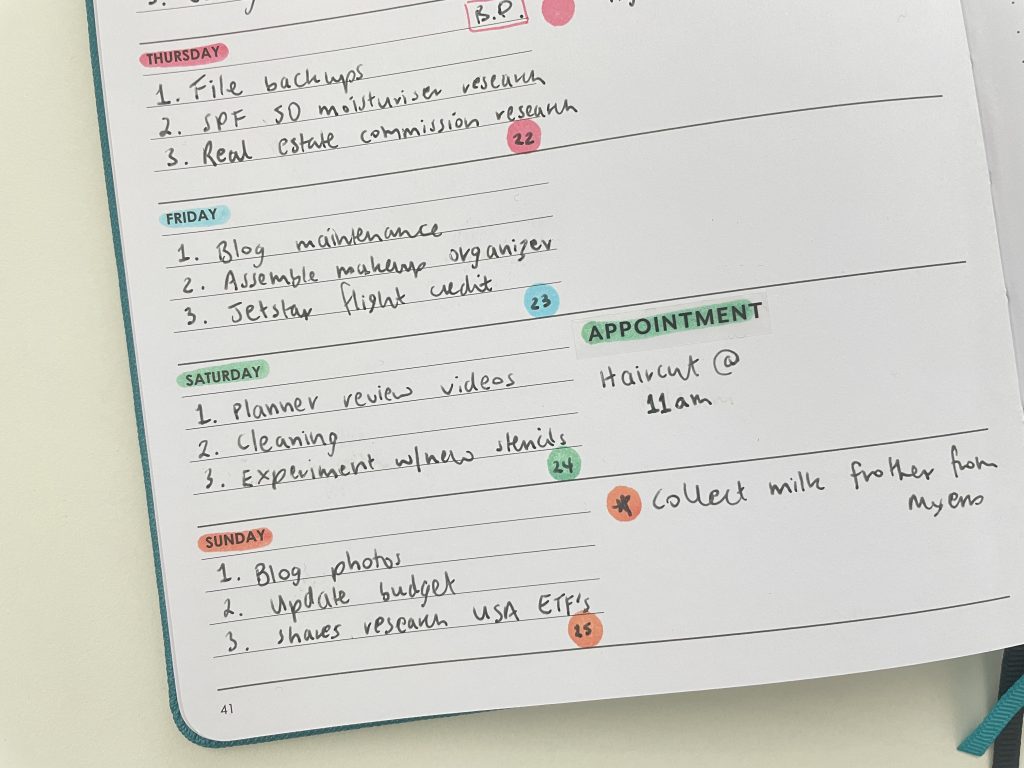
I usually have a top 3 for each week and just work on tasks on whatever day I feel like, but this week I decided to take a different approach. With life admin getting a bit out of hand lately, I chose 3 quick tasks for each day and focused on those first. Then once they were out of the way, any spare time was spent working on the bigger picture things (blog & ecourse).
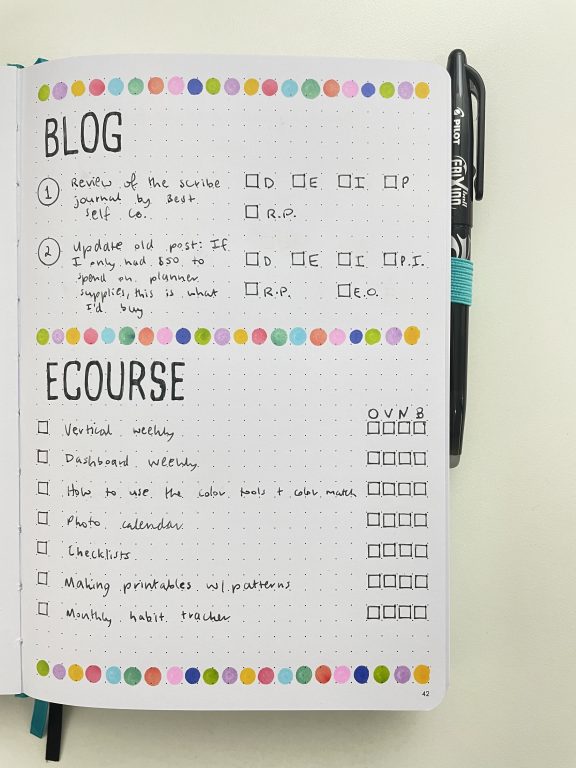
If you’re new to my blog, this is my coding for blog post workflow
- D = Draft
- E = Edited
- I = Images
- R.P. = Related post linked
- P = Pinned to Pinterest (follow me here if you aren’t already)
Here are the links to the posts published this week
- Scribe Journal by Best Self Co
- Planning on a budget: If I only had $50 to spend on planner supplies, this is what I’d buy
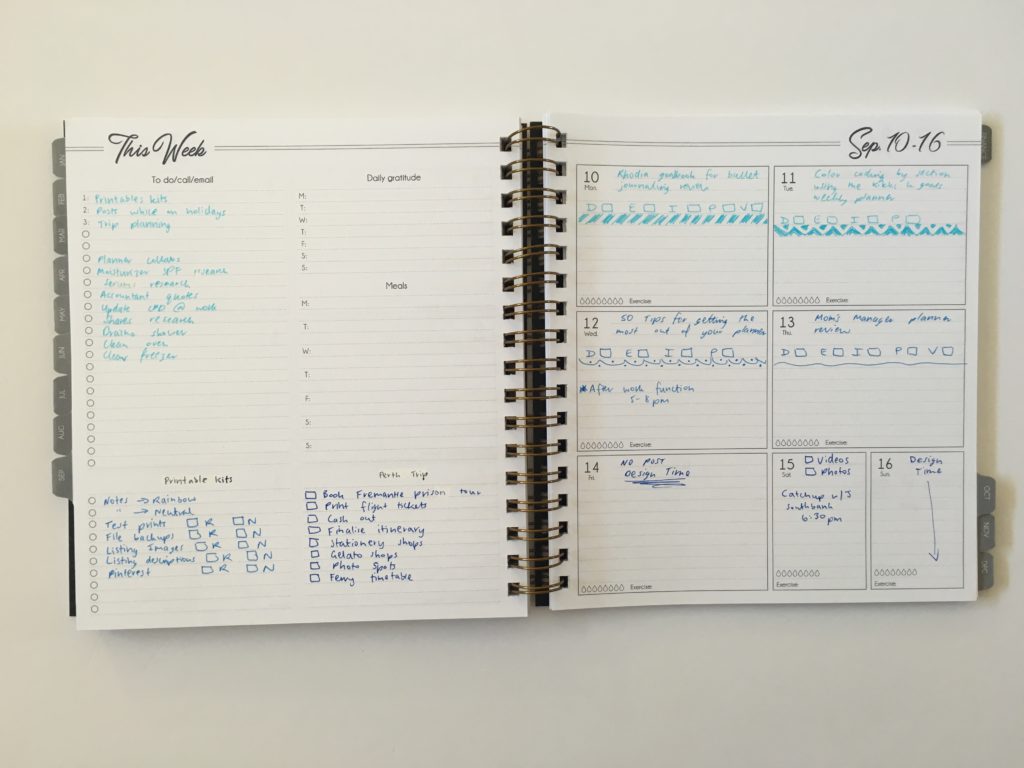
I have a separate notebook where I’m planning the ecourse using a similar method to the time I used the Mi Goals Planner for ecourse planning.
I always like to have a separate notebook for planning big projects, then copy some of the tasks to my spread each week. It’s much easier to keep track of where I’m up to and it’s not so overwhelming when it’s broken down into smaller steps.
The letters are for
- O = Outline
- V = Film tutorial
- N = Notes that accompany the video
- B = Backed up the files
Supplies Used
- Wordsworth planner (see my review in this post)
- ZIG dot markers
- Zicoto stencil (alphabet letters)
- Vloso stencil (checkboxes)
- Frixion erasable pen in black
Tip: I use washi tape to color code my stencils. I like to keep them organized into kits and use a different color washi tape for each kit
Would I use this planner again?
Yes. It has my favorite type of weekly layout and there’s no wasted space on the pages. I like the combination of lined, unlined and dot grid sections. This planner reminds me of the Mi Goals planner but with a more customisable layout and much nicer bright white paper.
Past weekly spreads
See all my past weekly spreads here.
- My Top 10 Favorite Weekly Planners (after reviewing more than 200 planners)
- Trying out the Recollections Vertical Weekly Planner
- Whistle and Birch horizontal weekly spead (pastel theme)
Related posts
- How to choose a binding system for your planner (comparison and which one I like the most)
- 15 Productive Things You Can Do In 15 Minutes or Less
- 30 Purposes for Your Planner
- How to choose the right horizontal weekly layout for you
Found this post helpful? Pin it!
Thank you for this review! You mentioned some ghosting or bleed-through from the markers – I’d really like to see the other side of the paper after the pen. I thought you usually include a pen test in your reviews?