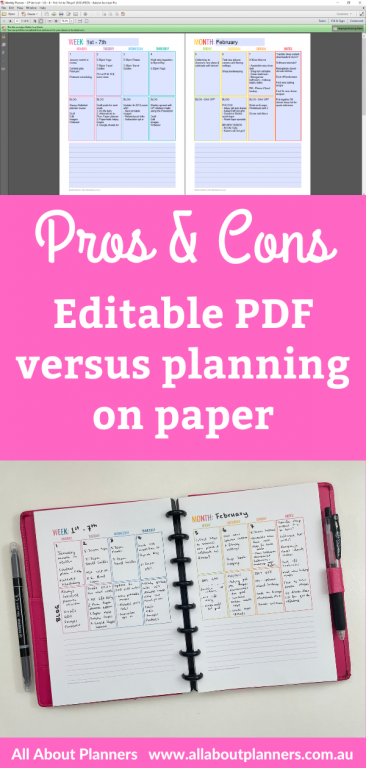
How long does it take to plan the week using an editable printable planner?
Most of the printables in my shop are editable which means you can add your text before printing. If you want to save time you can pre-populate your to dos, appointments and reminders by typing straight into the PDF and printing it out.
I very rarely use vertical weekly planners as the columns are too narrow and tasks extend over multiple lines. However, with an editable PDF I can fit more as the font size is smaller than my handwriting.
I wanted to keep work and personal tasks separate so used this weekly planner from this printable set I made years ago at the request of a customer (and honestly never thought I would use myself!)
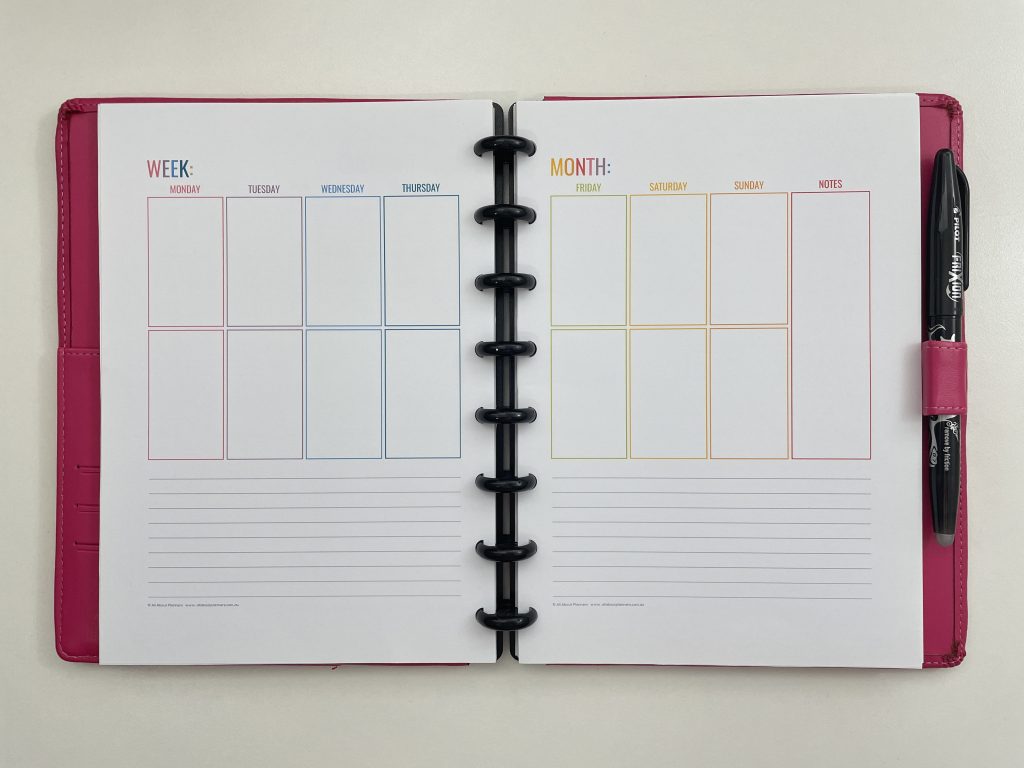
Before the Pen
Or should I say.. before any typing.

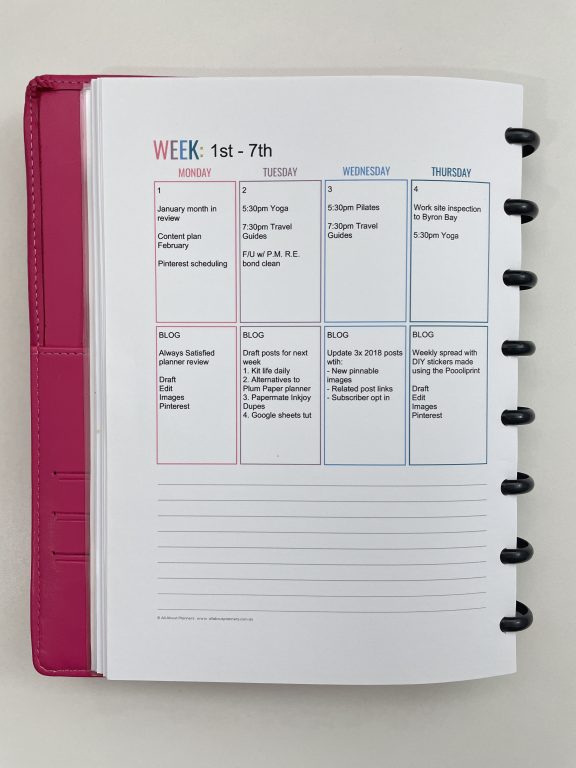
This printable is from the vertical weekly planner set in my shop.
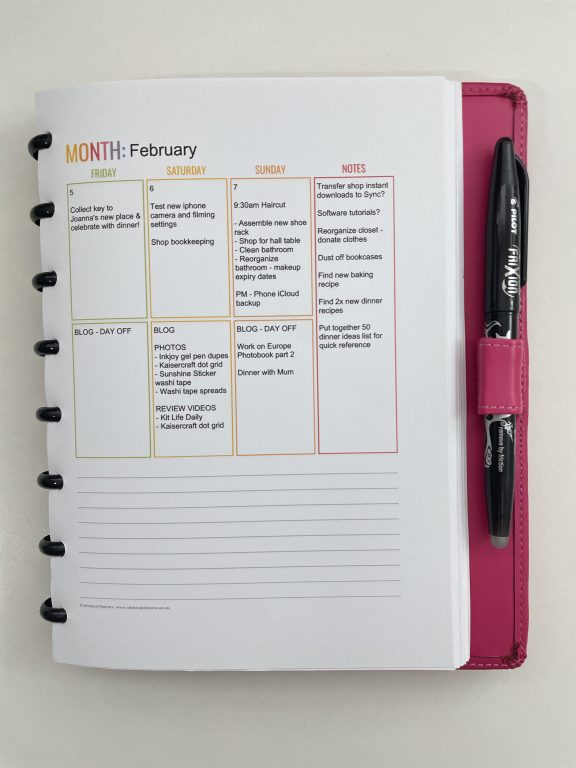
After typing
I chose to do this digitally rather than hand-writing not only to save time, but because I wanted to resize the printable to A5 page size where I wouldn’t be able to fit as much with my size handwriting.
This printable is US letter 8.5 x 11″ but you can resize to A4, A5, 7 x 9, Happy Planner page size or any other size you like by choosing custom page size in your printer menu. See this post for the printer settings to select.
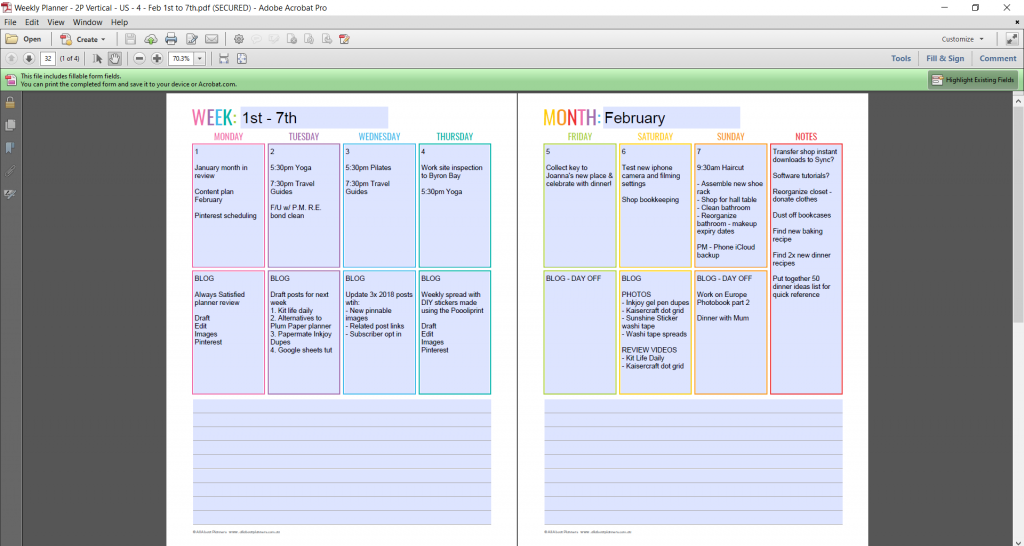
It took me about 15 minutes to set up my week in the PDF. I don’t think I’ve mentioned this much in past posts but I always refer to my master tasks list when setting up the week. You can download a copy from the free printables library (here).
I brain dumped my to do’s on the lined writing space below the boxes for each day. I then allocated these tasks to a day (cut and pasted). If I had left the file saved on my computer instead of printing, I could’ve updated it throughout the week by deleting everything as I went with the goal of having a fresh, blank copy at the end of the week. If there were things I didn’t get time to do then they’d already be there ready for the next week, no need to re-type.
Handy keyboard shortcuts:
- CTRL and A = select all
- CTRL and C = copy
- CTRL and V = paste
- Home button = start of the line you’re typing on
- End button = end of the line you’re typing on
The default setting in Adobe seems to be showing 1 page at a time, you can change this to 2 pages side by side by going to the view menu > display > 2 page view
I printed the pages, punched them with the ARC punch and added them to my ARC A5 notebook.
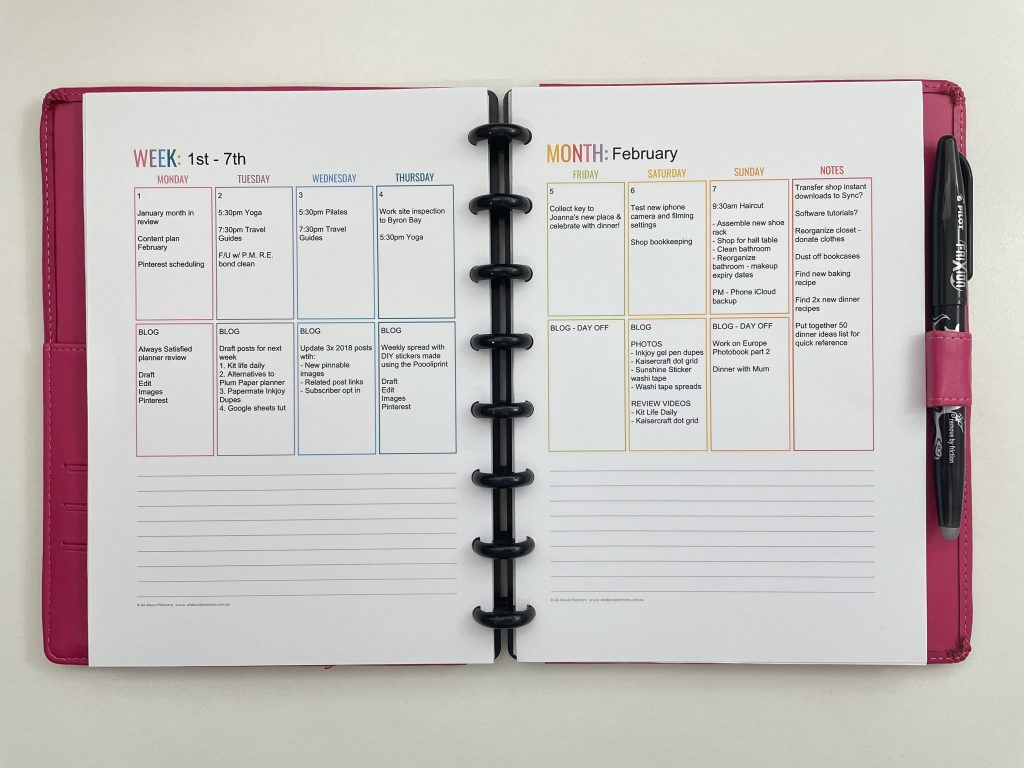
For the purpose of doing a comparison between digital and planning on paper (similar to my digital versus paper bullet journal experiment), I redid the spread on paper handwriting with pens.
On paper it took me about 20 minutes to write out my plans (so only about 5 minutes longer than it took to plan digitally). The columns were so narrow on the A5 page size (2.8cm / 1.1″ wide) that I felt like my eyes were straining towards the end from writing so small. I can’t remember the last time I used a vertical layout so I’m not used to such small boxes!
I normally use a 0.7mm pen tip but this time I used the 0.5mm Zebra Sarasa gel pen so I could fit more on the page.
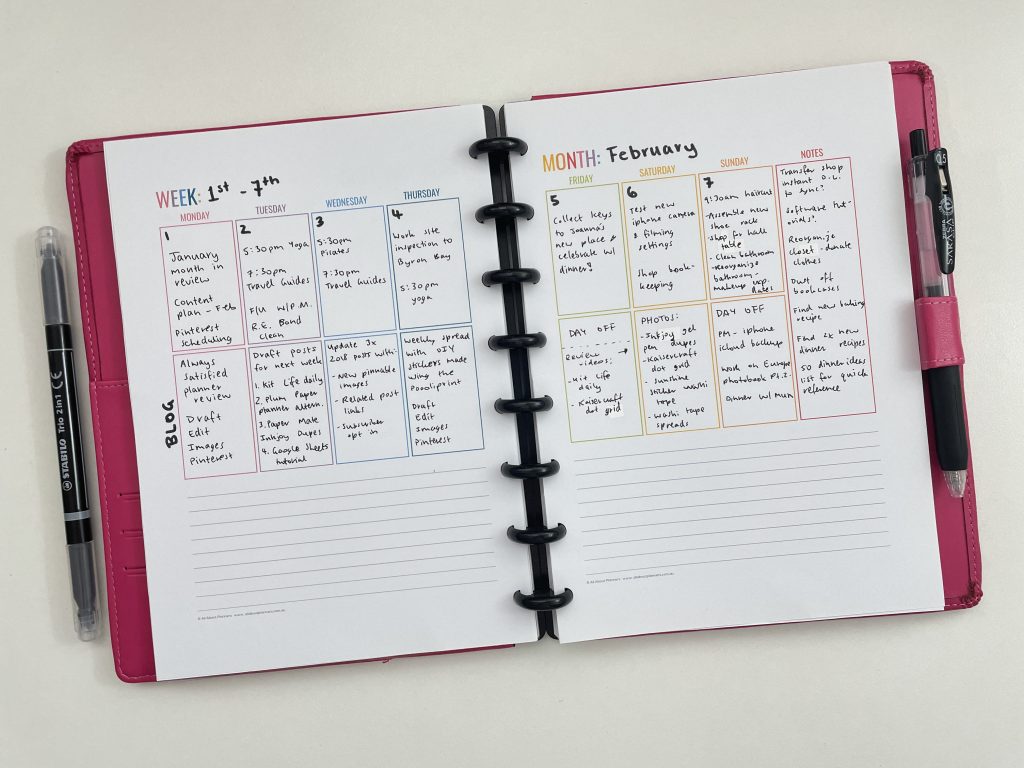
As you can see, I used up all of the boxes with no extra space when handwriting, compared to have a bit of extra space when typing.
I ran out of space on Saturday so used the spare space on Friday instead.
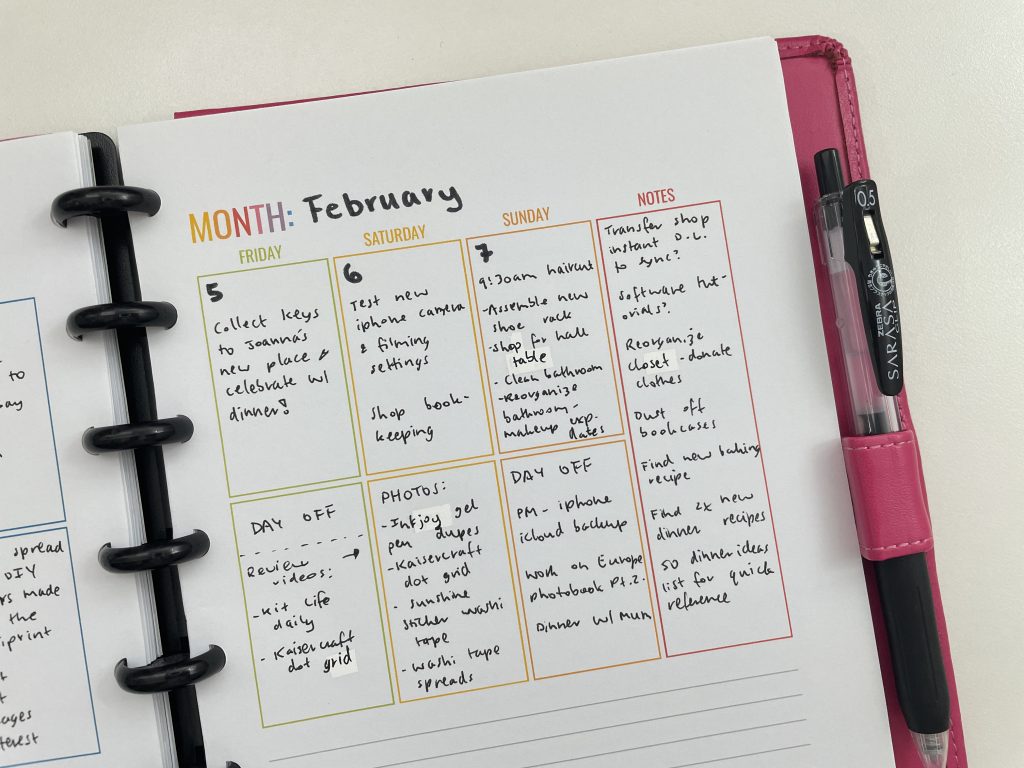
Th extra lined space underneath was used for things that popped up throughout the week.
Editable printable versus hand-writing
Planning with an editable printable
- Can fit more on the page as the font size is smaller than you’ll probably be able to write
- No need to spend a long time choosing which colored pens, highlighters etc. just type straight into the PDF and print
- Don’t have to print if you don’t want to
- Can choose the page size when you print (if you use a US letter or A4 page size printable then you can pick from any page size you like and your printer will automatically scale / reduce down the size to fit. E.g. 7 x 9″, A5)
- Depending on the security settings of the document, you probably won’t be able to type text on the side (horizontal text only)
- Can backspace mistakes, no white out marks on the page like there is when you use pens (unless you use erasable pens)
Planning on paper
- More options for decorating – can add as many stickers, washi tape etc. as you like. There’s much more variety in my paper spreads than when I plan digitally
- Hand writing is bigger so can fit less on the page
- Need to have a printer
- Can write wherever you want on the page – you’re not constrained to only the light blue boxes of the PDF that you click and type into
Which do I prefer?
I like both – each has it’s own pros and cons. It depends what I’m doing that week and how much time I have to plan, as to which method I pick. I no longer post all of my weekly spreads here on the blog as sometimes I prefer to just work off to do lists and sometimes I re-use a printable I’ve posted in the past. I figure it’s not very exciting seeing printables with typed in text week after week!
As to whether I’d use this specific vertical weekly spread again? I probably wouldn’t. The columns of a vertical planner are too narrow for me. I’m thinking about doing a horizontal version with a larger lined writing section underneath. Because I don’t usually have many things happening on specific days, this format works better for me as I can brain dump a to do list and work on things on whatever day I like.
Past weekly spreads
- Using the Slice Planner (daily planner + app)
- Decorating a $2 weekly planner
- Trying out the Recollections Vertical Weekly Planner
Planning tips
- 10 Quick planner hacks you need to try (planning tips & inspiration)
- Favorite dual tip highlighters for planning (roundup)
- 7 Planner supplies I don’t regret splurging on
Tired of drawing up weekly spreads? This printable bundle of 52 different 1 page weekly planners (you can mix and match to create 2 page spreads if you prefer), is available in my Etsy shop and online store. It comes in US letter size and Happy Planner classic page size.

Found this post helpful? Pin it!