How to make product mockup images in Canva for Etsy or your online shop (step by step tutorial)
A common question I’ve been asked over the years from people taking my courses is how to create the listing photos to showcase their printables. I’ve added the tutorial to my ecourses for making printables, planner stickers etc. but thought I’d also share it with blog readers.
I have a digital products shop, but you can use the same information I share in this tutorial for other products such as mugs, t-shirts etc.
In this tutorial we’ll cover
- How to create mockups in Canva (video)
- What image size you should use
- How to choose a background for the mockup image
- Information you may want to include on the photos
- Suggestions for what to include in each of your listing photos
How to create mockups in Canva
To enlarge the screen of the video, click the square icon in the bottom right hand corner of the video (it will say ‘full screen’ when you hover your mouse over the icon).

Subscribe to my YouTube channel for more Canva tutorial videos
What image size?
At the time of writing this post in 2026, the Etsy recommended image size is 3000 pixels x 2250 pixels.
Depending on when you’re reading this post, be sure to check the current dimensions Etsy recommends. They have a habit of changing the image size…
Whenever they do change the recommended image size again, you can use the resize function in Canva to quickly update your image (if you have the paid version of Canva).
If you need to reduce the image size after you create your mockup, I use compress jpg for this. You can also set a file size limit within Canva (it’s in the pop up menu after clicking ‘share’ in the top right corner).

I’ve used the same image size in my online store (hosted with BigCommerce) and have had no issues using this image size. So if you also have your own ecommerce store on Shopify etc. I would make all the images at the Etsy optomised size, then it should work for both.
How to choose a background
- Choose a simple background that is predominately white and doesn’t have any distractions (some of the stock photos in Canva include busy backgrounds with things like large vases, avoid using those)
- Avoid including people in the image. If you do include a person, choose an image where the person is looking away from the camera (so you only need their hands or the back of their head)
- Try and choose mockups that are straight on (not on an angle) so people can clearly see what they’re getting.
- Pastel pink seems to perform well
- Avoid using timber backgrounds (especially dark colors), they’re very distracting
- You can change the transparency of an image to make it blend into the background
Tip: Search for keywords such as ‘computer’, ‘computer background’ or ‘computer desk’ in Canva elements to find background images.
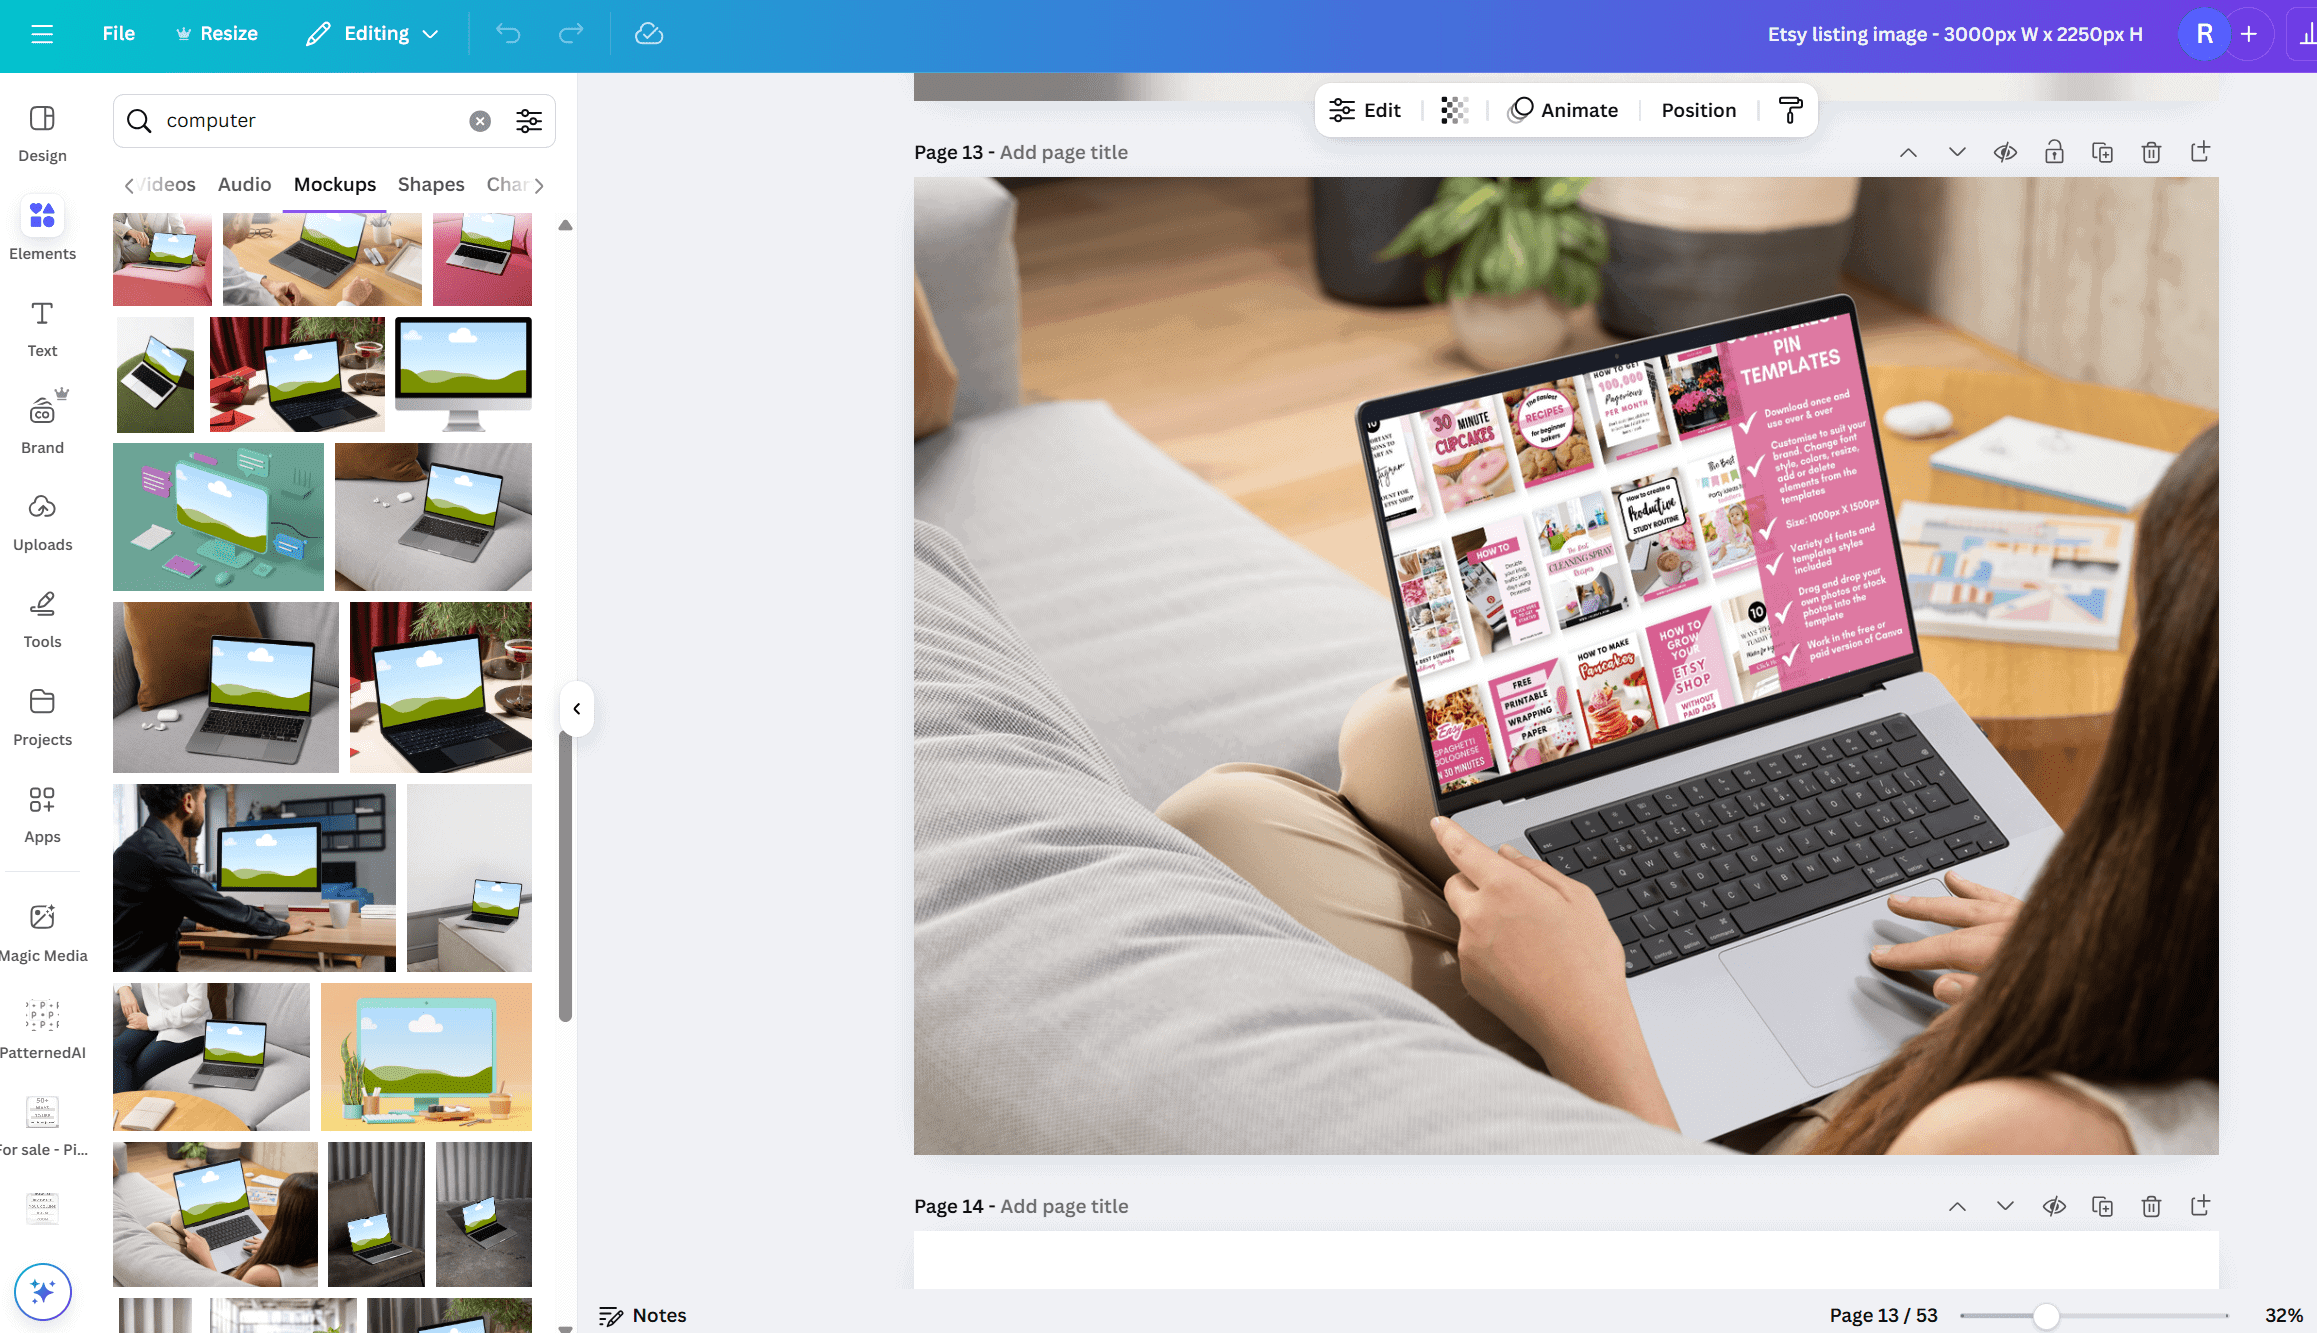
Try and avoid mockups like the one above that’s on an angle, it’s hard to see the product on the laptop screen
Mockups that are straight on like the one above are better. This was a stock photo I purchased years ago, there are plenty of better options to choose from on Canva nowadays (and for free)
Whenever you see the sky / cloud / rolling hills image in Canva, it means it’s a frame. If you drag and drop a photo onto the frame, it will automatically crop to fill the frame (you may need to manually reposition the image if you don’t like how it was automatically placed). The mockup templates in Canva already have the frames added, but you can also add them yourself via searching ‘frames’ within the elements menu of canva.
For some reason I can’t star / save mockups in Canva (maybe that’s just me?). So when I find an image I like, I put it on a separate page in that Canva file so I can scroll back to it again later. There are an overwhelming amount of stock images in Canva and it seems like new images are added regularly, so it might be hard to find the exact same image again in the search bar, even if you use the same keywords.
If a photo has a crown icon over the top, then that is an image that is free only with the paid version of Canva. If you have the free version you’ll have to pay if you want to download the design you have used that element in (typically $1).

Some information you may want to include on the photos
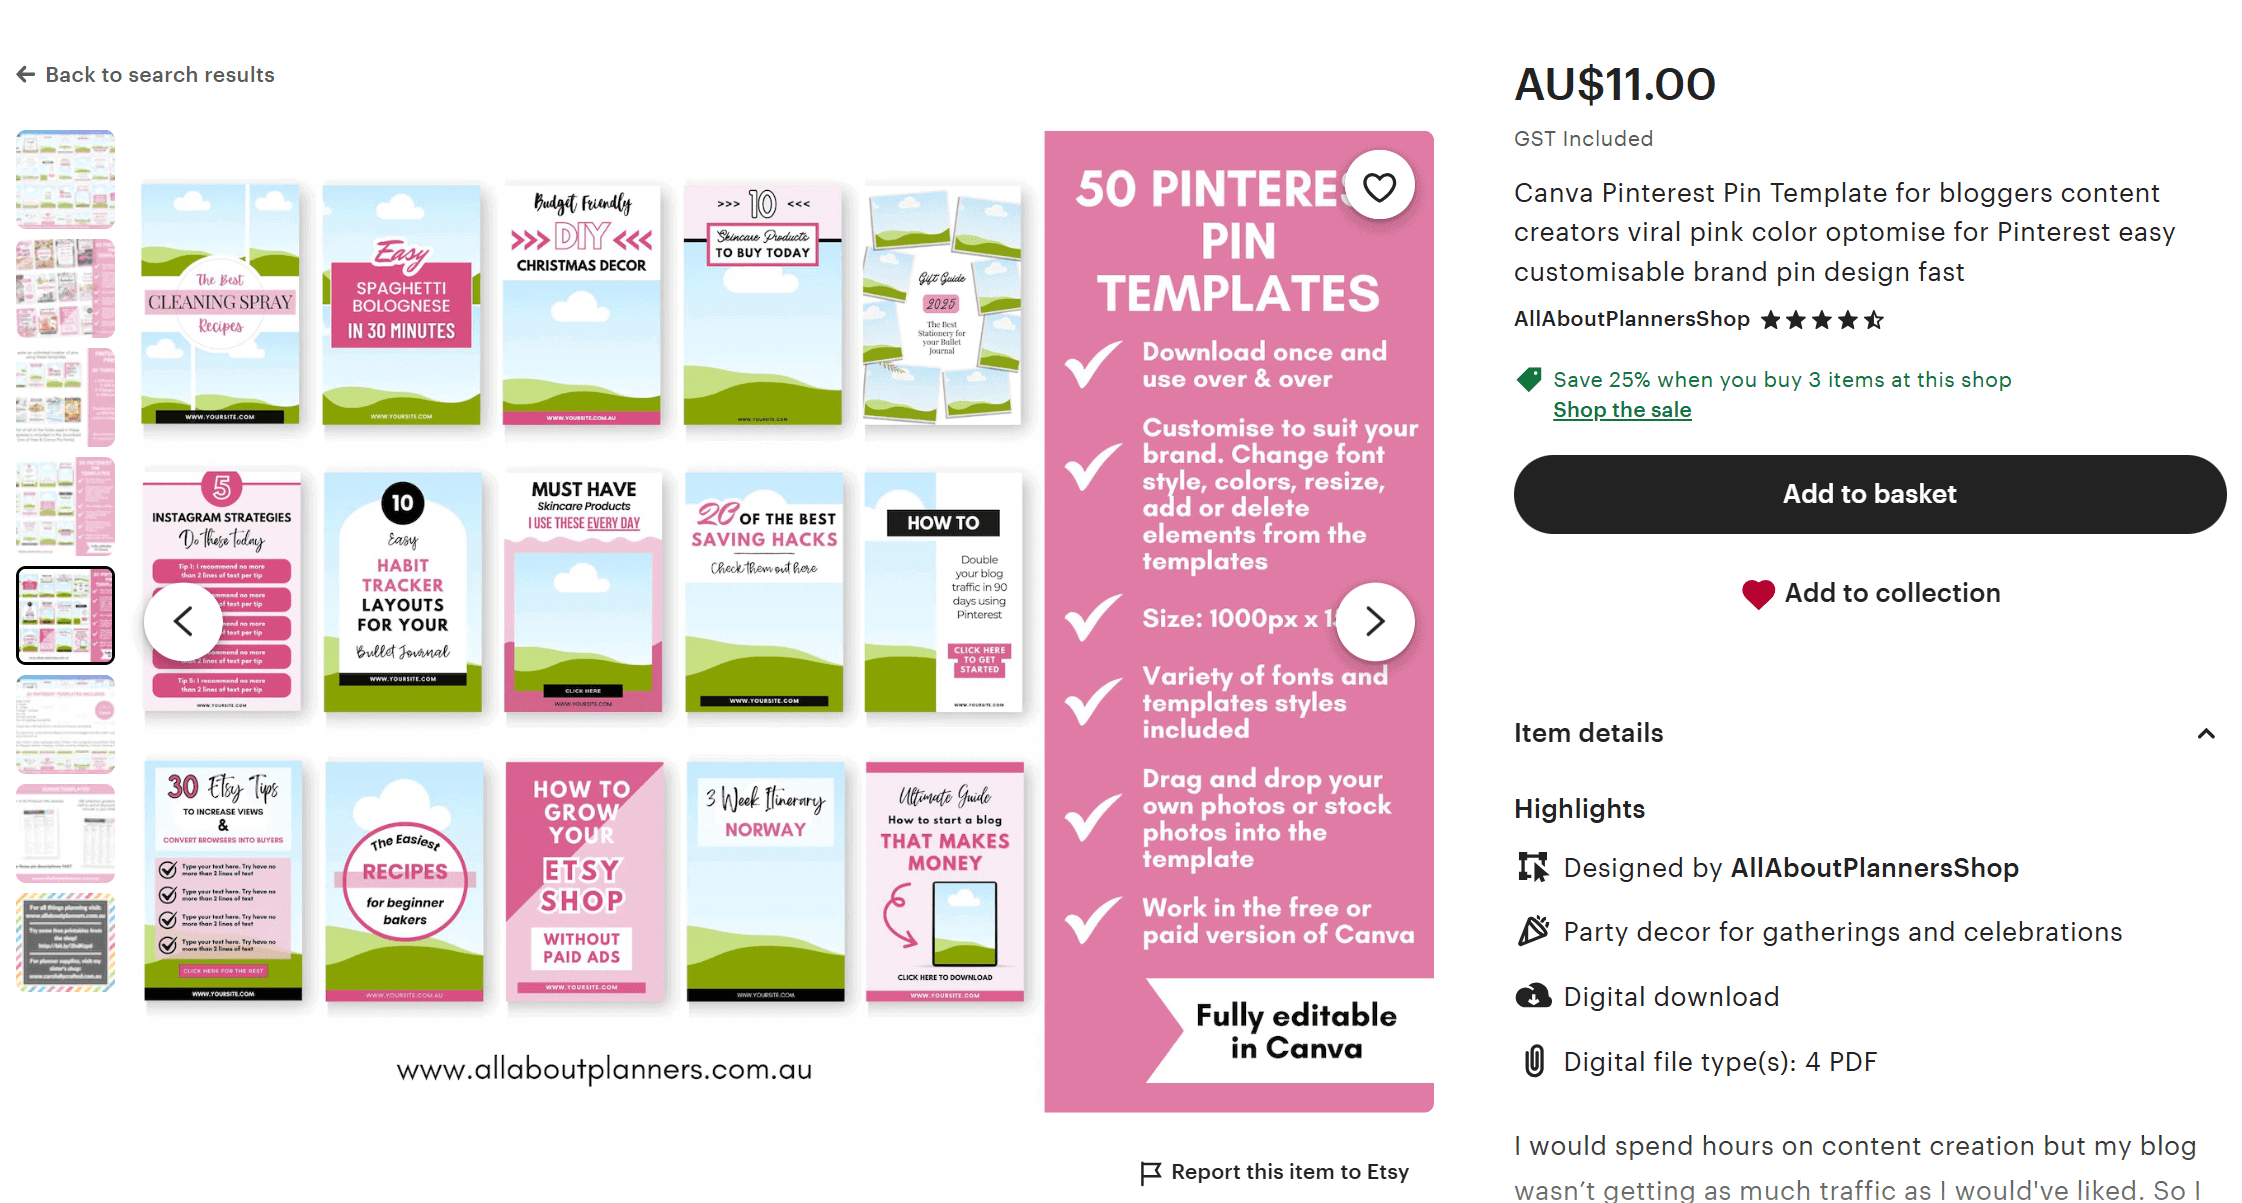
- The quantity included e.g. 50 Pinterest Pin templates
- Sizing
- Color variations
- Any personalisation options
- If you’re selling spreadsheets, include the currency e.g. pounds
- Software needed & file formats e.g. Google Sheets and Microsoft Excel
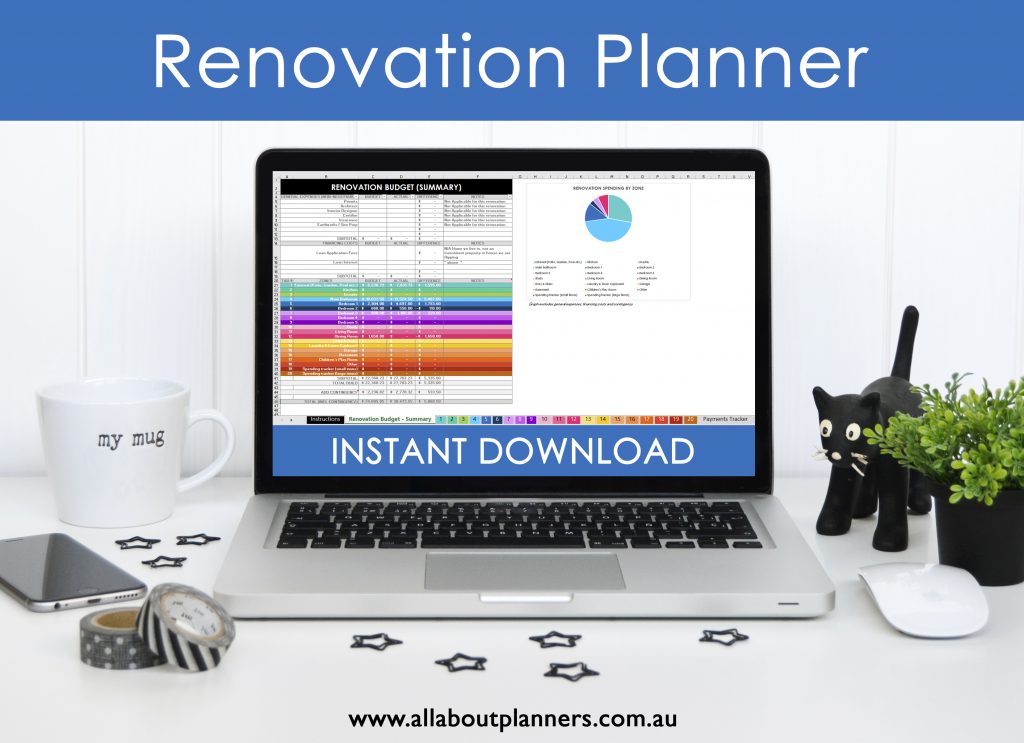
- The words ‘instant download’ – back before Etsy allowed people to upload and attach files to digital products, adding this text helped. But nowadays it’s not as important. I wouldn’t include it on every image but definitely add it to a few
- Your shop name and URL – this should be added to every single image
- Whether the template is editable (and what things the person can edit)

Suggestions for how to use Etsy listing photos
1. Main mockup using a laptop – make sure all text and the laptop are aligned to the centre so that when Etsy crops the image, all the important things are still visible)
2. Information – Consider an image where the product is faded (increase the transparency of the image) and then place information text over the top such as your store processing times, file format etc. An example of this is in the screenshot above
3. What’s included – lay out all of the pages, all of the spreadsheets, mockups of the front and back of the t-shirt etc.
4. What’s included part 2 – consider using a collage for this one
5. Close up photo/s showing the product from different angles and highlighting features of your product. Arrows pointing to particular features are effective
6. Product variations – previews of different colors (if you’re using Etsy variations, you may want to number each of the images so people know which design relates to which number reference at the checkout)
7. Info about your store, social media links, if you have a free sample people can download and test before purchasing
8. Other bundles the product is a part of, information on any bulk buy discounts
Update: Etsy now allows up to 20 listing images!
I showed how to add a drop shadow and make preview images like the one below in this post.
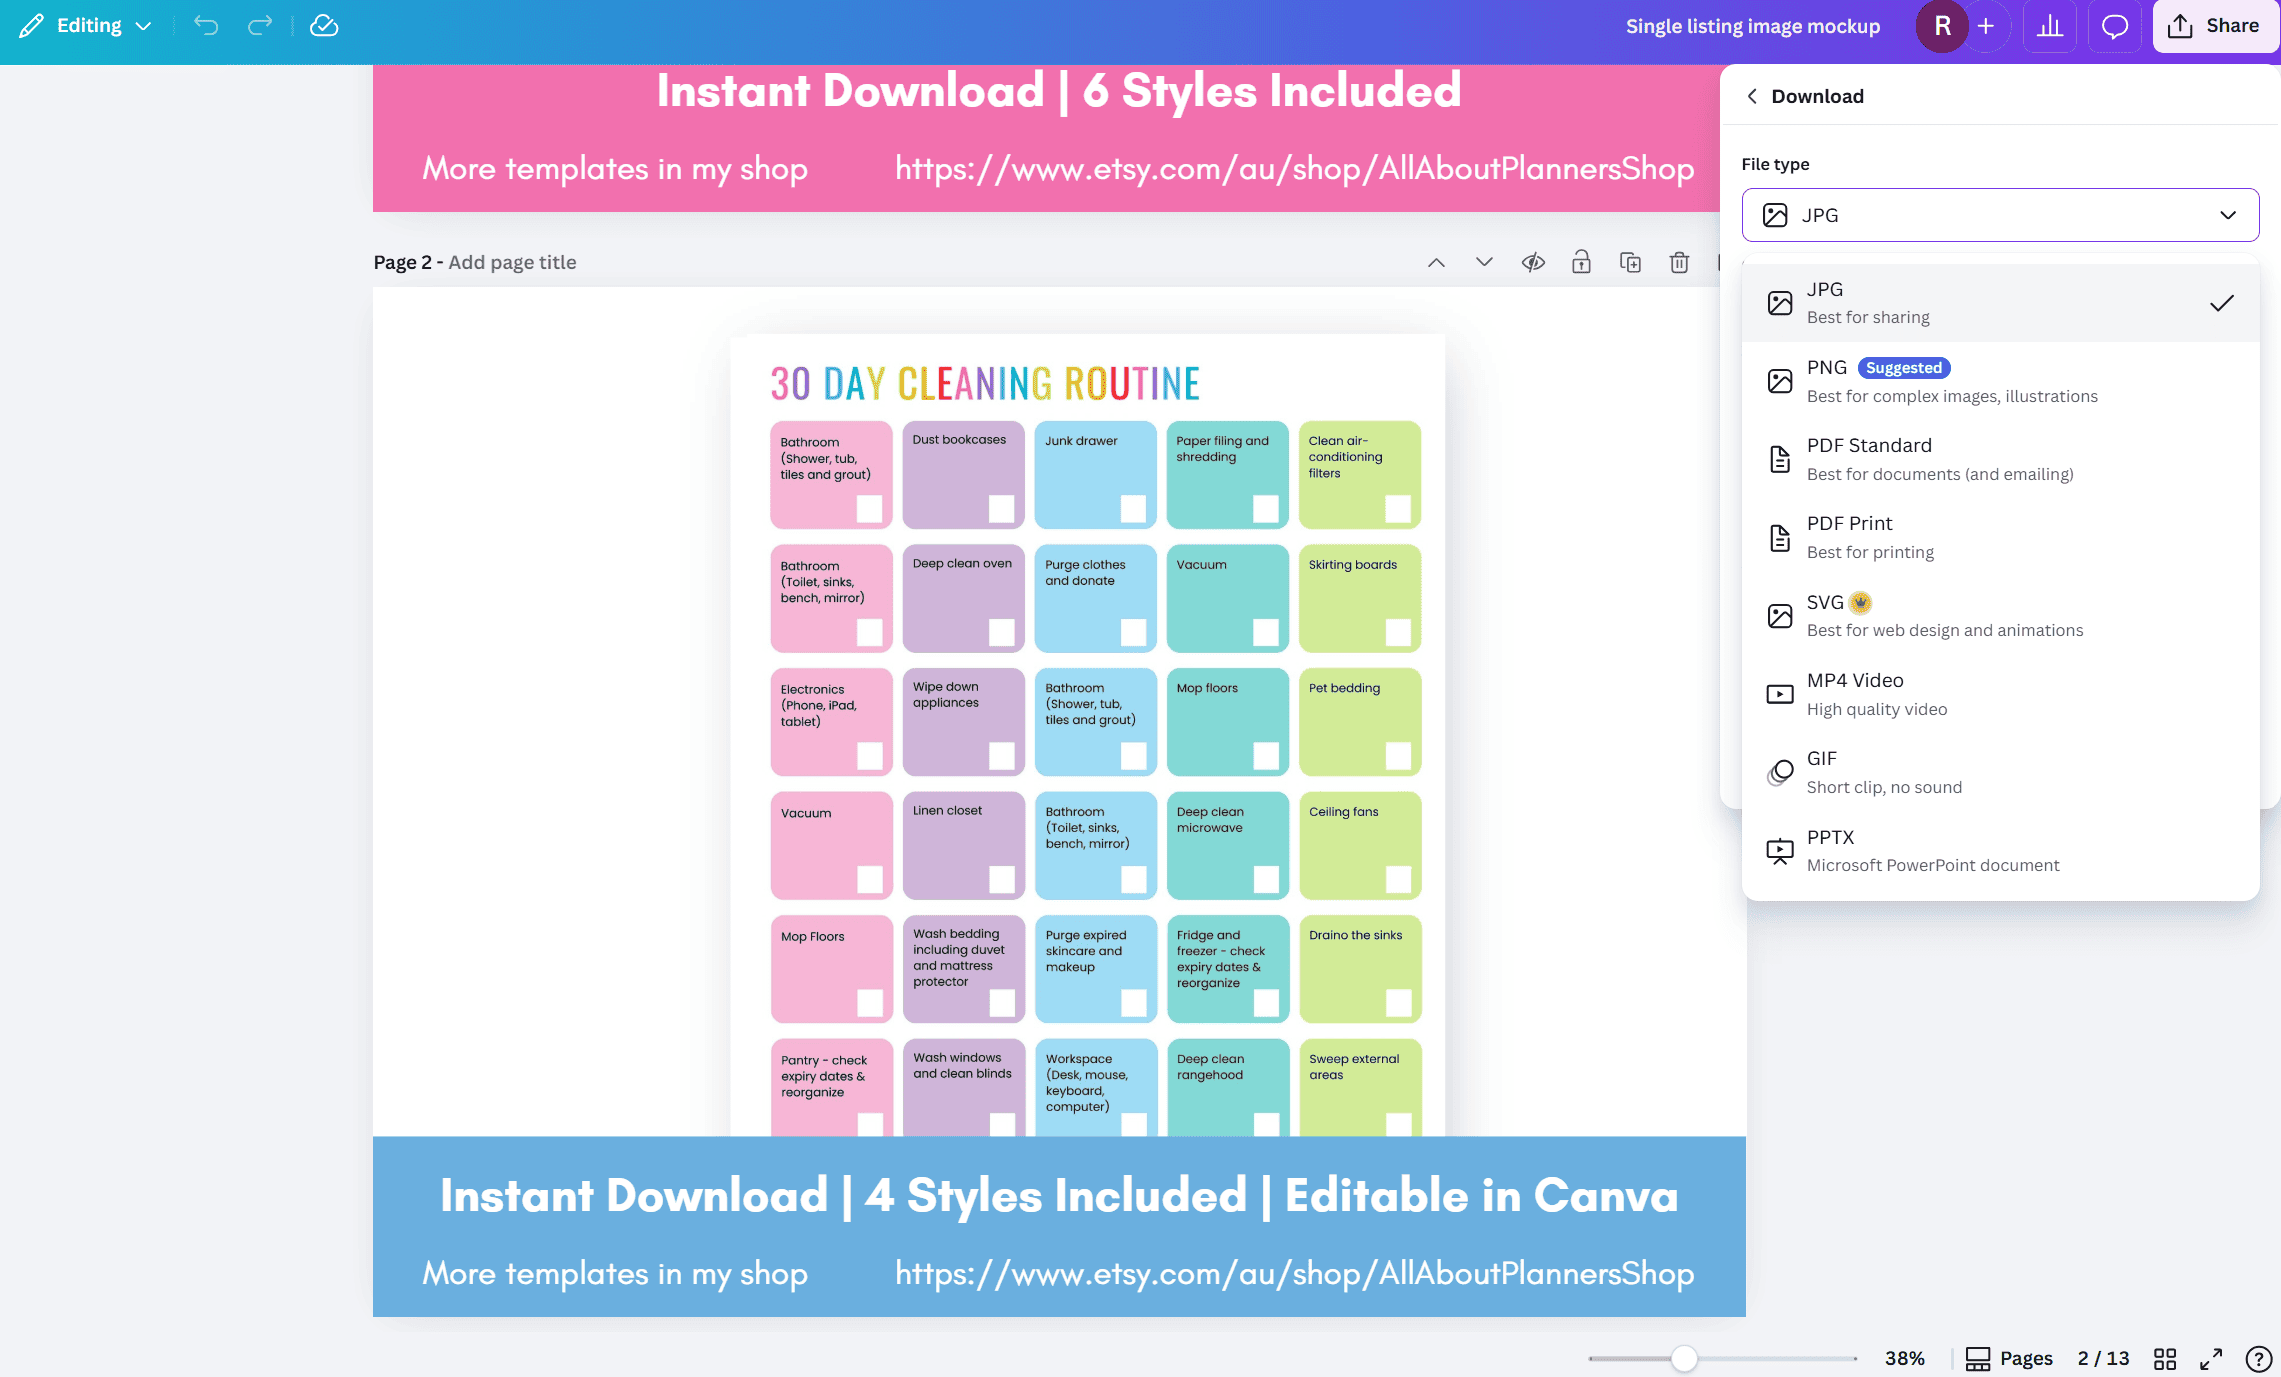
How to get your printable into JPG format
The JPG file is what you need to upload into Canva and drag and drop over the frame.
If you make a template in Canva, there is an option to download the document in JPG file format. You can then re-upload the JPG into Canva, drag and drop it over the frame.
If you make a printable in Affinity Publisher, you can export the design as a JPG.
Otherwise if you make the printable in something like Microsoft Word you can convert from PDF to JPG.
If you’re making a spreadsheet in Google Docs or Microsoft Excel, you can copy and paste the design as an image into a Word document, then right click > save as JPG.
As a last resort (because the image won’t be as crisp), you can also use the snipping tool on your computer.
Start your Etsy shop
If you want to start selling digital products on Etsy, check out some of my ecourses:
- How to make printables in Affinity Publisher
- How to make planner stickers
- How to make digital planners and notebooks
More Canva tutorials
- How to use Canva to make a travel itinerary (is it better than Word and Excel?)
- How to make a product catalog, line sheets and price list in Canva
- How to quickly make a recipe book in Canva
- Picmonkey versus Canva versus Photoshop versus Adobe Illustrator: Which one is best for graphic design?
More Esty business tips
- Thinking about opening a second Etsy shop? Read this post of pros and cons first
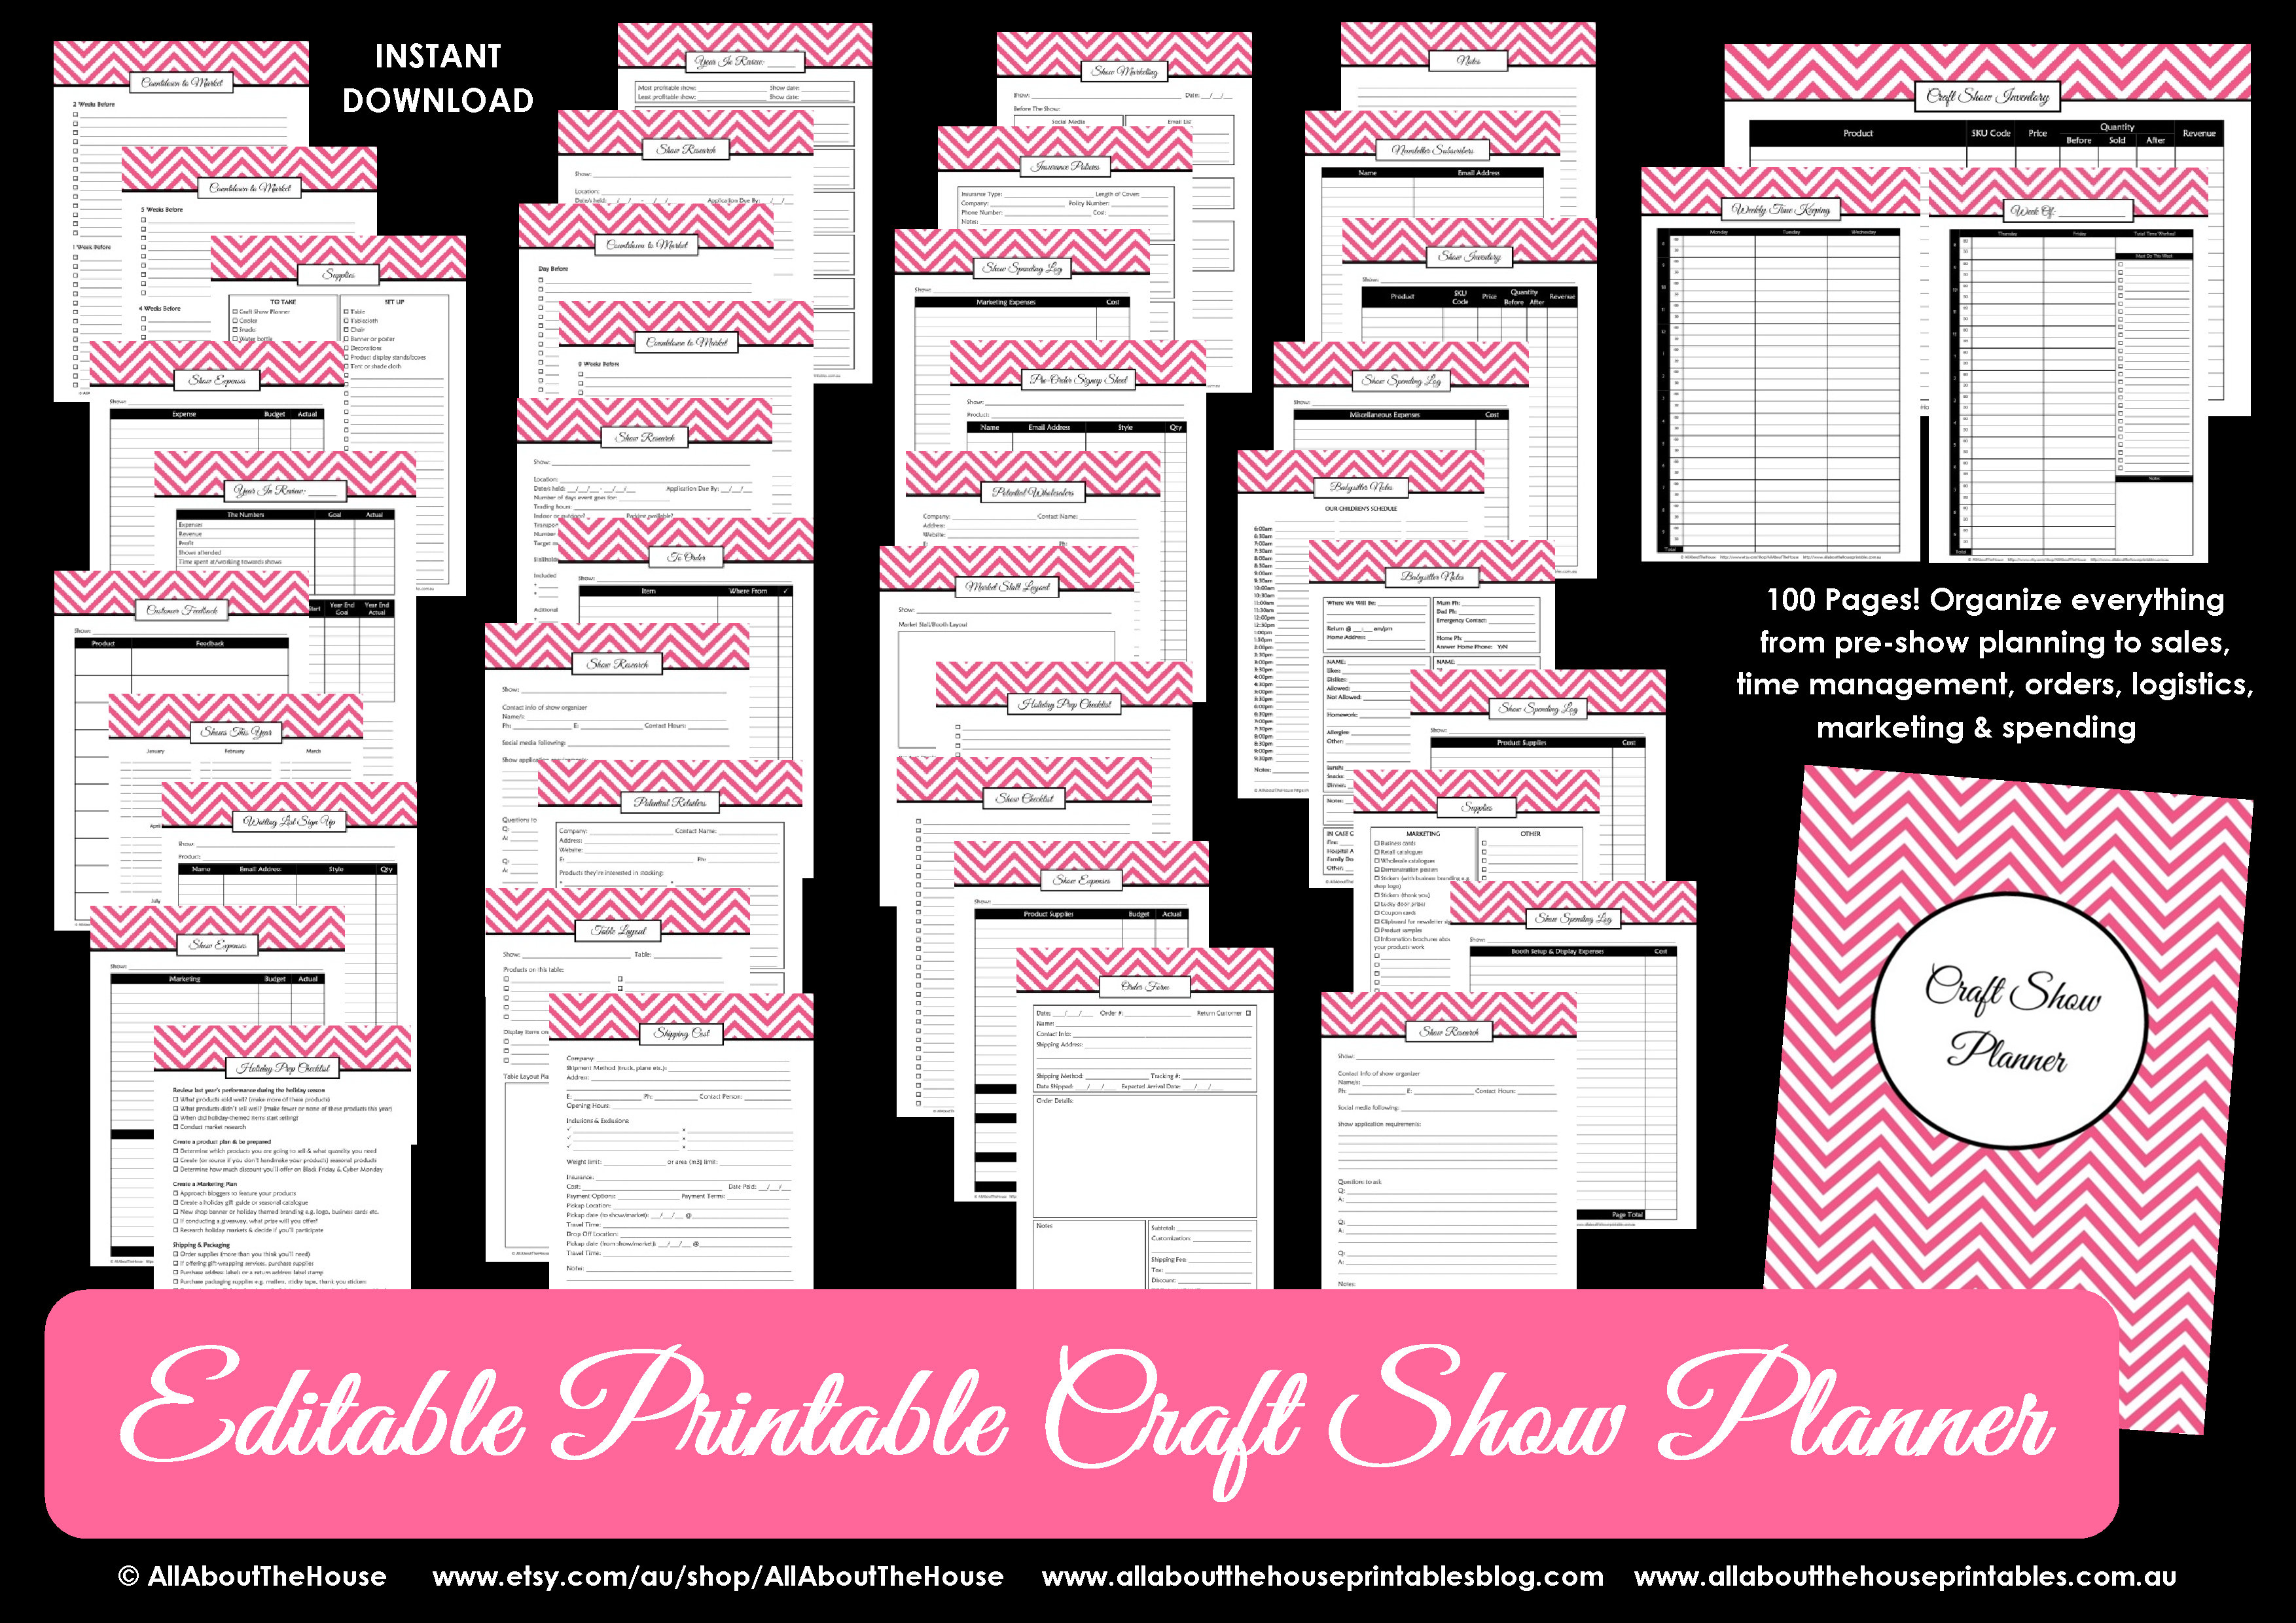
- How to prepare and plan for a craft show, trade show or handmade market
- 10 Things you should know before opening an Etsy shop selling digital products
- 5 Reasons why I hide my Etsy shop sales history
- Etsy Sellers: Are you making these 54 mistakes?
Found this post helpful? Pin it!