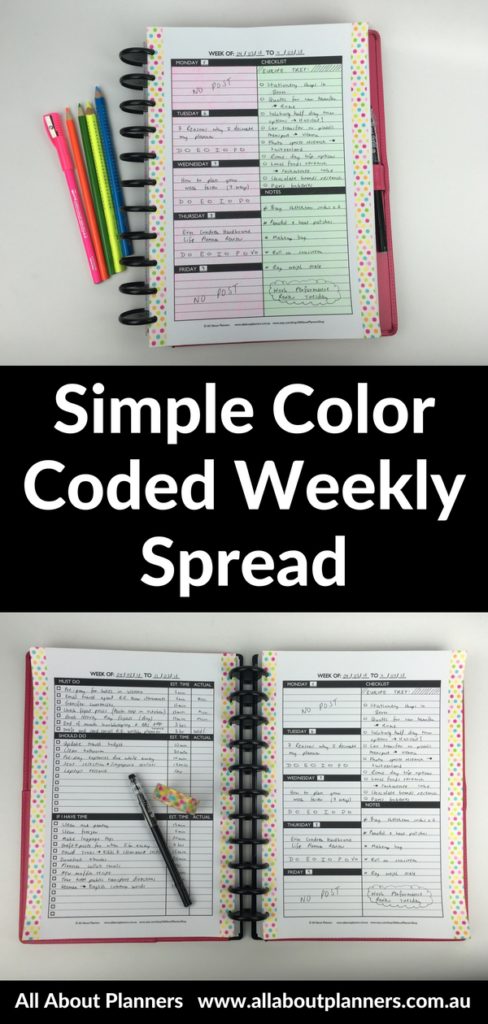
Minimalist planner decorating and color coding using pencils
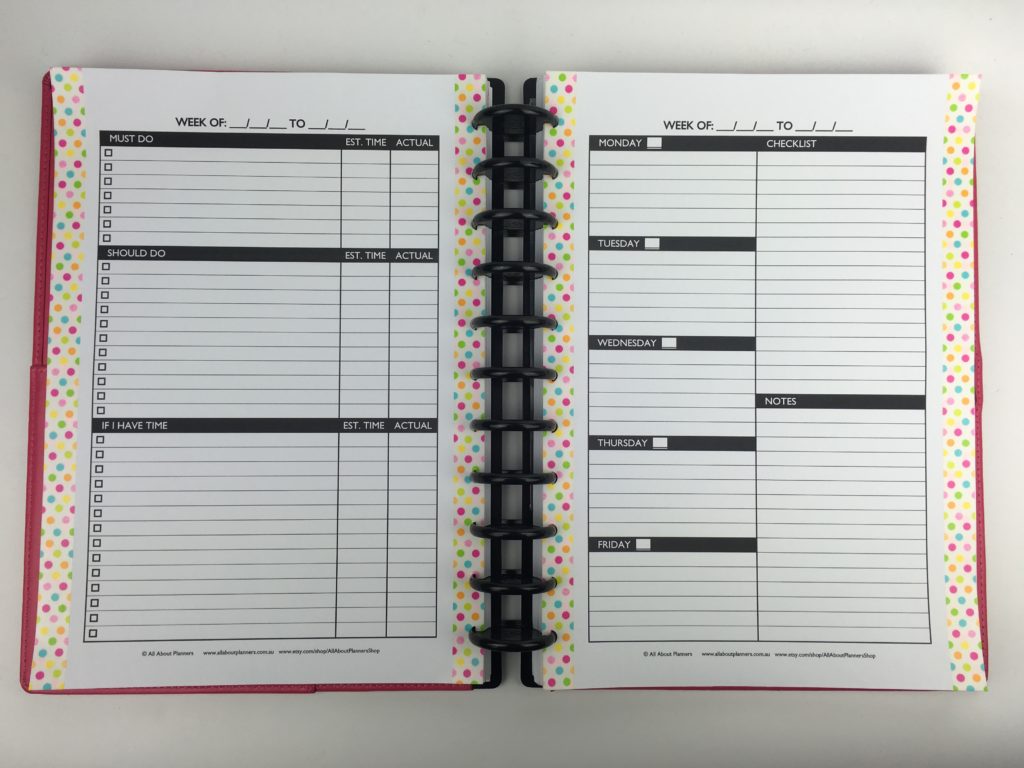
I like to use a mixture of my own printables and planners made by others. This week, I opted for a printable I’d made – I wanted a spread that suited my exact planning needs for the week and knew I wasn’t going to find this in a planner that was already available.
Before the Pen
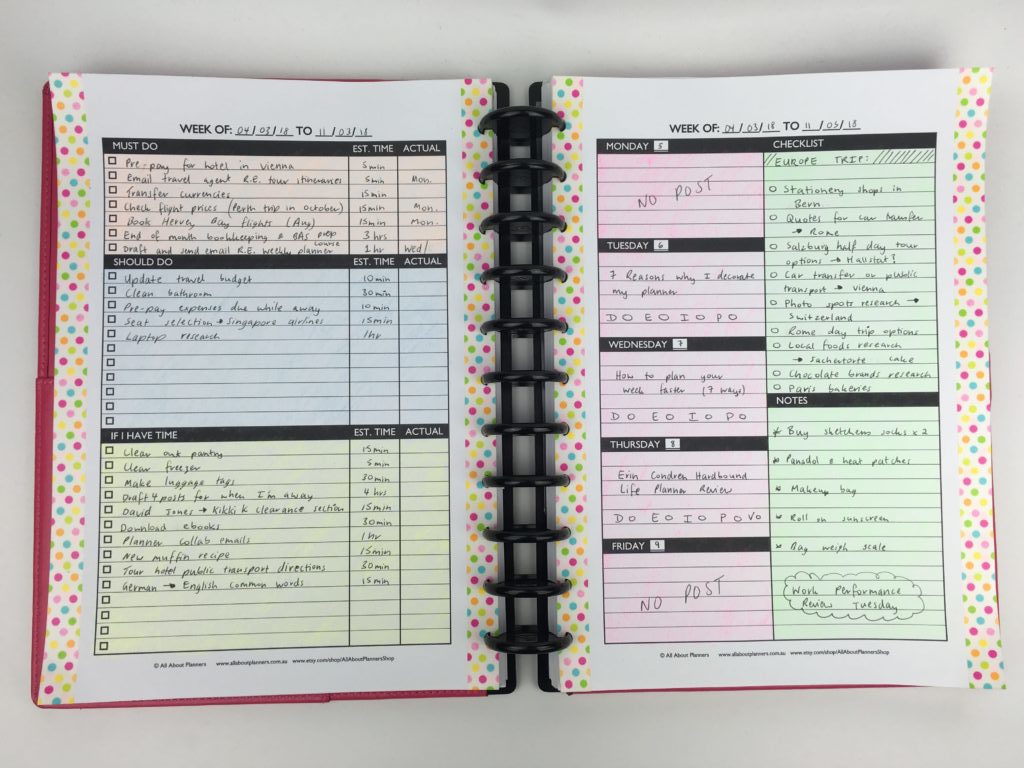
I was planning an odd number of days (since the week before I’d used the Passion Planner which starts on Sunday but most planners – and my preference – is Monday start planners. To get back on the ‘schedule’ of using Monday start planners, I was planning an 8 day week so opted to approach planning a little differently:
- 5 day week instead of 7 (since I rarely do things on the days I schedule them except for blog posts)
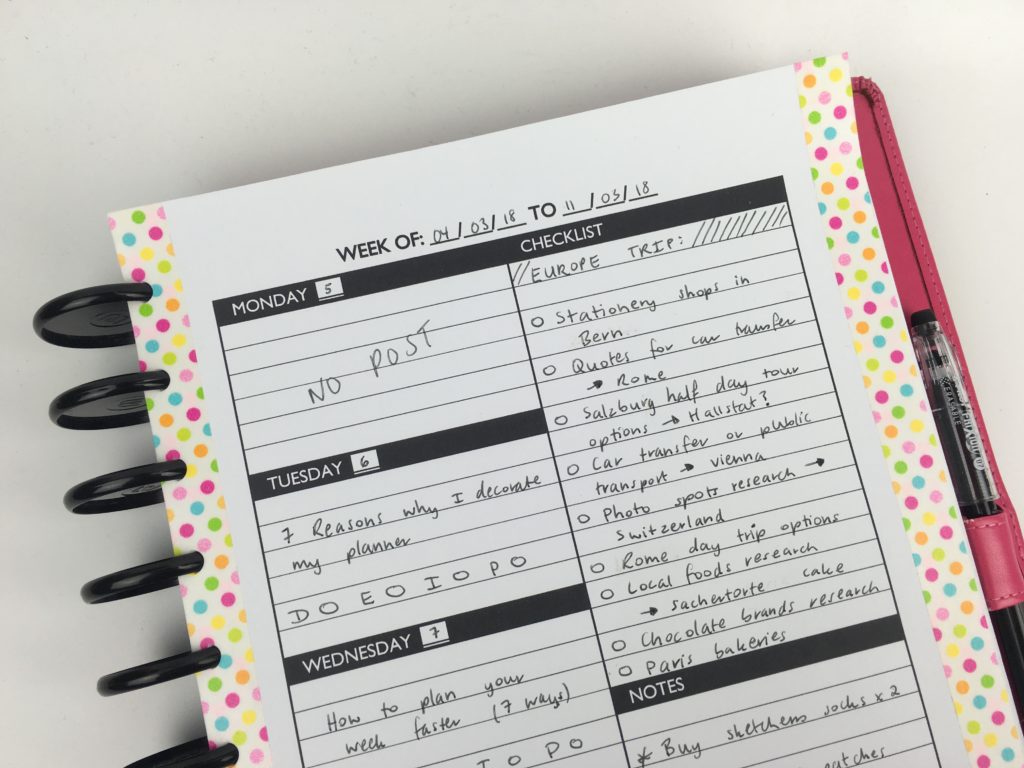
- Separate checklist space for Europe trip travel planning vs. other tasks
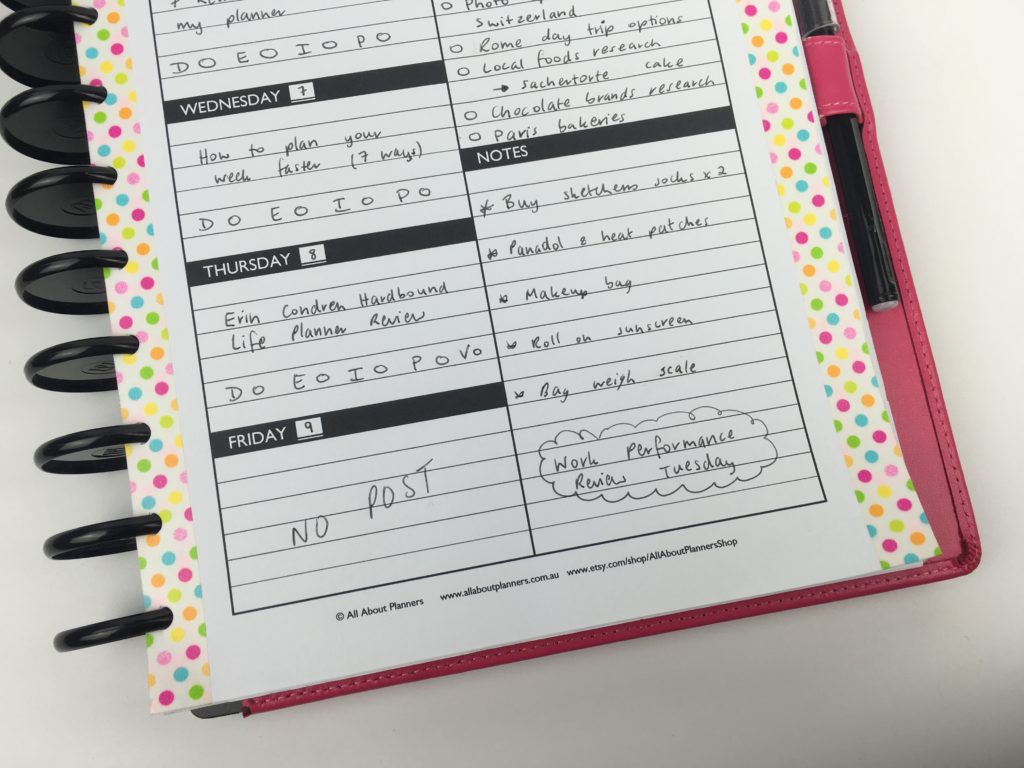
- Notes space as a ‘catch all’ for random things that pop up
- Organize tasks by time
With having to unexpectedly do more frequent overtime at my day job, I was finding it was a bit of scramble in the evenings doing a bit of this and that, blogging, trip planning, stopping and starting things and basically just needing to prioritise better. So opted for a printable which had space to allocate the estimated time. So if I had 20 minutes, then I could just pick 2 x 10 minute tasks, or a 20 minute task etc.
The printables were created by me and are from the Create Your Own Planner Kit in my Etsy shop.
I don’t use washi tape often enough so added a strip to the centre and the sides (quick solution when a notebook doesn’t have tabs)
After the Pen
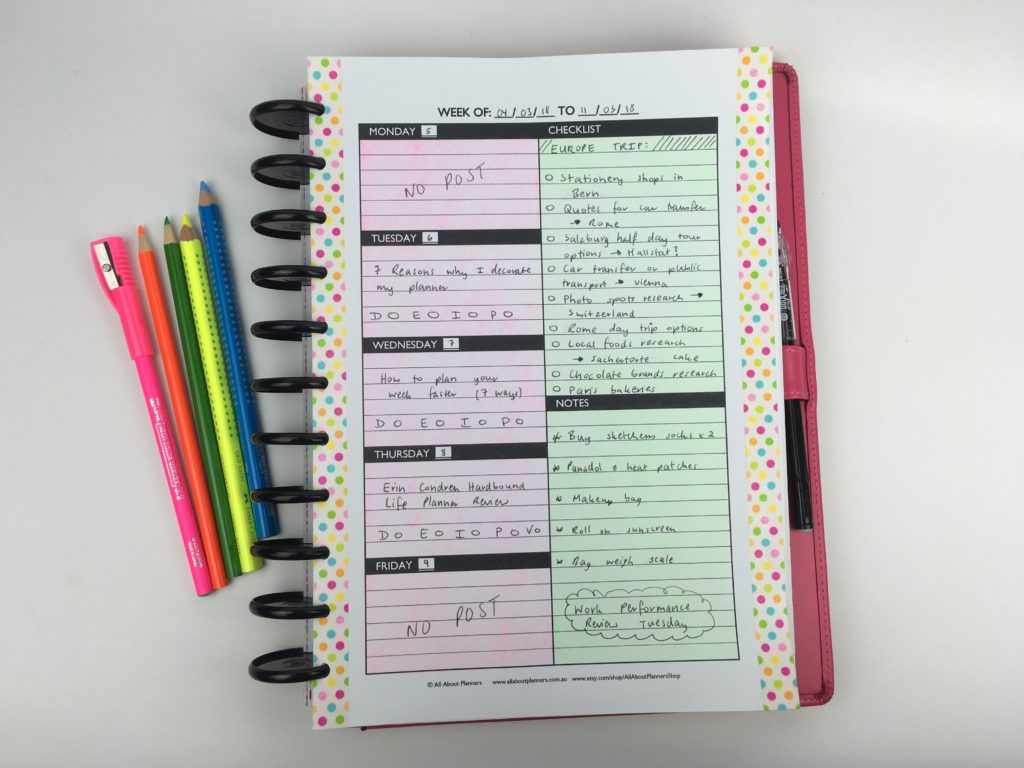
I kept it simple with just the black Frixion erasable pen (my all time favorite pen).
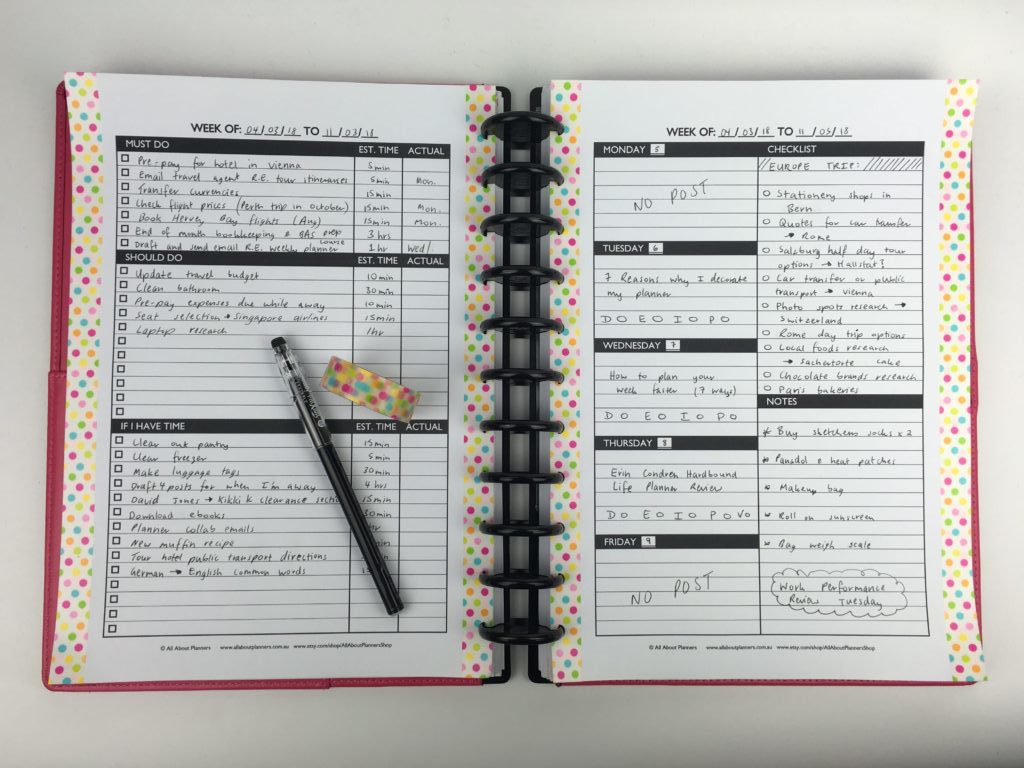
I scheduled tasks that were more urgent, but otherwise just put the estimated time so I could come back later and put the actual time it took. I’ve made lists like this before and don’t know why I stopped – maybe due to a lack of space in most planners (the sidebar column is always so narrow)

Like usual, I intended to keep the spread simple and minimalist… but I decided to add a little something extra. I opted to use a planner supply I don’t use very often – highlighter pencils. I tend to use these only when I have a large area to highlight (such as habit trackers).
I shaded the background of each section with Faber Castel and Kutsuwa highlighter pencils and some cheap neon pencils I found at Daiso. Surprisingly, the cheap Daiso ones ended up being easier to write over with pen.
It was quick to shade with pencils and added more color to the page than pens do. It was also quicker to write in black pen first then shade, instead of having to switch pen colors and worry about using the wrong one when color coding.
The colors I picked were a good match for the Doodlebug polka dot washi tape!
Related: Favorite washi tape for planning, planner decorating & color coding
Supplies Used:
- Create a Custom Planner Kit (Vertical 1 page weekly – 3 and Weekly Add on Page – 4)
- Rainbow polka dot Doodlebug washi tape
- Frixion erasable pen in black 0.7M
- Daiso fluorescent colored pencils (orange and green)
- Faber-Castell Grip Neon highlighter pencils (blue & yellow)
- Hi Line Neon Color Marker 3.9 Kutsuwa pencil
- Arc notebook
Related: Why I use the Arc Planner instead of binders
Pros of this planner
- I like breaking tasks down into time. As someone that doesn’t tend to do tasks on the day I plan to do them, this worked really well
- Quick and easy to setup
- Bit of color without too much
- <3 my ARC notebook (one of my all time favorite planning supplies)
- Lined writing space kept things neat
- The columns were a good width – it didn’t feel crammed
- Affordable
Cons of this planner
- Not many different ways to decorate a planner like this
- A4 page size can be a bit bulky (my preferred size is 7 x 9″)
Would I use this planner again?
It worked well – lined writing space is definitely a must for me otherwise my writing ends up crooked and the page gets super messy.
I ran out of space and ended up using a daily planner for the 8th day. I definitely need a minimum of 2 pages to do a week’s worth of planning.
I like using a mix of printables and customising planners made by others – using the same type of planner (or same type of layout) can become too repetitive and boring.
Related: 52 Lessons learned after trying 52 different planners in 52 weeks
Next time I use a printable I’m thinking about resizing it to my favorite planner page size 7 x 9″ (not too small but not too big!) If you like 7 x 9″ (or anything other than standard page size), see this post for a tutorial on how to resize printables.
If you liked these printables, they’re from the Create Your Own Planner Kit in my Etsy shop.
If you’re tired of drawing up weekly spreads, this printable bundle of 52 different 1 page weekly planners (you can mix and match to create 2 page spreads if you prefer), is available in my Etsy shop and online store.

Found this post helpful? Pin it!