7 Mistakes to avoid when setting up a new planner
So you’ve bought a new planner… now don’t make these mistakes!
7 Mistakes when setting up a new planner
1. Planning the same way everyone else is
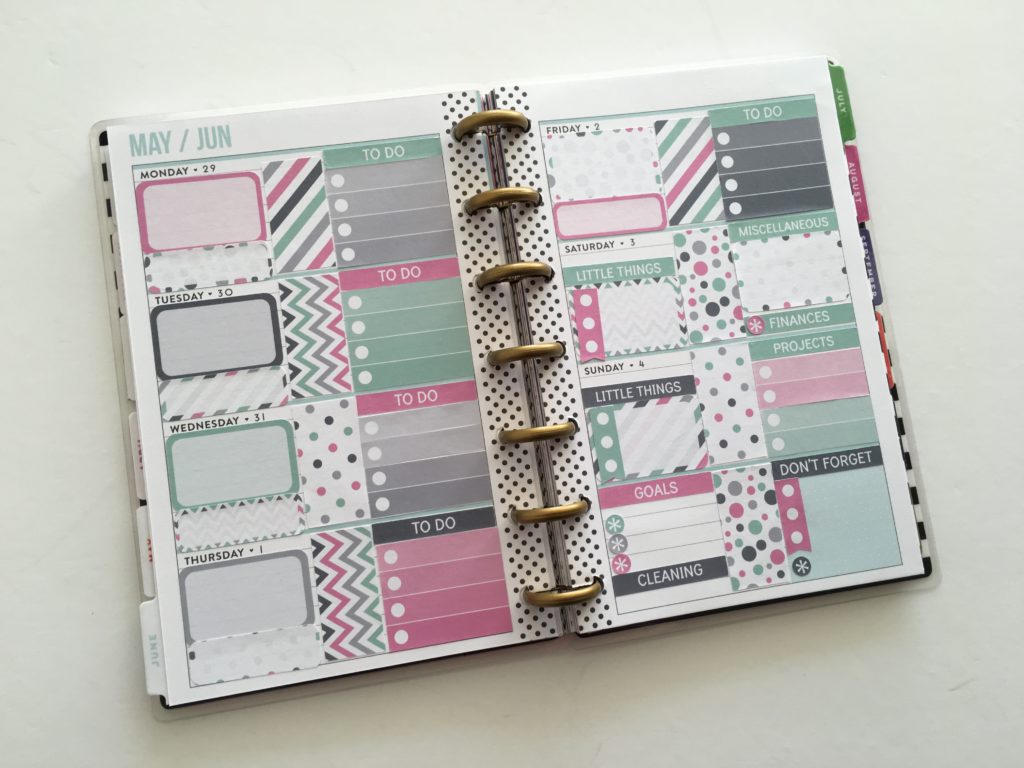
You’ve probably seen those pretty, no white space, lots of color and ‘stuff’ happening type planner spreads on the internet. Don’t be fooled – those spreads take a while to set up and don’t leave much space to do any actual planning. Instead start using your new planner with no decoration and slowly add as the weeks go on.
Related: Using Erin Condren size planner stickers in the Mini Happy Planner
Some ideas you could incorporate:
- Planner stickers for recurring tasks
- Washi tape for borders and covering up things that aren’t relevant to you (headings, quotes etc.)
- Color coding
- Highlighters
- Underlining important tasks
- Checklist planner stickers
- Using half page inserts or a weekly dashboard if you find that you don’t have quite enough space
- Stamps for things like hydrate trackers
2. Not planning how you’re going to use your planner
Whenever I try a new page layout (which is almost every week!) I use sticky notes to plan… what I’m going to plan. It’s especially helpful if you don’t know what to do with all those blank pages in a bullet journal.

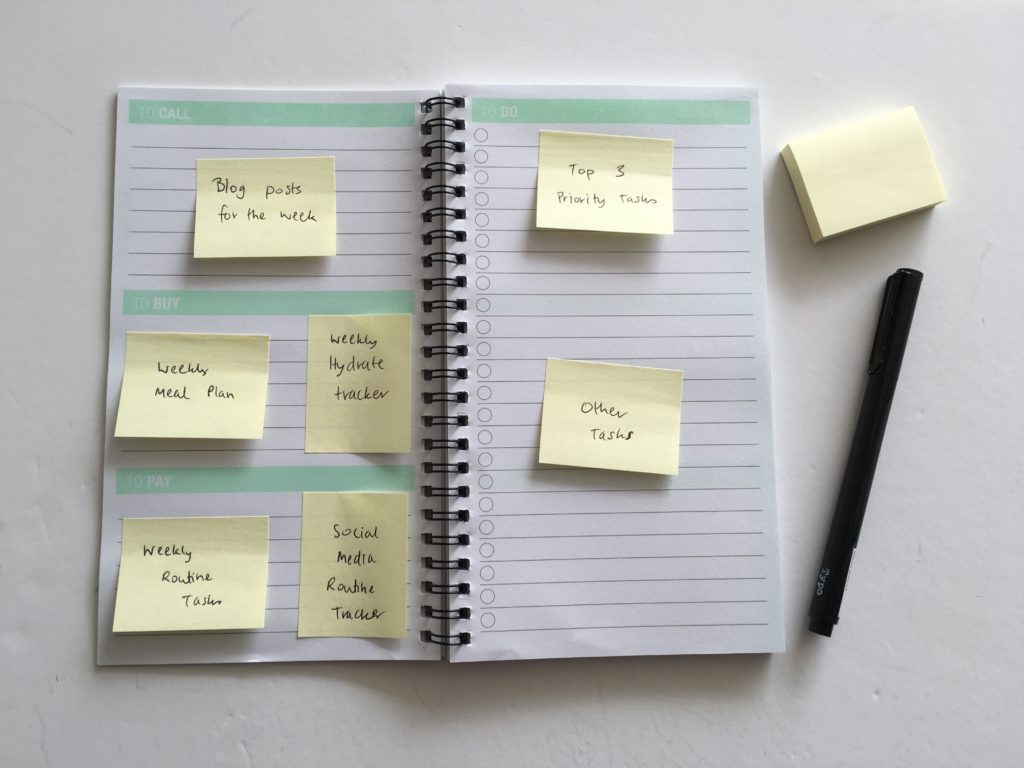
Beyond the weekly spread a few other things to consider:
- Are you going to record holidays on the annual planning pages or monthly overview?
- What are you going to put in each section of the weekly spread, and the weekly sidebar?
- Are you going to meal plan in the weekly, monthly or a separate notepad
- How are you going to use the notes pages at the back of the planner?
- Where are you going to record seasonal tasks and one-off things we often forget? (update life insurance, clean A/C filters etc.) – on the monthly notes page, annual overview, add a printable, or use erasable pens and add them to a date on the monthly calendar?
3. Not tearing out pages
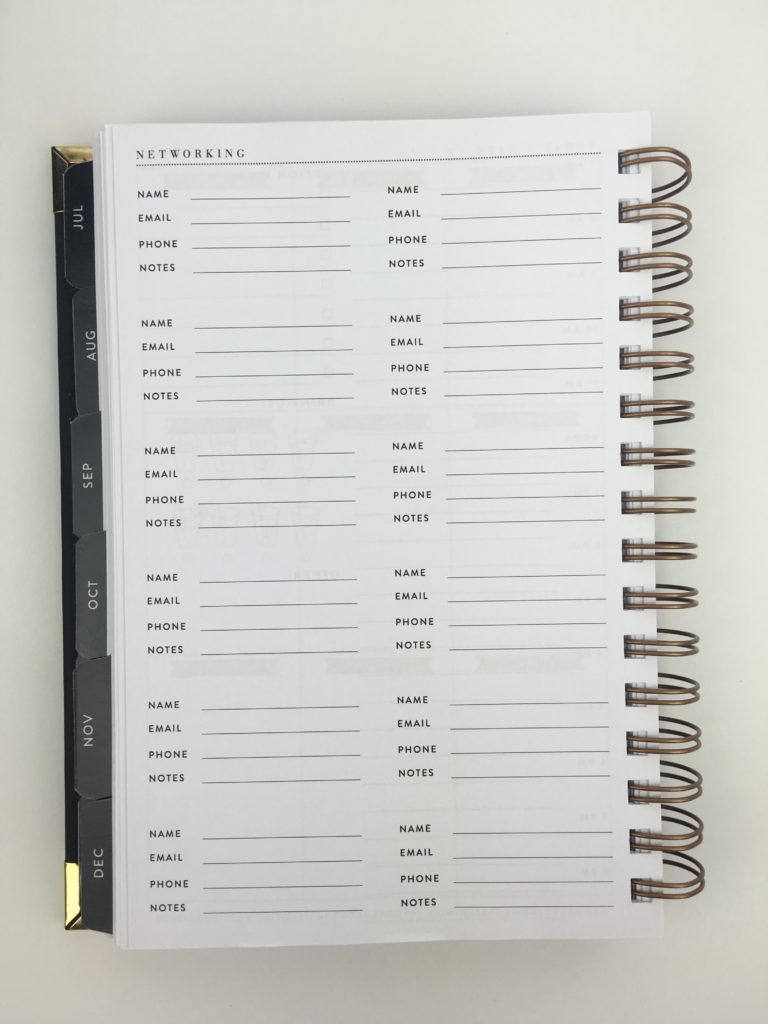
I store contacts on my phone so have no use for contacts pages. If there are pages you don’t use, either rip them out or cover up the stuff that’s not relevant with washi tape, stickers, sticky notes etc. Some pages can be converted into another type of page – contacts pages can be converted into password logs by whiting out the irrelevant titles. Another option is to print a printable and stick it straight over the top e.g. budget printables which most planners don’t seem to include.
This could easily be converted into a password log…
Related: Planner Review: Rule the World by Sugar and Type
4. Not planning the big things first
The rocks, pebbles and sand analogy is what I’m talking about here. If you fill your time with sand (little things), then you have no room for the medium priority things (the pebbles) and the big things (the rocks).
So before you write anything in your planner, get a clear idea of what your goals are and when you want to achieve each goal. Then start adding other things to your planner.
5. Handwriting everything
There are so many time saving planning tools available these days
- Stickers (icons for recurring tasks, header stickers)
- Color coding stickers
- Printables (my favorite are habit trackers – download one for free in the library here)
- Washi tape (various sizes can also get checklist stickers)
![]()
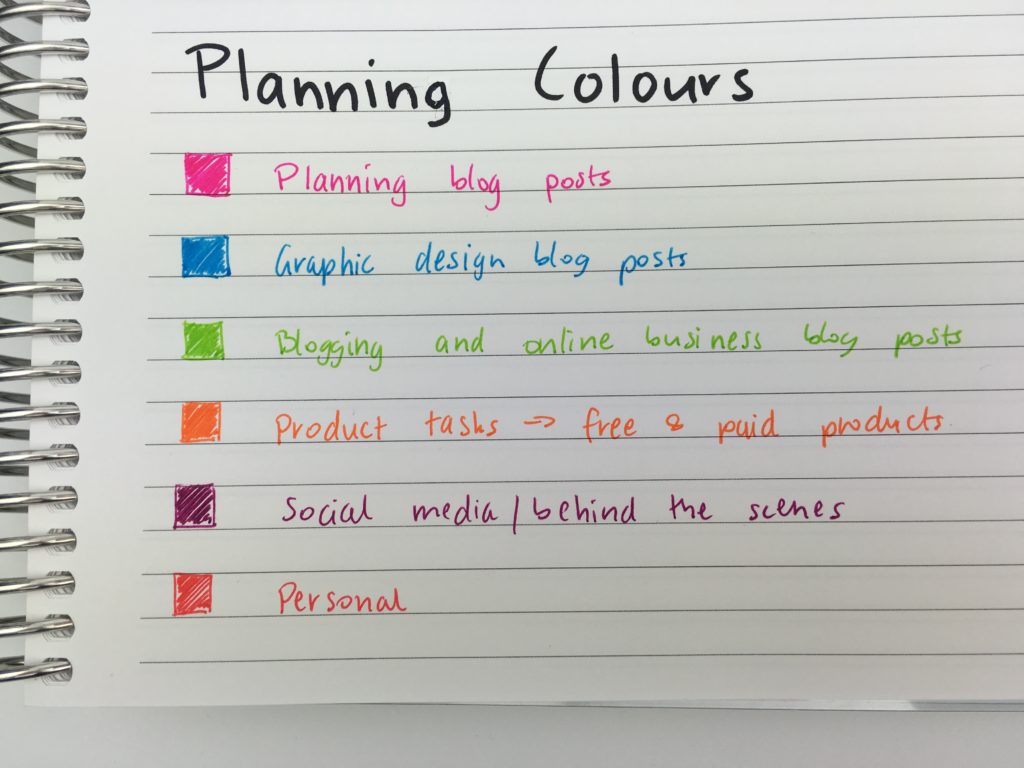
6. Not setting up a coding system
Some sort of coding system will not only save you time, but also space in your planner. A few options:
- Color coding
- Using symbols
- Using colored dot stickers
Some helpful posts:
- 50 Category Ideas for Color Coding Your Planner
- How to color code bill paying in your planner (7 different ways)
- Using a planner key and symbols to code your planner (efficient planning methods)
7. Expecting it to be perfect from the beginning
I’ve been using a planner ‘religiously’ for more than 7 years now and I still haven’t found the perfect planner. I tend to try a different weekly spread each week. Printables + discbound binding are a great option if you want to try a few layouts before ordering a planner in the layout that’s right for you (or just continue using printables).
Related: How to make an A5 size, 2 page weekly planner printable in Photoshop (video tutorial)
![]()
Related: Planning with a functional minimalist DIY weekly planner printable
More planning tips
- Daily versus weekly planners: which is right for you?
- How to make planner stickers – creating perfectly proportioned shapes in Silhouette Studio (video tutorial)
- How to make lined note paper DIY planner insert refills in Photoshop (quick and easy step by step tutorial)
Planner Reviews
- Dabney Lee for Blue Sky Weekly Planner Review
- Milligram Weekly Agenda Planner
- Review of the Officeworks Otto Wellbeing Planner for 2018
Found this post helpful? Pin it!