
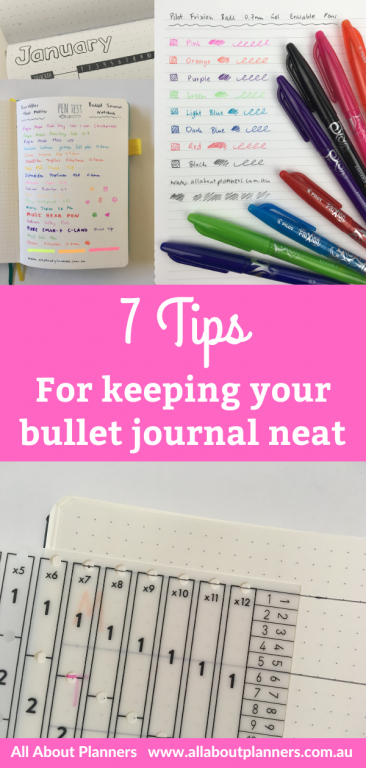
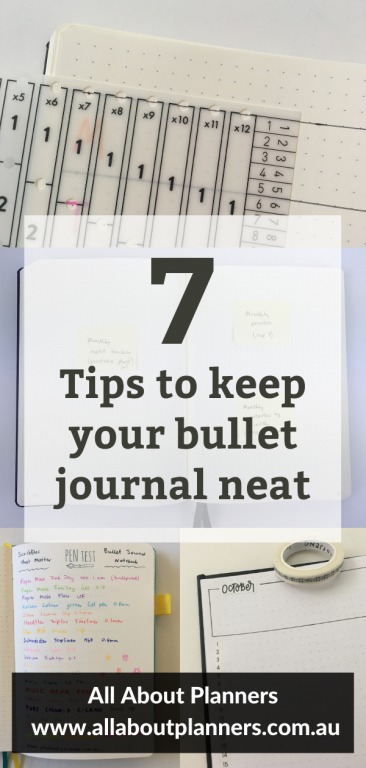
7 Tips to keep your bullet journal neat
I’m a bit of a perfectionist which is probably one of the reasons I originally avoided bullet journaling for so long. The entire page hand written, ruling things up… can end up being a perfectionists’ nightmare. So here are some things I do to keep my bullet journals neat.
1. Erasable pens
Thank goodness for erasable pens! I shared my favorite erasable pens in this post. If you’ve been reading my blog for a while I’m sure you already know which ones they are…
Bullet journaling in the Leuchtturm dot grid notebook
2. Mark it up in the margin
Those erasable pens come in handy when counting out dots (and marking a dot on the page to hold your place). If you get the spacing wrong you can just rub it out and start again. You could also use a pencil but I find black ink from a pen stands out more.
When ruling lines I use a Poppin ruler. It’s an expensive ruler but it’s heavy and thick so is easier to grip and stays in place when ruling lines. Plus the numbers are big and it has both inches and cm.
3. Draft notebook
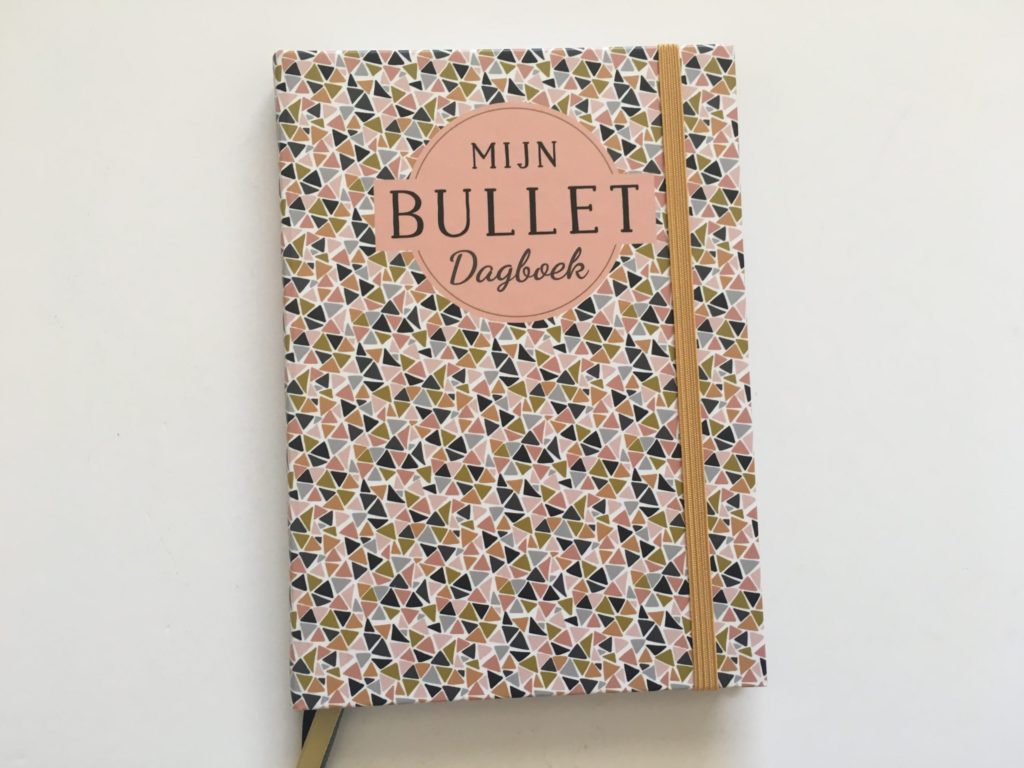
If you’re a bit of a perfectionist, use a separate cheap dot grid notebook where it doesn’t matter what paper quality, if the pages are yellow instead of white etc. Some cheap dot grid notebooks I recommend for drafting are the Minimalism Art, Scrivwell, Point Journal and Otto Dot Grid Journal. One problem you may run into though is that all dot grid notebooks seem to have a different number of dots across and down, or a slightly different page width etc.
I know one of the main things about bullet journaling is the index so you could write wherever in the notebook. But I prefer to keep things clustered and on consecutive pages. Sticky notes are helpful for deciding what you’re going to plan on what page.

Related: Bullet Journal Ideas: 26 Weekly Spread Layouts to Try
4. Pen and Highlighter test
Before I start using any planner or notebook I do a pen, highlighter and stamp swatches test. That way I can check the bleed through and ghosting. Unfortunately most bullet journals have quite thin paper so I tend to use the frixion or ballpoint pens and pastel highlighters.
Related: Pens & Highlighters Smear Testing: Which ones don’t smear
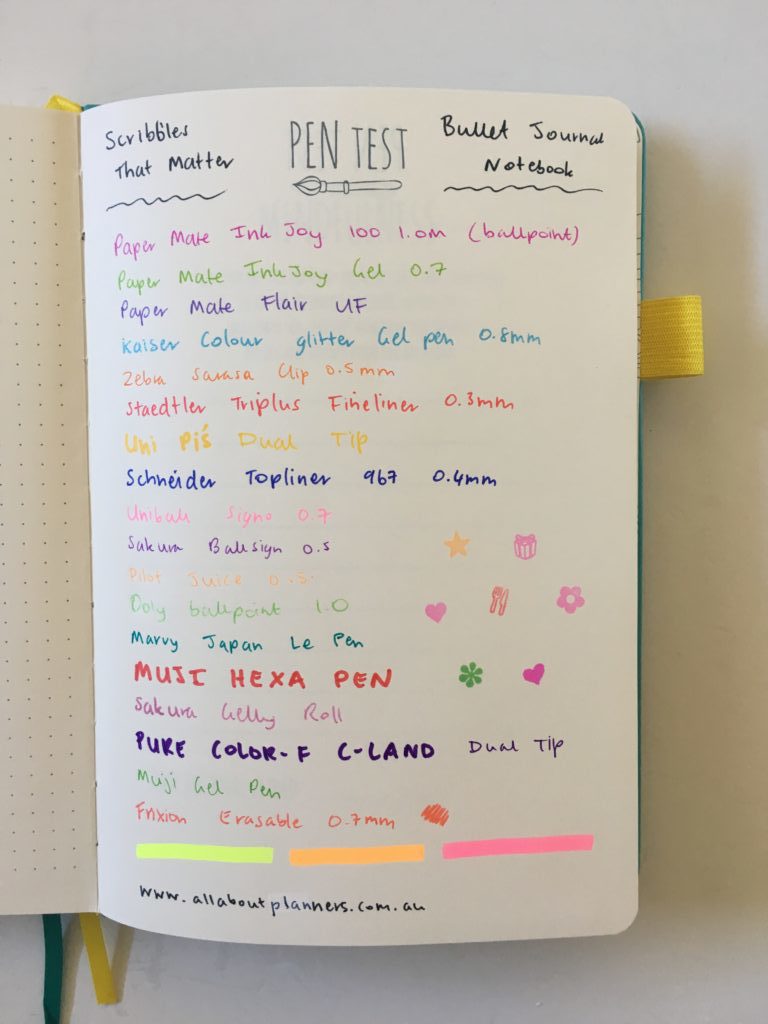
Scribbles That Matter Notebook
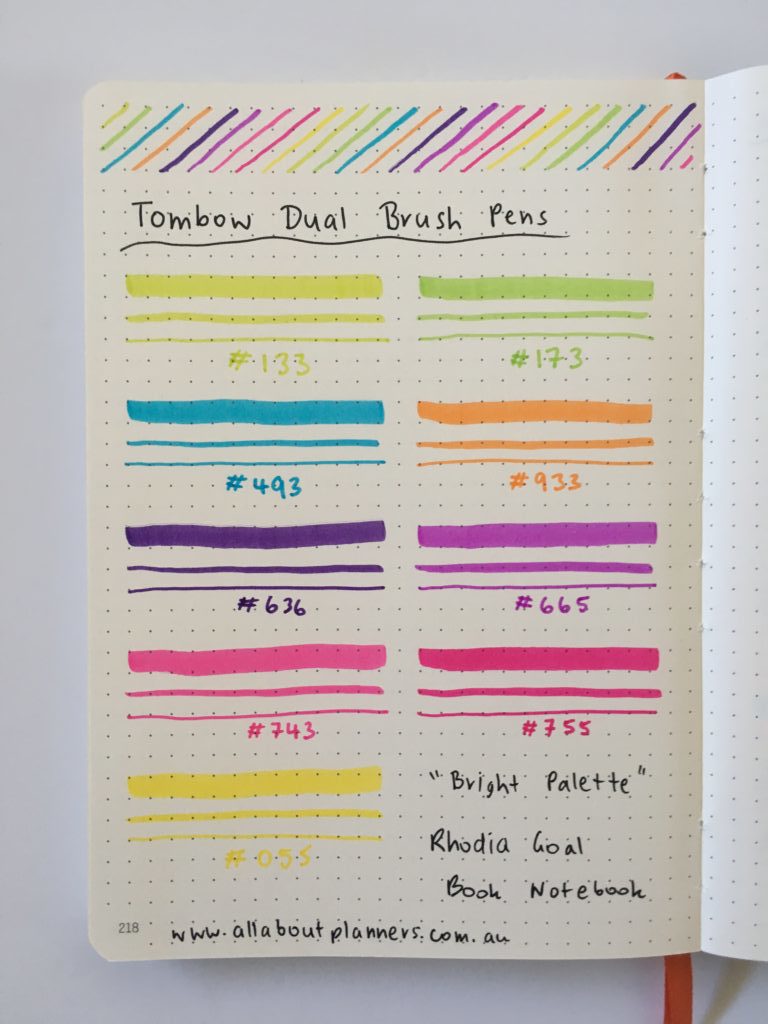
Related: Tombow Brush Pen Testing in 8 Different Bullet Journals
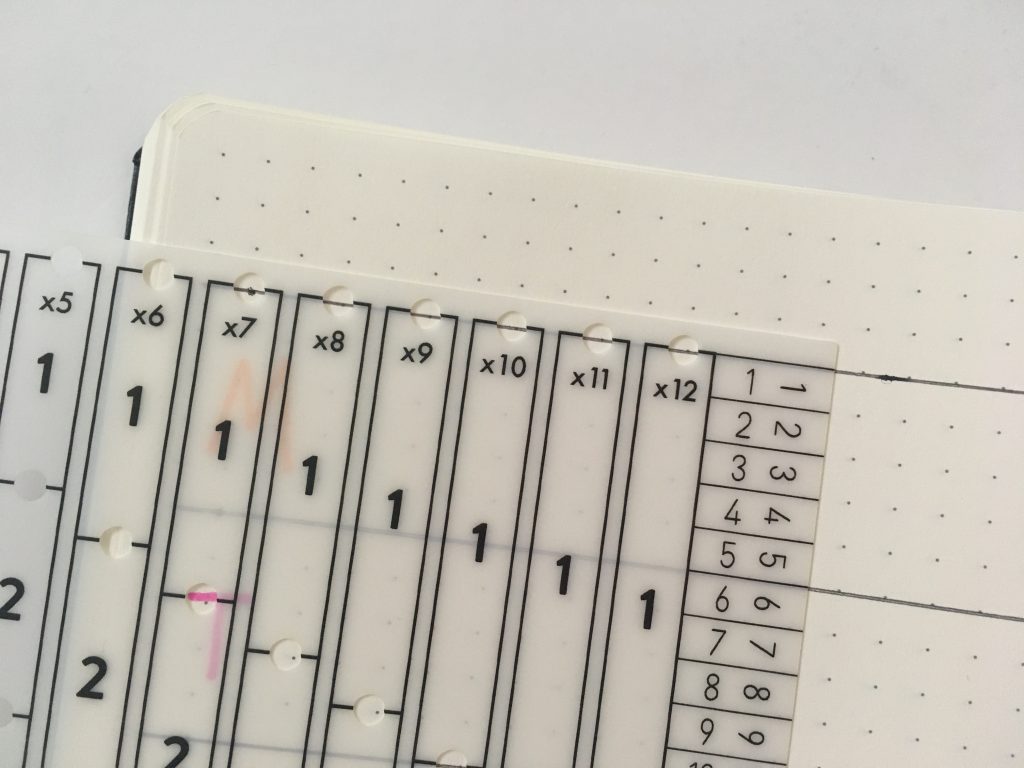
5. Count the dots
After I do a pen test, the very next thing I do is count the number of dots across the page and the number of dots down the page. You’d think the number of dots would be the same for just about every dot grid notebook… but I’m yet to find 2 notebooks that have the exact same number of dots.
I write these numbers on a sticky note and put it at the front of the bullet journal for quick reference.
Or you could create an entire reference page. Here are some ideas of things to add to your list at the front of each dot grid notebook you own:
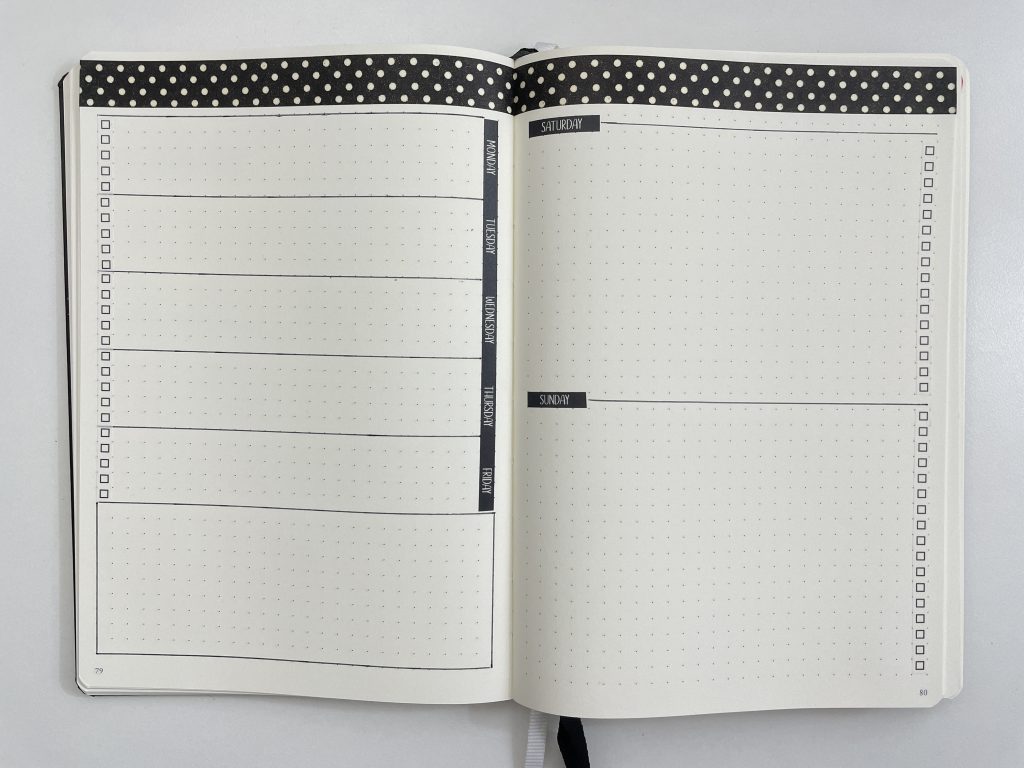
- Number of dots vertically if you want to create a 5 day, 1 page horizontal spread
- As above but for 7 days
- Number of dots across and down for each row / box for a 1 page monthly calendar
- As above but for a 2 page monthly calendar
- Number of dots between each line if ruling up a daily schedule e.g. 7am to 6pm, 7am to 10pm etc.
- The halfway number of dots if you want to rule a page in half (e.g. for list making)
- Etc.!
Another helpful tool is the Ink by Jeng stencil, Sunshine Sticker co Journal Guide and the Moxie Dorie Journal Rule. These all help you by counting the spacing for you – all you need to do is line up the stencil and mark when you want to draw the line.
Read more: The best time saving tool for bullet journaling (Ink by Jeng Row & Column Stencil)
6. Remove the ribbon bookmarks
There have been far too many instances where I’ve drawn a line and its ended up wonky due to the ribbon bookmark below it. Now I remove all the bookmarks before ruling up spreads. By remove I don’t mean rip them out, I just push them out of the notebook. Since I don’t continually use a bullet journal as my one notebook for planning I don’t need to worry about losing my place. But if you do want to keep your place, try sticky notes or a paperclip.
7. Date dot stickers
If you’re creating a monthly calendar, date dot stickers look good and are a huge timesaver.
There are plenty of date dot stickers to choose from these days! My favorite are:
- Rainbow date dot stickers
- Prima Planner mini neutral date stickers
- SRM Press neutral
- Carpe Diem rainbow
- Carpe Diem neutral
- MAMBI Happy planner bujo minimalist stickers which include a few pages of date dots
Bullet journaling in the Rhodia Goalbook
8. Functional washi tape
Instead of writing out the days of the week, use some Sunshine Sticker co days of the week washi tape.
Weekly spread in the Leuchtturm using Sunshine Sticker Co Washi Tape
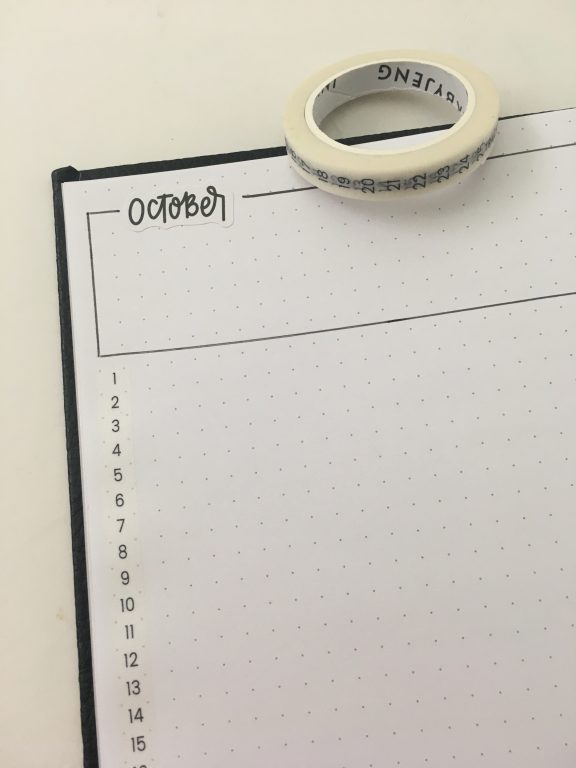
Instead of trying to write the dates really small to fit into the boxes, use some numbered washi tape for your calendars and habit trackers.
More bullet journal
- 8 Ways to use highlighters for Bullet Journal Spreads
- Lined, dot grid, graph or blank: what paper type is right for your bullet journal?
- 7 Bullet Journal Weekly Planner Spreads you probably haven’t thought of
Weekly spreads
- Bullet journaling with planner stickers in the Happy Notes Book
- Bullet journaling on black paper with white & gold pens
- Bullet journaling in the Siwengde notebook (quick rainbow spread)
Found this post helpful? Pin it!


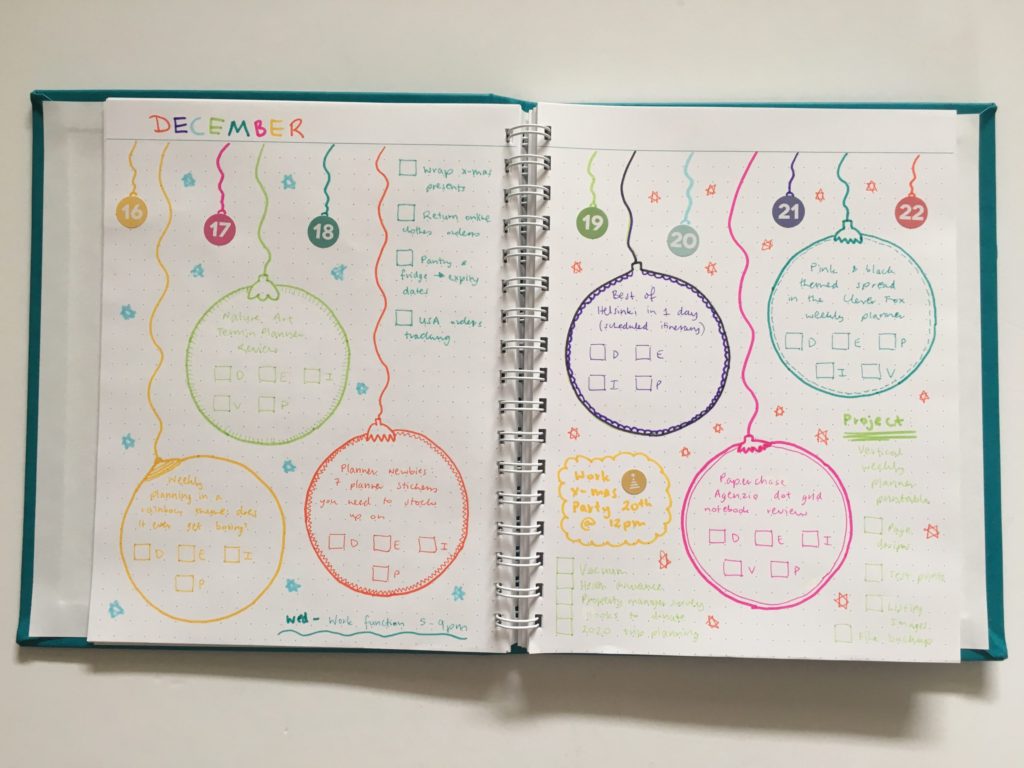
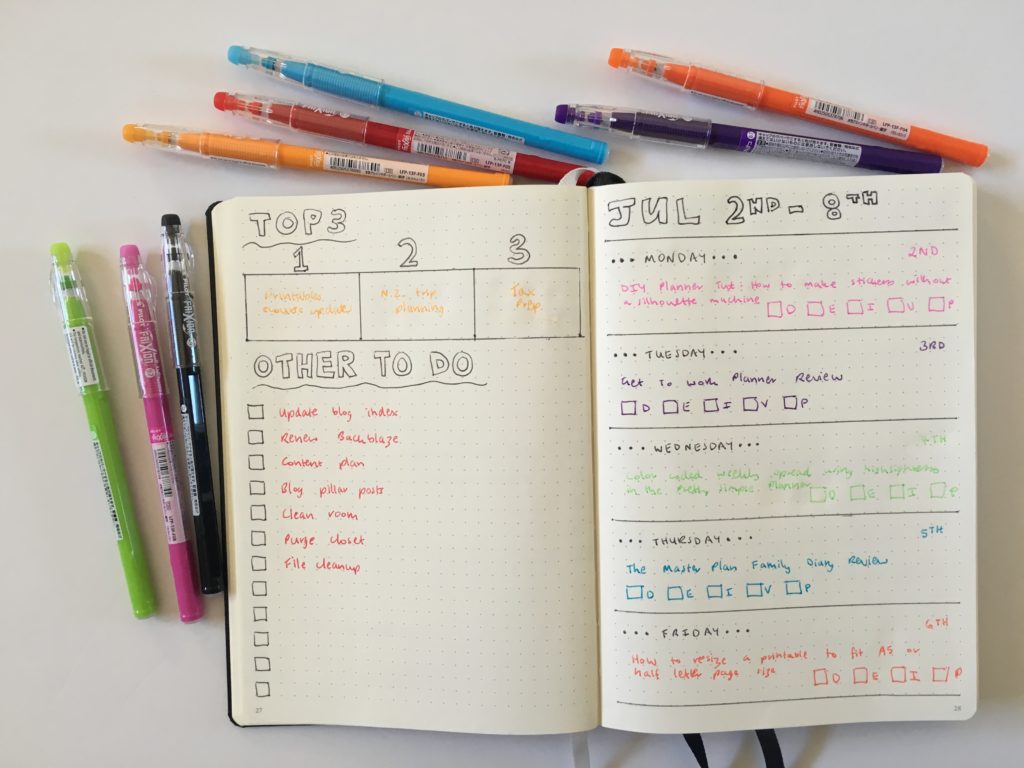
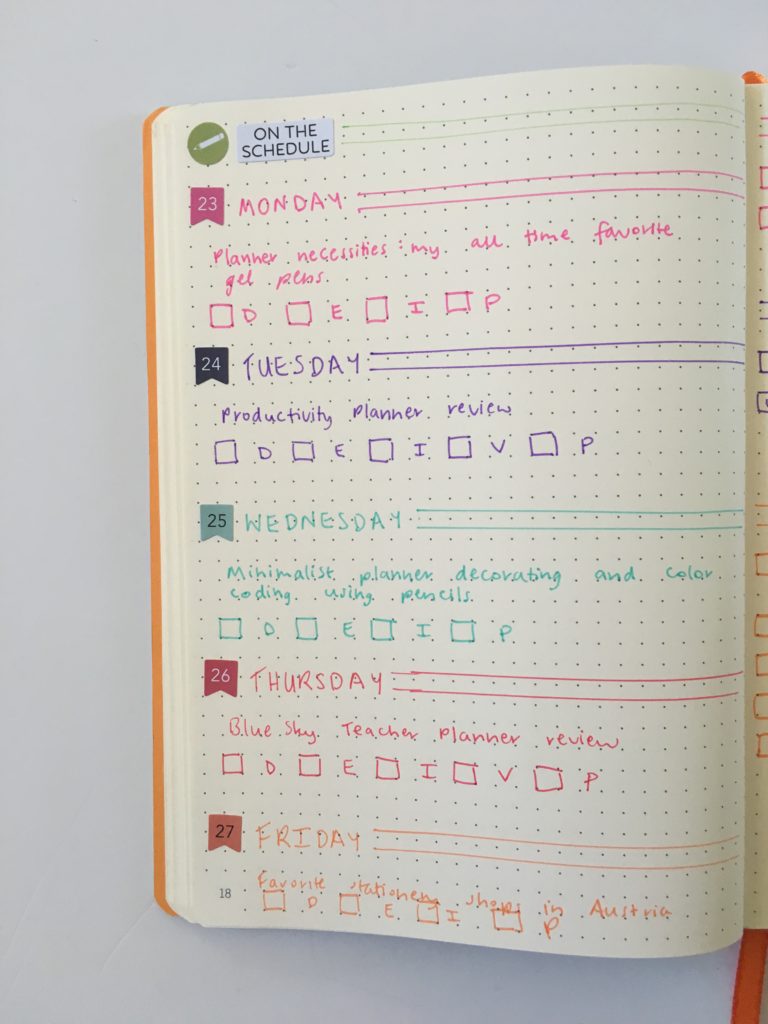
What do your “D-E-I-V-P’s” stand for? Is there a page on your site that talks about this?
Hi,
It’s my blog post workflow:
D = Draft, E = Edited, I = Images, P = Pinterest V = Video
Ohhh!!! Okay, thank you!