DIY Tutorial: How to Print and Assemble Your Own Planner
If you’ve looked everywhere and can’t find the perfect planner for you – it’s time to DIY your own!
1. What printables do you need?
Some of the printables you might want to add to your planner:
- Budget printables
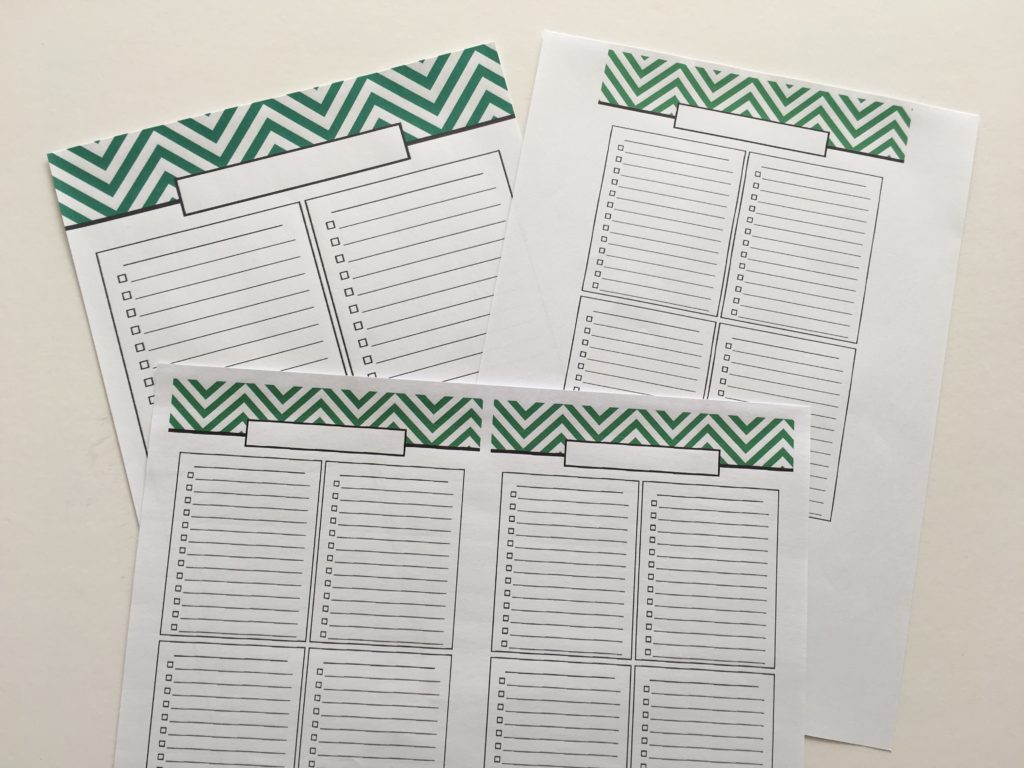
- Checklists
- Fitness trackers
- Meal planning
- Food logs
- Contacts pages
- Cleaning
- Emergency Info
- Pet info
- Insurance
- Journaling / reflection / weekly or monthly review questions
- Couponing printables
- Party planning
- Travel planning
- Extra notes pages – lined or dot grid
The ones I find most helpful for organizing my life are:
- Checklists
- Notes pages
- Dot Grid
- Monthly habit trackers
- Weekly 1 page overviews (ideal for pre-planning the week), or print 2 copies – 1 page for work, 1 page for personal
- Tax documents
- Monthly routine tasks (which I use for blogging + business related stuff)
- Seasonal tasks (e.g. update life insurance and those kinds of often forgotten tasks)
- Monthly review questions
I’m sure there are many more you can think of!
![]()
Planner versus a household binder
If you’re feeling a bit overwhelmed having read all of the above pages you could add to your DIY planner, you may need to split it into separate planners (or more than 2) or create a household binder. A household binder is where I keep ‘reference’ info that I don’t need to check all the time e.g. cleaning checklists.
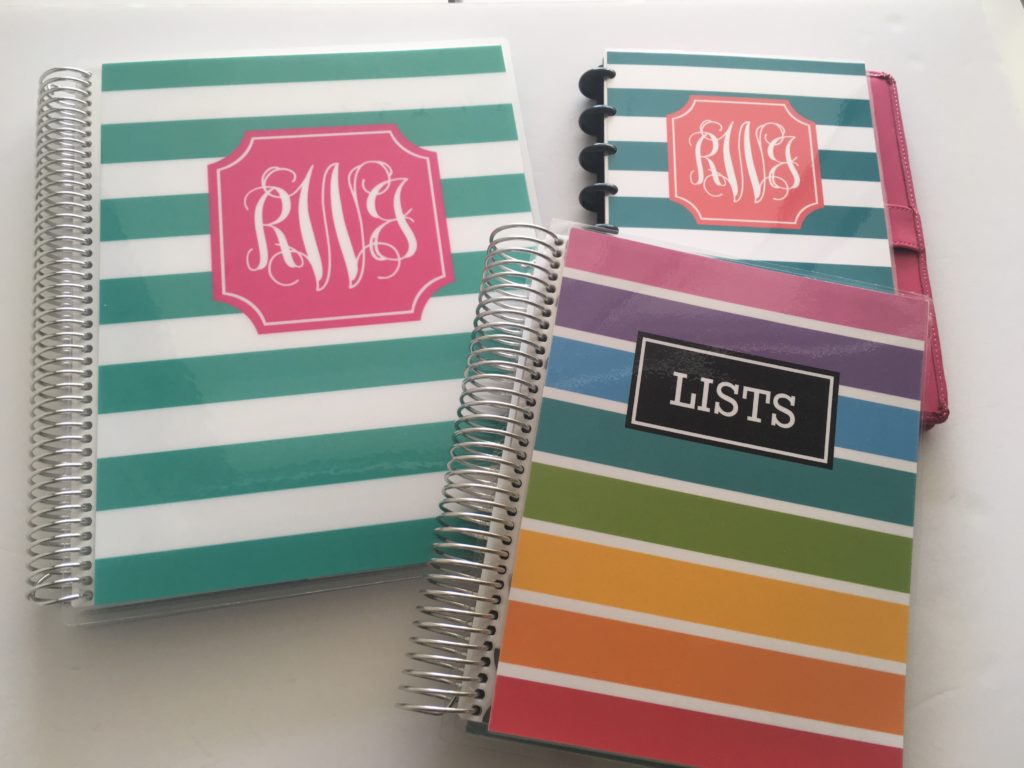
My systems are:
- Binder for tax planning and receipts
- One binder for my investment property
- ARC discbound planner A4 for planning (blog, business and occasionally weekly planning)
- ARC discbound planner A5 for lists
- Discbound plastic folder for organizing favorite recipes
- Binders for organizing recipes I want to try
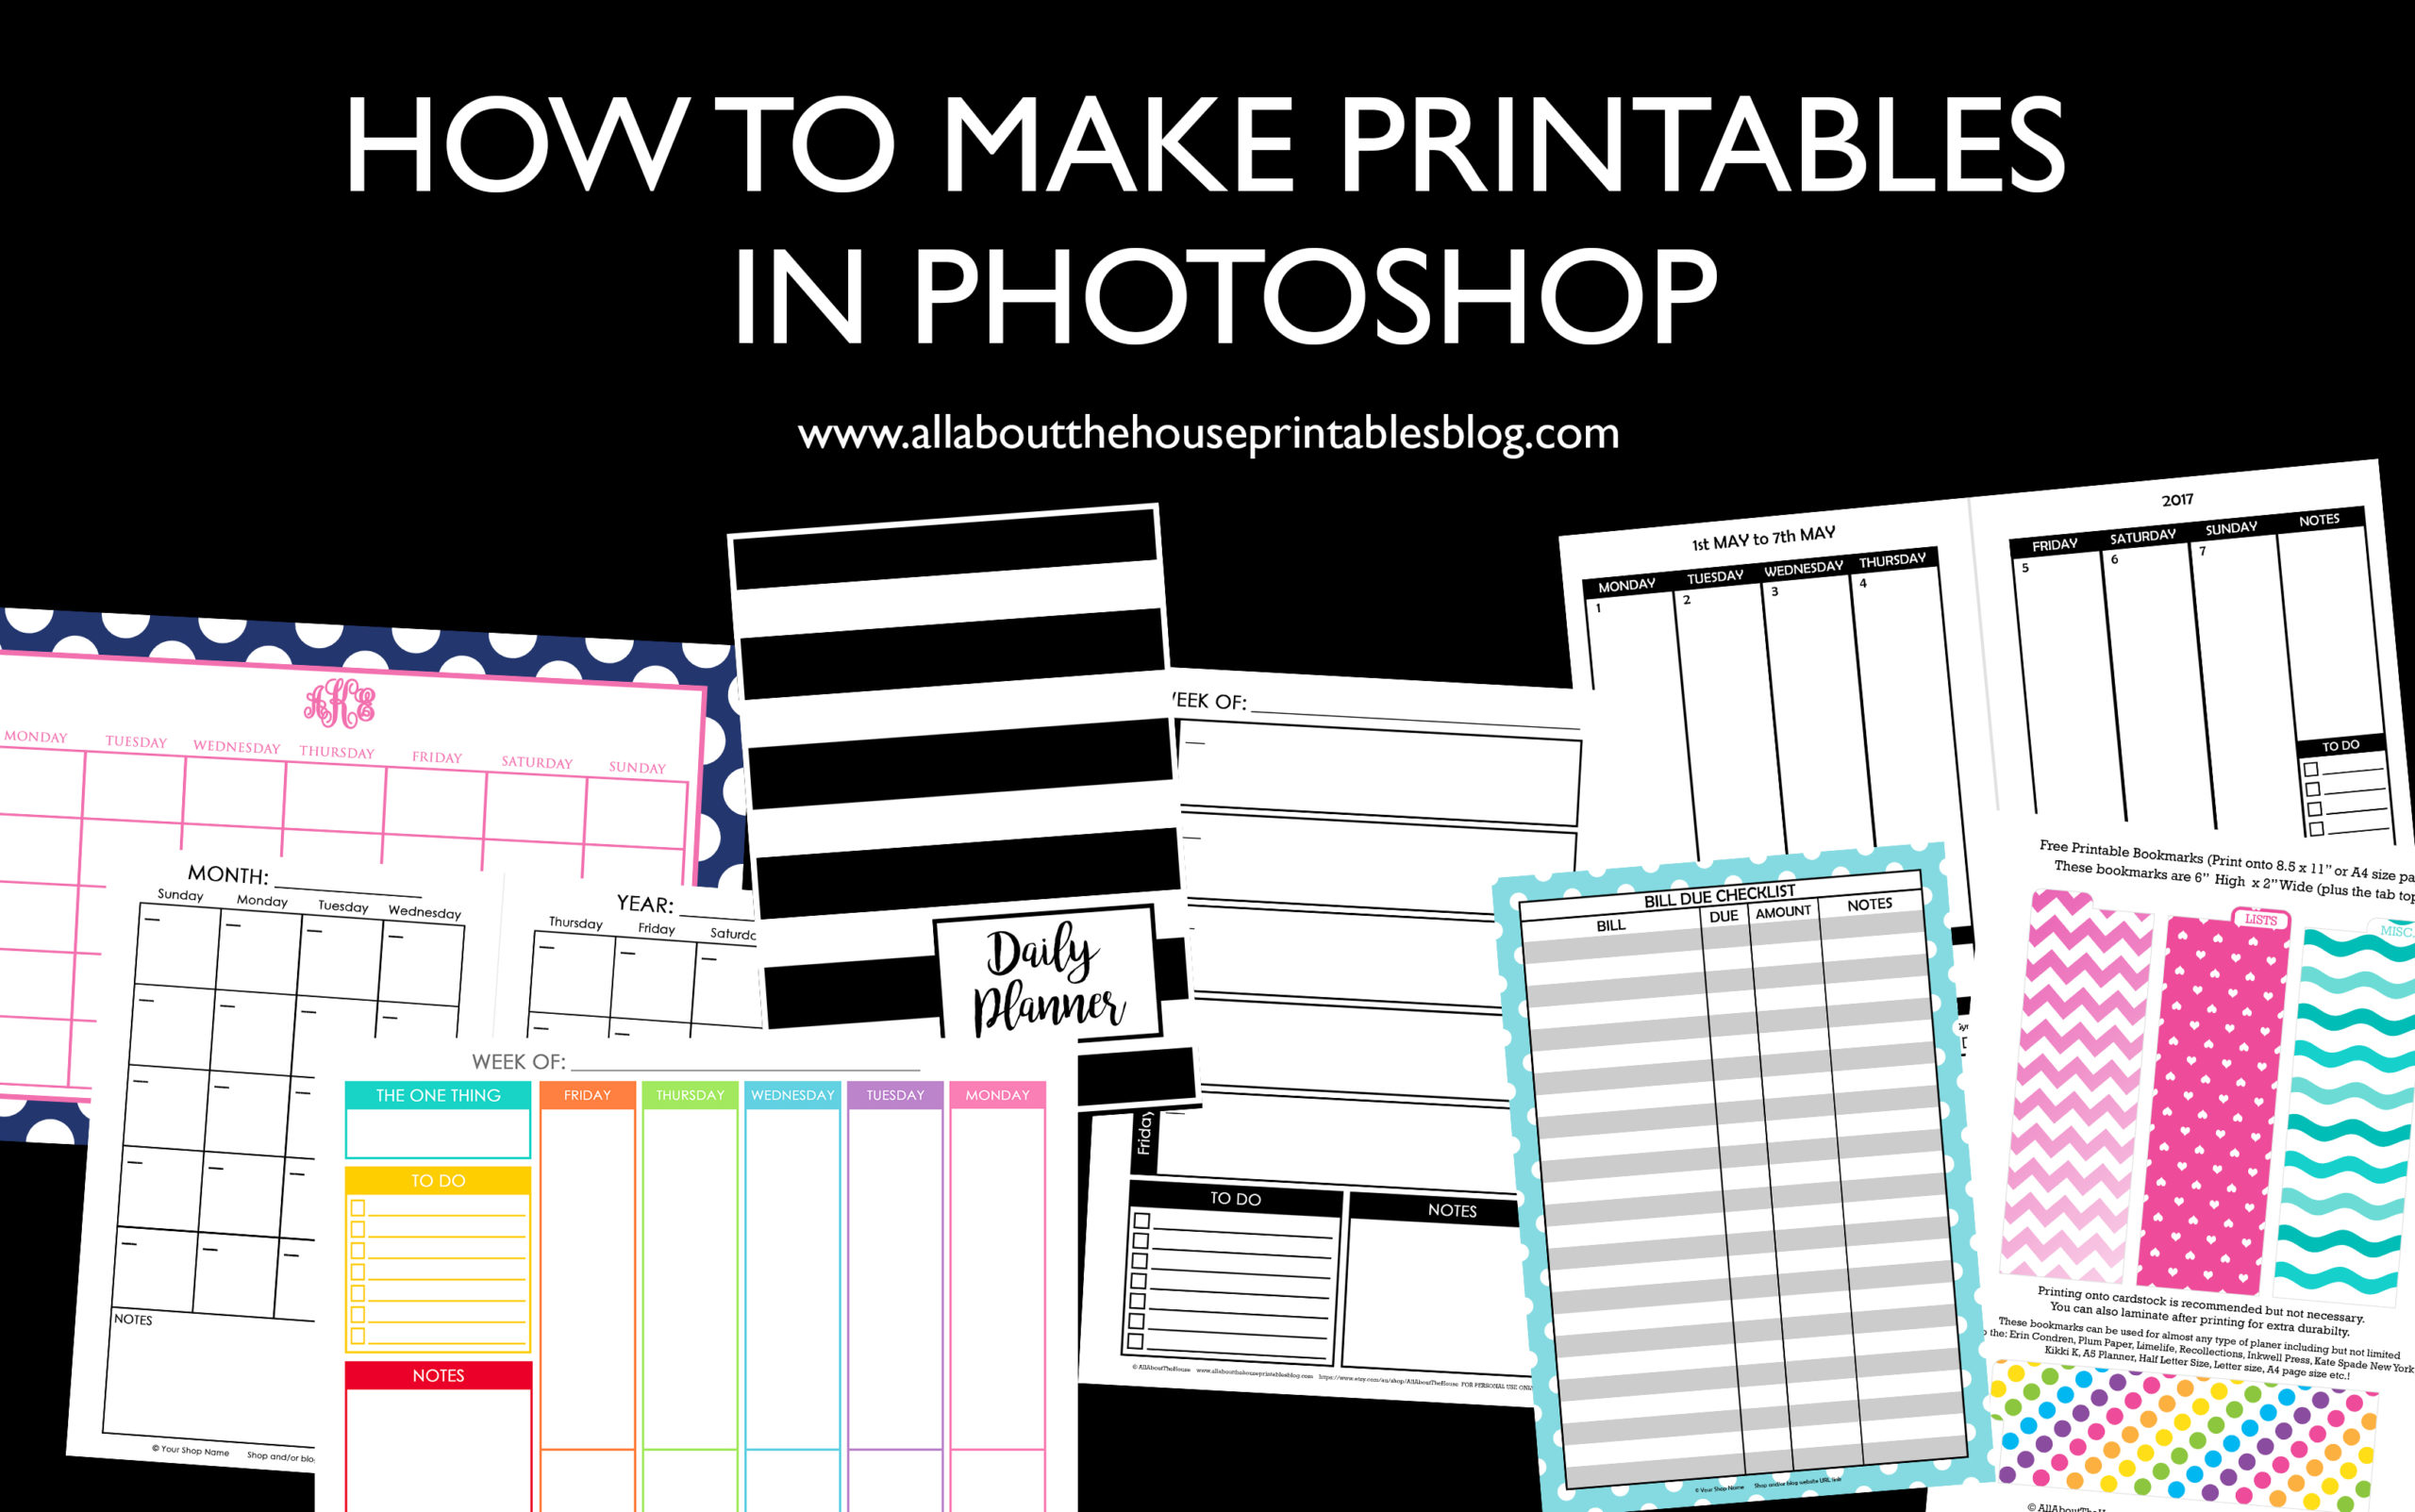
2. Where to find printables
I have tons of organizing printables in my shop! To get something truly custom, learn how to make your own printable planners:
- How to make an A5 size, 2 page weekly planner printable in Photoshop (video tutorial)
- Free email course – how to make a weekly planner from scratch
- My How to Make Printables in Photoshop ecourse
- My How to Make Printables in Word ecourse
3. Printing options
- Print at home
- Take to office supply store
- Use a print and ship to you website
I prefer to print pages at home on my own printer. It’s convenient, cheap and easy. I went into lots of detail about the printer I use (and how to choose the right one for your needs) in this post.
Some things to consider are:
- Duplex printing (printing on both sides of the paper)
- Page size
- Paper type (I always go for bright white)
- Paper thickness – I use quillboard cardstock for dividers
- 2 per page printing
Printing tips if you want to print at home:
- How to easily print printables double sided (duplex printing tutorial)
- How to resize a printable to fit A5 or US half letter (5.5 x 8.5) page size
I typically print pages single sided. I have this thing about writing on the back side of paper I’ve already written on. It’s just not as smooth and crisp as a fresh piece of paper.
For things like packing lists that I take with me travelling (so I don’t forget to re-pack anything), I use ‘2 per page printing’ so that 2 copies of the design will print on the 1 page. And then I just cut the sheets in half.
Color versus black and white
The printer that I have takes 5 ink cartridges and all are the same price to refill, so I just print everything in color.
If you have a printer with expensive inks, then I would print pages I’m going to refer to often in color. For things like tax documents, insurance info etc. that is more reference and I’ll only look at occasionally then I’d print in black and white.
Need help deciding? See this post: Colorful versus neutral planners: which is right for you?
If you do want to print pages in black and white, see this post: How to print any printable in black and white (greyscale) using your home printer
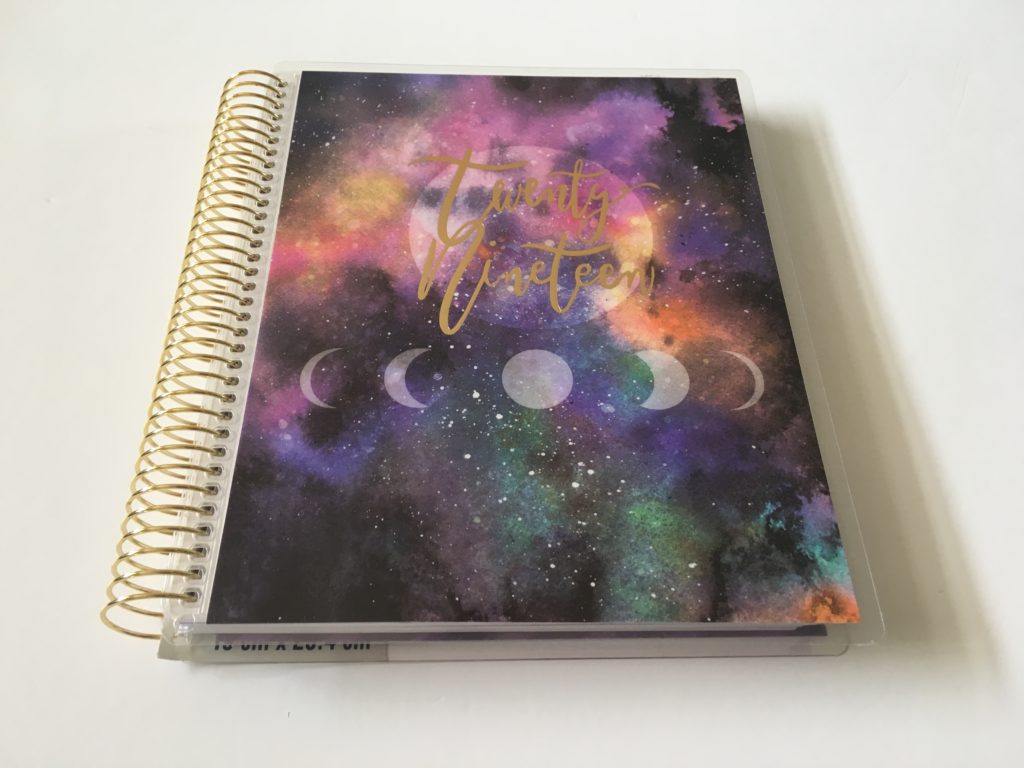
4. Cover
It’s very easy and inexpensive to DIY your own cover. If you use with a discbound system or a ring binder you don’t actually need a pretty cover page… but I think why not?!
Related: How to make a DIY Erin Condren Planner Cover for less than $2 (plus free printable cover)
5. Binding Type
I went into lots of detail about the various binding options in this post.
Quick summary
- Sewn bound is lightweight, but the stitching can come undone.
- Coil bound is sturdy, but the coil can be bulky and it’s not as eas
- Plastic comb binding is cheap but doesn’t look that nice
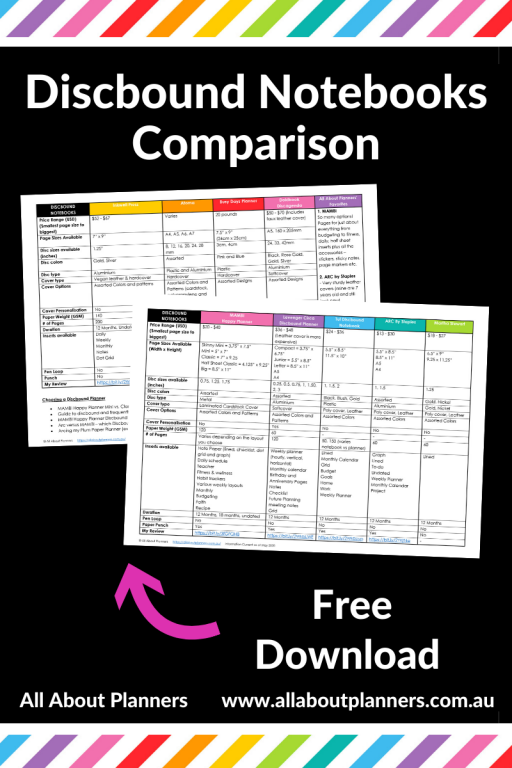
- Discbound is my favorite as you can add and remove as many pages as you like
![]()
Related: Guide to Discbound Planners & Frequently Asked Questions
If you need help choosing a discbound planner / brand, click here to download my comparison
6. Stationery & Customisation
Another option to consider when choosing printing and binding, is what stationery you want to use. You can’t just pop in a dashboard to a sewn bound notebook like you can with ‘snap in’ style inserts that work with coil or discbound. Similarly, if you want the ability to add your own pages after binding, coil binding can be annoying as there’s so many holes to punch (and more likely to end up crooked)
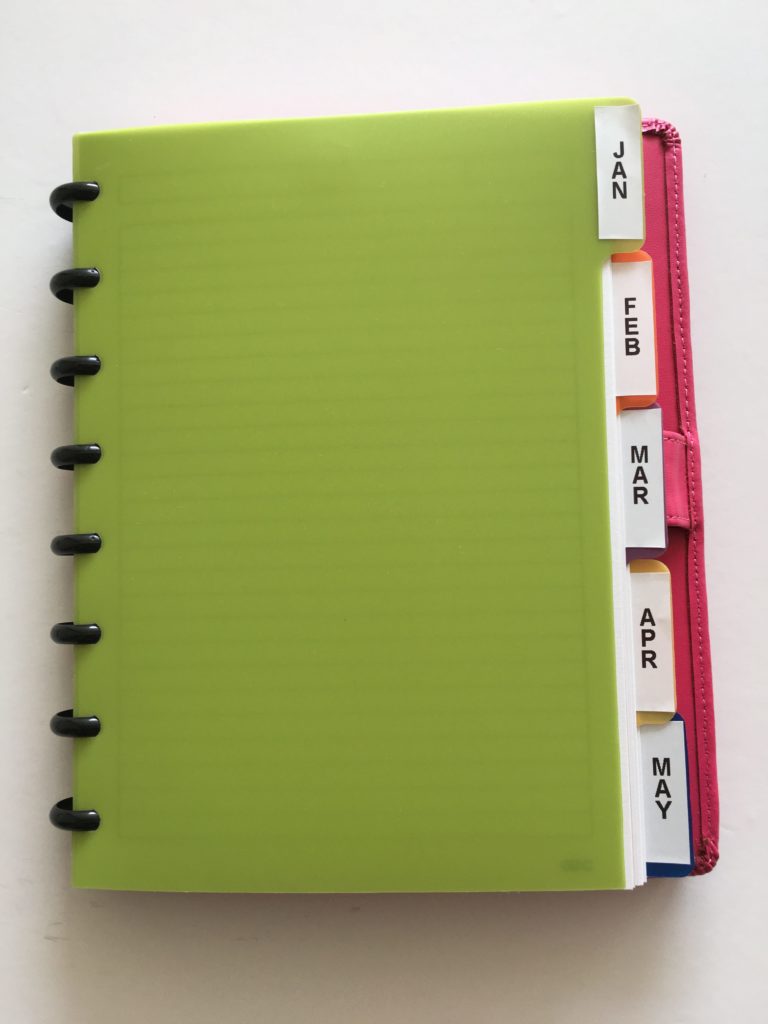
7. Tabs
You obviously don’t have to add tabs but they do save a lot of time. Sticky notes are an affordable option, especially when you’re setting up a new planner and still deciding how best to arrange things. Even though I have my password log at the back of my blog notebook, there are multiple password log pages so found it easier to add a tab just for that.
Most discbound planners have tabs as an add on. I used my DYMO label maker (I did a review of it here) to add labels to the ARC tabs. I also have a Photoshop template and an excel template if you prefer to make your own. If you don’t want to label your tabs you could just use patterned cardstock and create a color / pattern coding system.
More planning tips
- 5 Planner supplies you should never skimp on
- Color coding your planner: how to choose which colors to use
- Planner pens I don’t recommend (prone to smearing, bleed through etc.)
![]()
Found this post helpful? Pin it!