
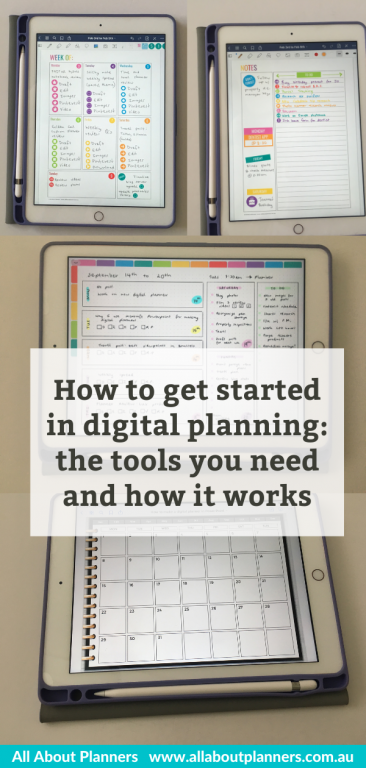
How to get started with digital planning: the tools you need and how it works
If you want to get started with digital planning, here are the tools you need.
This post contains affiliate links. If you click one of the links and make a purchase I’ll receive a small commission (at no extra cost to you) in exchange for referring you.
Types of digital planning
- Apps you can purchase via the app store and use on your phone e.g. todoist app
- Online tools e.g. Asana, Trello and Kanban Flow
- Software on a computer e.g. Microsoft Excel.
- Hyperlinked PDF files you use in an app that allows you to annotate PDF’s e.g. Goodnotes
For the purposes of this post (and since it seems to be the most common thing people think of when someone mentions digital planning), I’ll be talking about 4. hyperlinked PDF’s.
Related post: Drawing bullet journal spreads on paper versus digitally on an iPad: whihc is faster?
Software
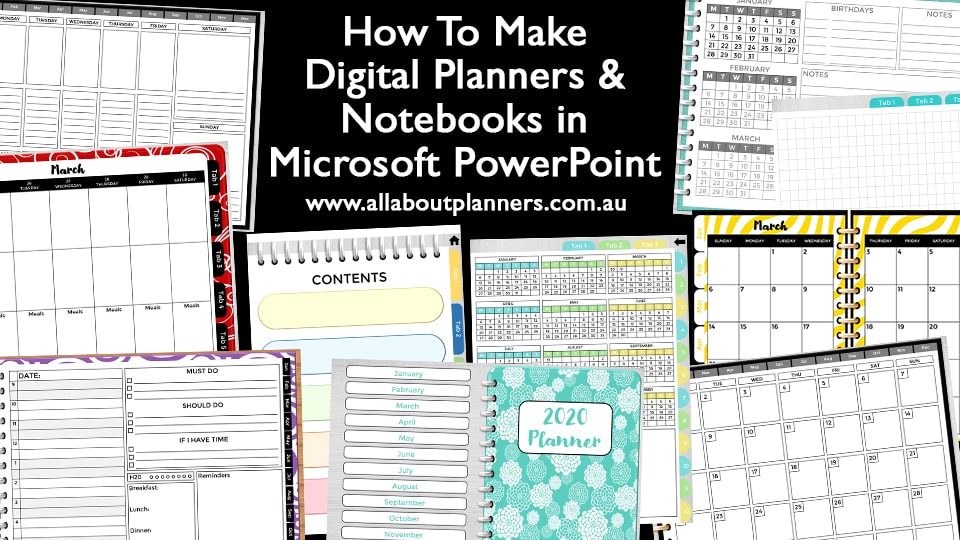
If you want to make your own digital planners you’ll need some software. My program of choice is Microsoft PowerPoint. If you’d like to learn how to make digital planners and notebooks click here for details about my ecourse.
A few reasons why I chose Microsoft PowerPoint – see this post for more detail.
For making digital planners I prefer to use a computer. A mouse and separate keyboard is much faster to design with than using a small tablet or iPad screen, your fingers and the on-screen keyboard. It’s also near impossible to select multiple things e.g. 12 tabs with your fingers all at once (unlike a computer where you can use the SHIFT key on your keyboard).
If you don’t want to make your own digital planners and would prefer to use one that’s already made, I discuss that later in this post.
Device
Once you make (or purchase) your digital planner, you’ll need a device to open it on. In this case, you’ll want a tablet or iPad. It needs to be something that allows you to write on the screen. Years ago I purchased a Samsung Galaxy tablet but didn’t really use it. When I went to try digital planning I thought great, I can get some use out of it… Not quite, I purchased a model that wasn’t compatible with stylus pens (wasn’t a factor that was important to me at the time I purchased it). So make sure you check the specs before purchasing.
You could use a digital planner on an iPhone but the screen is so small I wouldn’t recommend it.
Some apps won’t work on an android device. E.g. Goodnotes is currently only available for iOS (i.e. Apple products). As I knew I wanted to use Goodnotes for digital planning that is why I purchased an Apple iPad over similar devices that are Android (i.e. Samsung tablet, Microsoft Surface Pro).
Stylus Pen
To get that realistic ‘writing on paper’ feeling you’ll need a stylus pen. Since I use an Apple iPad I went with the Apple Pencil. It feels much heavier than a real pen and takes a bit of getting used to. I’m thinking about getting one of these grip things to hopefully help make my writing a bit neater.
You can get other brands of stylus pens, I just got the Apple Pencil as I use an Apple iPad.
Digital planning doesn’t really work without a stylus pen. You’ll be able to tap on hyperlinked sections e.g. tabs with your finger but you won’t be able to write with your finger. There is a type text function in Goodnotes but the on screen keyboard of an iPad is slow to use, takes up a lot of the screen space (on what is already a small screen size) and I find it time consuming to change font style, color, size etc. in Goodnotes. It’s much faster to write with a stylus pen.
Template
If you don’t want to learn how to make your own digital planner, you can purchase one made by somebody else. Things to check:
Hyperlinked tabs
This is the difference between a digital planner and a typical PDF. When you click on certain things e.g. tabs with the months of the year, it will take you to whatever page the creator of the digital planner has linked it to. So if you click on the ‘January’ tab it will take you to the January monthly calendar. Other pages can be linked as well e.g. week 1 on a monthly calendar could take you to weekly planning pages for the first week of that month.
Size
It doesn’t really matter what page size the template is. If you use Goodnotes it will automatically adjust the size to fit the screen. It doesn’t distort the pages either, it will proportionally reduce so nothing looks stretched or squished
Rings or no rings
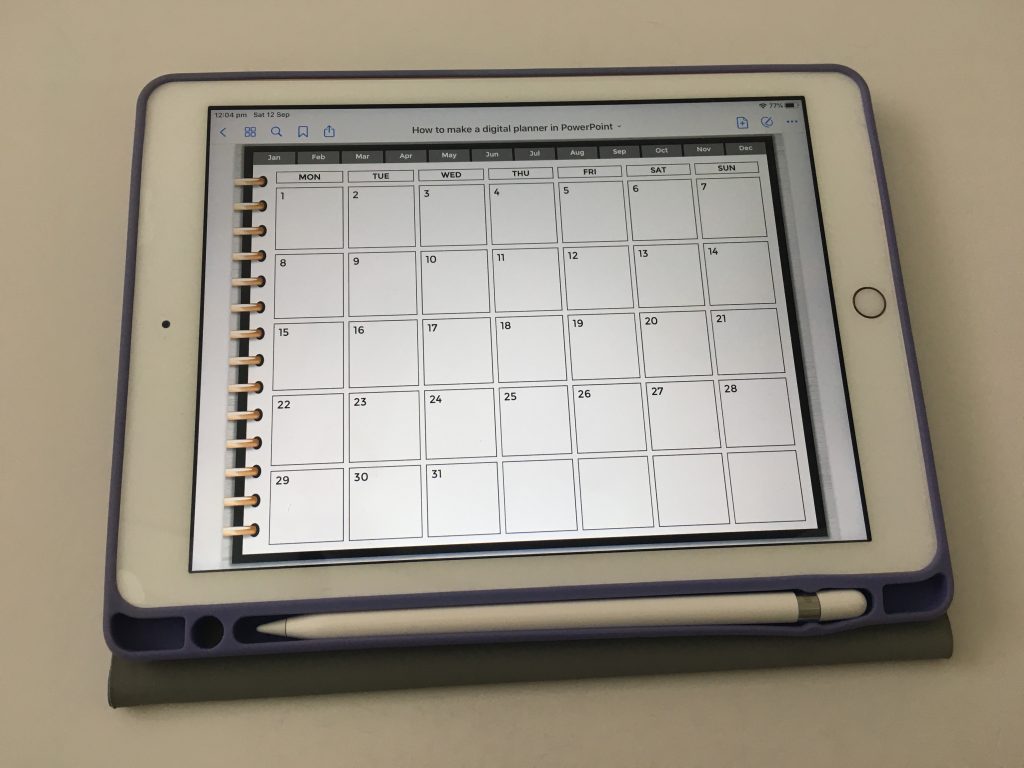
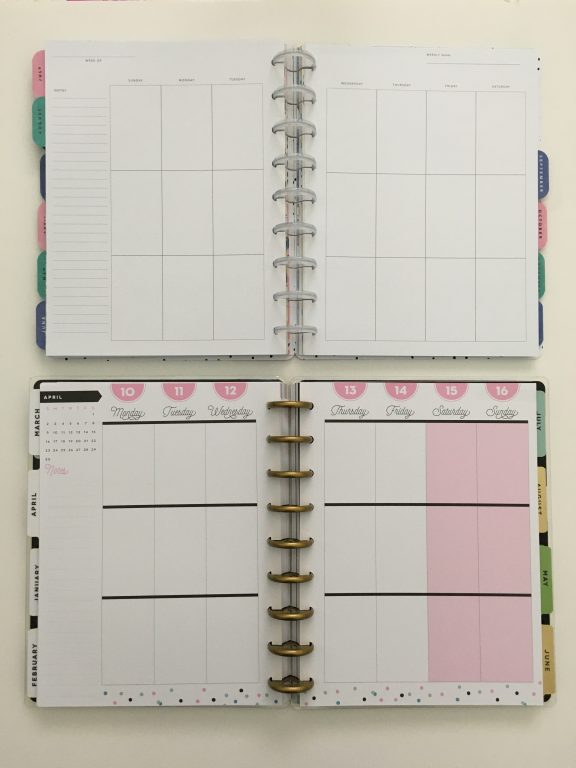
If you want the planner to look like a real paper one, you might like to choose a template that has rings, discs or a coil like the one I made in the photo below
2 page or 1 page layout
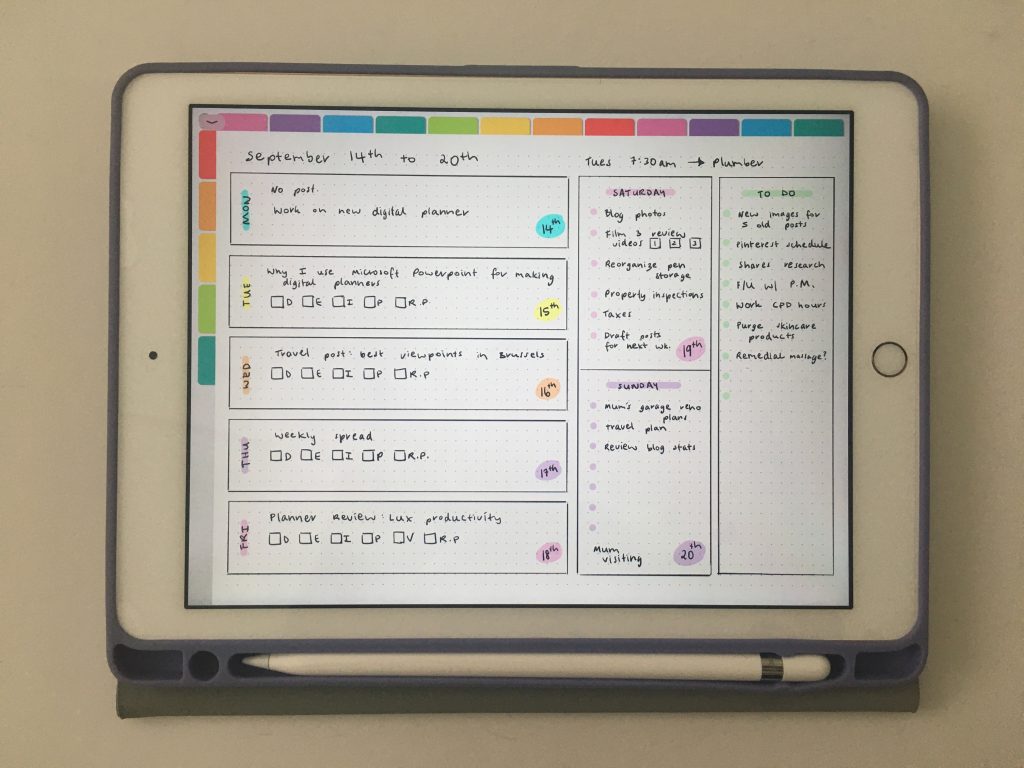
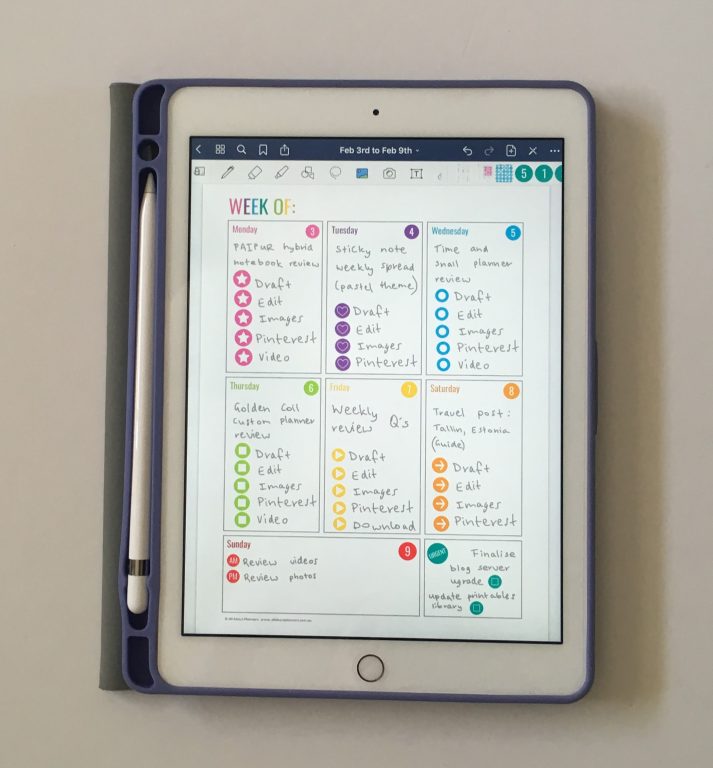
I prefer the 1 page layout like in the photo below. It provides more room to write when the ring is off to one side. If you want the digital planner to look like an open planner some people make them with the ring in the middle of the iPad.
You can also purchase digital planners that don’t have any rings giving you the maximum amount of writing space.
Portrait or Landscape
Most people plan on paper using portrait orientation. Digital planning tends be the opposite. Since the screen is already very small, landscape allows you to have wider columns in a vertical planner. Using landscape page orientation also mirrors the page orientation of a real planner if you’re using the 2 page / open book format.
Dated or undated
- Dated planners tend to be completely hyperlinked throughout – all of the days link to the weekly spreads, monthly spreads etc.
- Undated – You can add the dates just like you would in a paper planner – by writing them in or use date dot stickers
The main benefit of digital planning is that you can copy and paste repeated tasks. This could be routine weekly tasks, cleaning tasks, bills, appointments and even the dates. Typically there’ll be 2 months of a year which share the same start day e.g. September might start on a Tuesday and March of the same year (or maybe the year prior) might as well. You can type the dates once and then copy and paste them to other months that have the same start day.
You can also move things around after writing them, change the size and text color.
If you’ve purchased a printable you can add this to your digital planner as well. See these posts for tutorials:
- How to add any printable to your Goodnotes digital planner
- How to resize any printable PDF and add it to your digital planner (in Goodnotes)
Because printables aren’t made with the tabs / hyperlinks if you want to hyperlink e.g. the months, I would import the templates into a digital notebook .Same function as a digital planner with the hyperlinked tabs it just has blank pages instead. You can import and place the printable over the top of the blank pages.
App that can open and annotate PDF’s
A few to consider:
- Goodnotes
- Zoomnotes
- Xodo
- Noteshelf
- Noteability
- And there are plenty more!
I’m intending to test most of these out and do a comparison but at the moment the app I’m most familiar with so use the most often is Goodnotes. It’s available in the app store as a one-time purchase for $8 USD.
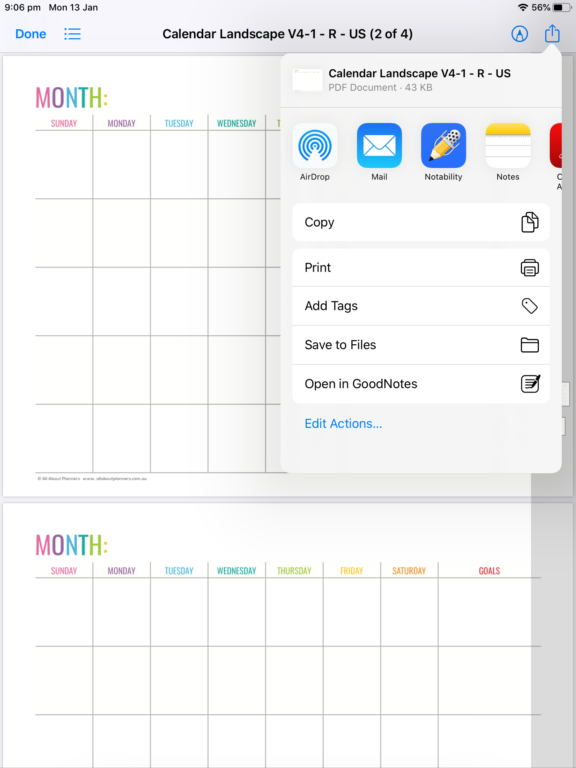
To import a digital planner into an app I email the file to myself, open the attachment and there’ll usually be a menu where you can choose what app to open it with
Accessories
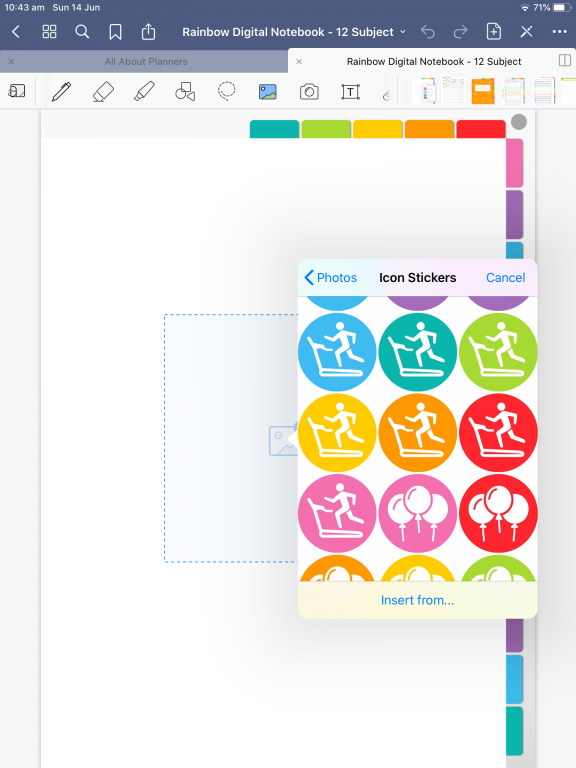
If you want to decorate your digital planner you might want to use:
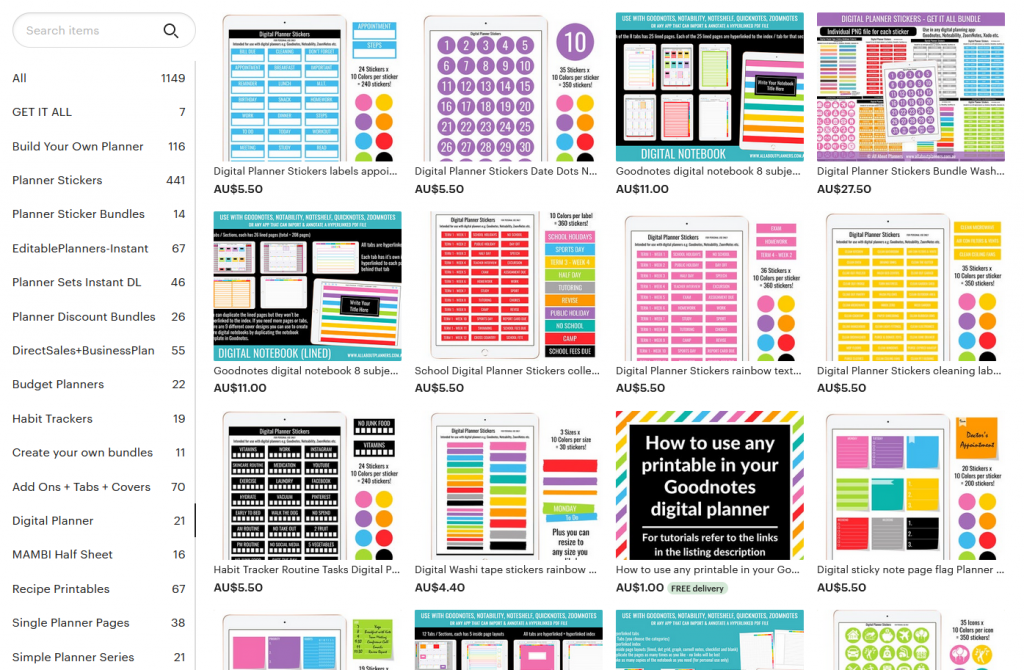
- Digital planner stickers
- Clipart
- Digital washi tape
- Digital sticky notes
When purchasing any of the above make sure you check that the file format is PNG. PNG means there’ll be a transparent background behind the sticker making it easy to layer, to use with a digital planner that might have a black background and so that the stickers take up less room.
You don’t want a JPG which will add white around the design and make a square. Some people also sell digital planner stickers as a pre-cropped Goodnotes file. This saves individually cropping from a sticker sheet however it takes a long time to setup if there’s lots of colors. For this reason I sell my digital planner stickers with each sticker as an individual PNG file that I save to albums in the image folder of my iPad and access / import from there
If you have printable planner stickers you’ve purchased in the past you can turn these into digital planner stickers by following my tutorial in this post.
More digital planning posts
- How to add any printable to your Goodnotes digital planner
- Goodnotes: How to crop individual images from a PDF, JPG, PNG, sticker sheet, clipart etc.
- How to resize any printable PDF and add it to your digital planner (in Goodnotes)
- Digital Planner versus Paper Planner: Which is right for you? (Pros & Cons)
Found this post helpful? Pin it!
It’s a tough call, but I THINK THIS IS THE BEST POST YOU’VE EVER DONE!!! And I’m a paper girl ☺️ I LOVE THIS POST!!!