
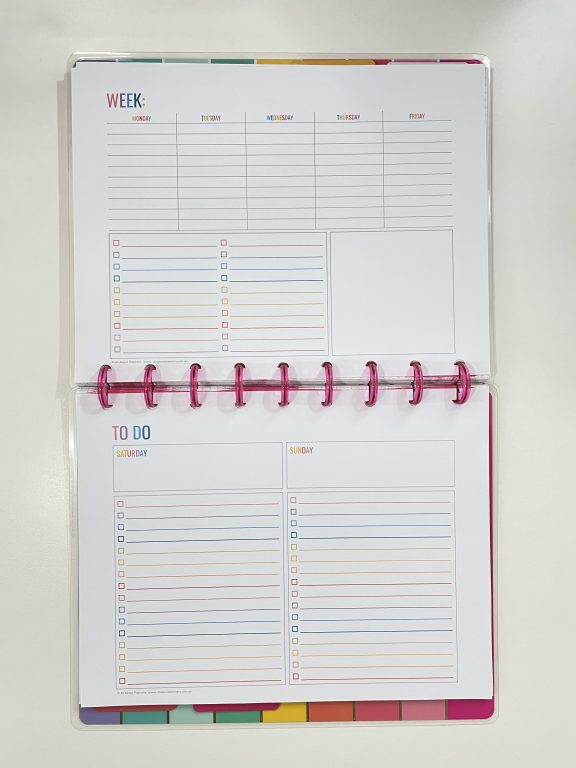
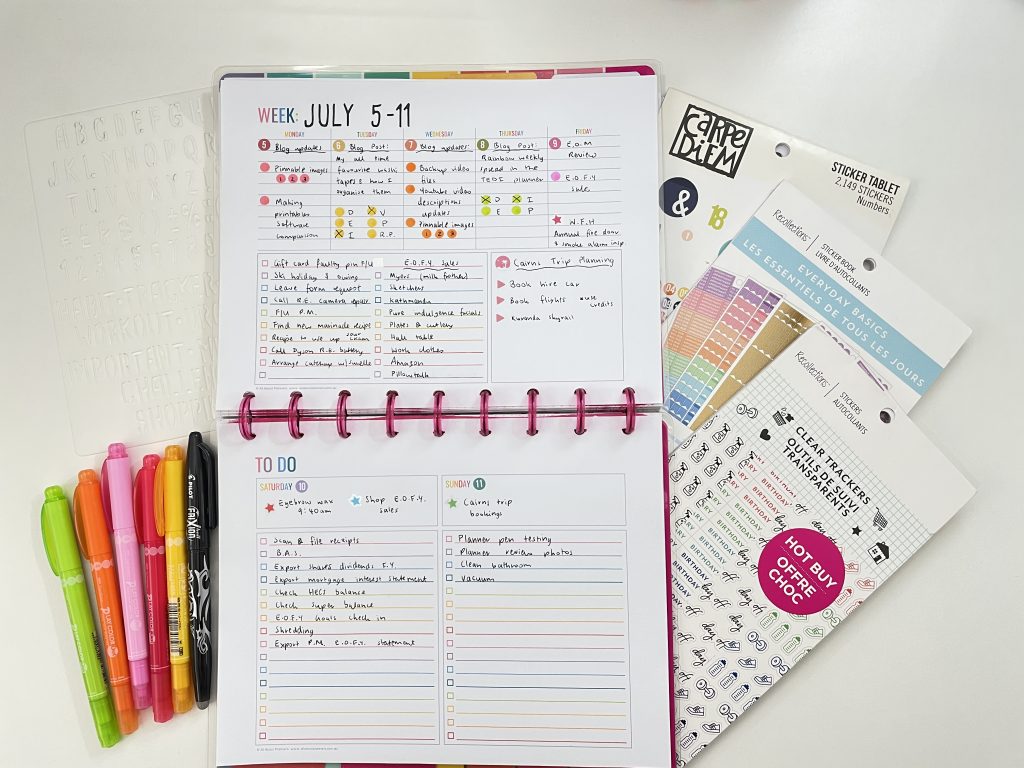
Weekly spread with small weekday section and a larger space for the weekend & projects
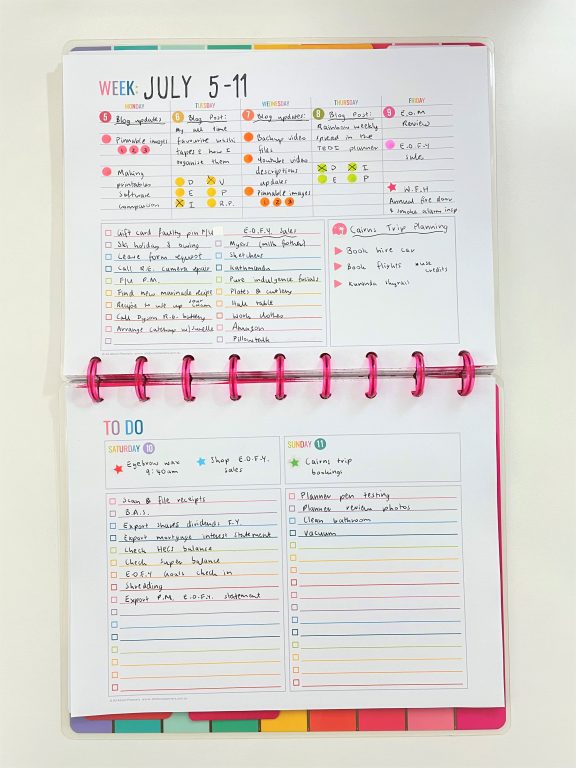
I usually don’t allocate tasks to days but I’m finding that in the past couple of months, I’ve actually ended up adding days of the week in brackets e.g. (Sun) after tasks, especially ones I expected to do on a weekend. Since I have the most time on weekends I wanted an entirely separate page for weekend planning this week.
Before the Pen
I went through my stash of printables I’ve made in the past and paired a 5 day weekly spread from this set with a weekend to do list from this set.
My favorite page size is around 7″ wide x 9″ high so I resized the printables from US letter page size to Happy Planner classic page size using my printer and the steps in the tutorial I posted here.
Read more: How to print printables at MAMBI Happy Planner Size (step by step tutorial)
After the Pen
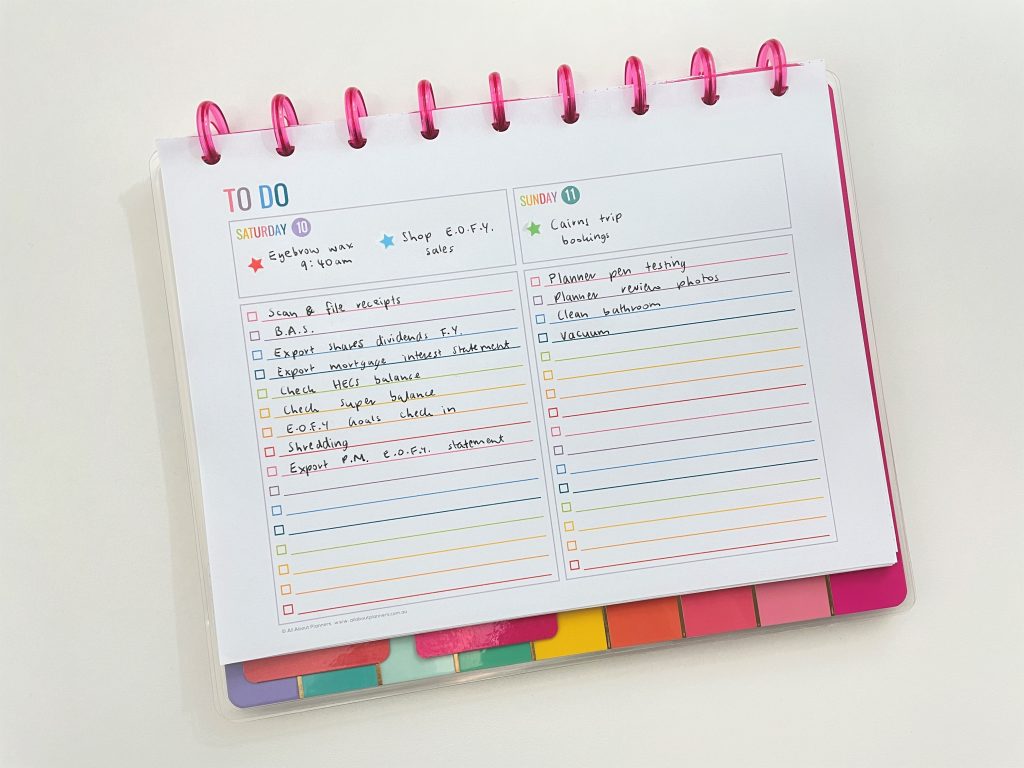
I ended up creating 3 mini lists:
- Quick tasks
- End of financial year sales shopping list
- Cairns trip planning
I haven’t been able to make my own planner stickers for a while (no space to set up the Silhouette machines at the moment although I’m getting a separate room for an office soon!) so have been trying to use the sticker books I already have.
The Carpe Diem number stickers were a fairly close match with the rainbow colors of the printable and the Tombow dot markers except the red. For some reason that red Tombow comes out looking more pink to me.
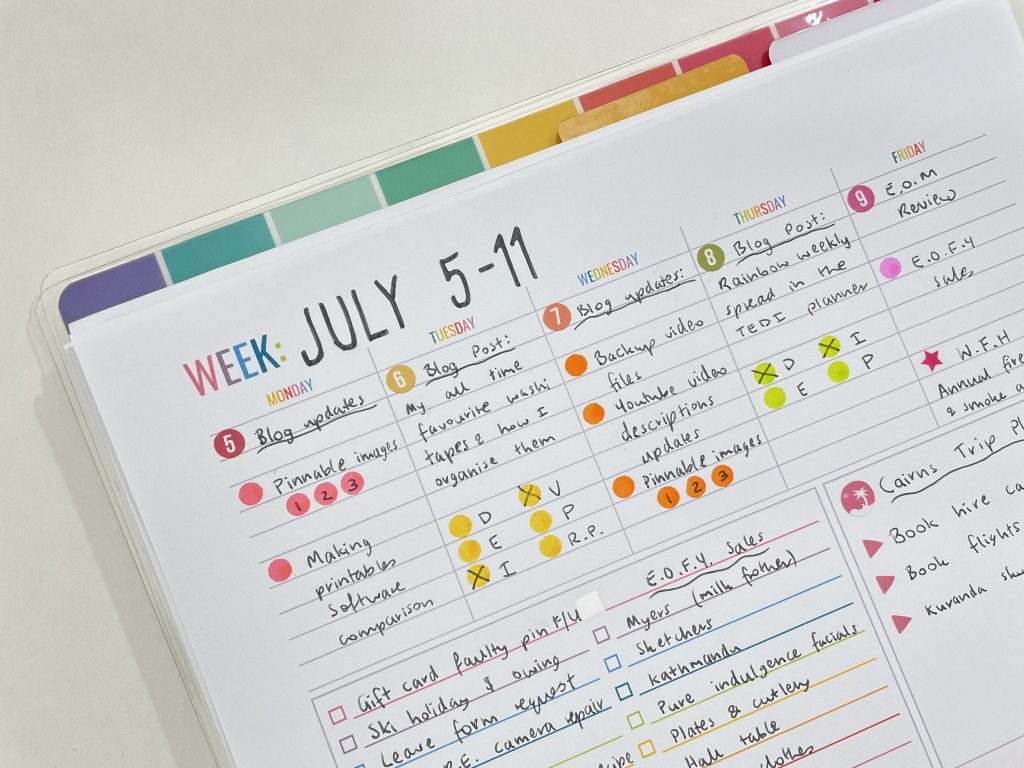
If you’re new here, the letters are my blog post workflow:
- D = Draft
- E = Edit
- I = Images
- V = Video
- P = Pinned to Pinterest
- R.P. = Related Post links
Links to blog posts published this week:
- My all time favorite washi tapes (and how I organize them)
- Rainbow spread in the TEDI creative diary
Supplies Used
This post contains affiliate links. If you make a purchase after clicking one of these links I’ll receive a small commission in exchange for referring you (at no extra cost to you).
- Tombow dot markers
- Carpe diem date number stickers
- Recollections star stickers from the clear trackers sticker book
- Vacation sticker & mini triangle stickers are from the Recollections everyday basics sticker book
- Stencil used to write Jul 5 – 11 are from this set by Zicoto
- Frixion erasable pen in black
- 5 day weekly planner printable from this set in my printables shop and the Get it All bundle
- Weekend planner printable from the checklists set in my printables shop and the Get it All bundle
- Happy planner classic size (7″ wide x 9.25″ high) Happy Notes (I reversed the cover so I see the rainbow pattern when planning, not the boring reverse cover). I’m not sure if this one is still available, it has ‘Create Happy Today’ with a rainbow stripes background on one side and YAY 3 times on a white background on the other side).
Would I use this layout again?
Yes. I don’t need a lot of space for weekdays so having a mini section for those days and more list space + a bigger weekend section works well for me. The proportions of all sections were just enough when I resized this printable from US letter size down to my favorite page size (Happy Planner Classic).
I like that there was already color on the page so I could just write everything in black pen rather than overthink trying to match up colors like I did in this weekly spread. For all the pens I own, I find myself almost always reverting back to just one: the Frixion erasable.
You’ve probably seen me use dot markers a few times in the past. They’re one of my all time favorite planner supplies – quick, create a neat dot every time and they add color while being functional too! Here are some more ways to use dot markers in your planner.
Past weekly spreads
- Resizing printables to A5 page size for a rainbow weekly spread in my ARC
- Pink & Black themed spread in the Clever Fox Weekly Planner
- Decorating a $2 weekly planner
Planning tips
- 12 questions to ask yourself at the end of every month
- DIY Planner Tutorial: How to make your own planner stickers without a Silhouette machine
- 12 Solutions for when you run out of space in your planner
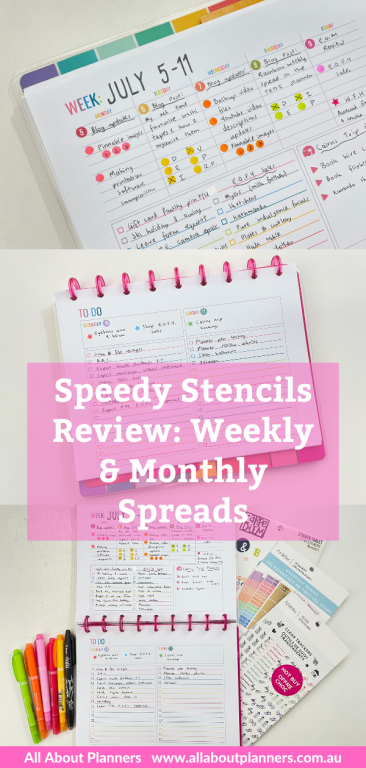
Found this post helpful? Pin it!


Rachael, your site is so great, so much helpful information. Do you think some day you could make your photos ‘clickable’ so that a larger image can be seen. It’s really hard for me to see details in your photos, and would love to be able to pull up a higher-res shot for seeing more detail. Great work you are doing!
Hi Robin,
Glad you’ve found my blog helpful 🙂
Unfortunately I have too many photos so I need to compress them and reduce the image size or the website takes too long to load. If you right click with your mouse and choose ‘open in new tab’ you can zoom in on the photo. You can also press CTRL and the + sign on your keyboard to zoom in (and then CTRL and the – symbol to zoom back out again).