Using a landscape page orientation weekly planning notepad (Week 50 of the 52 Planners in 52 Weeks Challenge)
For week 50 of the 52 Planners in 52 Weeks Challenge, I considered doing a bullet journal spread but the thought of coming up with a creative bujo layout seemed like too much effort. I wanted something already done so I could just plug in the information and get to work on implementing the plan! Most of this week was spent finalising the Create Your Own Planner Kit so I didn’t need too much space for planning.
I was not compensated for this post. I purchased the planner myself and all opinions are my own.
Setting up the week
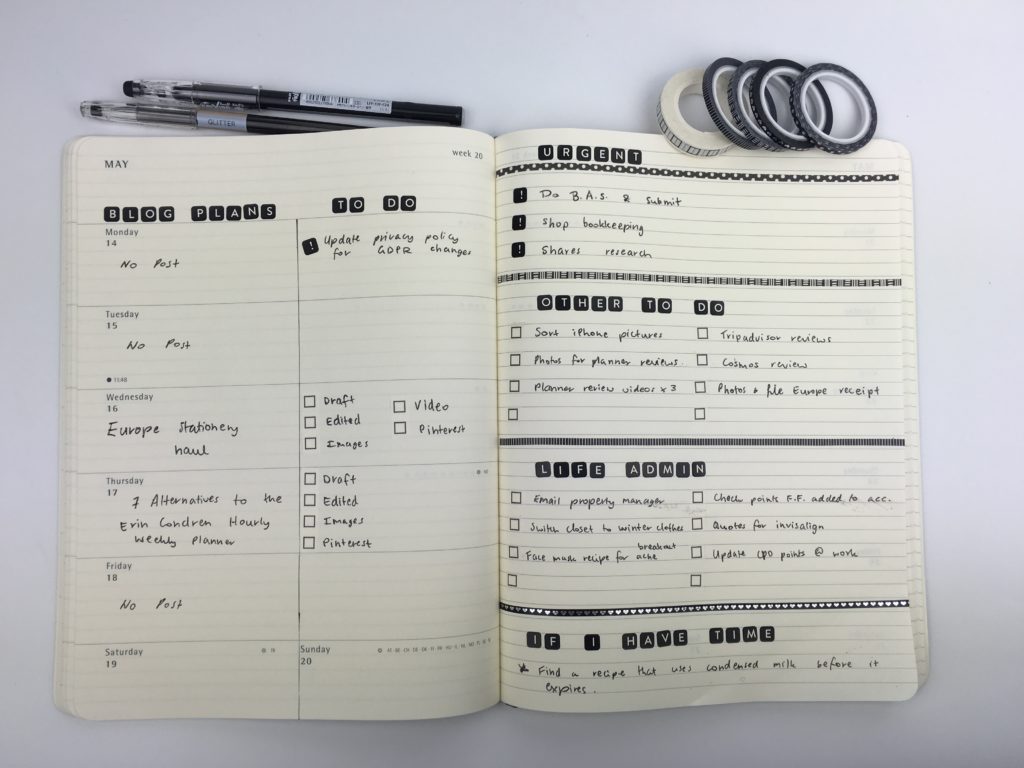
I found this notepad on Amazon (for only $10USD!) and liked the in-built habit tracker, priority section and to do list. I thought the proportions would be perfect to use as as blog planner! The notepad is by a brand called Peachly.
Most planners tend to be portrait page orientation. After having tried a couple of landscape page orientation planners over the past couple of years (in the form of printables I’d made), I like the extra column width / writing space they offer for weekly planning.
The notepad is A4 page size.
![]()
I did end up filling the sidebar so just used a sticky note for over-flow tasks.
![]()
Related: Ultimate planner page size guide (with printable reference cheat sheet)
The notepad has a built in habit tracker – very convenient!
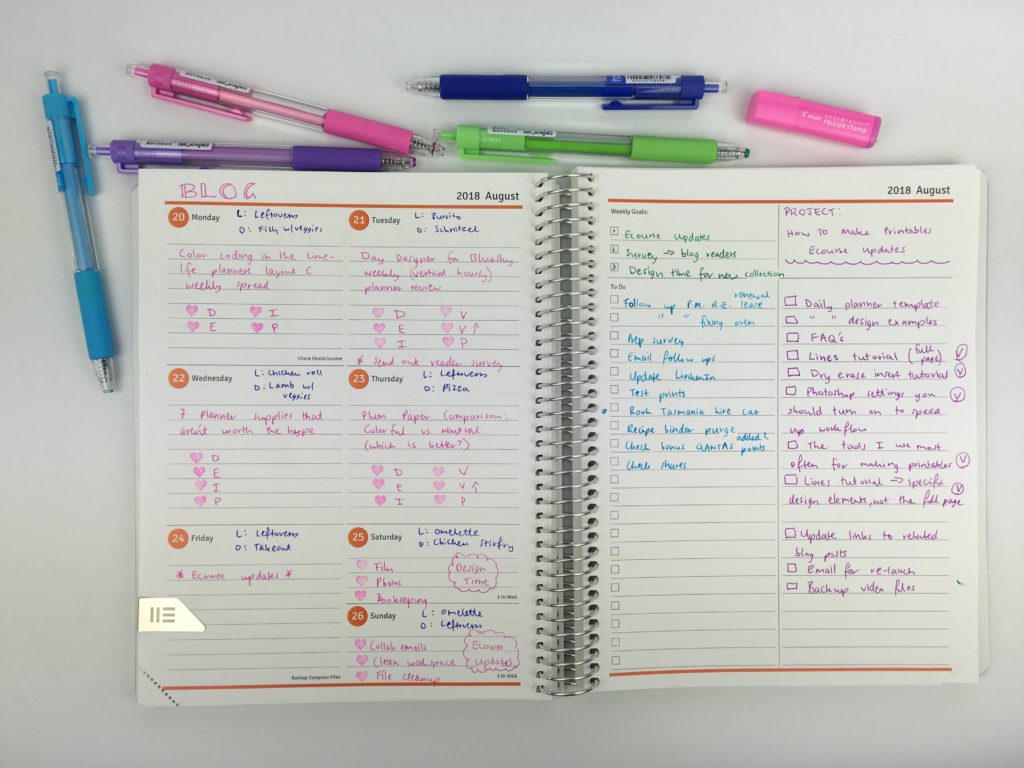
I stuck with my usual blog post workflow:
- D = Draft
- E = edited
- I = Images
- D = Digital download created
- P = Pinned to Pinterest
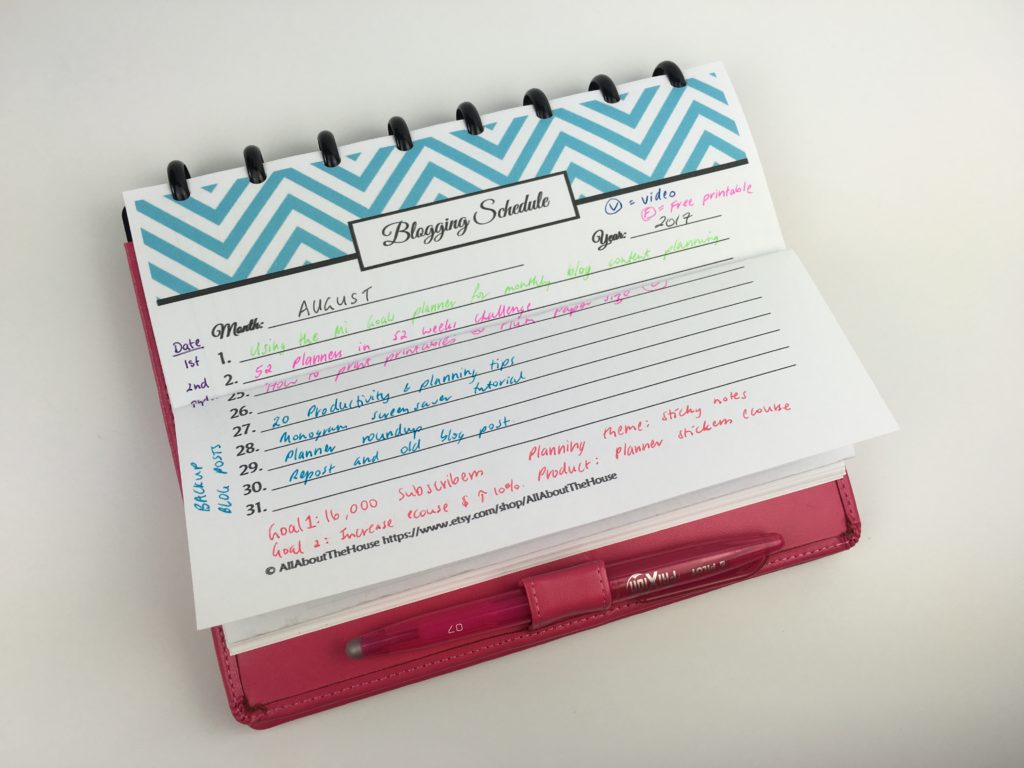
Related: Using the Mi Goals planner for monthly blog post content planning
![]()
I also color coded although there weren’t too many things to keep track of this week so I probably didn’t need to… It did add a nice pop of color to the page though!
- Pink = blogging
- Purple = personal & habit tracking
- Blue = product (the Create Your Own Planner Kit)
- Yellow = little things (quick tasks)
- Red = priority
Related: How to color code bill paying in your planner (7 different ways)
Pens Used
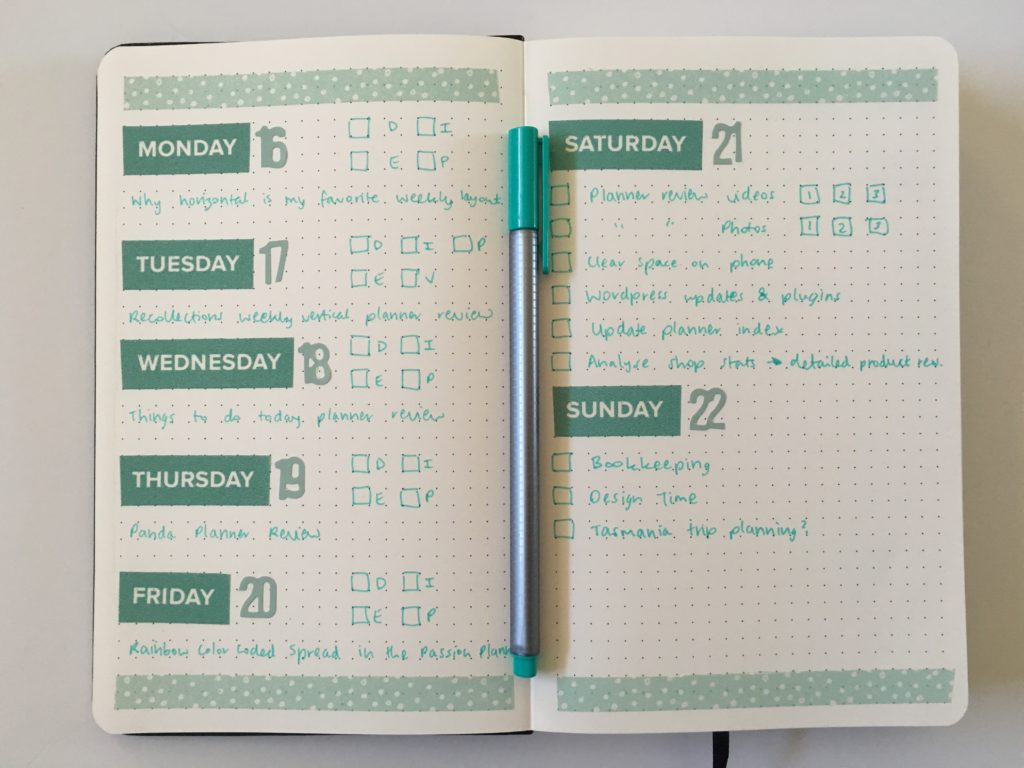
I used the Uni Pi’s pens. They’re dual tip with a fine tip on one end (this is the tip I used) and a fat marker style tip on the other end (which I use for writing titles).
Related: Favorite pens for writing headings in my planner
The yellow ink of most pens is hardly visible but this pen brand is easy to see 🙂
There was bad bleed through on the back side of the page but no ink ended up on the next week’s page below so not a big deal.
Related: Cheap versus expensive pens: is there actually a difference in quality?
![]()
Pros of planning using a notepad
- Almost always come undated so you can start planning anytime
- Don’t have to carry around an entire planner – you can just tear off the page and take it with you
- Affordable
- This notepad had lined writing space which helped keep everything neat and tidy!
- Rather than having to open and close a planner all the time, with a notepad you can just glance at it and all your plans are right there, neatly laid out
- Don’t pay for extras pages you may not need (like dates at a glance pages, tabs, contacts pages, notes pages etc. that tend to come standard with traditional planners)
Cons of planning using a notepad
- Likely to run out of room – since notepads are only 1 page you’ll probably end up needing a sticky note for the overflow (like I ended up doing).
- No monthly calendar or add on pages, although you could tear the week off the notepad and add to a notebook (my favorite is the ARC discbound). Another option is to punch on the left side of the page (the shorter side) and then fold it if you’re using a smaller notebook
Like this:
Related: 10 Quick planner hacks you need to try (planning tips & inspiration)
Would I use this notepad again?
Yes, I quite liked this notepad! Most weekly planning notepads only have space to plan the days of the week and don’t include a sidebar or habit tracker.
Planning using a notepad would be ideal if you:
- Just need to jot down a few things each day
- Don’t want to pay the cost of a planner
- Don’t need all the extras that come with a traditional planner
- Use in conjunction with a digital planner
- If you like to use a whiteboard / dry erase monthly calendar but pen and paper to plan your week
- Need a family calendar (you could add a strip of magnetic tape to the back of a notepad and put it on your fridge)
Catch up on past week’s of the challenge
- Week 17 (Part 2): Daily planning using to do lists categorised by time
- Week 18: Making a DIY printable planner with a flexible layout
- Week 42: Using the Focus Journal Daily Planner
- Week 47: Planning by category rather than by day using a Kikki K Notepad – ‘Work Smarter : Live Better’
More planning posts
- Ashley Shelly Planner Review – Weekly Planner (pros, cons and a walkthrough)
- 7 Planner supplies I don’t regret splurging on
- How to make a planner bookmark (DIY Page Markers Tutorial)
- 5 expensive pen brands that are worth the money (I have no regrets for splurging on them!)