10 Quick Bullet Journal Dashboard Weekly Layouts
Dashboard is my favorite weekly spread! 1 page for the days of the week with the 2nd page for lists, notes, habit trackers and anything else you need. If you don’t have a lot of appointments / allocated times and days that things need to get done, dashboard is the layout I recommend using.
I’m finally starting to see a few planners with this layout (and hope there’ll be more!)
Some of my favorites are:
- Planner Review: Rule the World by Sugar and Type
- Life Inspired Weekly Planner Review (Lined Horizontal + Checklists Layout)
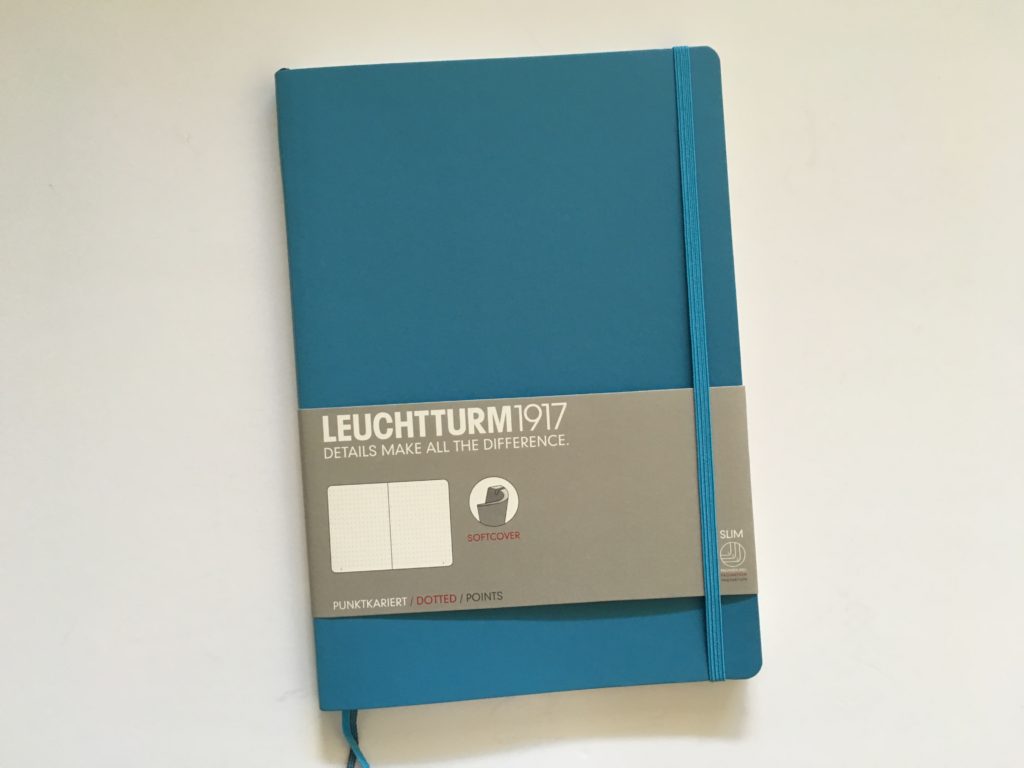
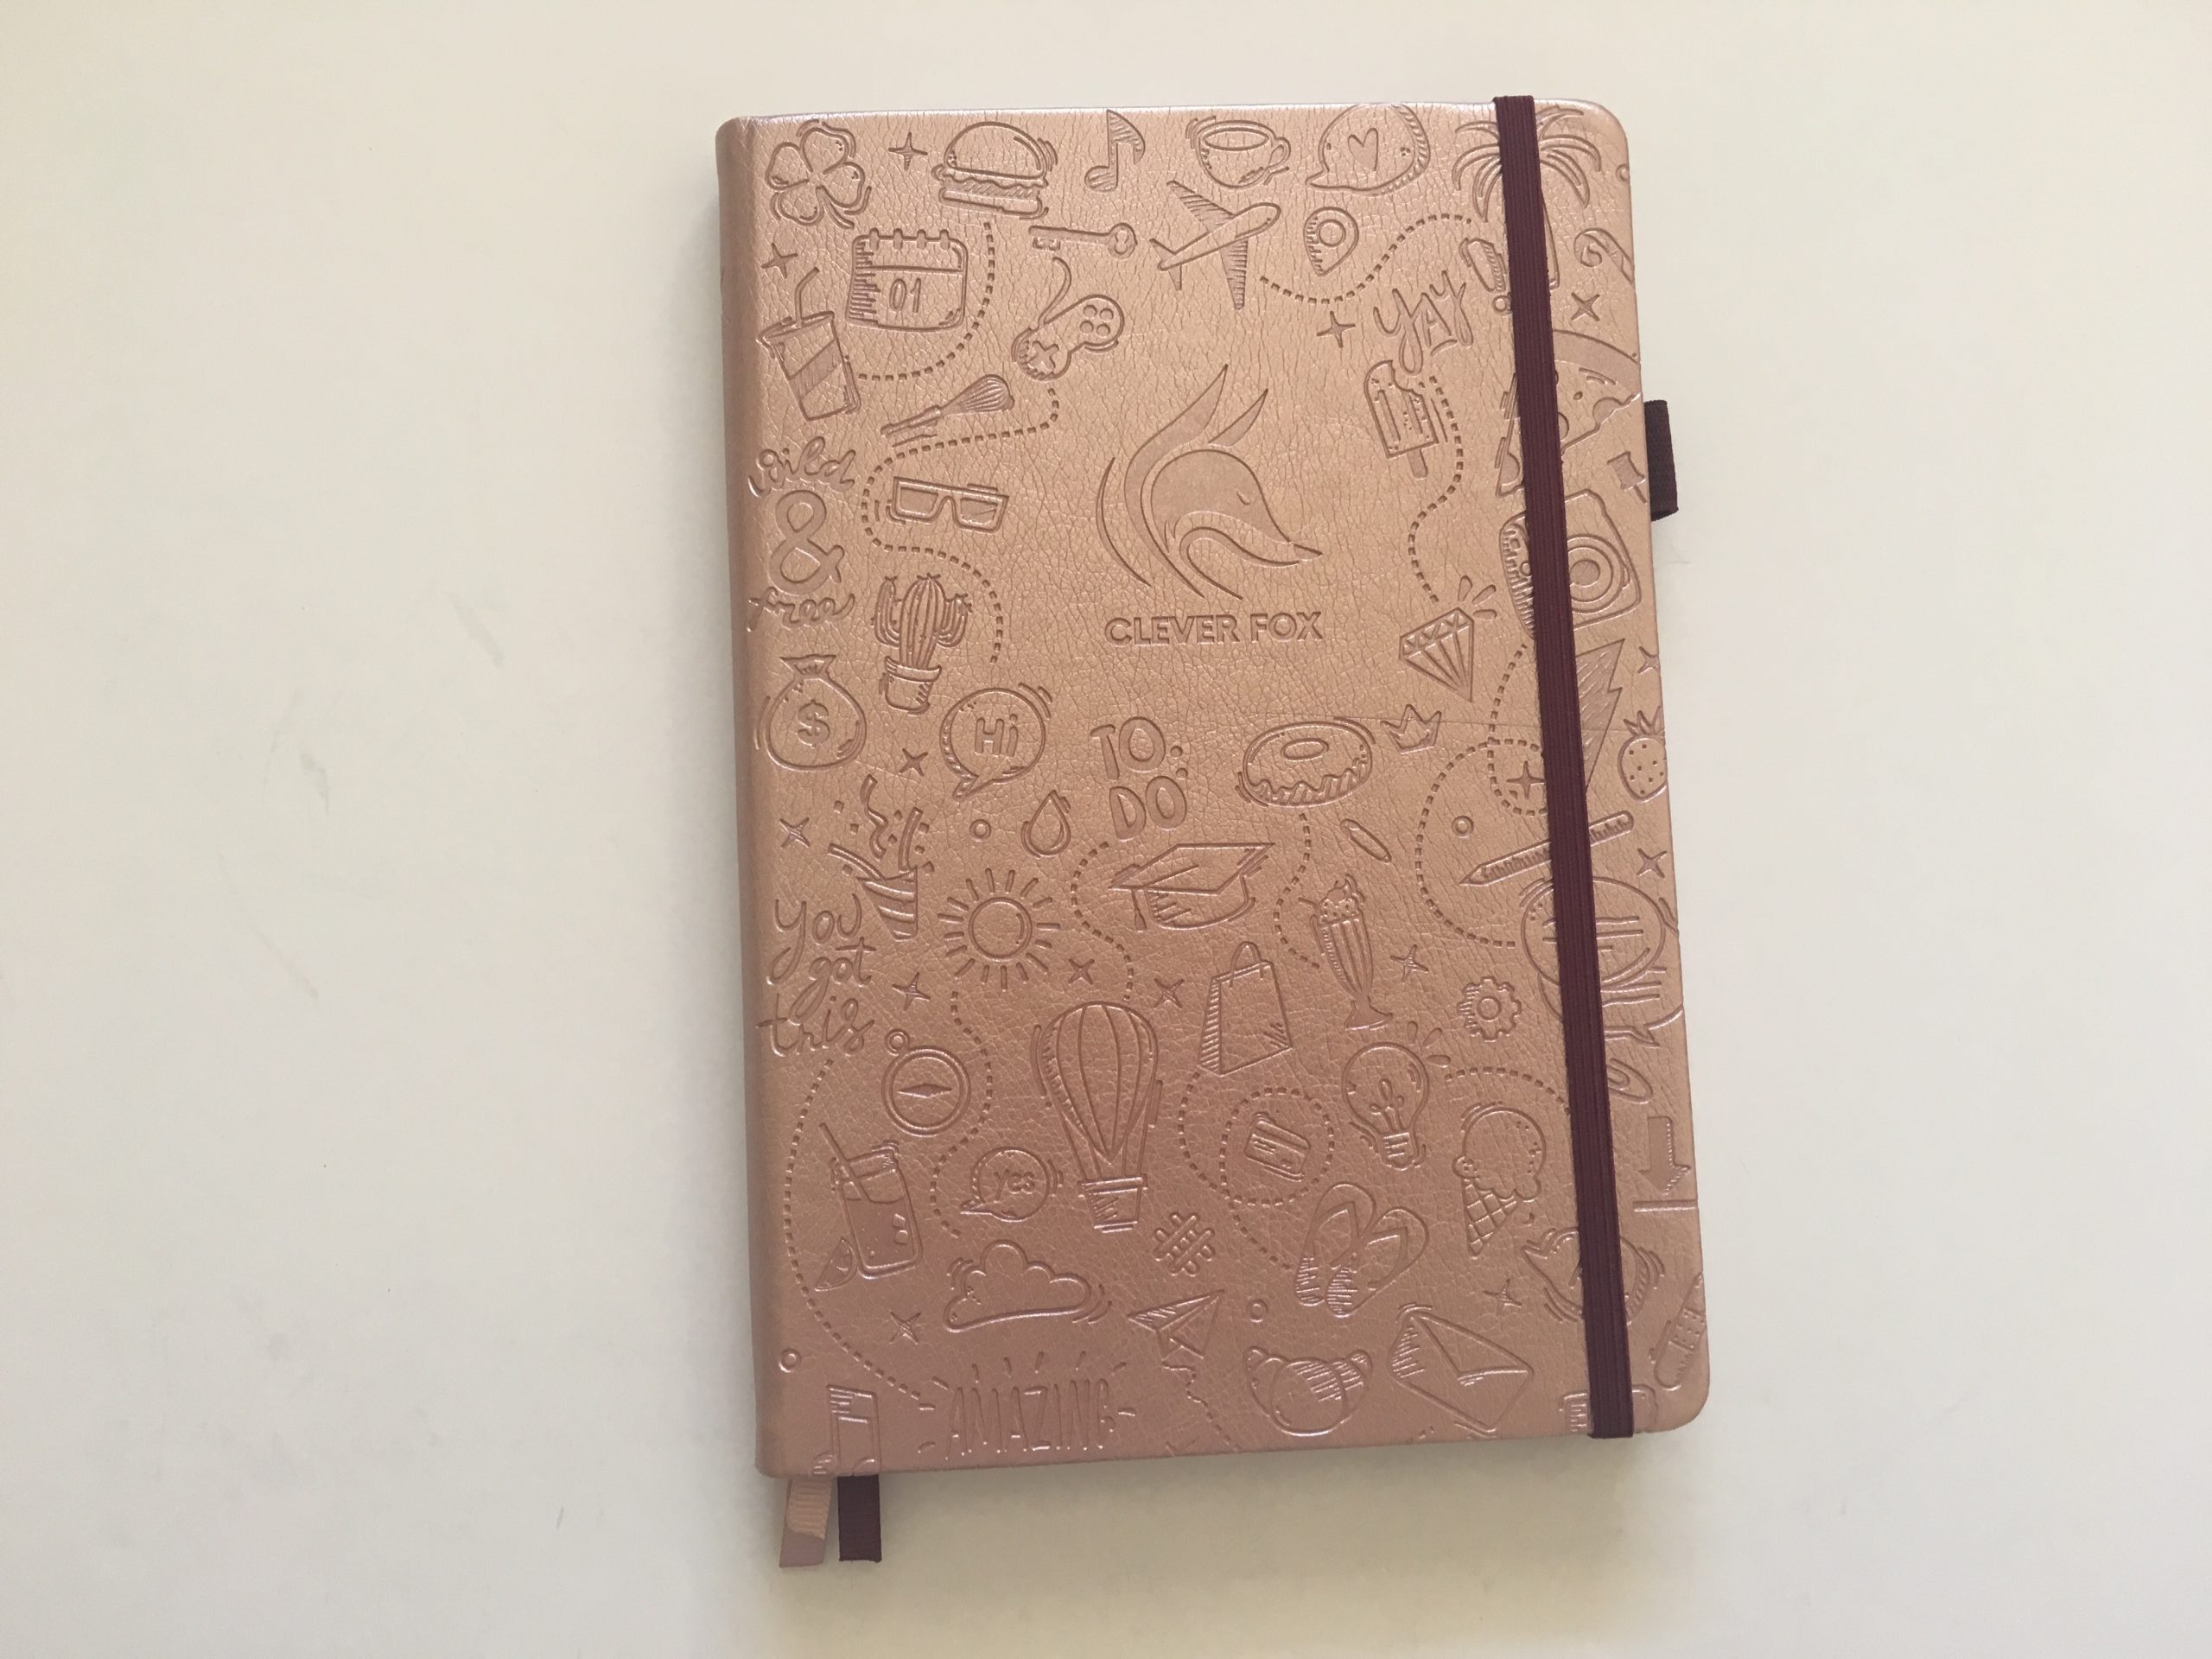
- Clever Fox Weekly Planner
- Plum Paper Horizontal Lined + Notes (and a comparison or colorful versus neutral)
- Happy Planner Super Mom
- Eccolo Weekly Planner
- Blue Sky Personalised Weekly Planner
- Practical Paper Co Weekly Planner
- Happy Planner bookbound (dashboard, vertical and horizontal)
If you want to try planning with a dashboard weekly spread without buying an entire planner, these 10 bullet journal layouts are a good starting point:
This post contains affiliate links. If you click one of the links and make a purchase I’ll receive a small commission (at no extra cost to you) in exchange for referring you.
10 Quick Bullet Journal Dashboard Weekly Layouts
All of the layouts in this post can be inter-changed so if you like the weekly spread but not the lists page, you could mix and match with another layout on this list.
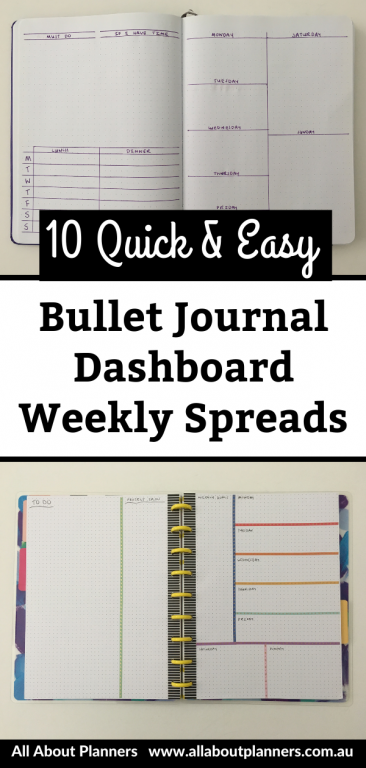
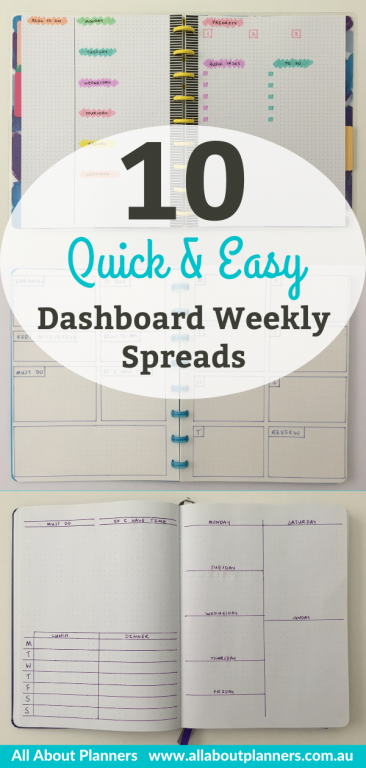
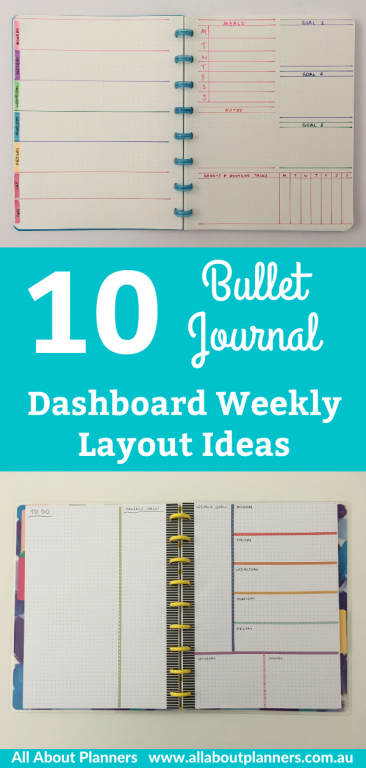
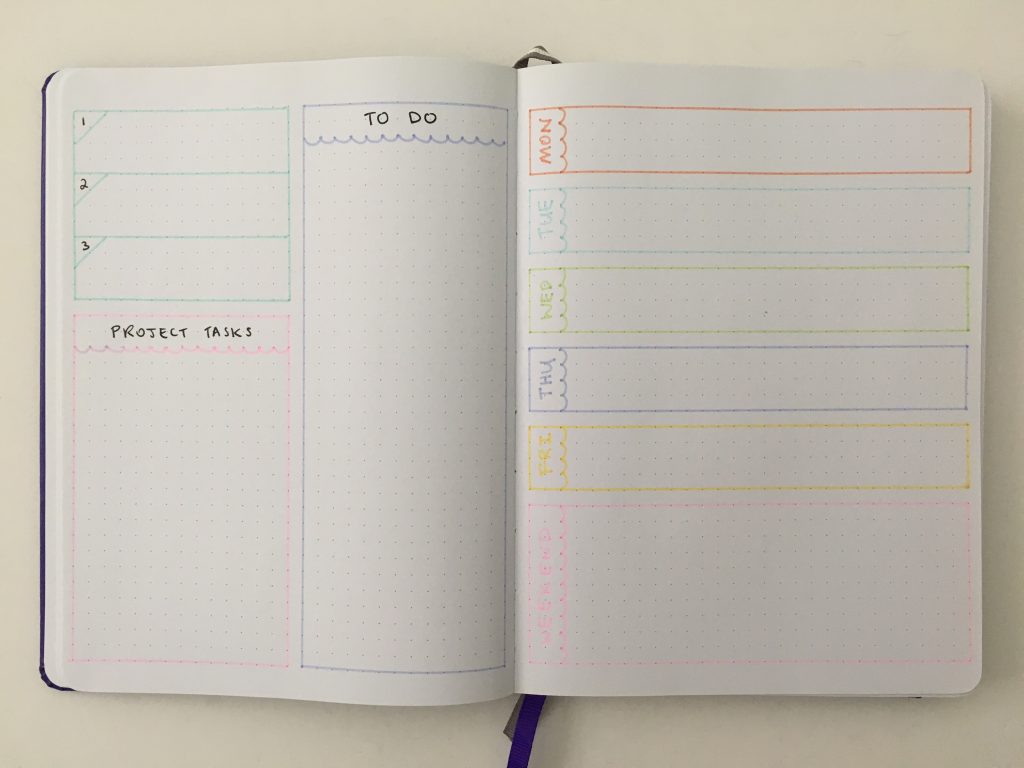
1. Equal boxes for each weekday
You could do 2 columns like this example, or horizontal boxes that fill the entire width of the page.
Related post: Atoma Discbound Weekly Planner & Dot Grid Notebook
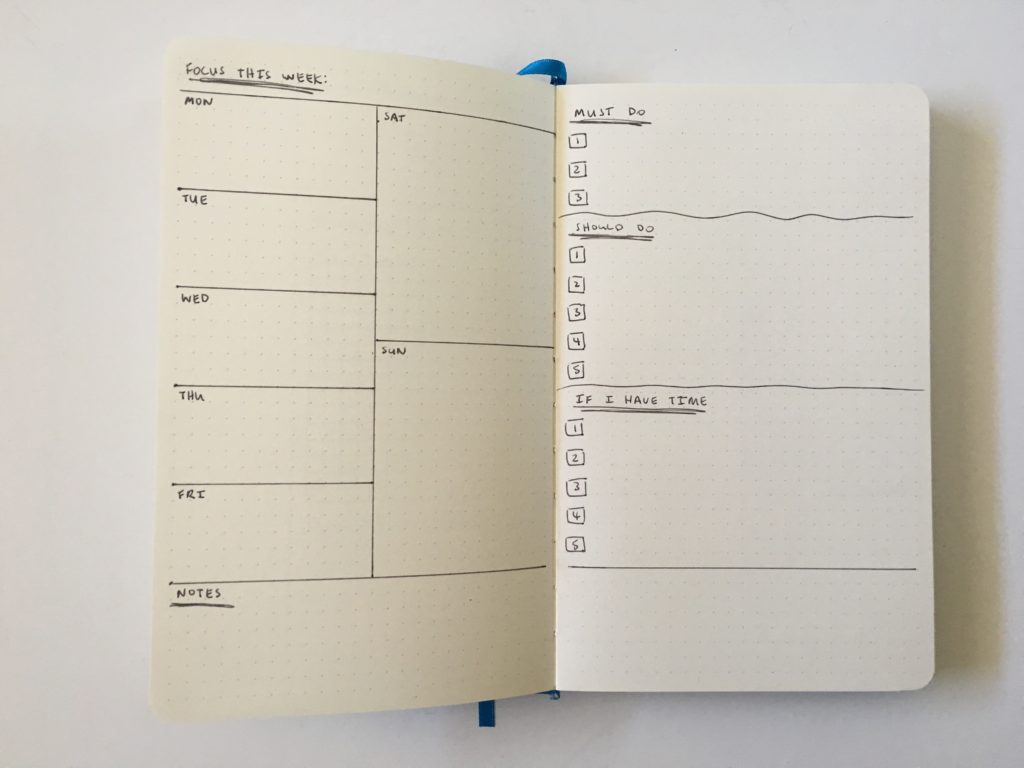
2. Smaller weekdays
Instead of having the same space for each weekday, if you know that you’re not going to plan to get much done on a Friday why not make Friday’s box smaller than the other weekdays
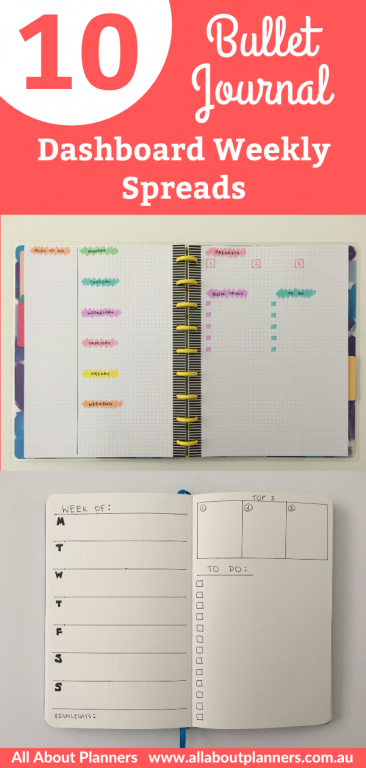
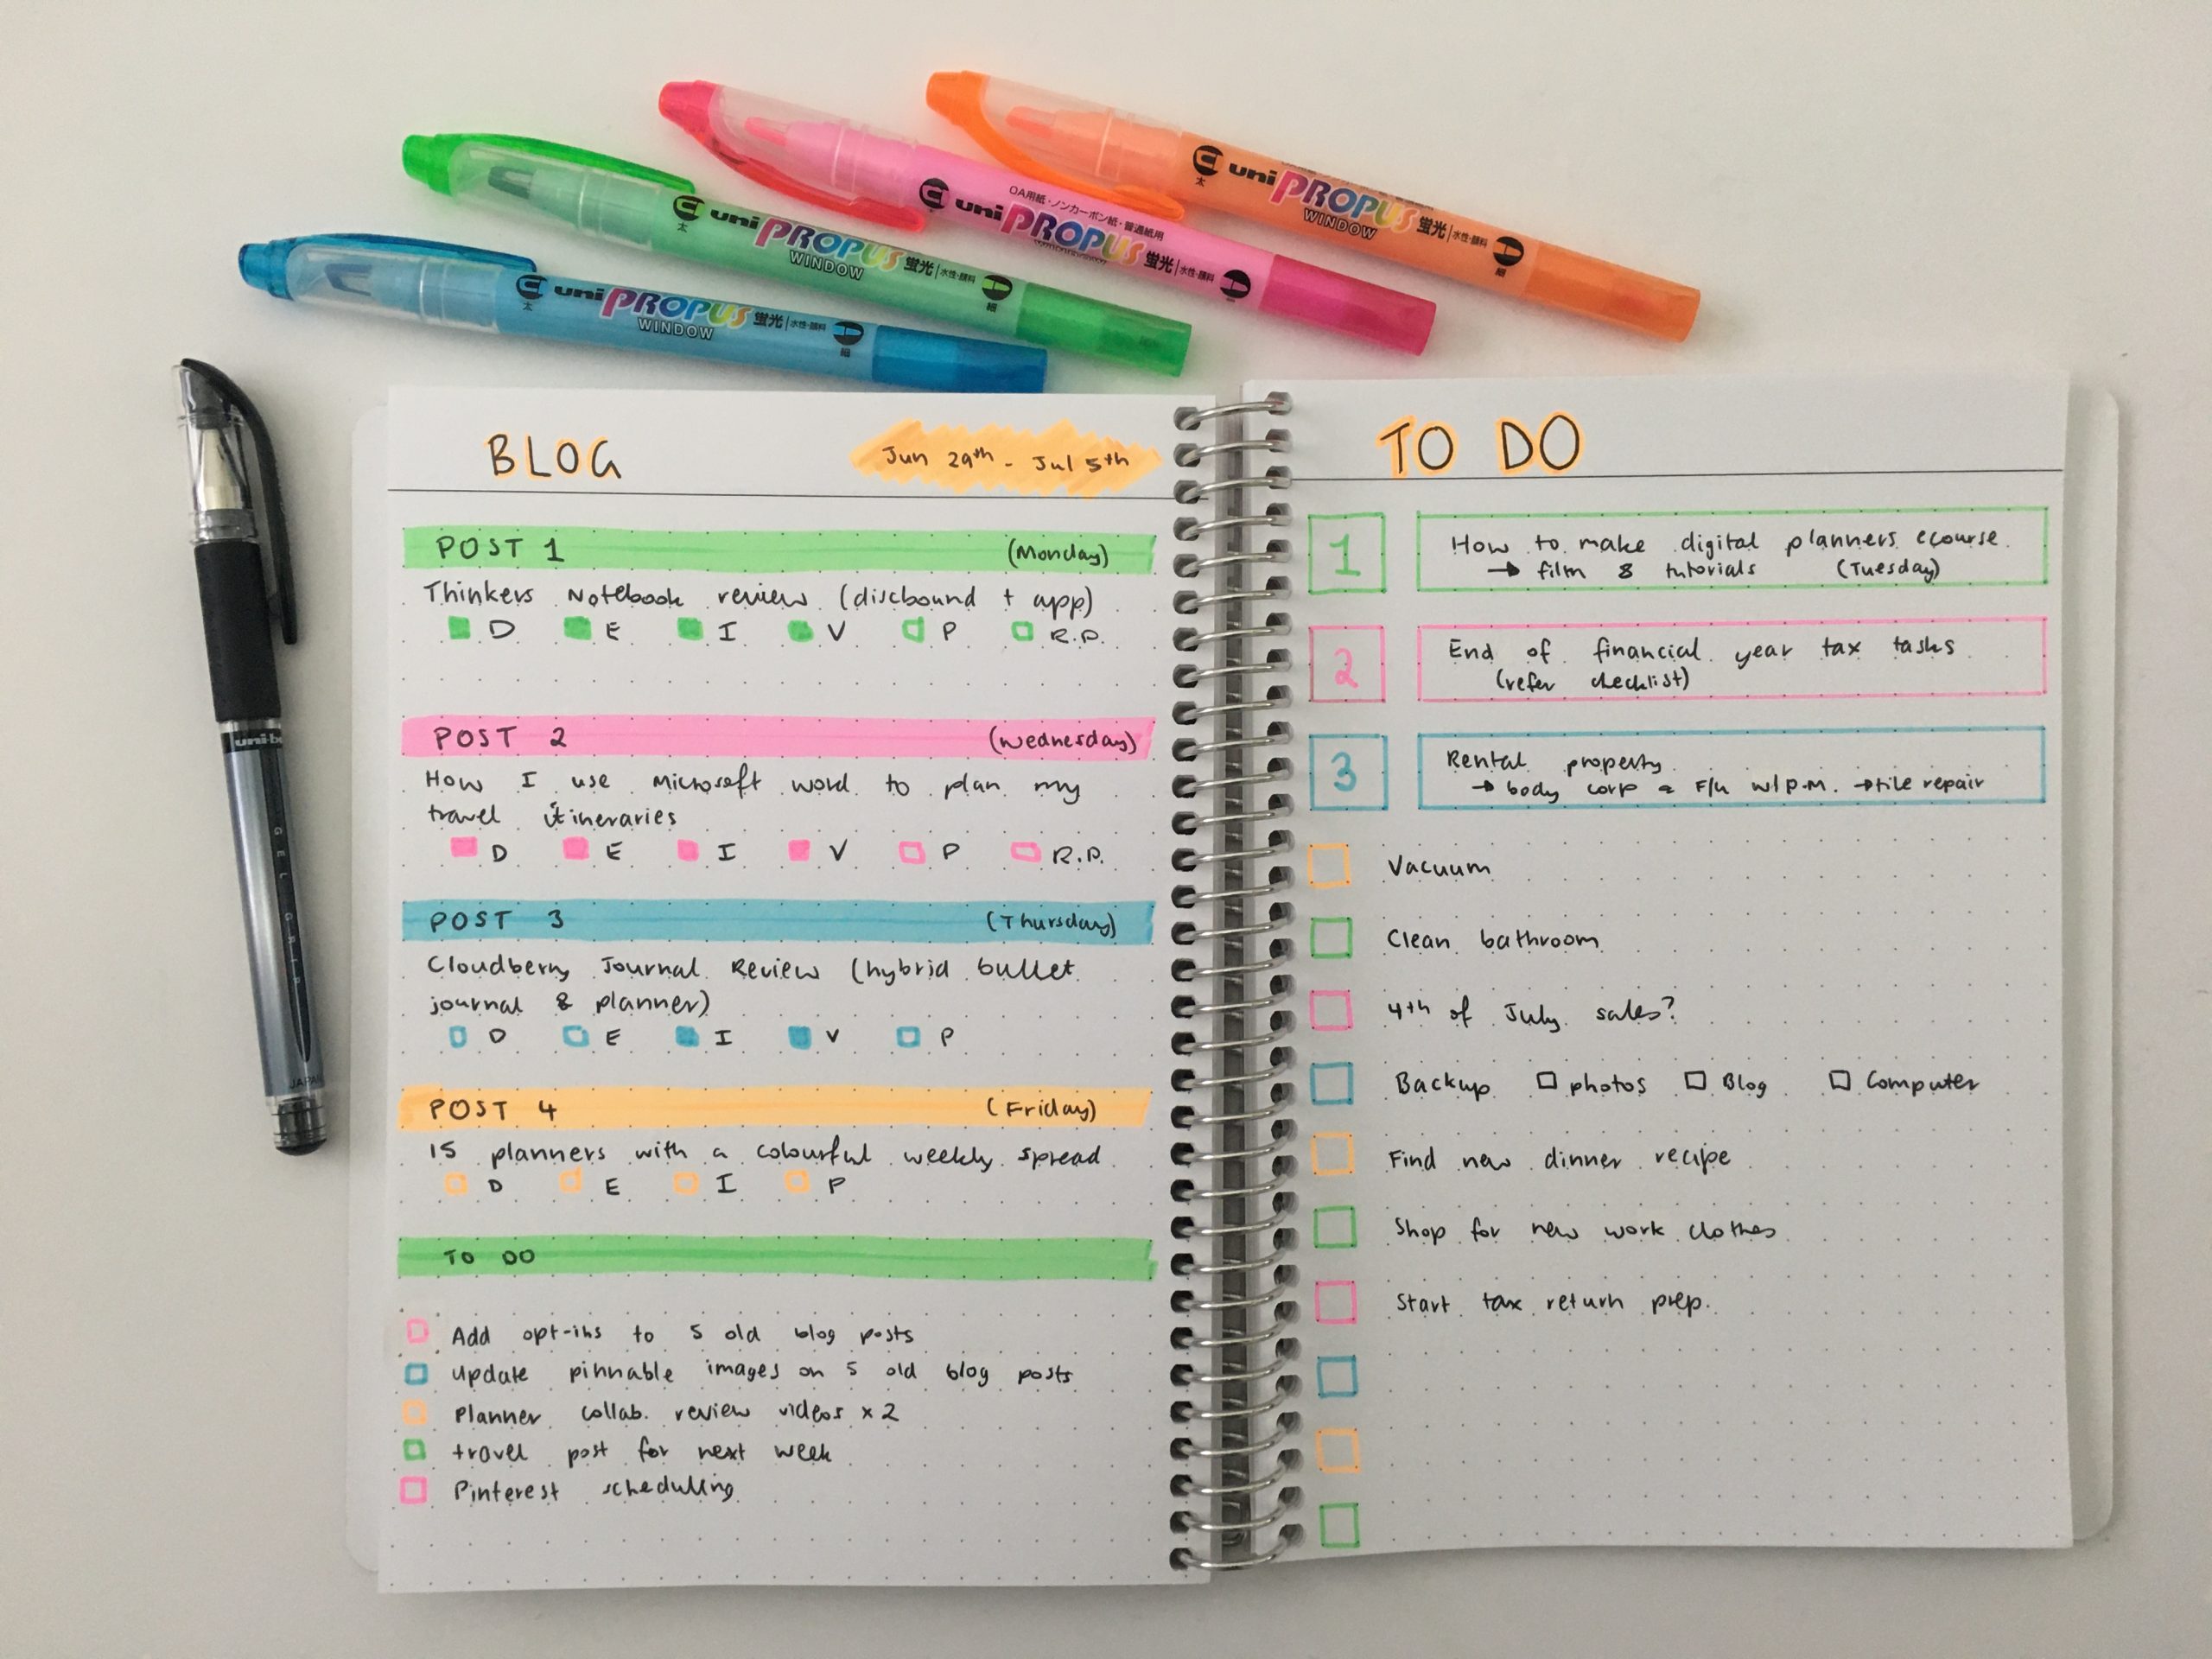
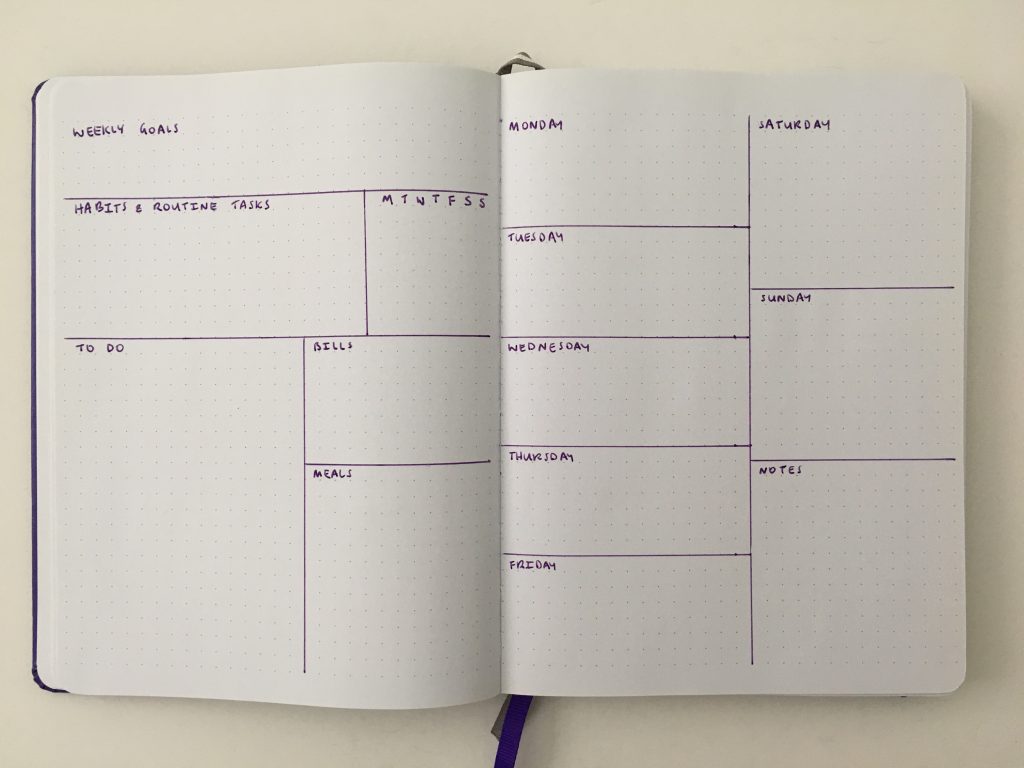
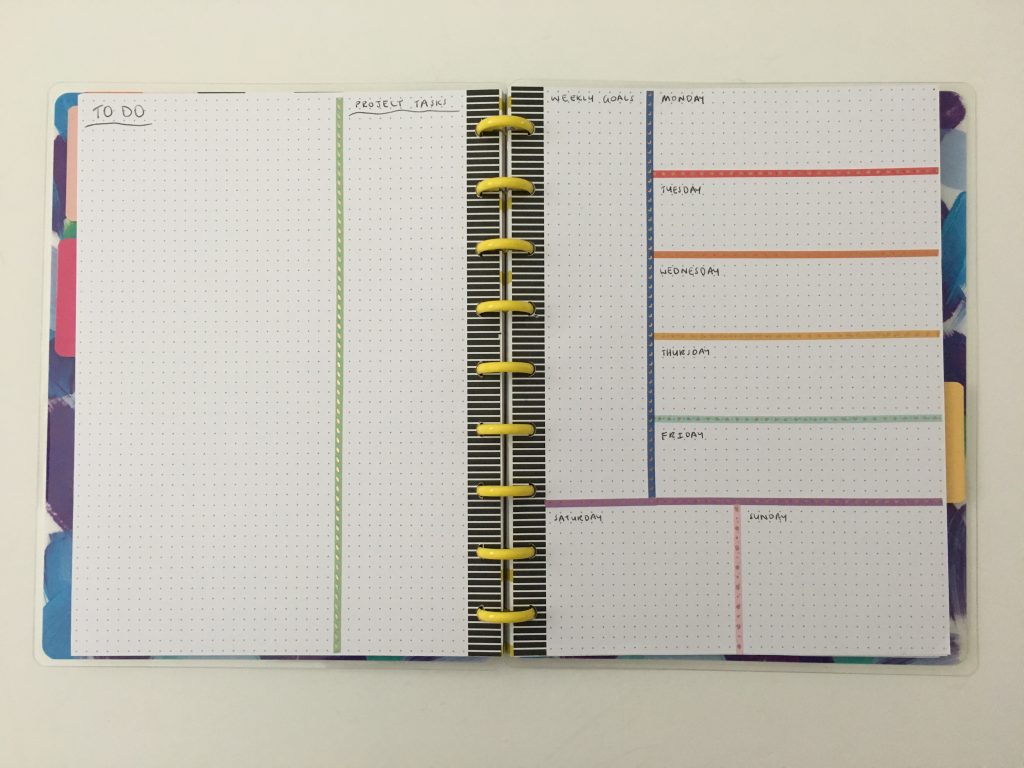
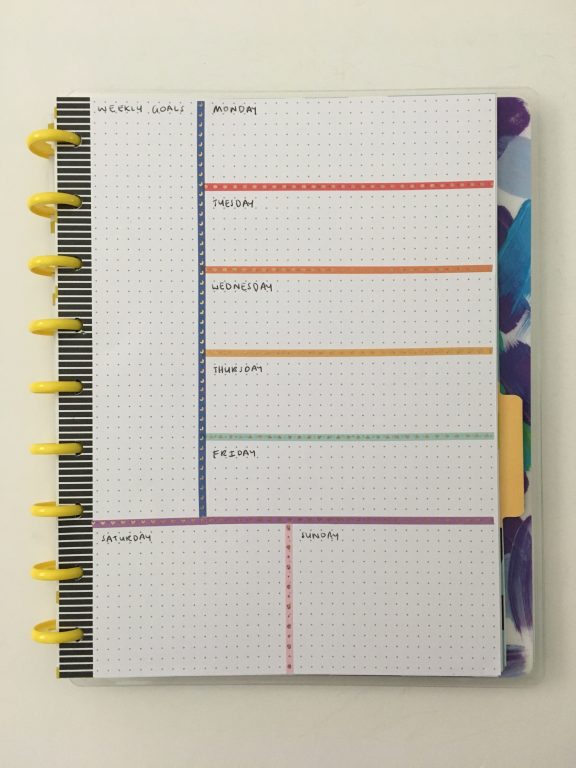
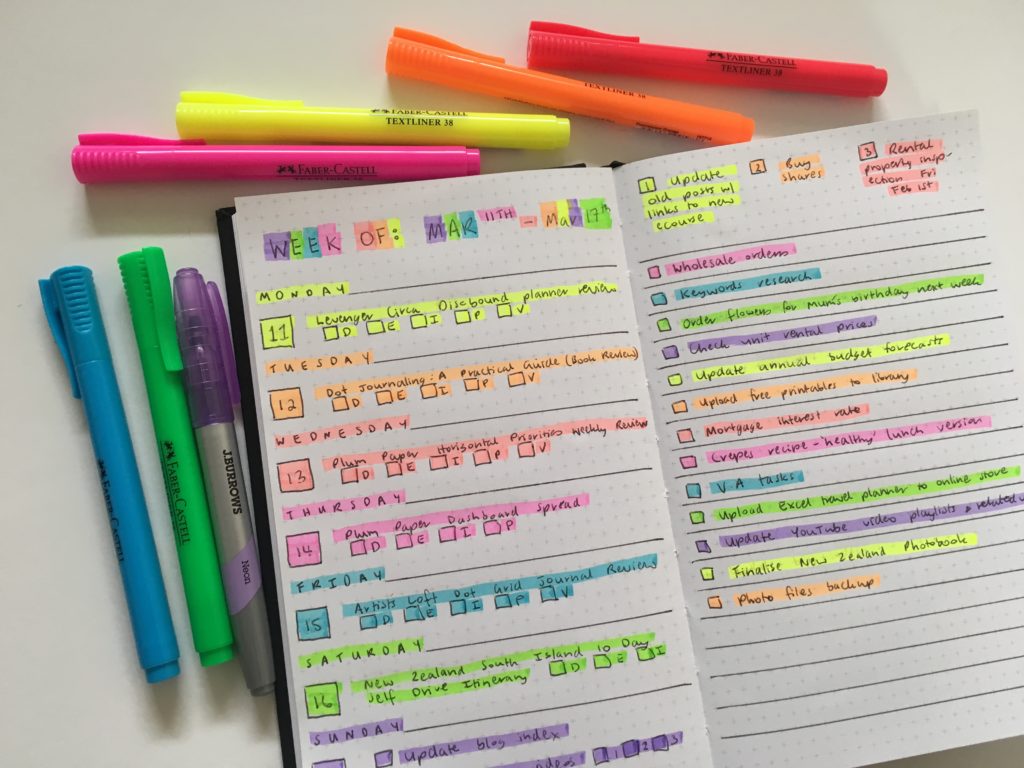
3. With a habit tracker
One of my all time favorite dashboard weekly layouts – a big horizontal weekly spread on the left page and lots of organized / structured list space on the right page. if you don’t want a weekly habit tracker you could make this a checklist instead.
![]()
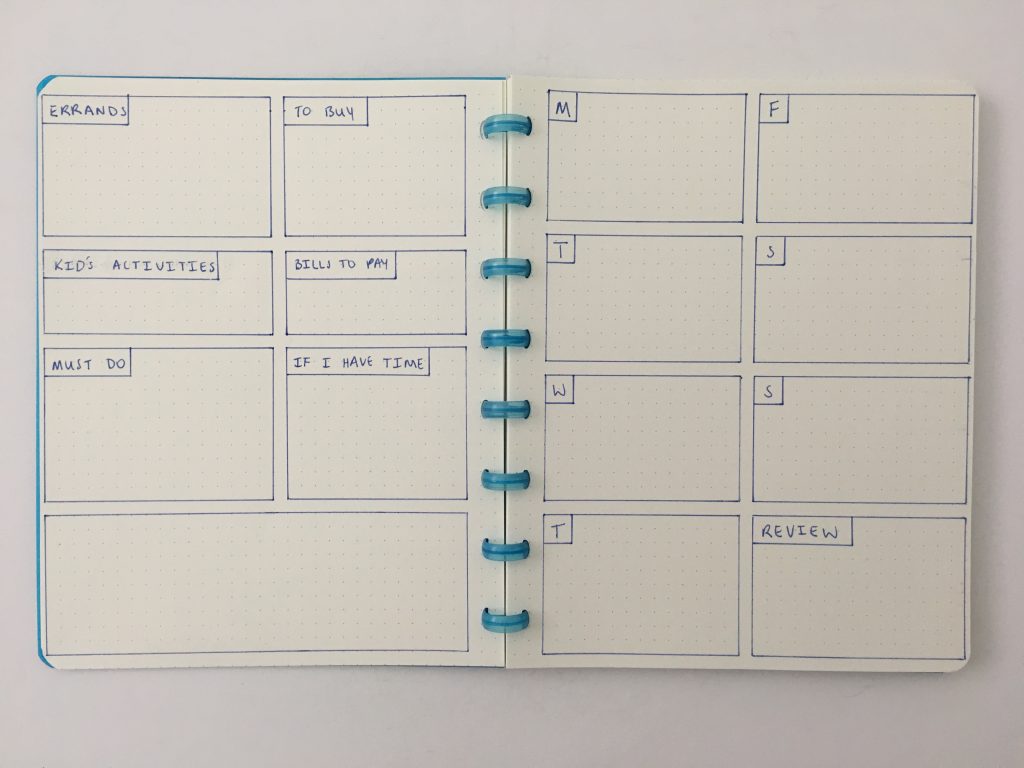
4. Ultimate List Lover
Lists for everything! This spreads a bit plain but adding some color using highlighters to color code each list / category looks good
Related post: 50 Category Ideas for Color Coding Your Planner
5. Using Washi Tape
If you’re bored of ruling up your spreads with just a pen and a ruler, use some washi tape instead.
My preferred washi tape for dividing up a page is 3mm which is the thinnest washi tape I’ve come across that still manages to be wide enough to have a pattern. Some of my favorites:
- Happy Planner – they have great packs with a variety of patterns in one color like pink, purple, blue, black, green but my favorite is the rainbow pack
- This rainbow washi from my sister’s store, Carefully Crafted (that I used in the layout below)
- Illustrated Faith rainbow washi (solid colors, no patterns)
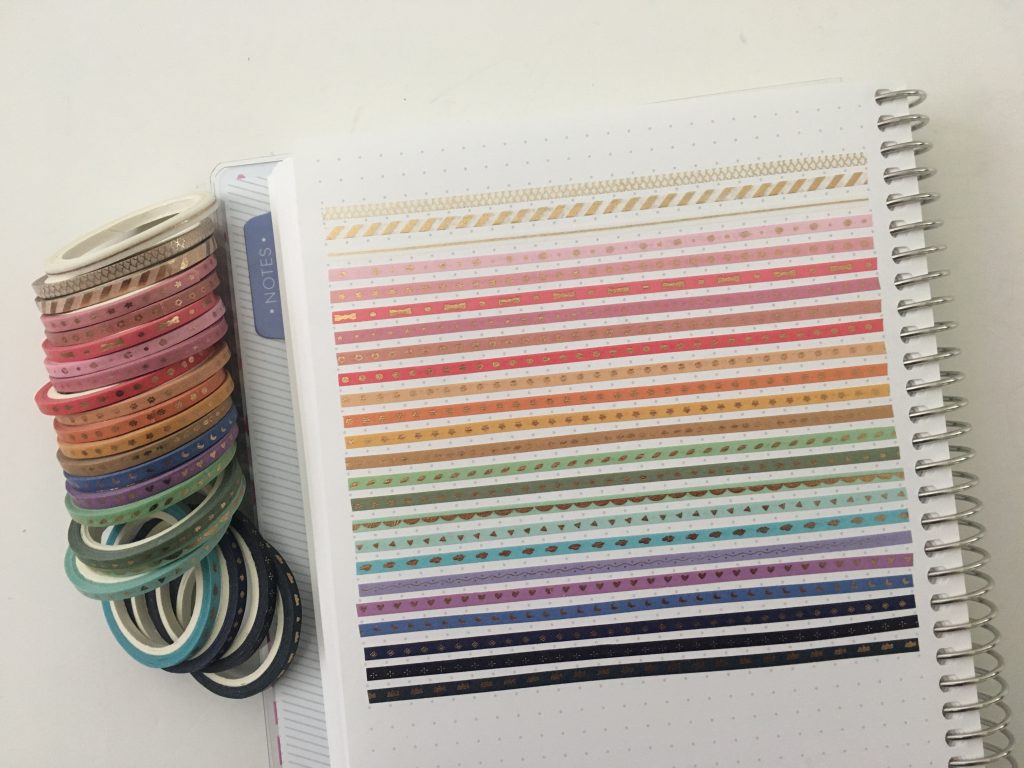
Related post: 10 Functional Ways to Use Washi Tape in your Planner
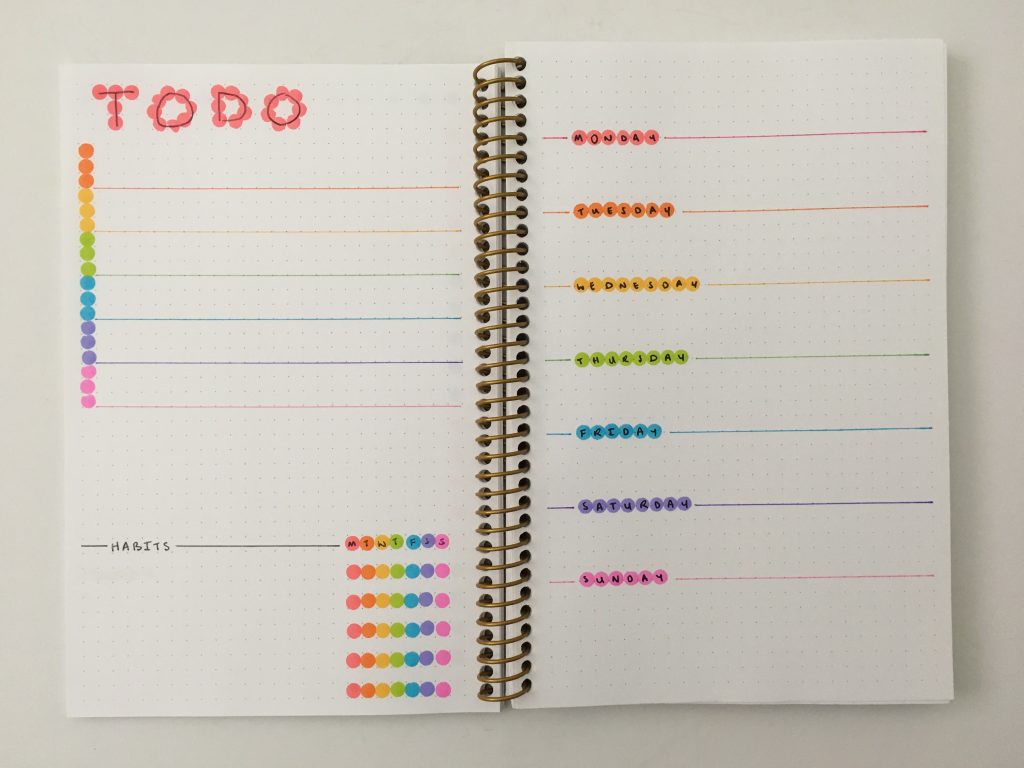
6. Dot Markers
So I went a bit overboard with the dot markers on this spread but you get the idea – you can use them for checklists titles, days of the week and habit tracking.
Read more: 7 Ways to use dot markers in your planner or bullet journal
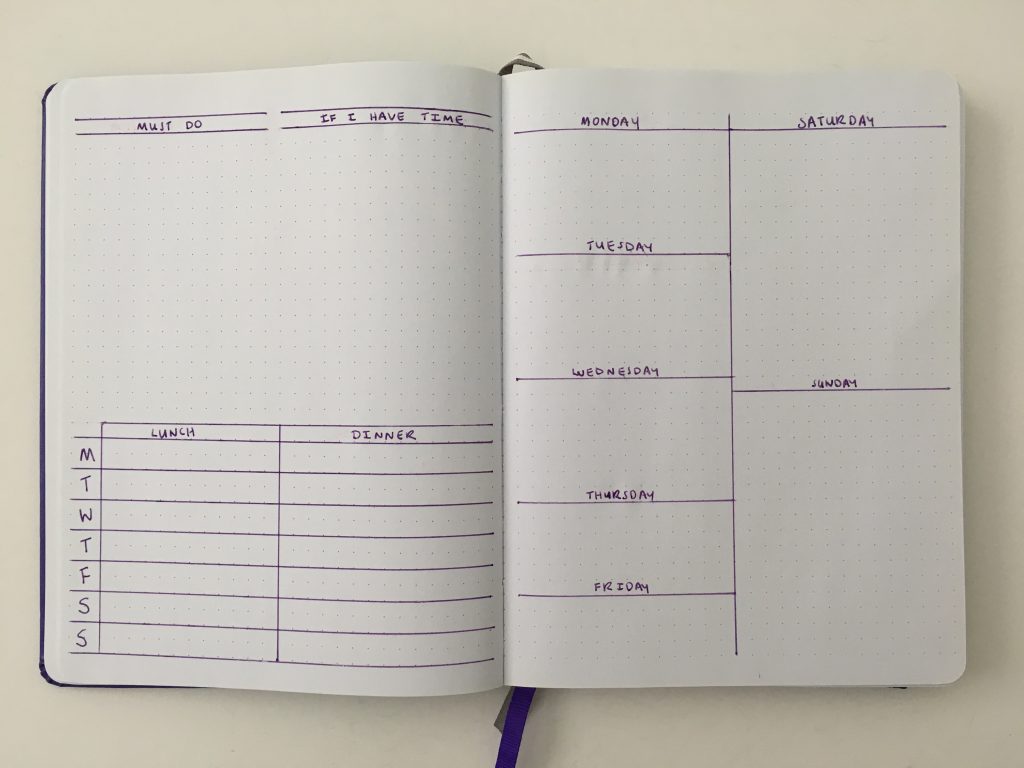
7. Bigger Weekend and Priority Lists
If you work a day job and are working on a side hustle on the weekend (or are studying), try a layout with a larger weekend. This is harder to find in a pre-made, printed & bound planner so a great time to try bullet journaling.
Related post: How to resize any printable for any size bullet journal
8. Combined Weekend
Using the DONG-A twin line dual tip highlighters (they’re a cheaper alternative to the Zebra Mildliners), I did 2 colorways so you could see the difference. I prefer the black pen with the colors rather than the full color since these highlighters are very pastel.
Related post: 8 Ways to use highlighters for Bullet Journal Spreads
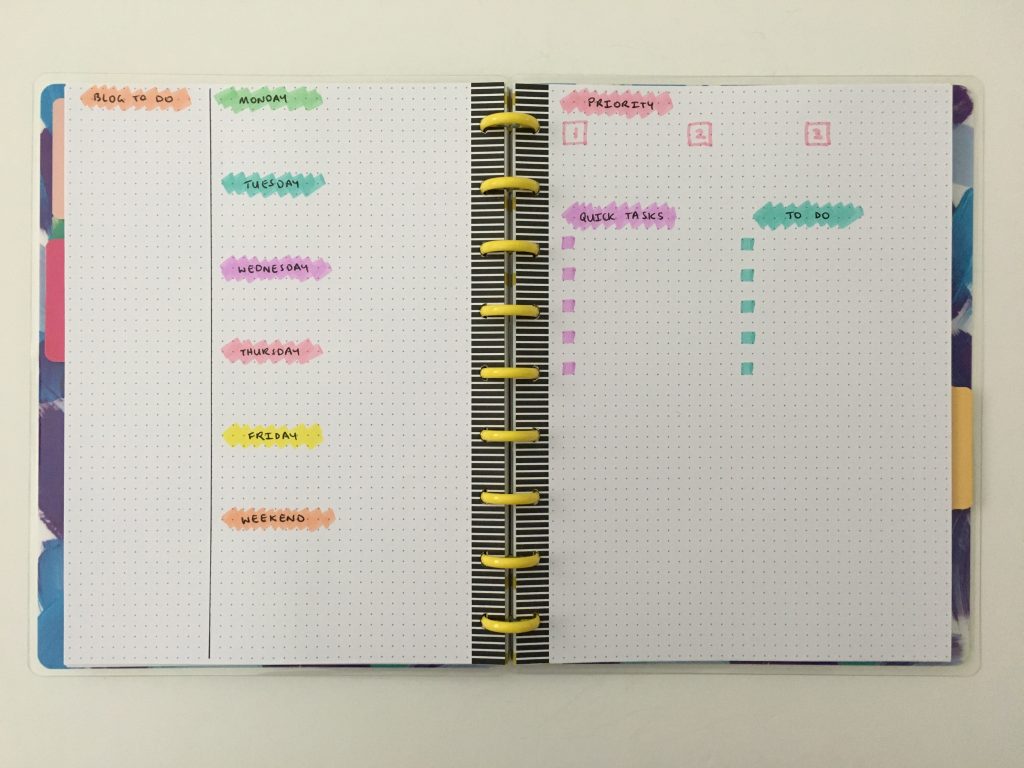
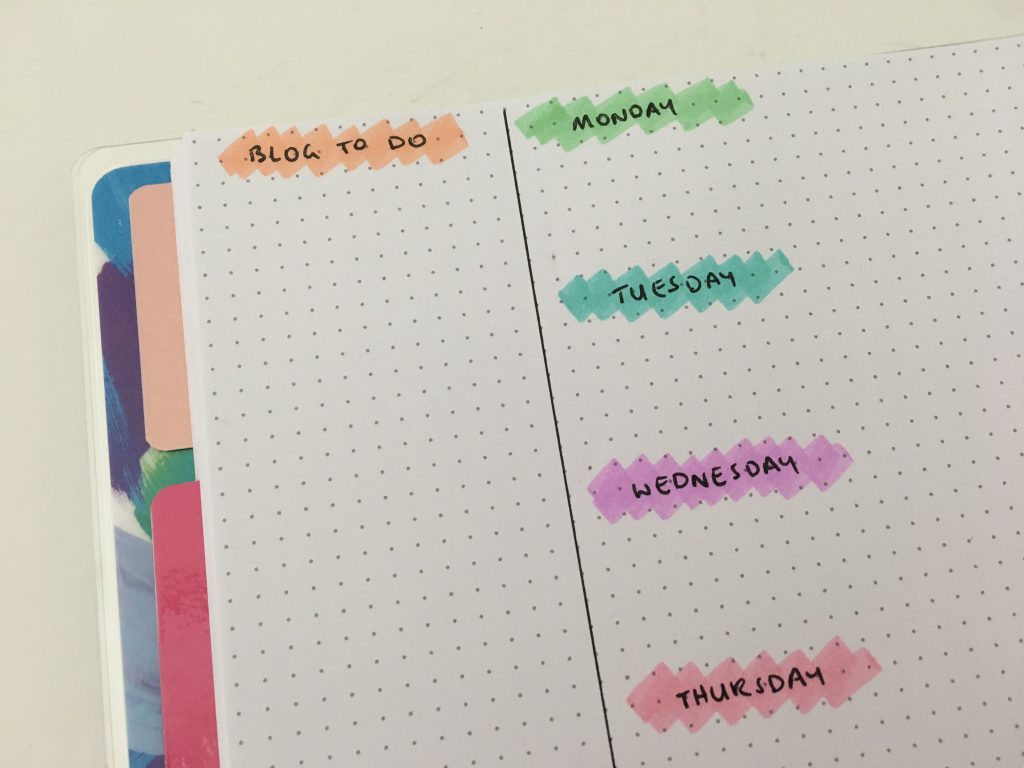
9. Categories
I added a sidebar for blog tasks but this could be meal planning, projects, school etc. This one is very quick to setup – took less than 5 minutes! I just grabbed the Stabilo Boss pastel highlighters, did some scribbles with the chisel tip to create a background then wrote the titles.
Related post: 6 Ways to color code your planner to increase productivity
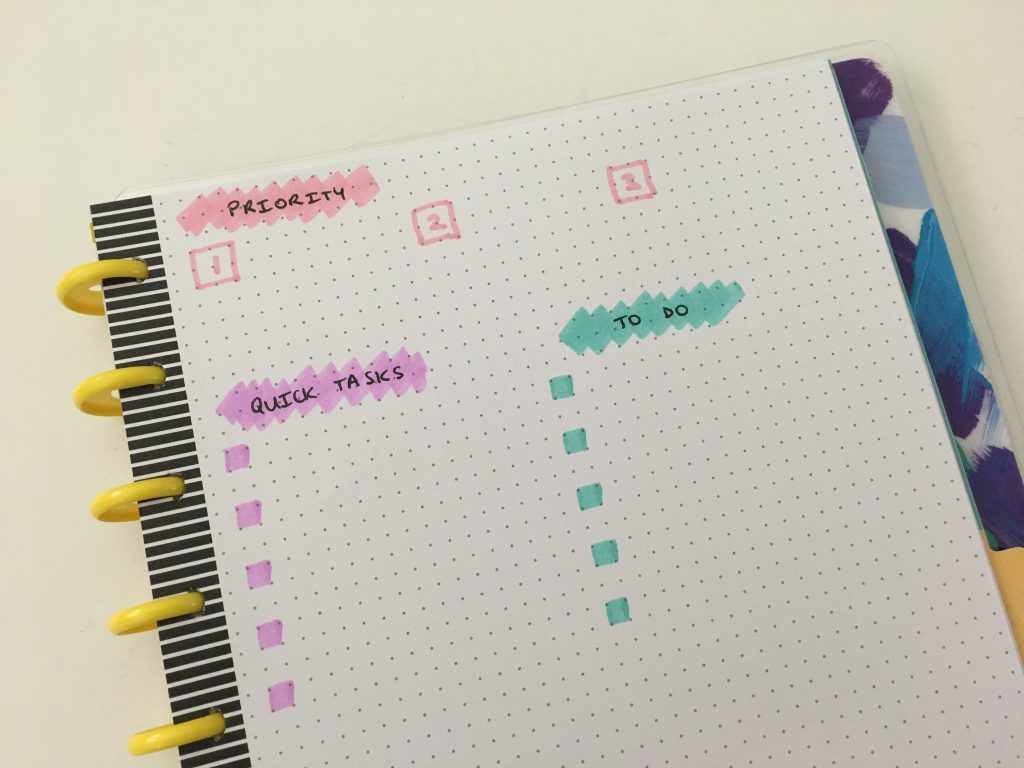
I like to categorise tasks by quick (15 minutes or less) and longer tasks. If you don’t want to do separate lists like this you could just do one big list and then color code with highlighters, or just use highlighters to add some color 🙂
Read more: Minimalist versus Rainbow Bullet Journal Spread in the Kikki K Grid Journal
10. Work and Personal
Dashboard crossed with horizontal weekly spread that has half a lists page instead of the full page. I did work and personal in this example but you could do personal and school or school and project etc.

More Bullet Spreads
- Bullet Journal Ideas: 26 Weekly Spread Layouts to Try
- 10 Bullet Journal Landscape Page Orientation Weekly Spreads
- 25 Ideas for your Bullet Journal To Do List Spreads
Tired of drawing up the same spreads and looking for some more unique layouts? Try this bundle of 52 printable weekly planners available in my Etsy shop and online store.

Found this post helpful? Pin it!