
50 Tips for Getting the Most Out of Your Planner
If you’re stuck in a planning rut, it may be because you’re not using your planner effectively. Here are 50 tips for getting the most out of your planner!
50 Tips for Getting the Most Out of Your Planner
Using Your Planner Effectively
1. Refer to your planner once in the morning…
2. And once at night
3. Leave your planner open in front of you, so it’s easy to refer to and add things as needed
4. If you leave your planner at home (like I do), or you use a big, heavy planner, take a photo of it on your phone so you always have a copy with you
5. Always do a pen test before you start planning. If in doubt, use ballpoint pens, they tend to be cheaper and less prone to ghosting and bleed through
6. Just because there’s white space on the page doesn’t mean you need to fill it
7. It’s ok to use more than one planner e.g. separate planners for work and personal
8. And it’s to switch between different planners throughout the year depending on what you need to plan that week (or plan a different way each week like I do)
9. Save space in your planner by using the reminders app that comes pre-installed on your phone for little things like reminders to clean your makeup brushes, bin day etc. (recurring things you need to do but you don’t want to waste time re-writing them, or waste space on the page)
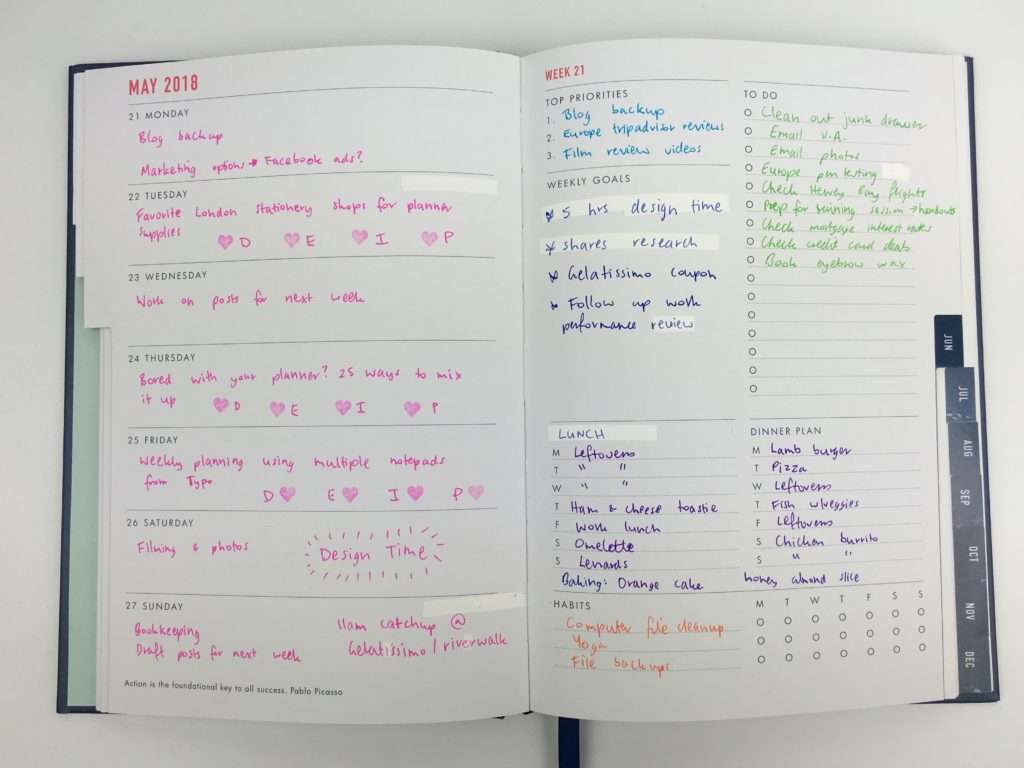
10. Top 3. I always do a top 3 by year, month, week and day
11. Use the right page size (for help deciding, see this post). I’d rather have a bit too much space than not enough. I never use smaller than A5 page size.
12. Do your research! There’s so many planners to choose from these days – see my roundup of 300+ planners in this post
13. Cluster things together. Not only by type of page e.g. meal planners, lists etc. but also within the weekly spread (color coding helps with this too)
14. Copy unfinished tasks. By re-writing unfinished tasks (transferring from week to week / month to month) it makes it obvious the things you keep putting off / aren’t prioritising. Then you ask yourself: do I actually need to do this? Do I want to do this? If you’ve been putting off doing it, it may be because you need to break the task down into more manageable chunks. And most importantly: every task should have a deadline!
15. Pre-plan the week. Keeps your planner neat and helps you prioritise (see how I do it here)
16. Write an effective to do list (see this post).
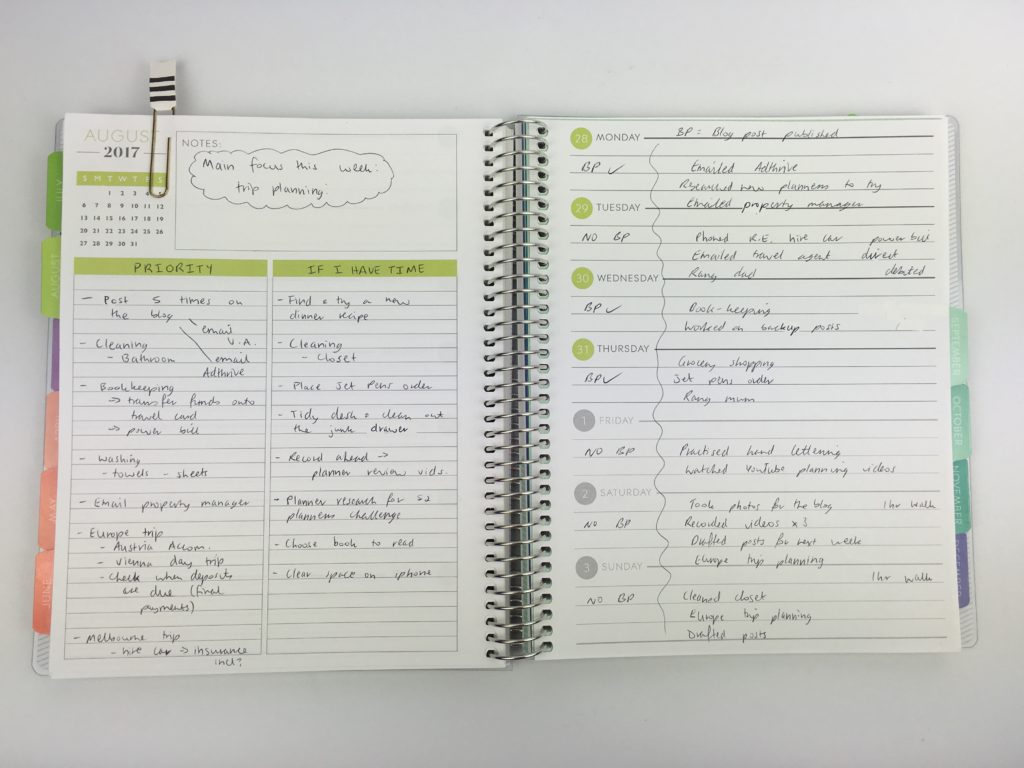
How (and why) I pre-plan the week using the Plum Paper horizontal lined with notes layout
Saving Money
17. You don’t need every planner supply that’s out there (even if you only bought the Happy Planner accessories you’ll go broke there’s so many!). To save money on planner supplies – read this post
18. The best time to buy planners are in March/April (calendar year planners go on clearance), September (Academic year planners on clearance) and November (Black Friday / Cyber Monday). So if you find your planner isn’t working for you, switch to a different planner or add a 2nd planner. There are plenty of buy / sell / swap planner Facebook groups (see this post for a roundup)
19. You don’t need to buy an expensive planner to be productive. You don’t need to buy a planner just because it’s popular either – just because it’s popular doesn’t mean it’s going to work for you
Planning Supplies
20. Sticky notes for grocery lists – just peel it off when it’s time to shop
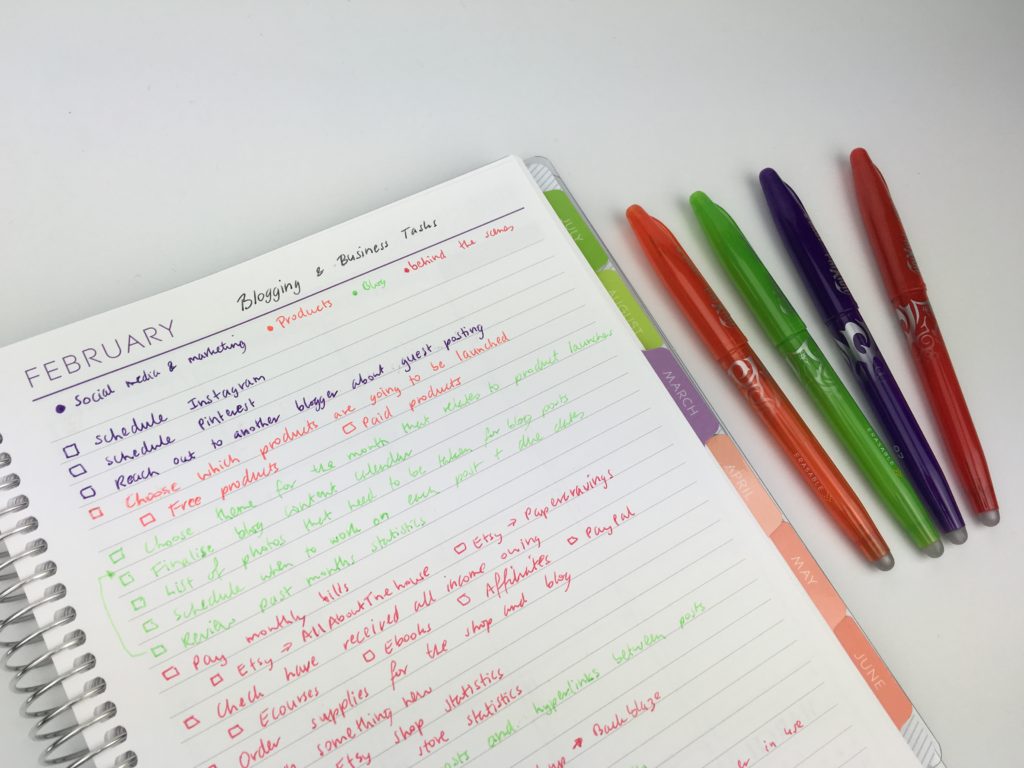
21. Use erasable pens so you can change things as needed (my favorite are the Frixion Erasable)
22. Draw checkboxes (or use a stamp – this one is my favorite), rather than lining through tasks once completed – it will keep your planner neat
23. Only use functional stickers – much quicker and no ‘clutter’ on the pages
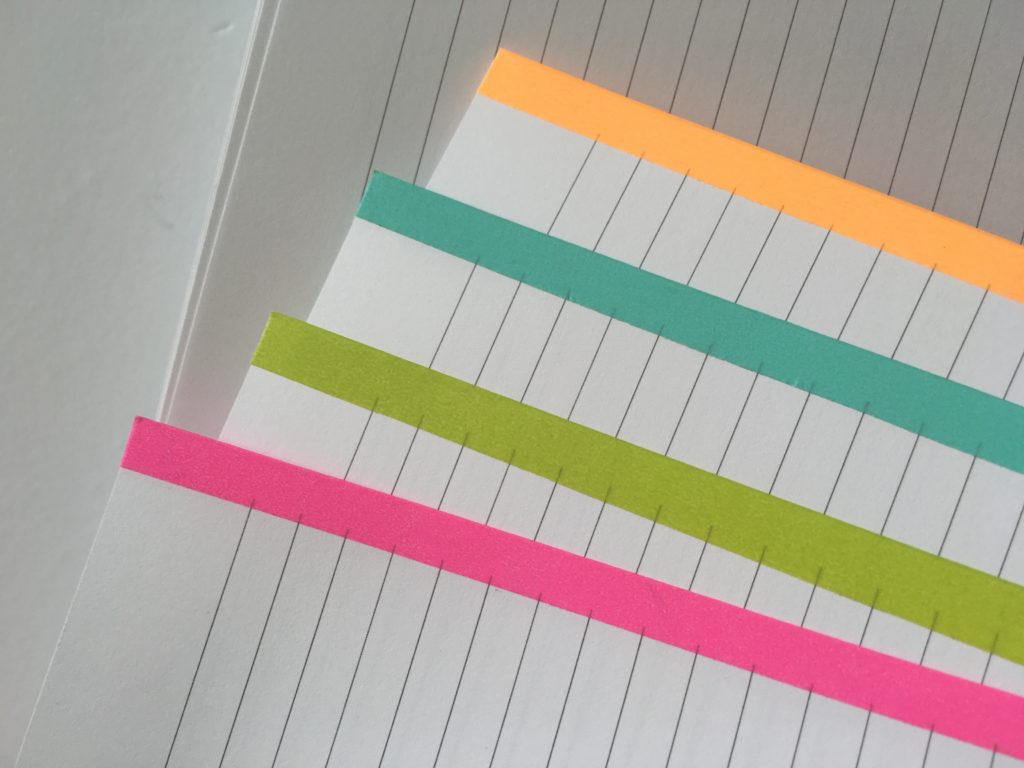
24. Color code using highlighters – much faster than changing pen colors (related: 6 Useful ways to efficiently plan your week using highlighters)
25. Always use a ruler for drawing up bullet journal layouts. My favorite ruler is from Poppin
26. Use functional icon stickers for recurring tasks to save time writing
27. You don’t need every planner supply out there, but these 10 will help you plan faster
28. Discbound planners. Add, remove and rearrange pages as often as you need (review of my favorite discbound system here)
29. Use whiteout correction tape not glue – no need to wait for it to try, it’s smooth to write on
30. Washi tape for marking things across multiple days (e.g. vacations) to save time writing
Related: My all time favorite planner pens: Pilot Frixion Erasable Pens Review
Hacks
31. Put washi tape on the side of the page before hole punching – decorative and acts as a hole reinforcement too
32. No tabs? Use a strip of washi tape, folder the corner of the page or use a highlighter to mark the page
33. Run out of space in your weekly spread? Use a sticky note to create extra space. My favorite are the lined ones by Post It Note 3M
34. Resize any printable to fit your planner (tutorial here)
35. Add an index (they’re not just for bullet journaling!)
36. Laminating will turn any page you frequently use into reusable (with the help of a whiteboard / dry erase marker)
Related: Planning Tips: 10 Ways to Plan Your Week Faster

Inspiration
37. Instagram has tons of planner spreads. Some hashtags to try: #plannerspreads #weeklyspread #plannernewbie
38. Try bullet journaling. Even if you don’t want to bullet journal, drawing up your own layouts will give you a better idea of what you do and don’t want in a planner
39. YouTube is my go-to for reviews (if you’re on the hunt for a new planner, I’ve more than 100 on my channel here)
40. If you don’t know any other planner addicts in your life, join Facebook groups (roundup of 60+ groups in this post)
41. If there’s a how to guide that comes with the planner, read it!
42. I use sticky notes to plan what I’m going to put where in my planner (especially helpful for bullet journaling / freehand layouts)
43. Color coding not only saves time, it looks good to! (color coding tips in this post)

Using all the pages
44. Rip out pages you don’t need, or glue a printable over the top
45. Do a weekly review. And a monthly review. And a half yearly review. And an annual review. You get the idea. Stop the day to day monotony and take a few minutes to stop and actually check in with where you’re at with your goals.
![]()
46. Add pages relevant to you. After reviewing 100 + planners I’m still surprised that most of them don’t include proper goal setting pages, monthly planning pages, weekly and monthly reviews. They’re usually just a weekly and monthly calendar with no focus or structure. So no matter what planner I’m using, I re-purpose the notes pages for review space
47. Try different ways of planning the same thing. E.g. for monthly planning, I prefer to use a list format monthly calendar rather than the traditional box format
48. Annual dates at a glance are ideal for period tracking, blocking out vacations and project planning big goals. Use transparent colored dot circles, highlighter or circle dates in pen
49. Use your notes pages effectively – 130+ ideas in this post.
50. Use the monthly calendar effectively. Instead of double planning, decide on one place where you’re going to track each thing I.e. if you do meal planning in the monthly calendar, you don’t need to re-write this in the weekly planner. Same for bill paying etc.
![]()
51. Add a brain dump section where you can add random notes and scribbles. Keep this separate to everything else i.e. behind a separate tab, or on a notepad. Don’t do this in the margins of the planner. I do my brain dump as part of me pre-planning process (see this post)
52. Take things out of your planner. I have a separate reference notebook for things like cleaning checklists, insurance info etc. It’s stuff I need, but I don’t need to refer to it everyday
53. Use tabs. If it takes you a long time to find things you’re less likely to use your planner. If you don’t want to use tabs, try a bookmark (tutorial here)
54. Keep things separate. E.g. project planning in one section, don’t mix it with other things. If you need to, duplicate pages e.g. print 2 copies of a monthly calendar and use one for you, one for your family etc. I find if things are organized, separated and clustered it’s much easier to keep track of things
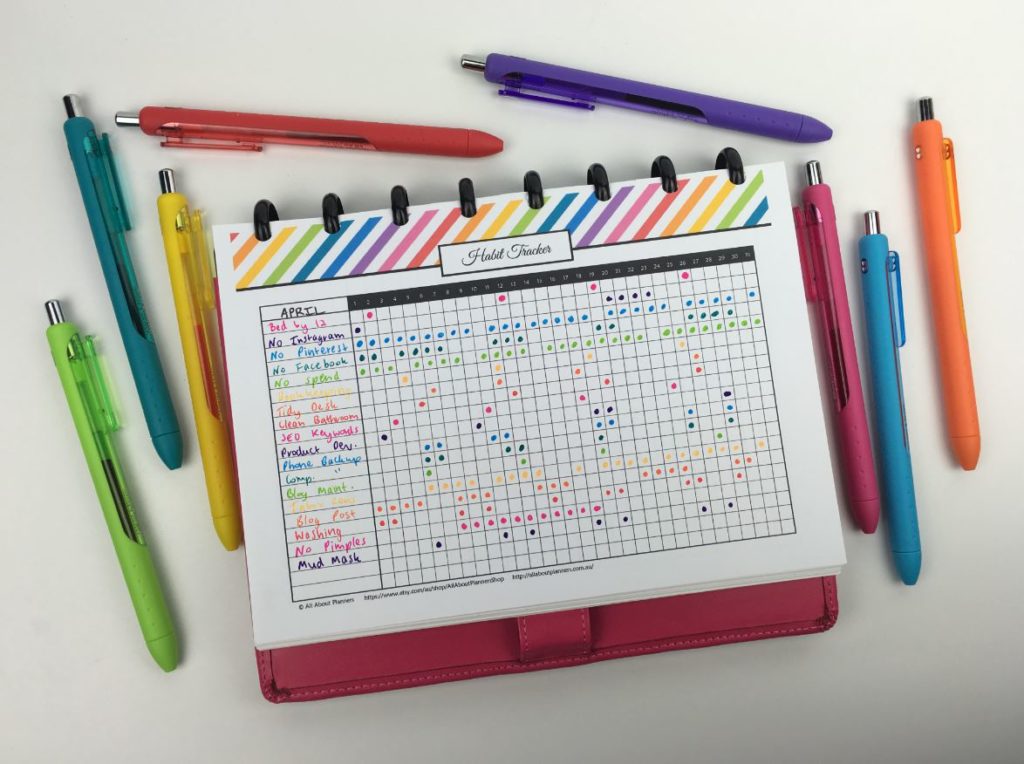
55. Habit trackers. If you don’t already, you need to use one! Once I started using them I’ve never looked back. Save so much time, quick and easy!
Planner tips
- How to make lined note paper DIY planner insert refills in Photoshop (quick and easy step by step tutorial)
- Day Designer for Blue Sky Horizontal Weekly Planner Review
- Planners you’ve probably never heard of (but will want to know about!)
Planner spreads
- Minimalist 1 page categorised planning using black pen & highlighters
- Using the Erin Condren Teacher Planner for weekly planner
- 52 Lessons learned after trying 52 different planners in 52 weeks
Found this post helpful? Pin it!


love your site – it has really helped me setting up my planner.
Advise needed – Bought a new planner – Happy Planner, Classic size, horizontal style. With 2 really busy teenagers, a household to run, a business to run, among other things – have now decided that I need daily pages vs the weekly pages. I just have too much going on. Read the print it yourself vs buy it pre-printed article. Helpful. Question – just I use daily pages on days I am really busy and switch between daily and weekly pages – ugh. not sure I like that. Hard to be OCD and keep a planner. I really think, like lots of busy women, I just need an assistant!!
Hi Helena, glad you’ve found my blog helpful 🙂
Have you tried a discbound system? That way you can have daily planning pages printed, and just move them to the weekly spread as needed. Have you tried weekly overview pages and then the daily pages behind? Or print 2 copies of the same weekly spread and use one of the spreads for planning your stuff and the other for keeping track of your family + household. Habit trackers are also great space savers. Hope this helps!
I got the new EC Academic Planner that is coil bound. I’m in a Master of Accountancy program, and wanted to have space to keep track of all my assignments (half semester classes are RUSHED). I’ve decided that I like the layout of it, and bought another one (they’re undated) to use as a regular planner once I’m out of school. It’s got a little more structure than a regular horizontal layout. If you haven’t looked at the new layout (the old one was hard bound), check it out. I’d love to hear your thoughts on it. 🙂