
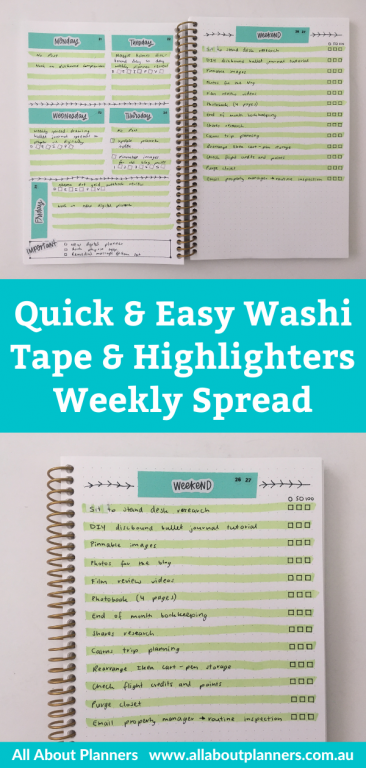
Quick and Easy Washi tape and highlighters weekly spread
I normally plan out exactly what I want to do for my weekly spread on a piece of scrap paper but this week, I decided to just wing it.
This post contains affiliate links. If you click one of the links and make a purchase I’ll receive a small commission at no extra cost to you. I only affiliate with products I use and recommend.
Before the pen
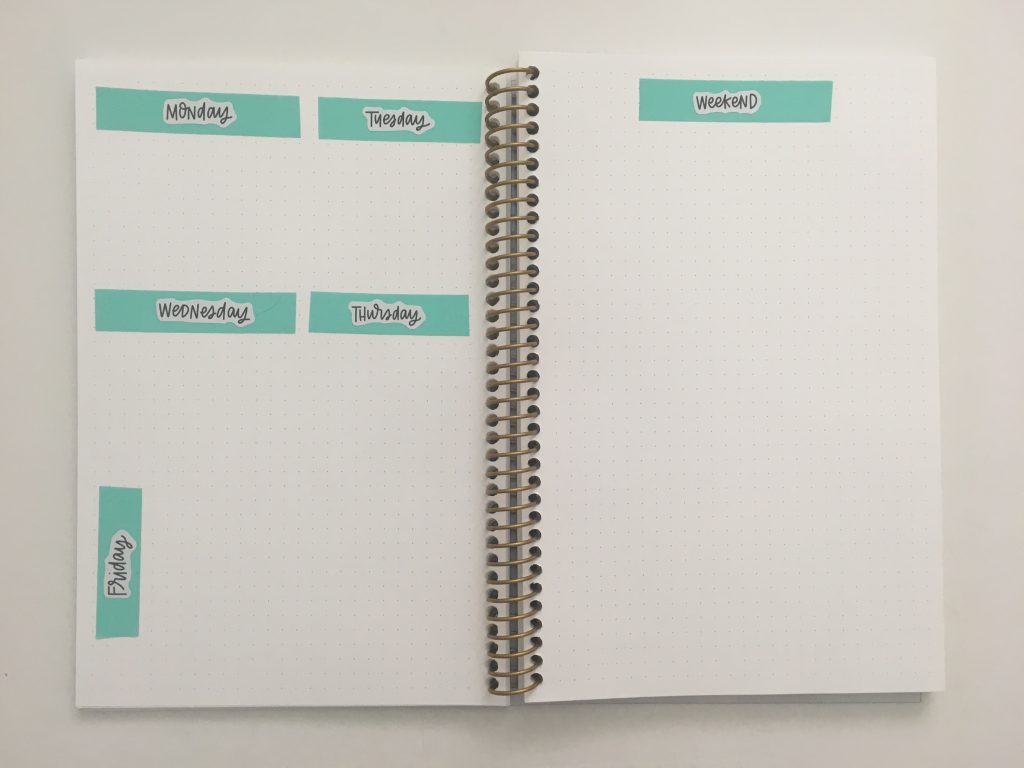
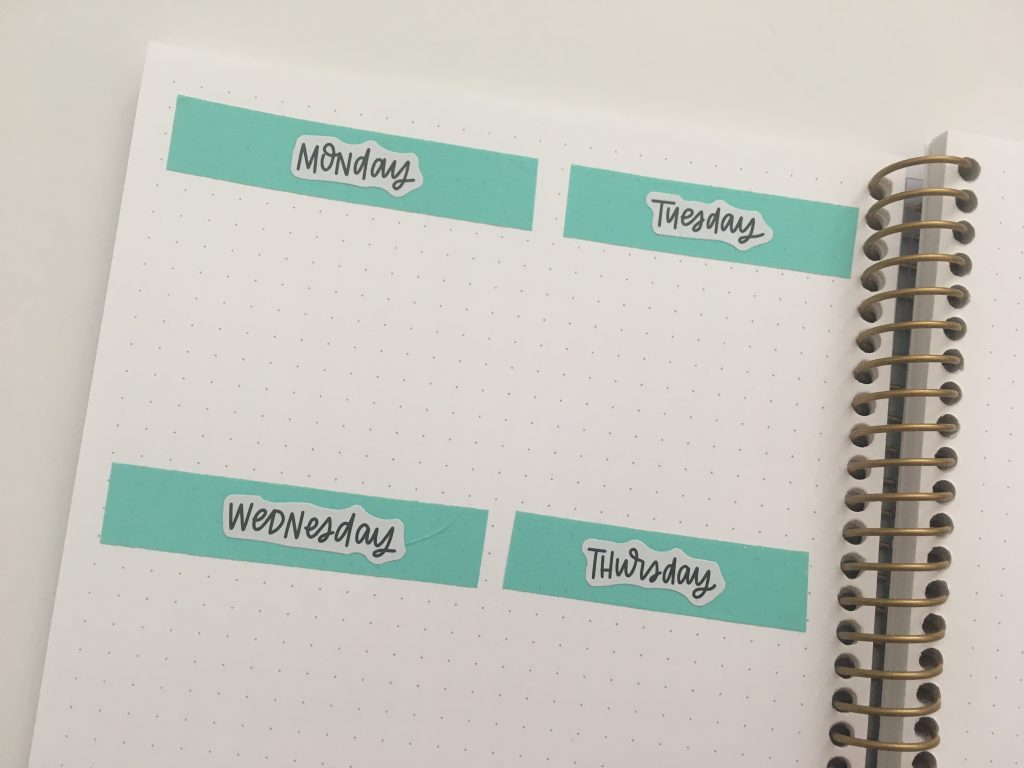
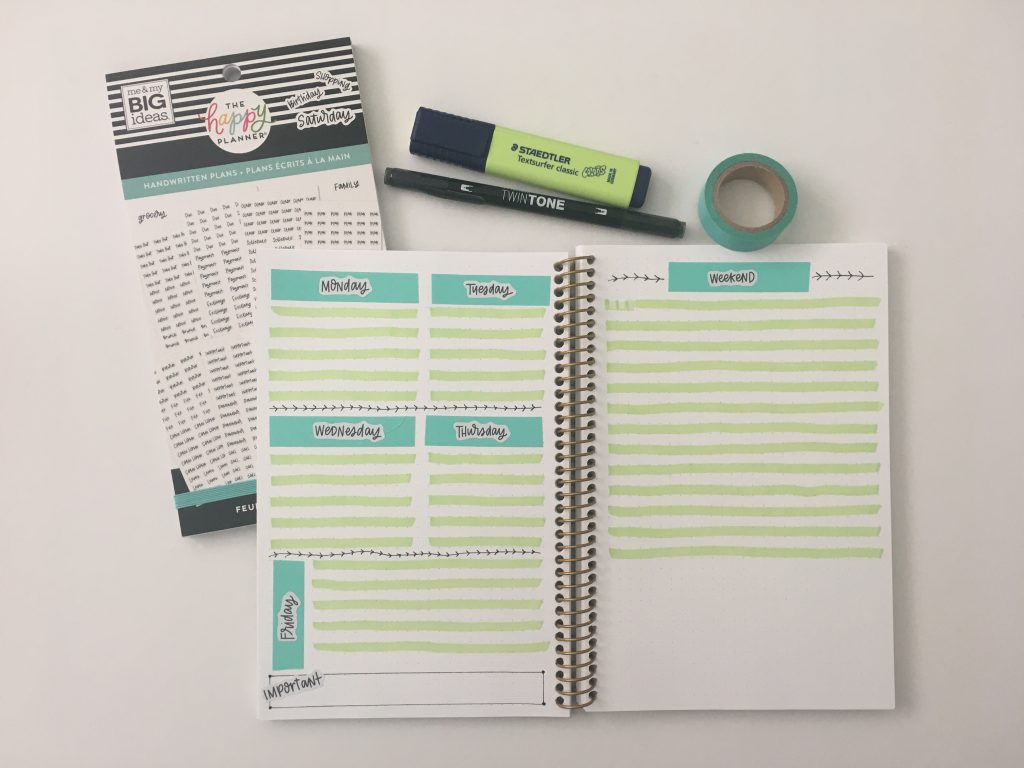
I knew I wanted to use some washi tape so started with that. I then went through my planner supplies and decided some days of the week stickers would work well over the top.
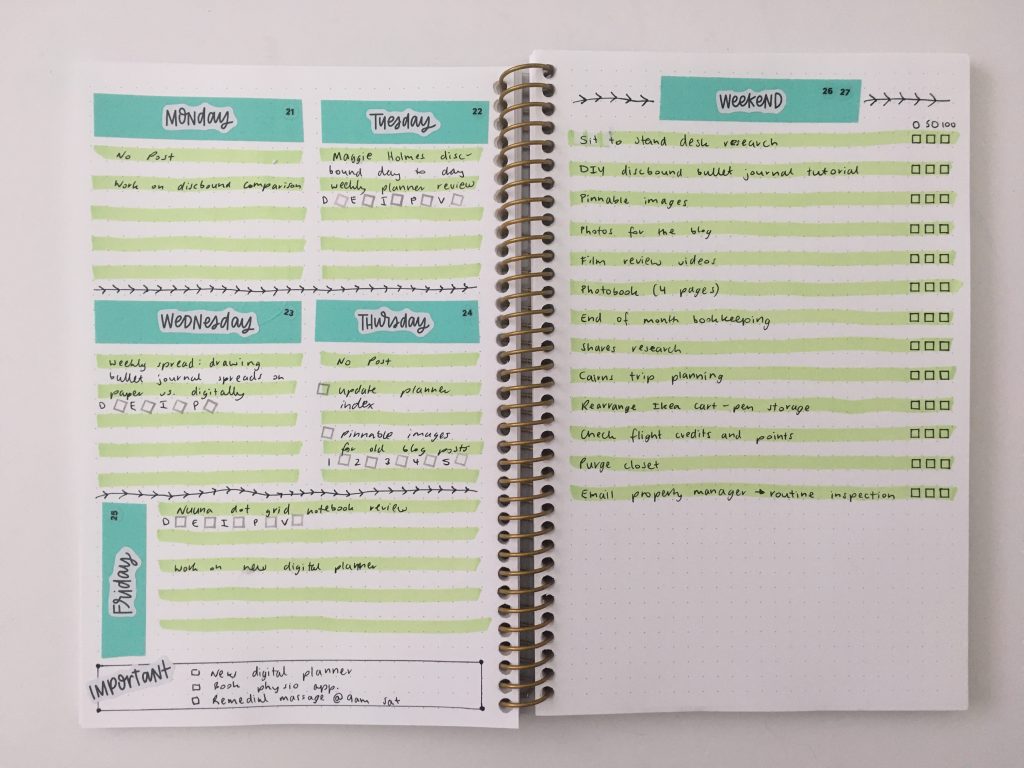
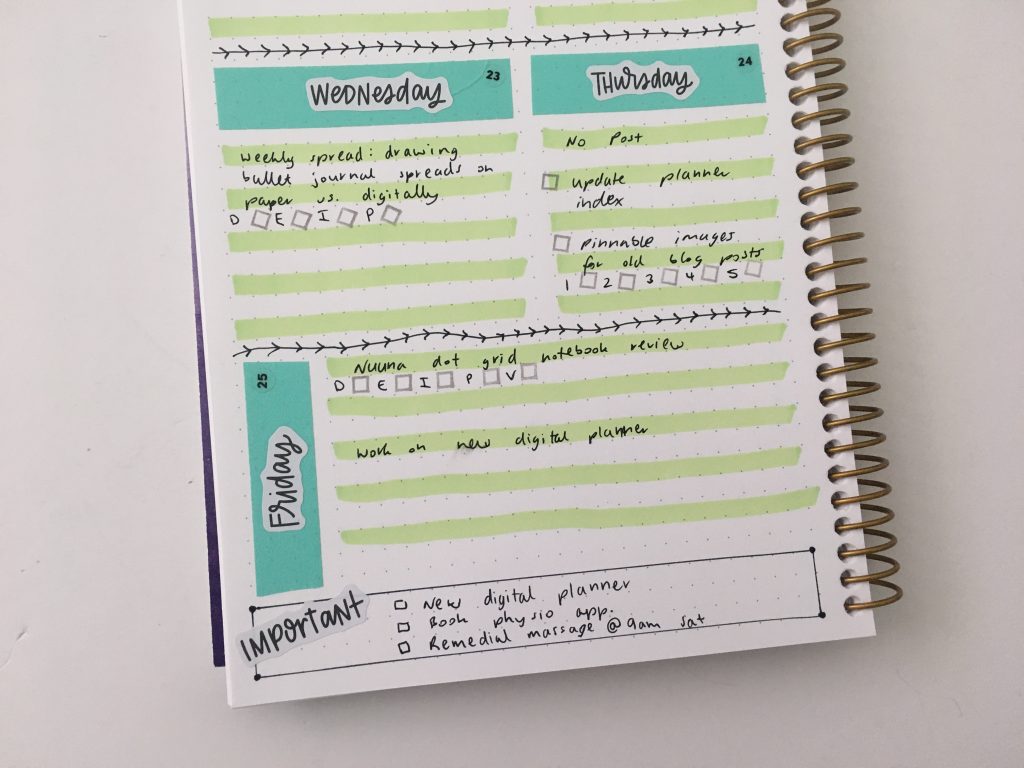
Dashboard is my preferred weekly layout. Since I usually do a 5 day horizontal spread, I decided to change it up and did a combination of vertical and horizontal this week.
Related post: Choosing a planner: Horizontal versus Vertical versus Hourly planners (which is right for you?)
For anyone sceptical about whether it’s actually worth paying for more expensive washi tape I would say that it definitely is. This is some really cheap washi (one of the first rolls I bought many years ago), you can see there’s a crease on the Wednesday strip and if I were to pull that up and attempt to re-stick it, the washi would take the paper underneath with it (which never happens with expensive washi).
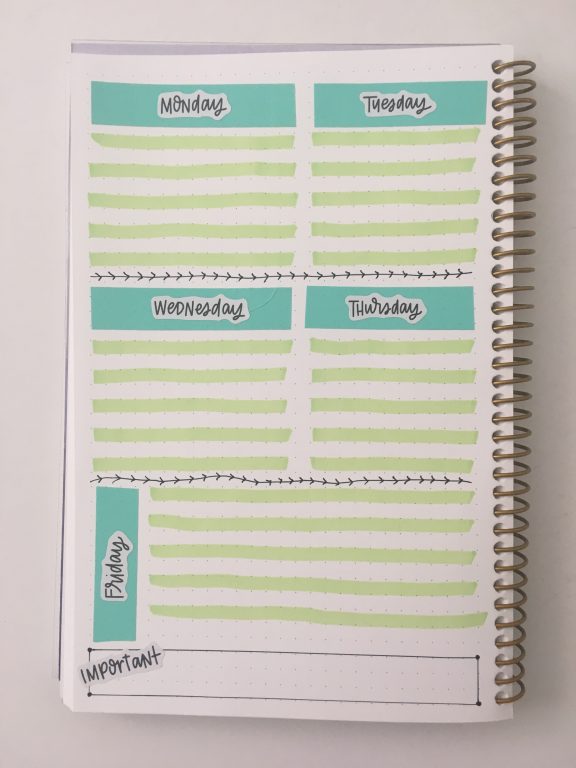
Since I usually write on every second line when using dot grid paper, I figured I may as well make some highlighter lines to write on and add some color.
I used the thin end of the Tombow dual tip pen for the divider / arrows line but you could use any fineliner pen.
Related post: My Favorite Fineliner Pens for Planning & Bullet Journaling

After the pen
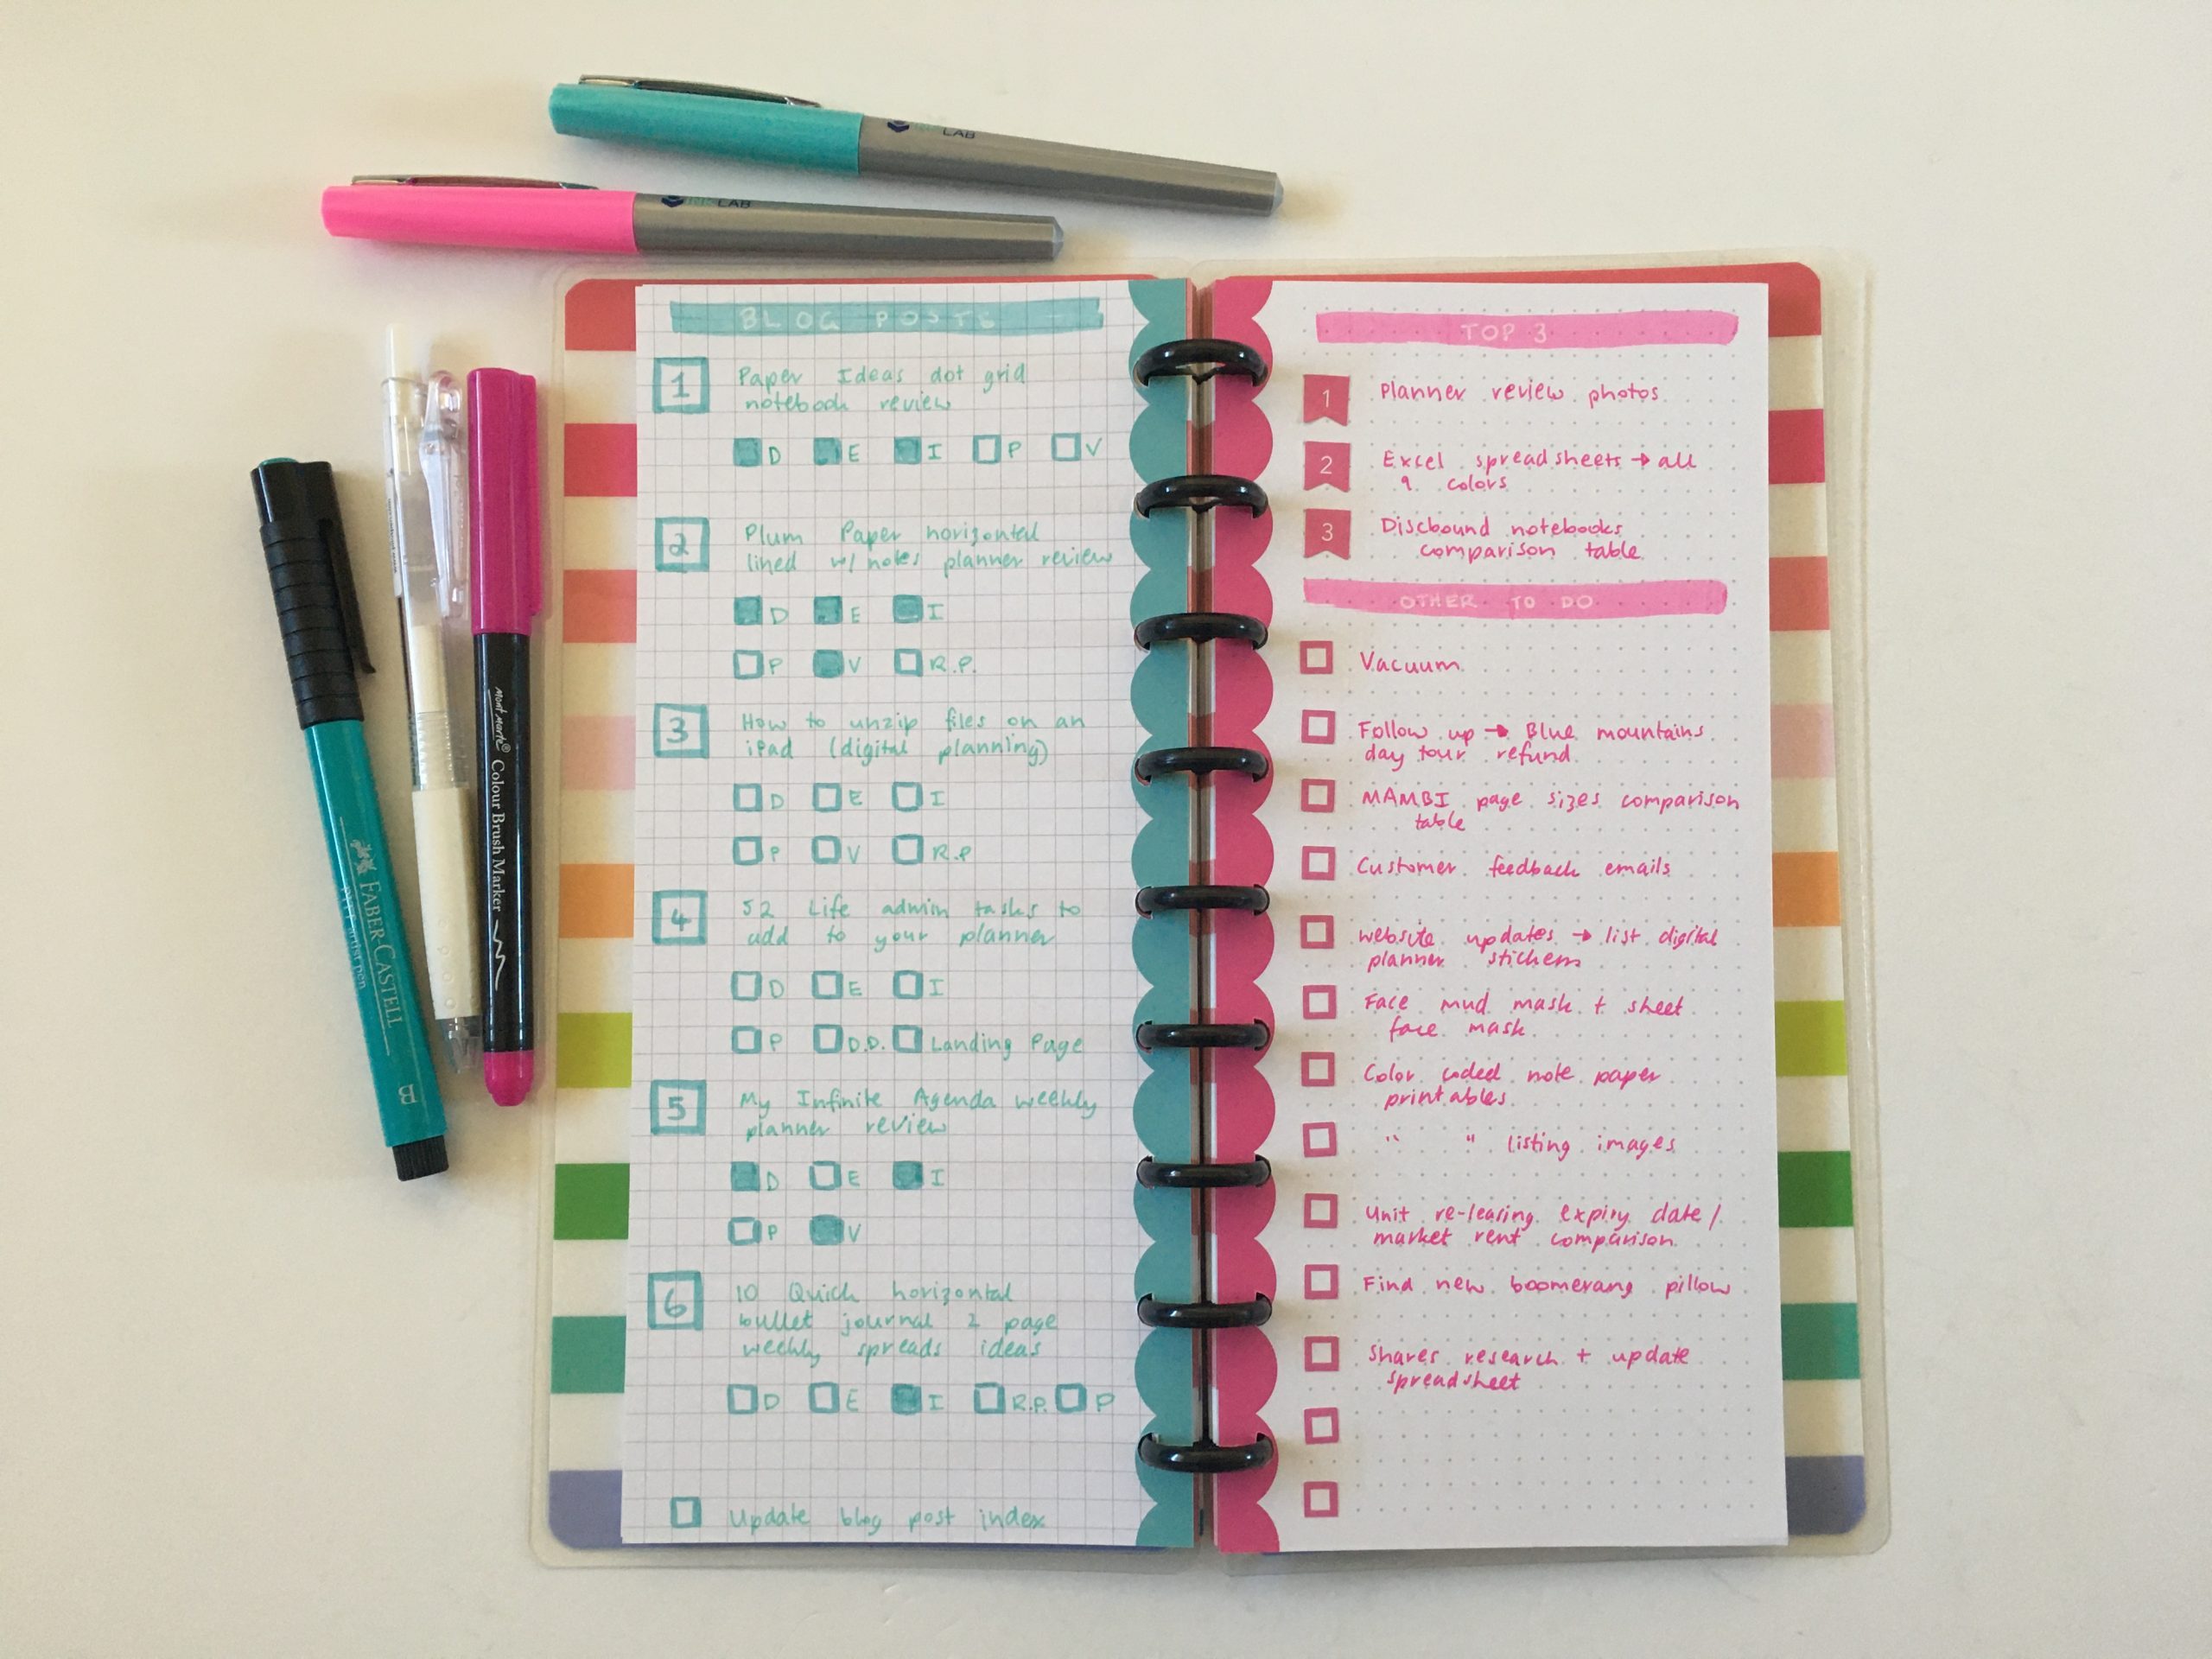
I have a task workflow key but I’ve never really posted it since I never post any end of the week photos (my weekly spreads end up a lot more messy by the end of the week than the photos you see here on the blog).
Here is one of the methods I use for keeping track of tasks (it doesn’t take up much space either)
- Border of a box
- One vertical line in the box to signify that I’ve started that task
- A horizontal line in the box to signify that the task is finished
- If t was an especially crappy task I’ll shade in the entire box (just to get that extra bit of satisfaction)
You could use a hollow circle if you don’t want a box.
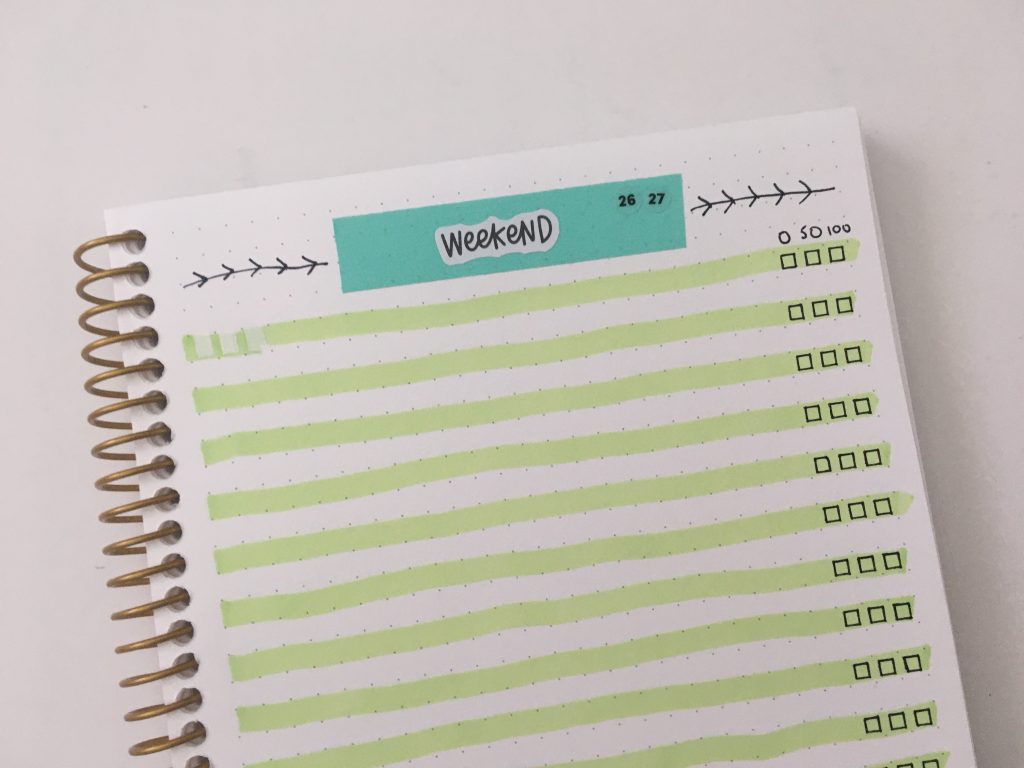
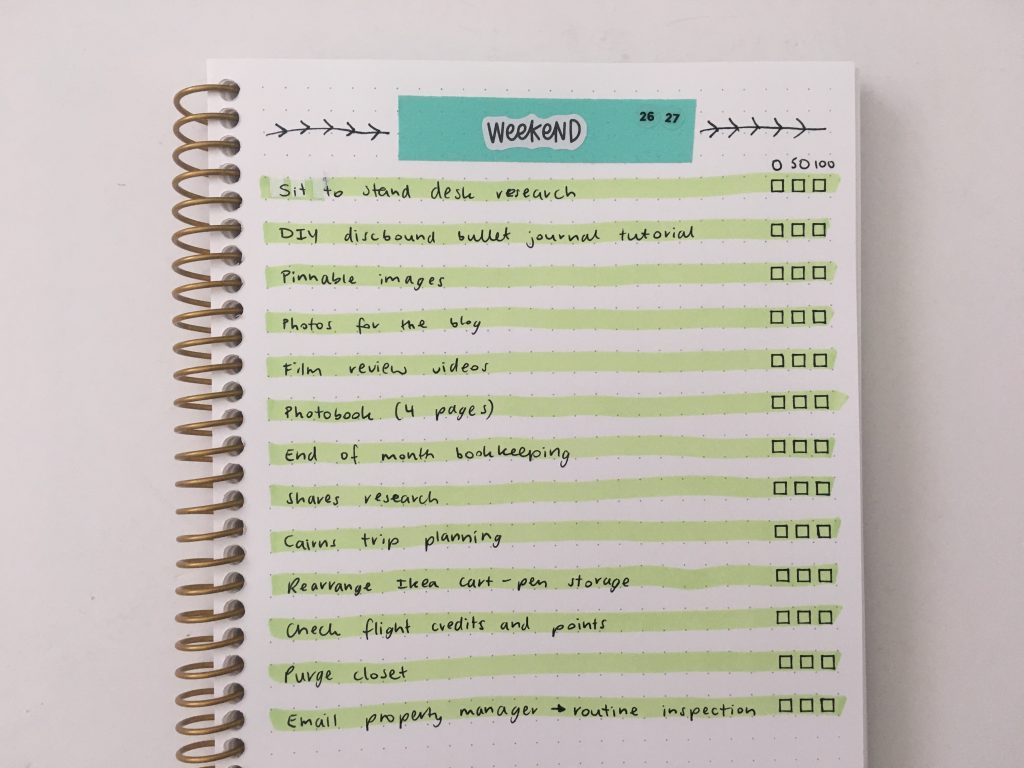
This is the method I used this week:
- O = empty checkboxes
- 50 = 50% done (do a diagonal line)
- 100 = 100% done (do either a diagonal line going in the other direction to form a cross OR color in the entire box
If you don’t want to keep writing boxes, I occasionally use this self inking checklist stamp from MAMBI and more recently this checkbox stencil by Ink By Jeng.
Related post: 25 Ideas for your Bullet Journal To Do List Spreads
Looks much neater when writing on every second line:
Supplies Used
- MAMBI self inking checklist stamp
- Tombow Twin Tone Marker pen (the thin end)
- Light blue washi tape
- Zebra Sarasa gel pen
- Ink by Jeng checkbox stencil
- Staedtler Textsurfer classic pastel highlighter
- MAMBI Handwritten plans days of the week stickers
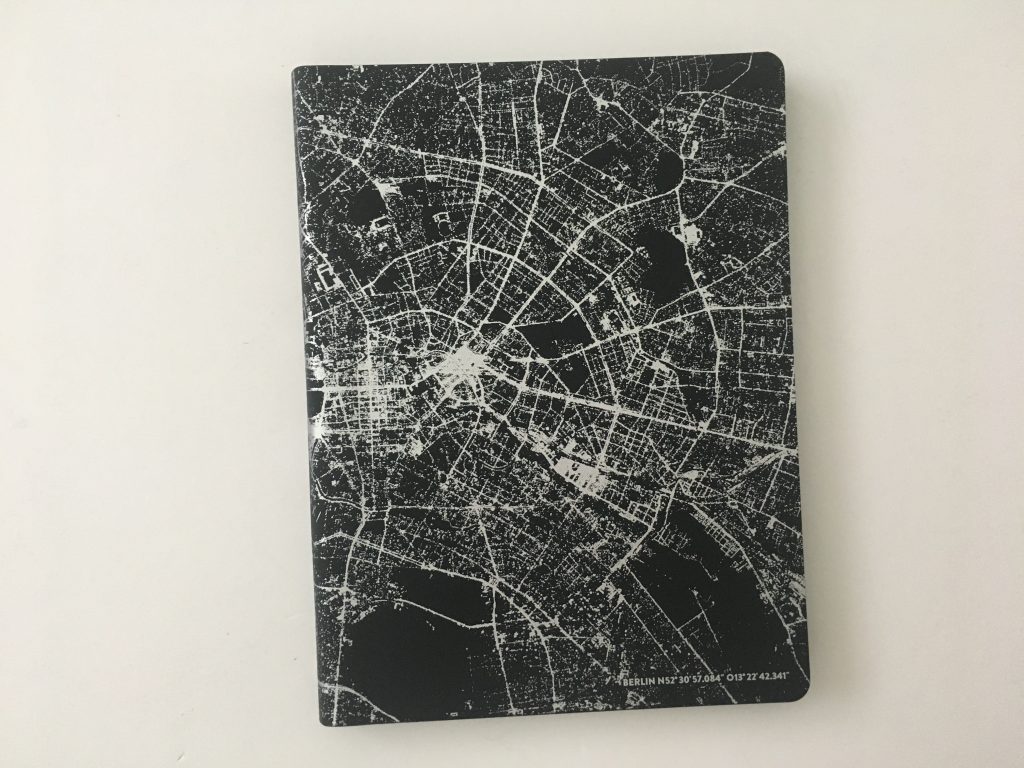
- Posy Paper dot grid notebook
Would I use this spread again?
Yes, it worked well, I usually write on every second line anyway so the highlighter lines were a good way to add some color. I probably would’ve picked something more pastel like a pastel pink next time but I’m still happy with how this spread turned out. Since it was very quick and easy to setup I will likely use it again.
Past weekly spreads
- 10 Minute Rainbow Weekly Spread Using Highlighters
- Pink & Black themed spread in the Clever Fox Weekly Planner
- Using MAMBI inserts and Carpe Diem planner stickers for a colorful weekly spread
Planning tips
- 10 Planner supplies that will help you plan your week faster
- 10 Pens that are overrated
- 6 Ways to color code your planner to increase productivity
Tired of drawing up weekly spreads? This printable bundle of 52 different 1 page weekly planners (you can mix and match to create 2 page spreads if you prefer), is available in my Etsy shop and online store. It comes in US letter size and Happy Planner classic page size.

Found this post helpful? Pin it!


I don’t know if I’ve ever commented before, but I just wanted to say that I truly appreciate all of your posts. You are so thorough in your reviews, so meticulous in your planning, and your layouts are so pleasing to the eye. Sometimes I wonder, “Does she know how many people love and appreciate all the work she puts into this? How would she know if I don’t tell her??” So thank you again for all the inspiring content you create!
Hi Talita,
Thanks for your feedback and for taking the time to leave a nice comment – glad you’ve found my blog helpful 🙂