5 Ways to get ideas for your planner spreads
I’ve been doing a different spread almost every week for a few years now. I’ve had plenty of planning ruts in that time where I’ve felt like I haven’t had any ‘fresh’ ideas for planning. If you’re in a rut too, here are some of the ways I get ideas for my weekly spreads.
This list contains affiliate links. If you click one of the links and make a purchase I’ll receive a small commission (at no extra cost to you) in exchange for referring you.
1. Small changes
- Turn your page so it’s landscape ways instead of portrait (see this post for some ideas)
- Use a smaller or larger page size
- Add something new e.g. sticky notes
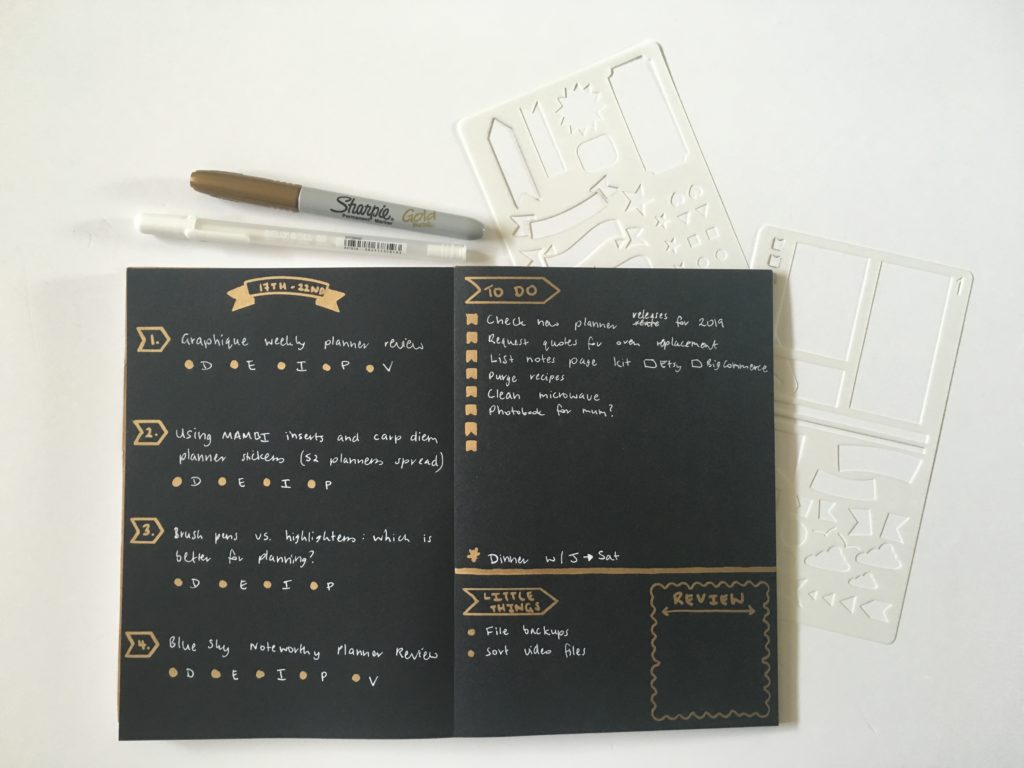
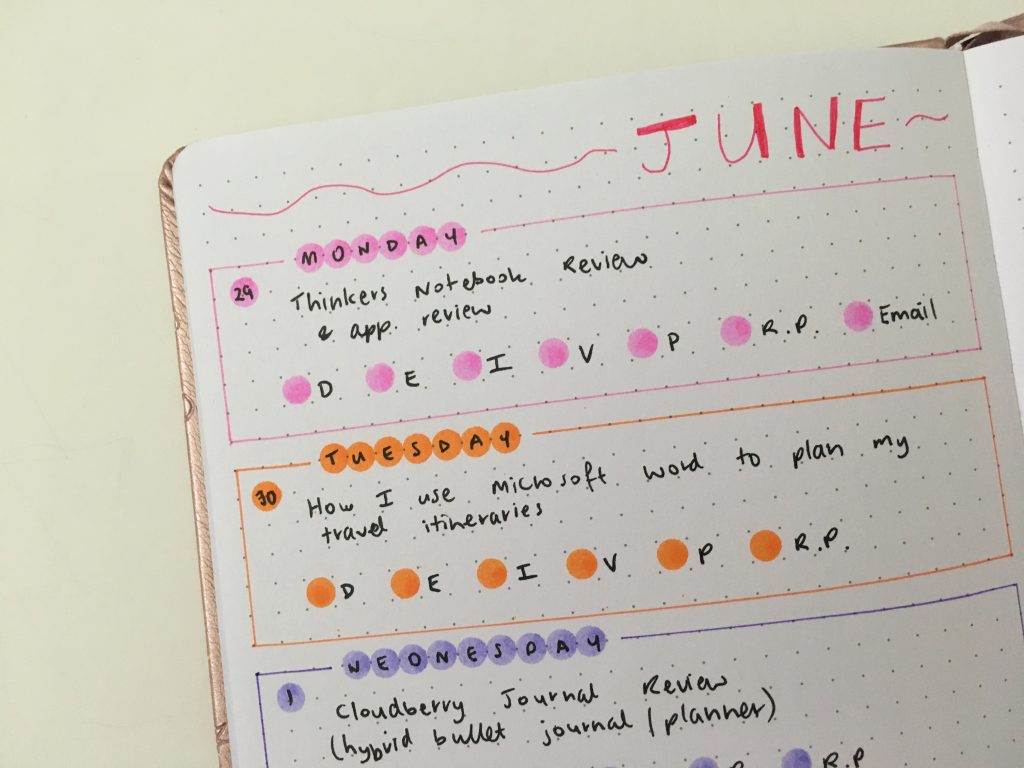
- Switch up your spreads – do a mix of bullet journaling (hand drawn spreads) and some weeks with a planner with pre-printed pages (inserts are good for this as they usually come undated)
- Change your binding. Disc binding gives greater flexibility because you can add, remove and rearrange pages as often as you like
- Make your page titles decorative – use a stencil, draw a flag banner, try hand lettering, use different colors for the title than the rest of the spread
- Add some doodles to spare space at the top and bottom of the page
- Do uneven boxes for each day. If you know you aren’t going to plan much on a Friday, then make Friday’s box smaller
- Use different shapes. Drag hexagons, circles, squares for the days of the week instead of rectangles
- Decorate what’s already there – use some washi tape to cover up the lines dividing each day of the week, create a second border by using a highlighter
- Use stamps
Some posts you may find helpful:
- Minimalist Planner Decorating: Title Ideas for your Bullet Journal
- 10 Quick planner hacks you need to try (planning tips & inspiration)
- Brush pens versus highlighters: which is better for planning?
- How I use different types of pens when planning
Read more: Landscape page orientation weekly spread in the Happy Notes
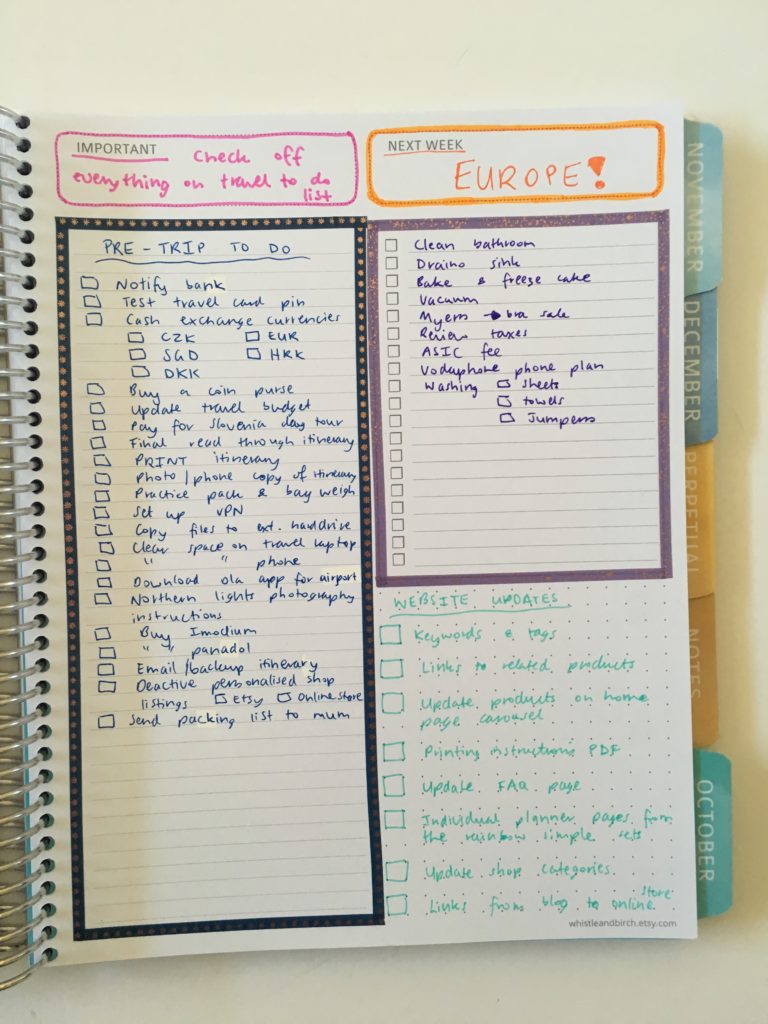
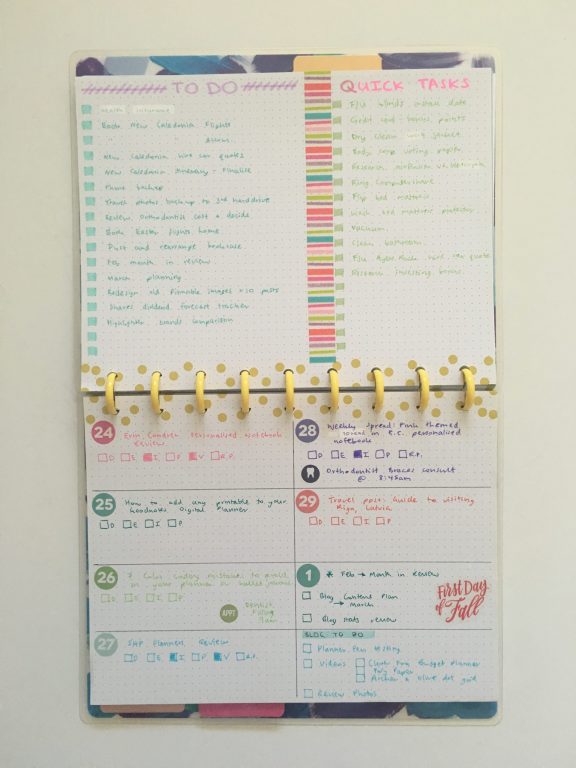
Whistle and Birch weekly planner spread using the study layout
![]()
Whistle and Birch Rainbow Weekly Spread using the Zebra Mildliners
2. Look at color tools
If you’ve never heard of the color wheel / color theory, Google it and have a read – it explains how to pair colors that look good together.
Some color tools to have a look at:
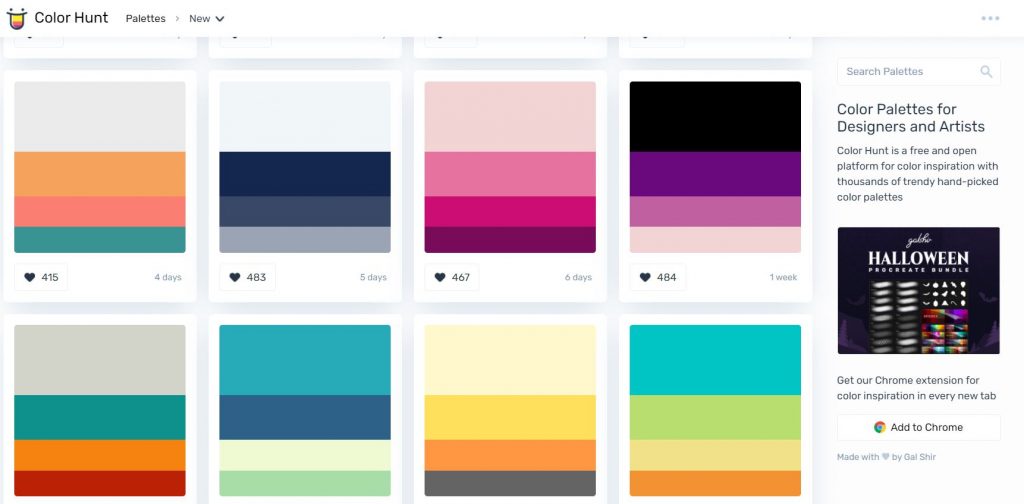
- For color combinations try the palettes tool on Color Hunt
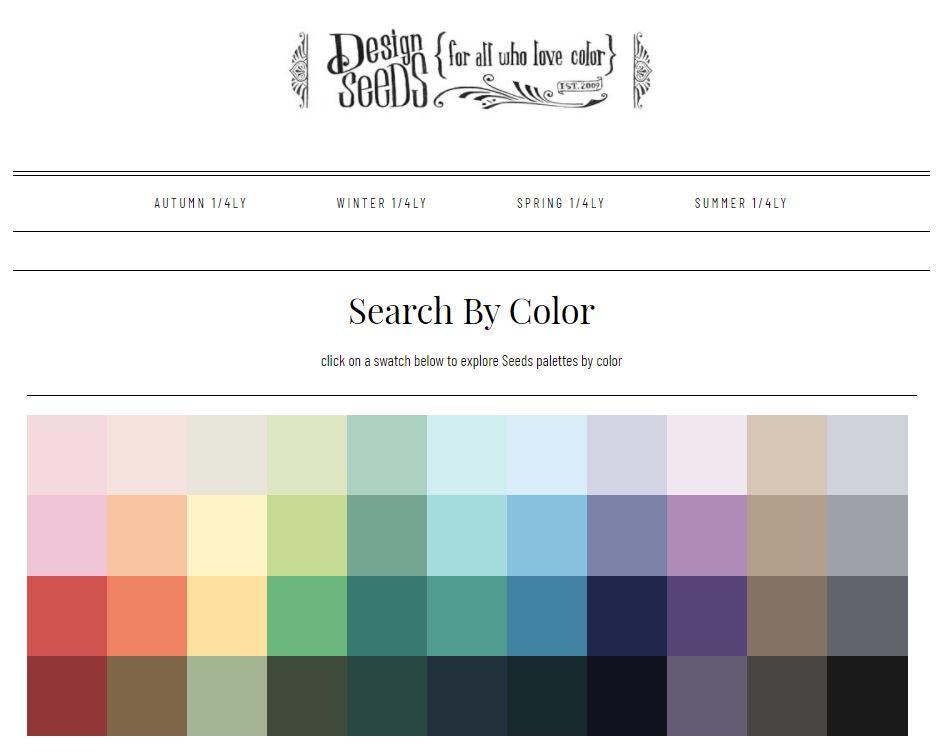
- Design Seeds pulls colors out of a photo. If you tend to use the same colors all the time, this website will give you some new ideas
Once you see some colors you like, you can start raiding your stash for similar colors. If you prefer to do multi-colored spreads each week you might want to invest in pens and highlighters that come in plenty of colors such as the Staedtler Triplus Color and the Zebra Mildliner.
Related post: 10 Pen brands that are available in a pack of 20 or more colors
3. Pick one thing
Choose one supply or one color and start building your color scheme or choose your supplies around that. It could be:
- Pick a highlighter or pen you haven’t use in a while
- Lay out your pens, highlighters or other supply. Close your eyes. The first one you touch is the supply you use. You can keep doing this to get some different color combinations
- Look around the room you’re sitting in. The first color on an object that you see if the color you use. E.g. I just looked at a notebook with a blue cover = use blue
- Choose a multi-colored washi tape and match those colors with pens, highlighters and / or stickers
- Seasons / themes depending on the time of year
- Pick an object or animal and plan based on that e.g. dog, coffee
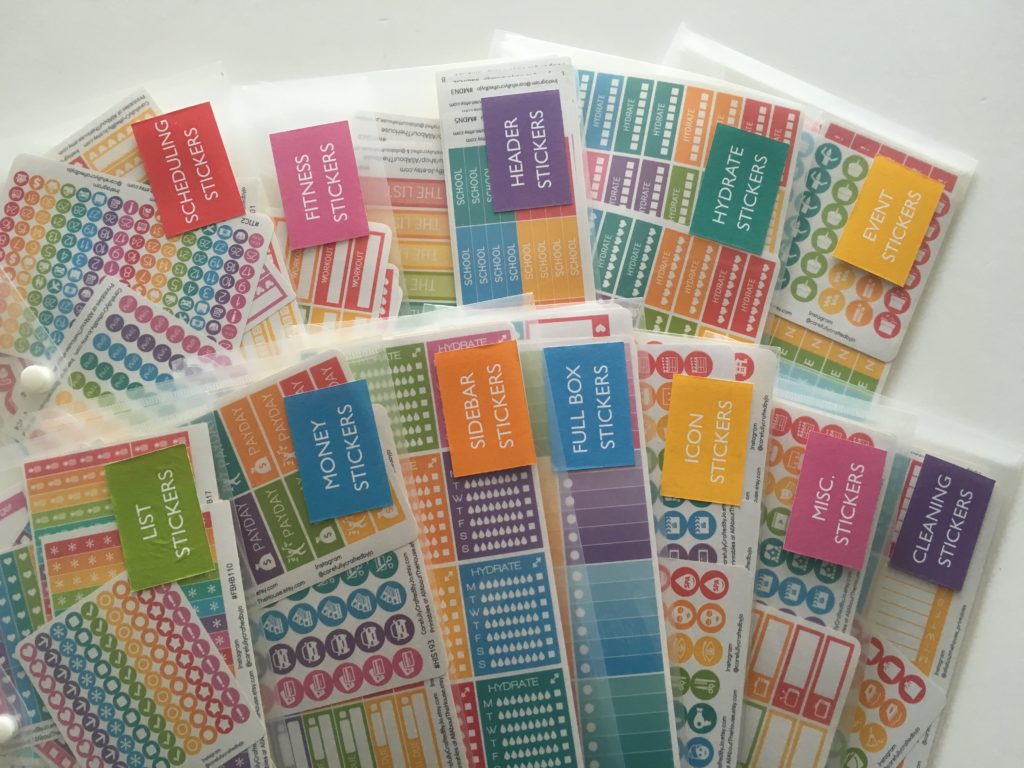
- Use all of one type of sticker e.g. plan the whole week using icon stickers
- Do a spread all in 1 color
Read more: 50 Themes for your planner or bullet journal spreads
Pink Themed Weekly Spread in my Erin Condren Personalised Notebook
4. Use a new supply
I’m all for using stuff you already have… but sometimes you might need to buy something new for some fresh ideas. There are plenty of planning tools out there these days. Some of my favorites:
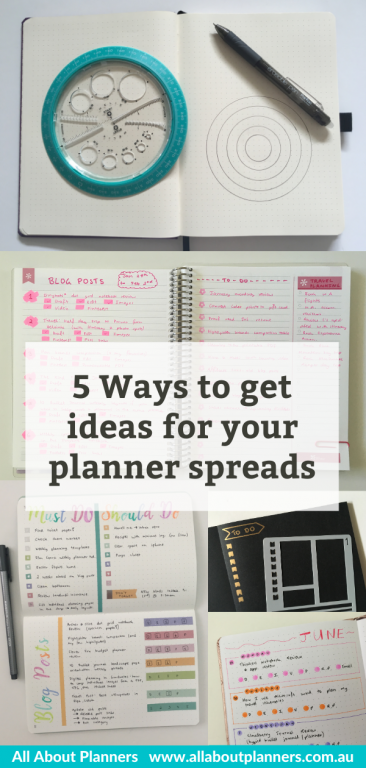
- Helix circle maker
- Stencils (for decoration try ones in different shapes e.g. flag banners. For functional planning try monthly calendar and weekly planner templates)
- Self inking stamps (Frixion erasable) or easy to use ones like these from Contact USA (roller stamps and ones with ink pads take too long for me)
- Neon or glitter pens on black paper (or kraft paper)
- MAMBI Deco pens
- Dot markers
Related post: 30 Planner Stamp Brands
![]()
Weekly spread with the Helix Circle Maker in the Dingbats* Notebook
Erin Condren Petite Dot Journal & Stencils
Bullet journaling on black paper with white & gold pens
Rainbow Weekly spread using dot markers
5. Make your own planner stickers
Maybe your bored with your current setup because you can quite find exactly what you want. That’s when you know it’s time to make your own.
Buying a Silhouette machine is expensive but if you regularly buy stickers it’s going to be a lot cheaper in the long run. Plus you’ll get exactly what you want so don’t waste money on any stickers that might be part of a set where you like most of them, but know that you won’t use all of them.
If you want to learn how to make stickers, have a look at my ecourse.
If you want to try out making some stickers, have a look at the tutorial I posted here.
Related post: How to organize planner stickers using folders (plus free printable labels)
More planning tips
- Bullet journaling in the Rhodia Goalbook
- Microsoft Word versus Photoshop: Which is Better for Making Printables?
- Why I don’t use ring bound planners (and what I use instead)
Found this post helpful? Pin it!