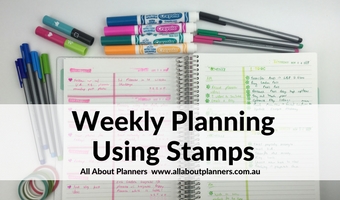
A perfectionist’s guide to creating bullet journal spreads
I’d say I’m a ‘recovering’ perfectionist. I hold myself to a high standard, but I’m also time poor which is perhaps a good thing, as it forces me to say ‘good enough’ sooner than I probably otherwise would.
Instagram has given the illusion that every bullet journal spread needs to be perfect, but what many people don’t show, are the skipped pages in their bullet journal when they did a mistake that was too annoying to ignore and continue on (I have quite a few of those pages…). So while my spreads aren’t ‘perfect’, this post has all of the things I do to create bullet journal spreads that are as close to perfection (in my POV) as I can get!
Use the right supplies
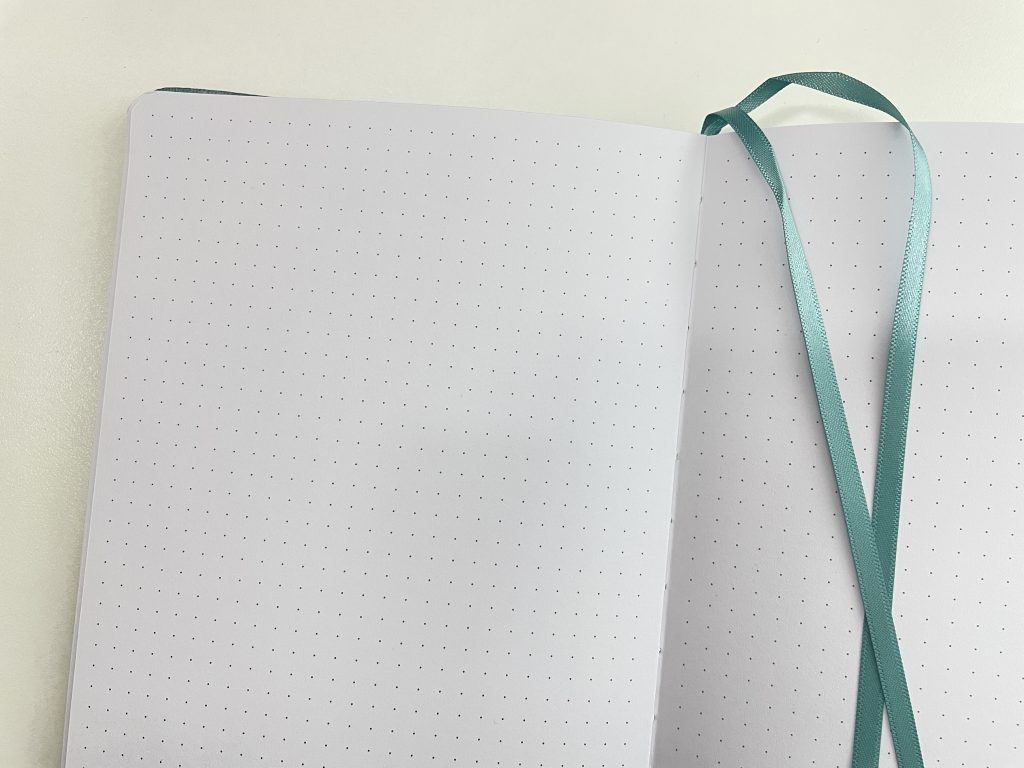
Always use a 160gsm paper notebook (see my recommendations in this post). 160gsm is thick paper – there should be no ghosting or bleed through on the back side of the page so you can usually use whatever pens, highlighters and stamps you like.
Amanda Rach Lee Bullet Journal Notebook Review (Including Pen Test)
Use a notebook with bright white paper. Most planner stickers have an element of white on them (whether they are text only stickers, or have a white icon on them). Plus white paper shows pen and highlighter colors more true to their real color.
Break the spine of the notebook so the pages lay perfectly flat to make it easier to draw up spreads. ‘Break the spine’ just means open the notebook, turn it over so the covers are facing you, then gently pull the pages up towards yourself (I only pull them up about 1cm). This helps break in the spine so the pages lay flay on their own.
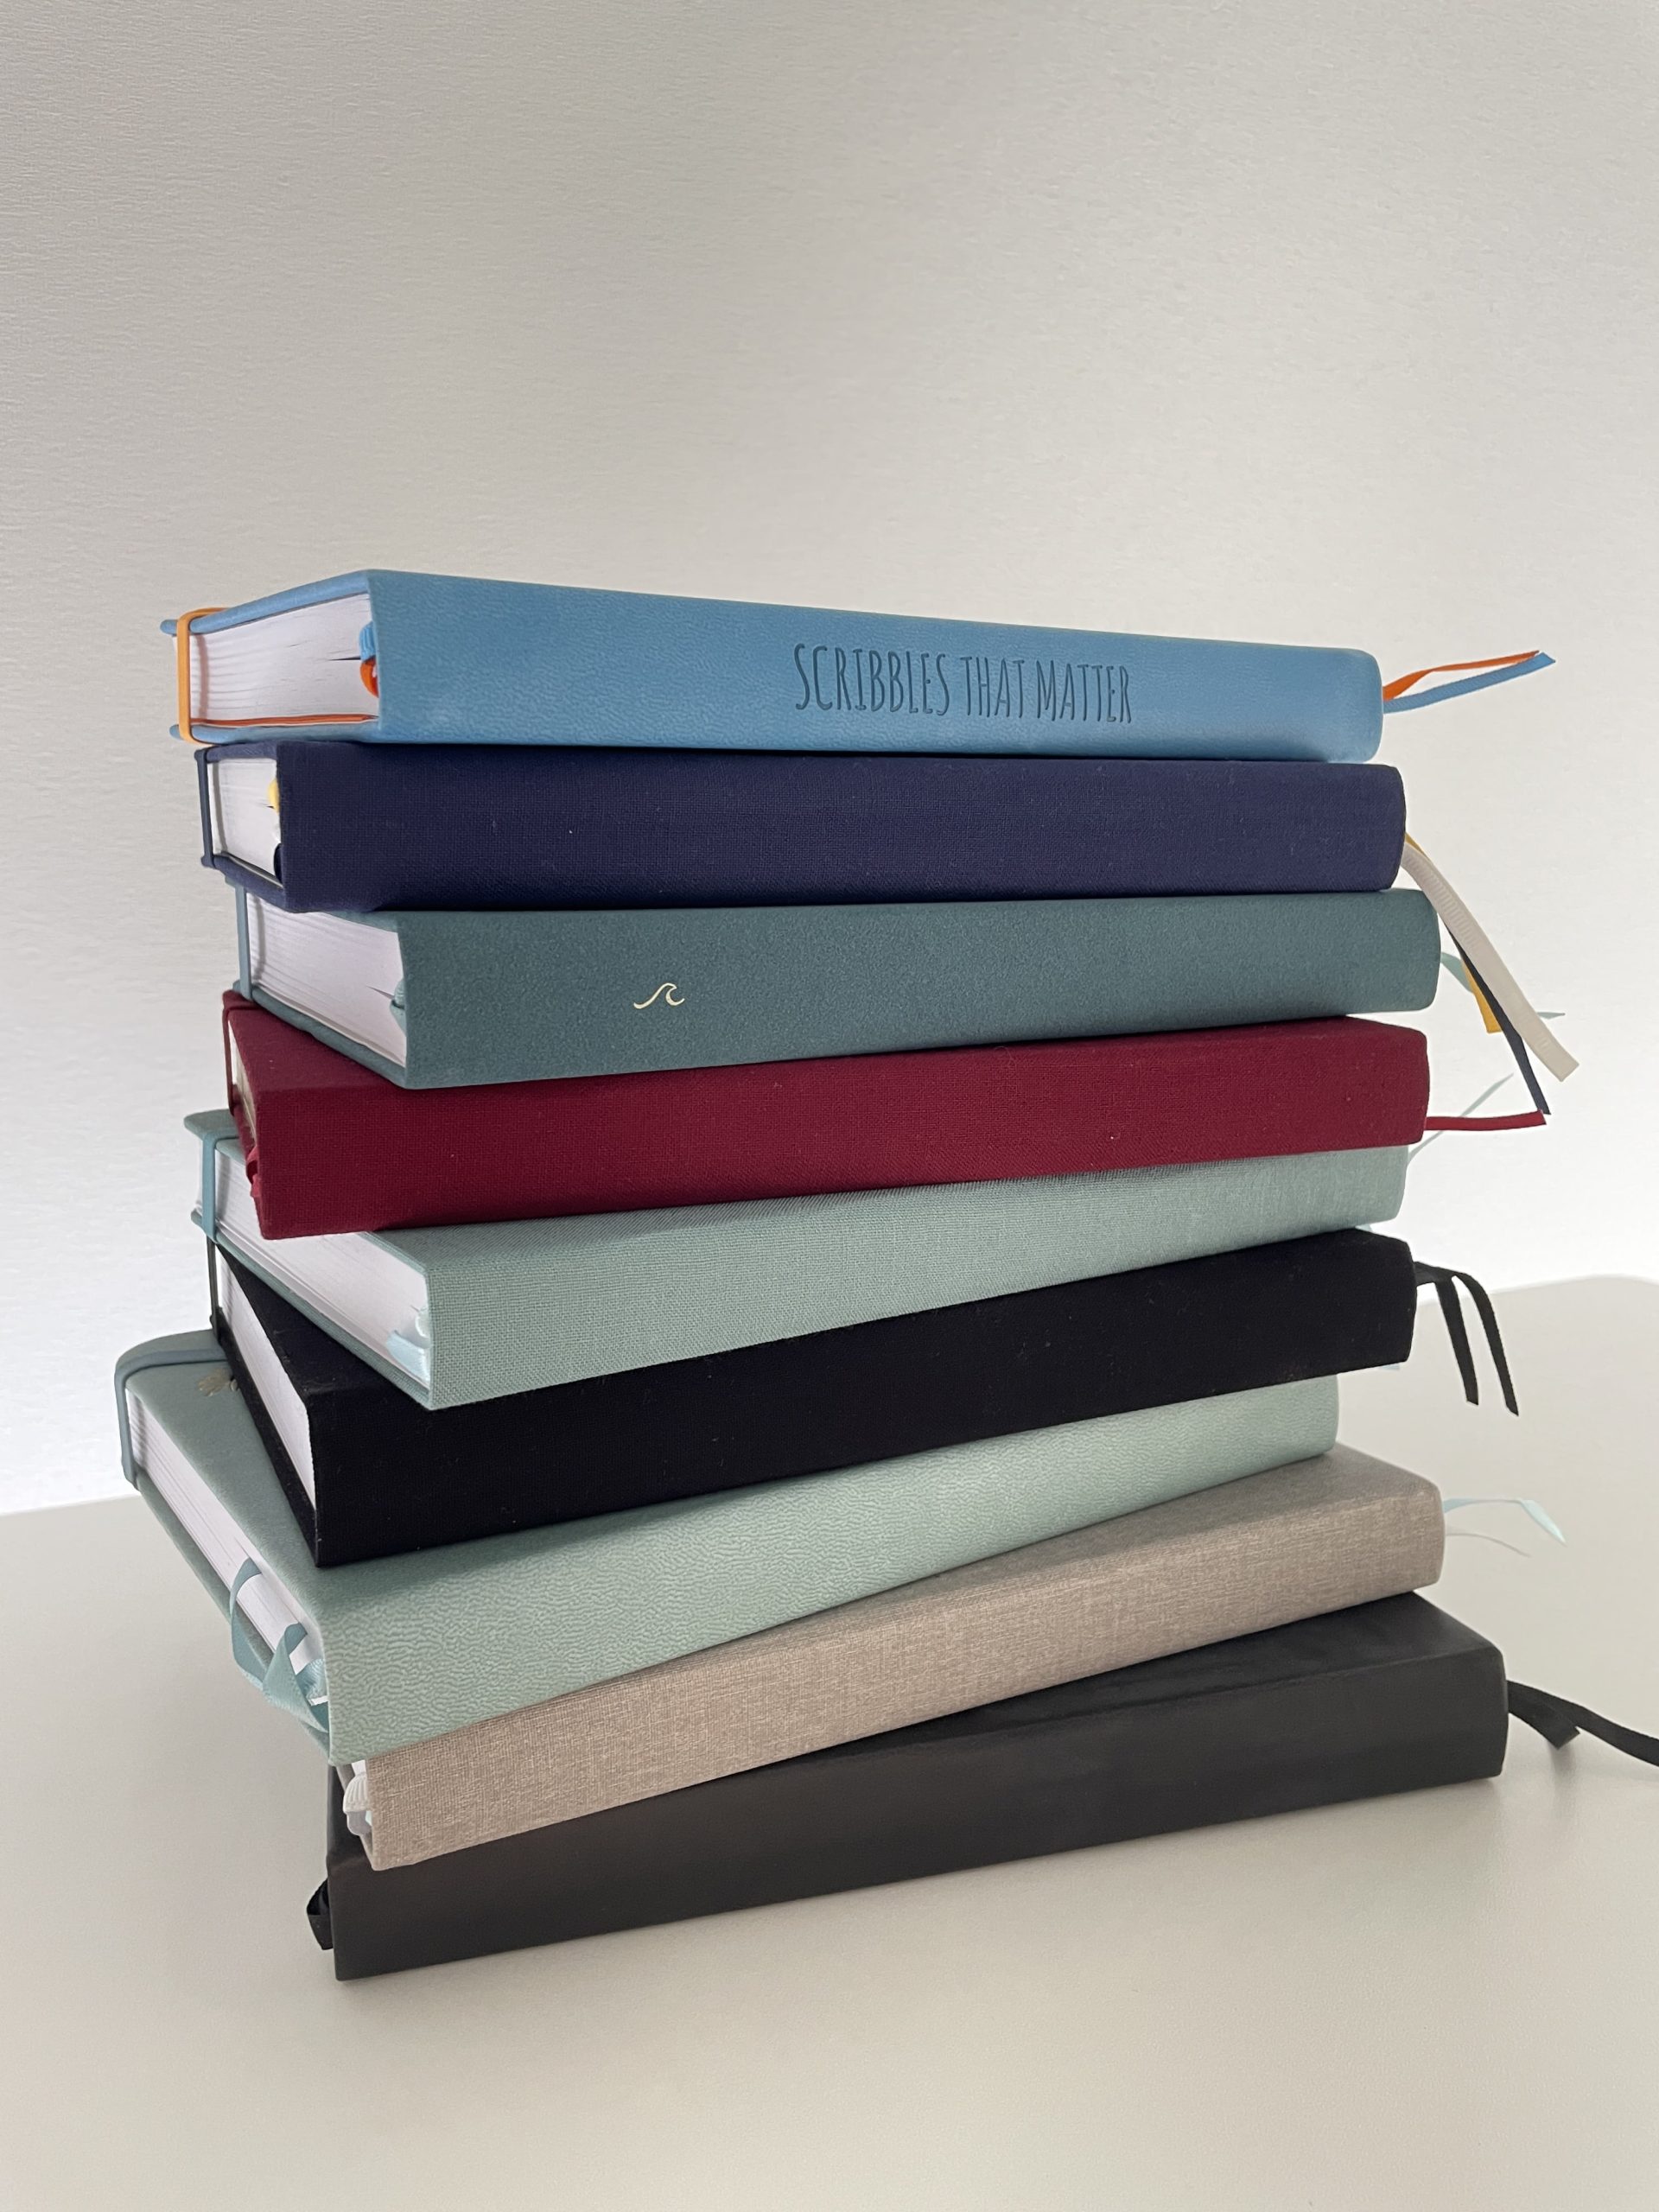
Since I’ve reviewed so many dot grid notebooks for this blog I have an entire bookcase full of them so I can grab one to suit my specific needs that week. I’ve done pen testing for all of them and prepared a comparison table which you can download for free here, so you don’t need to spend so much time and money testing out notebooks.
If you are indecisive, I would invest in:
- Discbound notebook so you can use refillable dot grid paper. You can easily remove pages if you make a mistake too. I like the Happy Planner for a 7″ wide x 9″ (medium size) spreads and the half Happy Planner classic size for weeks when I have less to plan
- An A5 dot grid notebook (plenty of recommendations here)
- A B5 dot grid notebook. I like Archer and Olive.
When I use a discbound notebook I always take the pages off the discs to draw up my spread.
![]()
Bullet journaling with planner stickers in the Happy Notes Book
Invest in a heavy ruler so it doesn’t slip when ruling up spreads (I use this one from Poppin).
Always use a ruler for drawing your borders around each section of your spread. Some people are fairly accurate freehand but I’m not and I cannot stand crooked lines. I used to even use a ruler for drawing checkboxes but admittedly it’s time consuming so I’ve been trying to let that go.
7 Bullet journal daily spreads to try this week
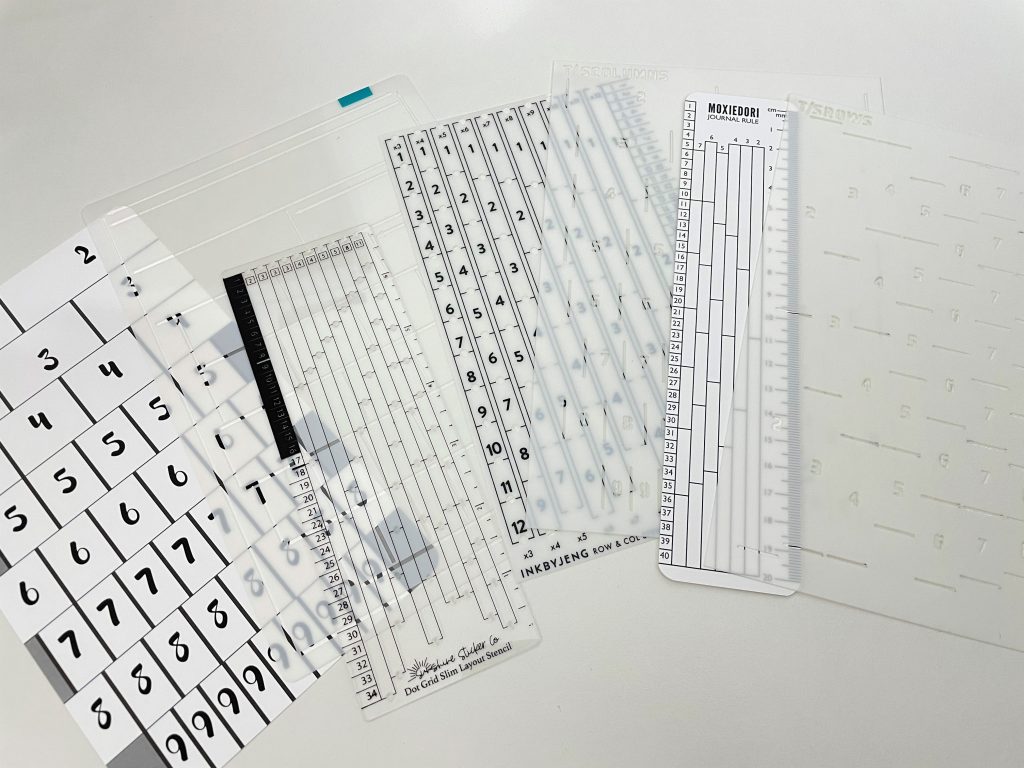
Use a row and column stencil to help you count the dots (I shared some of my favorite row and column stencils in this post).
Use an erasable pen. You can always go back over the top with a thicker pen. I like the Frixion Erasable.
Use removable / repositionable planner stickers.
Map out where you’re placing washi tape first, so you don’t need to try and peel it off (it never seems to re-stick as good as the first time).
Even if I’ve used a pen, highlighter, dot marker etc. many times I always do a scribble on a scrap piece of paper first, just in case there are any stray ink blobs, or if the ink is a little dry from the pen not being used in a while and needs reactivating.
If your brush pen tips go blunt, use them instead for drawing borders, highlighting and underlining
Keep your ideas in one place. I have notebooks filled with sketches and ideas of design elements and layouts I want to try. It helps to have an idea ‘bank’ you can refer to if your spreads are looking a bit plain. There’s also plenty of inspiration saved to my Pinterest boards.
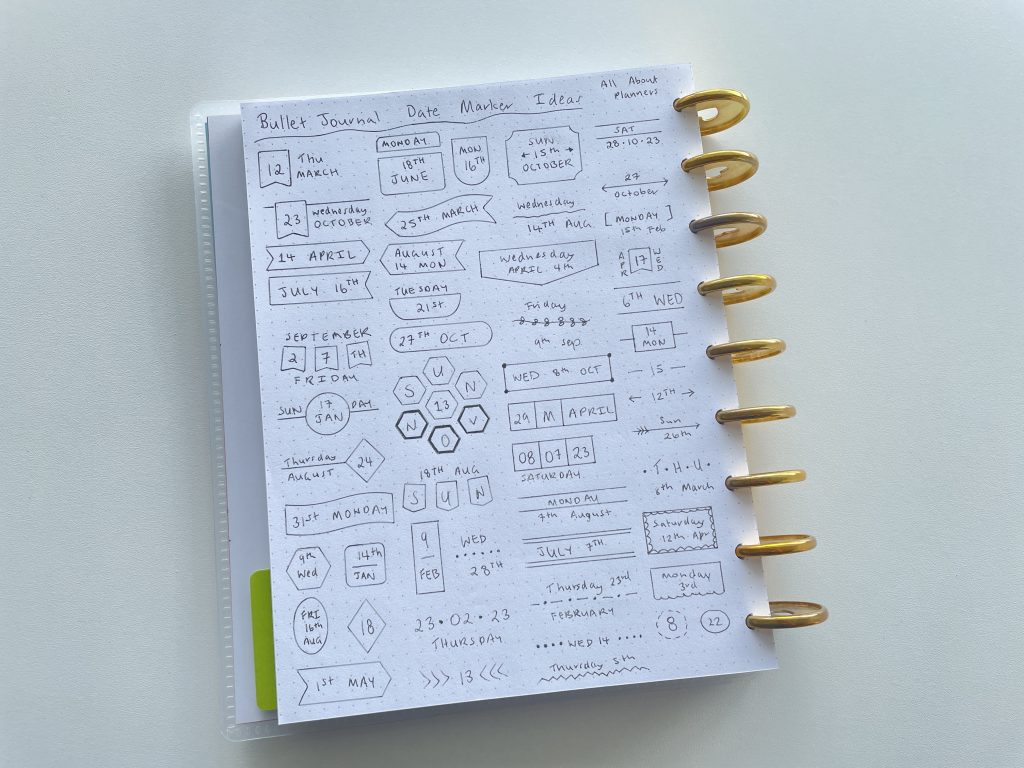
Bullet journal date marker ideas (minimalist and colourful)
Recommendations & some of my favorite bullet journal supplies
- The best supplies for making monthly spreads in your bullet journal
- 50 Themes for your planner or bullet journal spreads
- Favorite planning supplies from Amazon (Gift Guide)
- 10 Brands that have date dot stickers for your planner or bullet journal
- 5 Things to do when you get a new bullet journal notebook
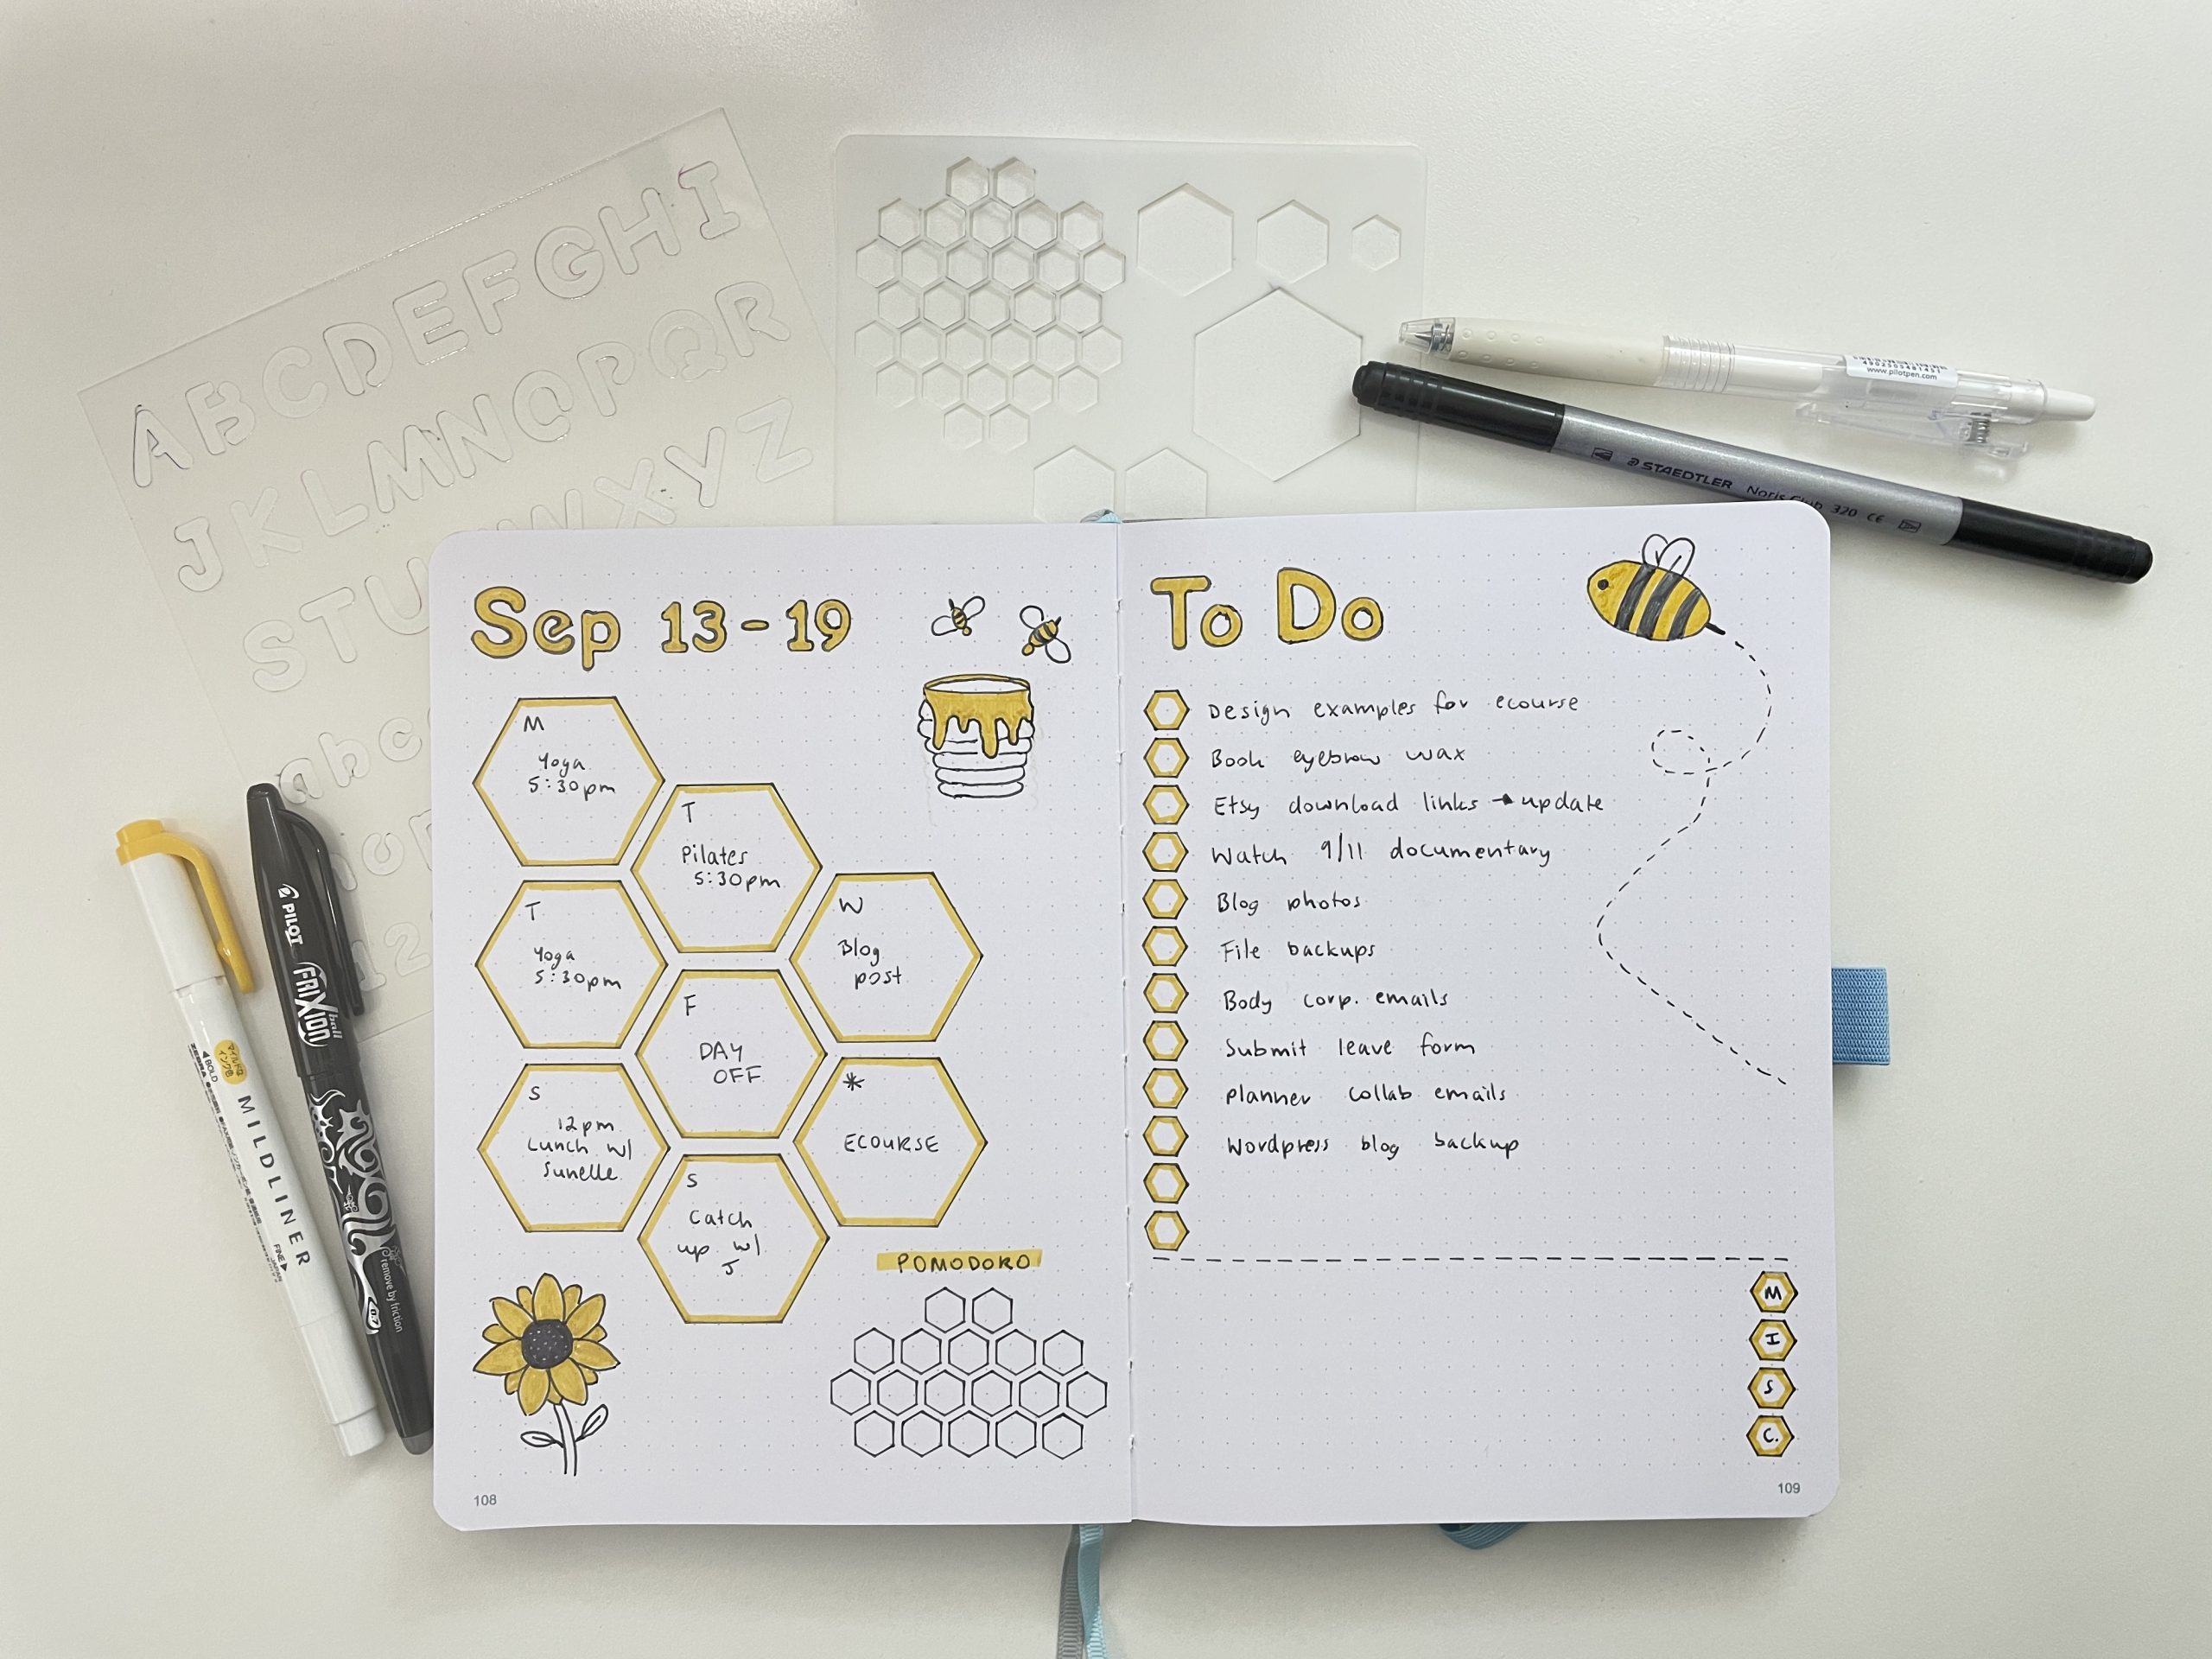
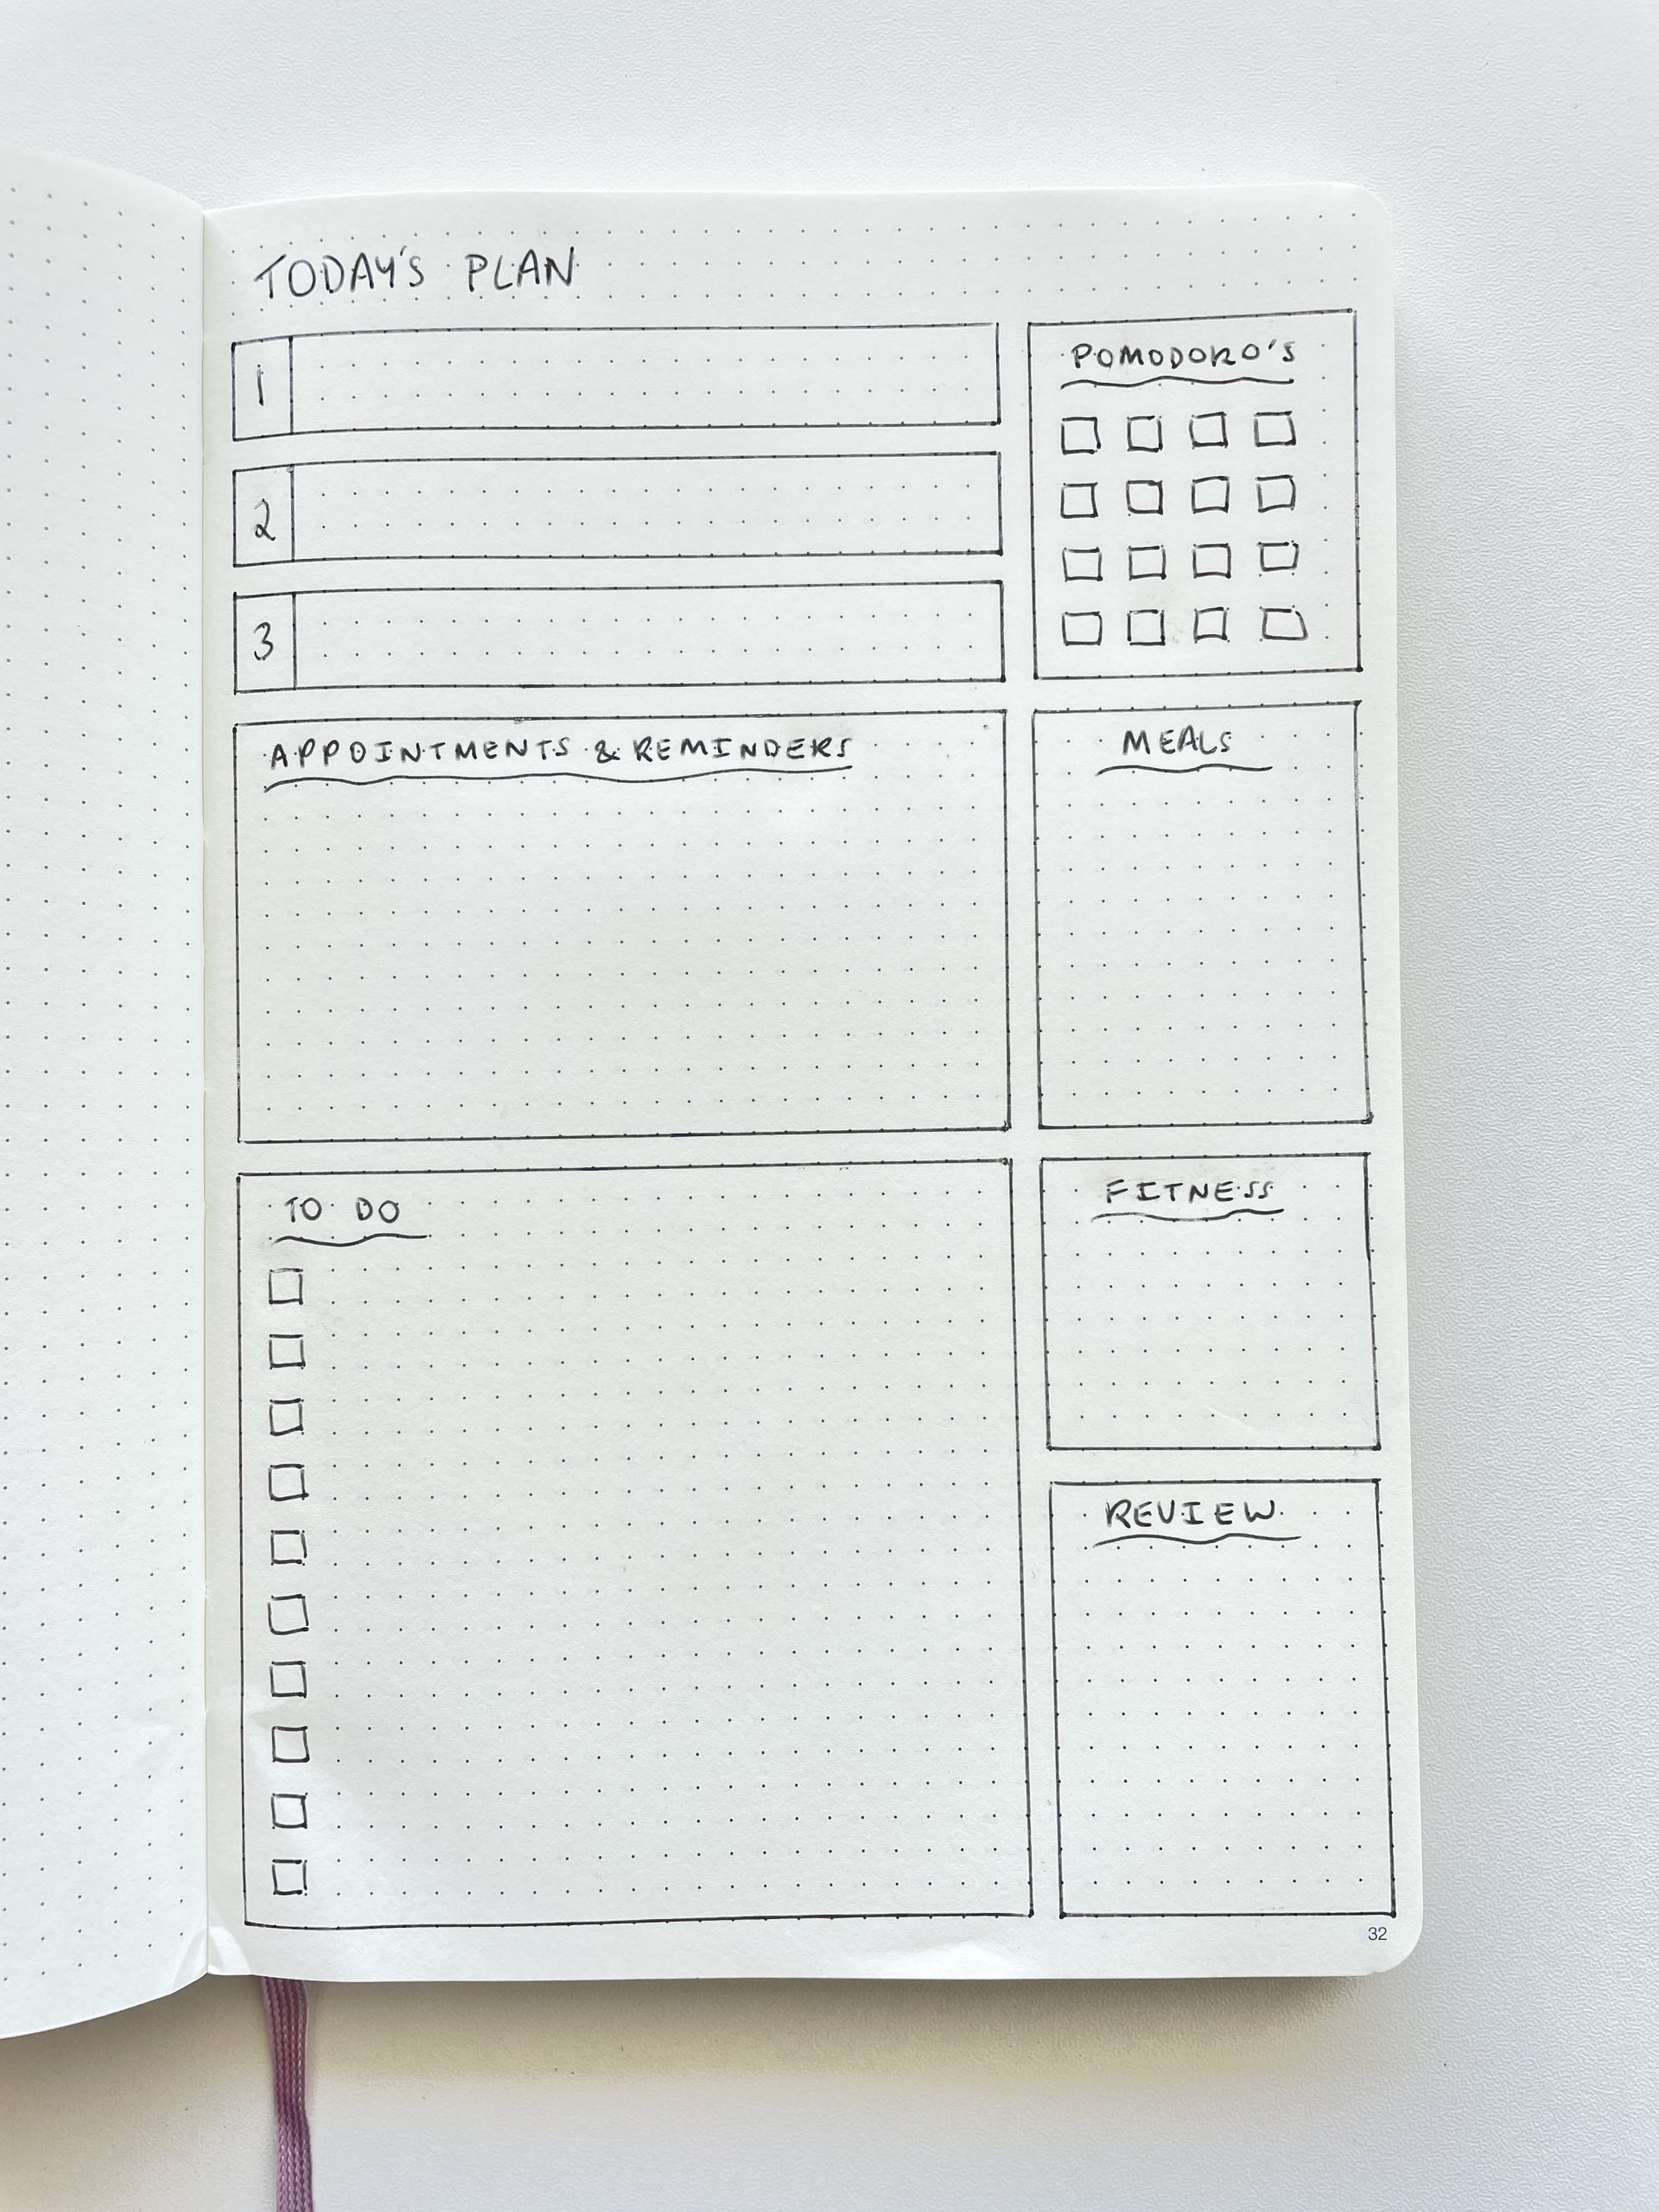
Methodical process for drawing up a spread
First things first, when I buy a new dot grid notebook I count the number of dots horizontally and vertically, write this on a sticky note and place it on the inside front cover for handy reference.

I’ve experimented with hundreds of spreads over the years (see some of them here, from my 52 planners in 52 weeks challenge), so I’m quite particular about my process nowadays. Here’s what I do:
- Sketch the layout on a piece of scrap paper first, or in a cheap dot grid notebook with crappy paper
- Divide the page up into the relevant sections by adding small dots where you need to draw the lines. I do this in the margin or on the first dot to the left side of the page. I do this with an erasable pen so I can rub it out and re-do just in case I make a mistake counting out the spacing. A row and column stencil is very helpful for this step.
- Focus on one element at a time
- Start with creating the boxes for each day / drawing borders / using washi tape to create borders
- Add days and dates of the week, and well as other headings
- Add other elements e.g. a habit tracker
- Add planner stickers
- Then start adding your tasks and things for each day
- Add any other decorative elements you like if there is still space leftover
When drawing up spreads I always count the dots from the bottom, that way if I have excess space it’s at the top. The last day of the week or the last section of my spread isn’t smaller than the other boxes.
If you want to be an extra perfectionist and you’re using stickers which you’ll write on (e.g. an appointment), write on the sticker sheet first so if you make a mistake you can use another sticker, before peeling it off and sticking in your planner.
I usually try and leave an empty row of dots between tasks on a checklist. I don’t like how bunched / busy / messy it looks when I write on every single line on the page. Lots of white space helps keep the spread looking neat and tidy.
![]()
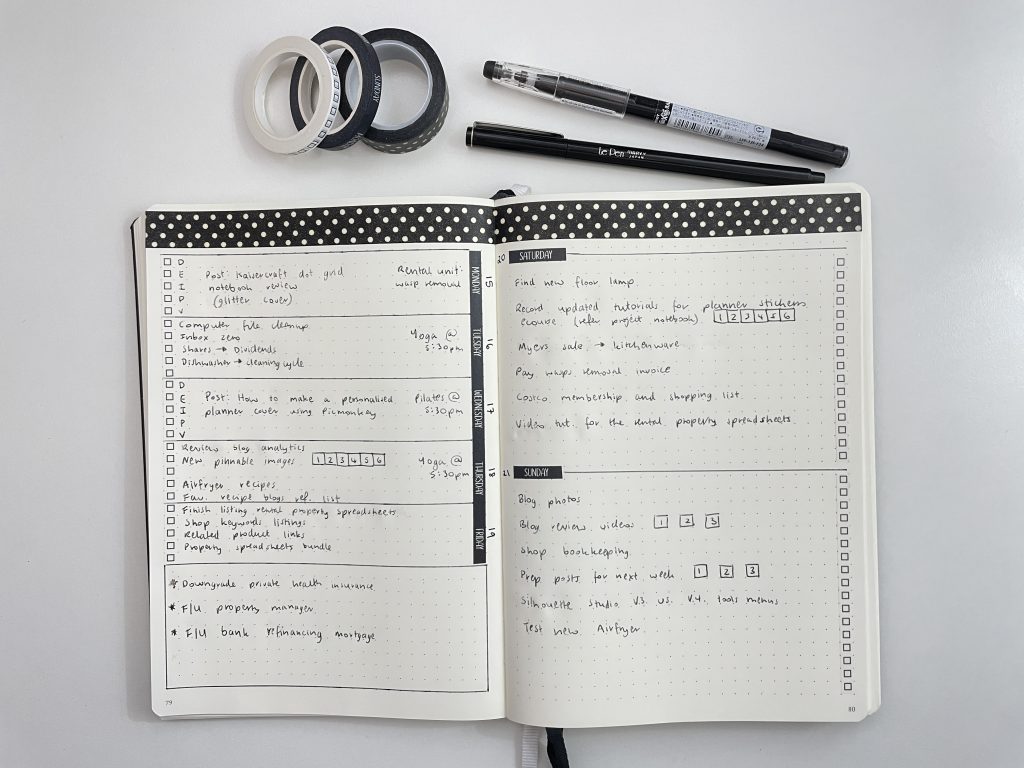
Weekly spread using mt washi tape and an orange, green and blue theme
Tips for using stencils
If your handwriting isn’t very neat, stencils for headings and days of the week are a good way to separate all of your messy writing so it looks a bit neater on the page.
Use an erasable pen (you can come back and outline with a thicker pen later if you wish). Some pens I like to use for outlining are the Paper Studio (sadly no longer sold), Staedtler Triplus broadliner and Pure Color-F C-Land (dual tip).
Rainbow weekly spread using the speedy stencils and Zebra Mildliners
If filling in letters after using a stencil, I outline the letter, then start to fill it in from left to right. I try and do one long stroke for the entire height of the letter rather than going up and down multiple times ‘coloring in’. This avoids streaks, especially if you’re using highlighters to fill in the letters.
Uppercase letters are easier stencils to use.
Use just the first letter of the day of the week, rather than trying to write the entire word. Stencils often don’t leave much room to wedge a pen in there and it’s faster to trace one letter or the first 2 or 3 letters instead of the entire word.
Check the stencil first – see how the letters for Wednesday slipped in the photo below? I was using a new stencil and hadn’t checked how high each of the letters would be.

The oops a daisy stencils are a recent find. My sister is stocking the stencils in her shop and I’ll be doing a review of them soon!
Color Schemes
If you follow my blog you’ve probably seen numerous pen swatches, highlighter swatches etc. I always swatch my colors before I use them, and I always swatch color combinations before I start setting up a spread.
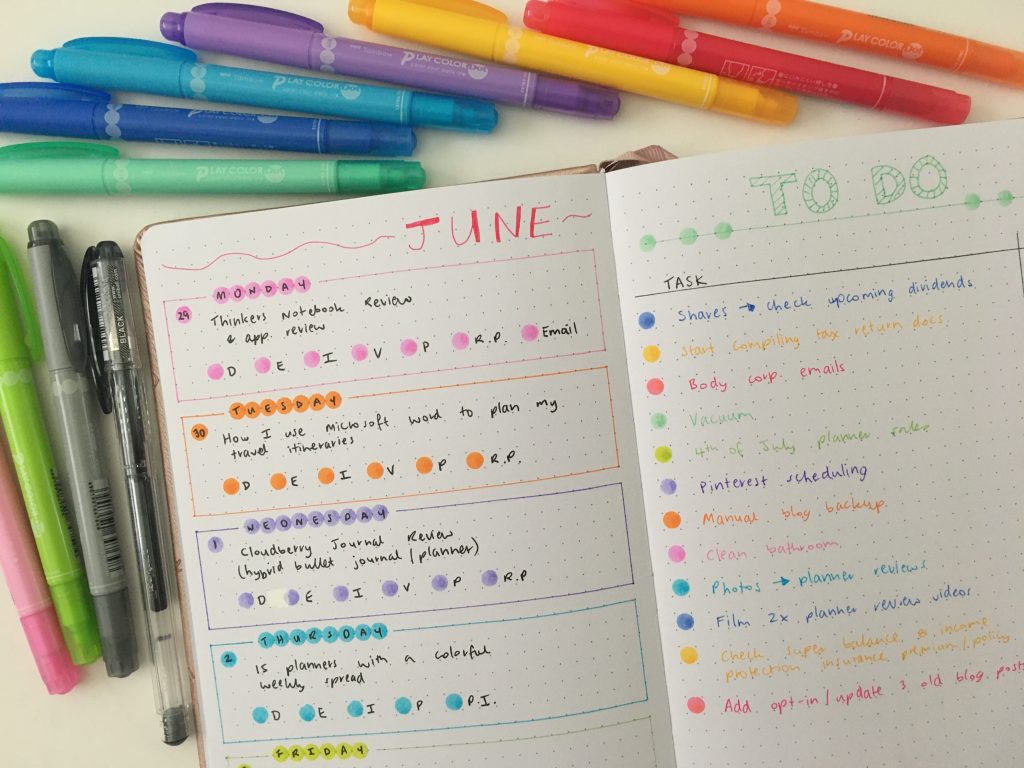
Since I use the Stabilo Boss highlighters often (because they come in so many colors it makes it easy), I swatched some different color combination ideas, then at the start of a week, I can pick one of the color combinations to use in my spread. This is quite helpful if you use the same spread each week to avoid it getting a bit boring.

Related post: Stabilo Boss Highlighters Review (Including swatch testing on 100gsm and 160gsm paper)
If in doubt, use black and white – it’s classic and always looks good. You can always add color with highlighters over the top later on.
Weekly spread in the Leuchtturm using Sunshine Sticker Co Washi Tape
I usually choose my first supply e.g. washi tape, then try and find coordinating supplies such as pens, stickers and stamps so it looks cohesive. I lay out all of the supplies first before I put anything on the page, to make sure I’m happy with my selection.
Rainbow Weekly spread using dot markers
If I can’t find close matches I usually switch gears and do a combination of light and dark of the same color. E.g. dark blue washi tape with a light blue pen, as light blue pens are more common than dark blue pens.
![]()
Pastel themed weekly spread with Simple Stories and Carpe Diem Stickers
Some brands that are easy to coordinate with other supplies:
- Rainbow pens (some pens that come in large packs of 20+ colors are in this post)
- Carpe diem planner stickers (plenty of shades of colors, including some pastel colors)
- Happy planner skinny washi tape
- This skinny rainbow washi tape that is perfect for borders – I use this washi tape all the time
- Stabilo boss highlighters (come in 23 different colors) and the Zebra mildliners (bonus as they’re dual tip) are some of the easiest highlighters to color match with other planning supplies
![]()
Planning by category rather than by day (weekly spread with icon planner stickers)
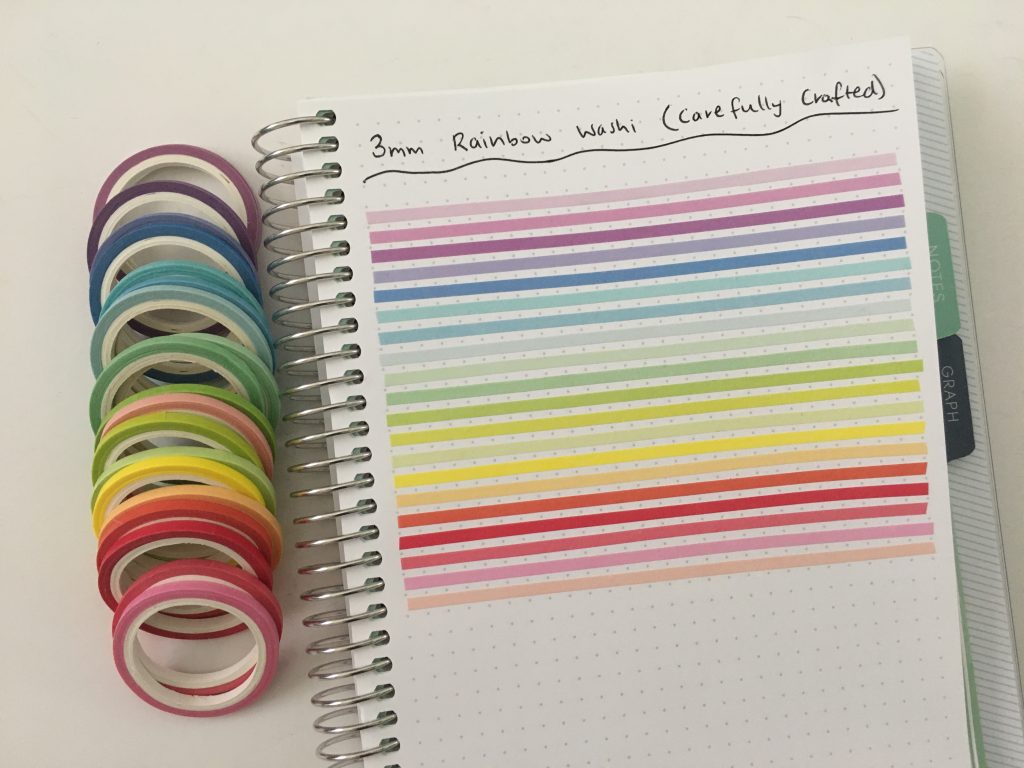
This 3mm wide washi comes in a set of 20 for less than $1 per roll. I also have the 5mm wide set.
Choosing planner stickers
I like to make my own stickers or when I’m time poor, I purchase stickers from the same brand so the colors all coordinate.
Some of my favorite sticker brands that are easy to mix and match:
- Happy Planner sticker books
- Carpe Diem icon stickers
- Planner Kate
- KHD Stickers
- Recollections sticker book
- Bloom stickers
- Any stickers that come in black so I can mix and match them with anything
Icon stickers usually come in black and white and can be mixed and matched as most people download the icons from the same resource websites. If you want to know which resources I use to find icons for my stickers, it’s in my course: How to Make Planner Stickers.
If stickers are going to form the basis of the spread (e.g. using stickers to create the boxes for each day, or using specific stickers in the sidebar), then I plan which stickers I’m going to use and where, before I start ruling up the spread. I do a sketch on a scrap piece of paper marking where each sticker will go on the pages. It only takes a few minutes and then I know I won’t have any awkward gaps or overlapping stickers.
I also measure the stickers I’m going to use to make sure they’ll fit where I want them to go.
Read more: Favorite brands with functional sticker books for planning and bullet journaling
![]()
![]()
I hope you found some of these tips helpful!
Here are some more posts with ideas for your bullet journal
- 7 Useful spreads your bullet journal should have
- 10 Quick bullet journal dashboard weekly layouts
- 12 Bullet journal annual planning page layout ideas
- 12 monthly bullet journal calendar spreads
- 7 daily spreads that don’t include a timed schedule section
Found this post helpful? Pin it!