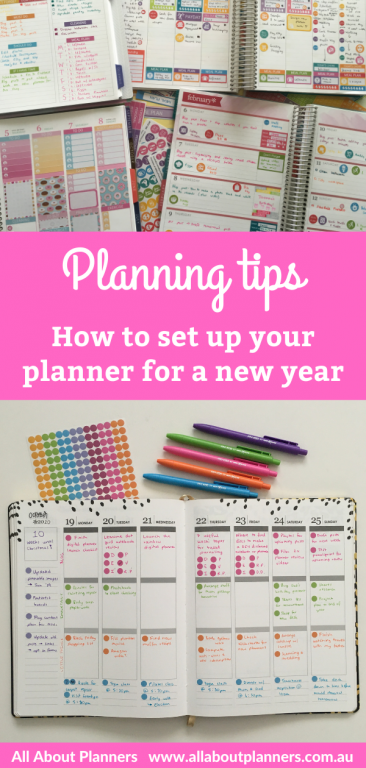
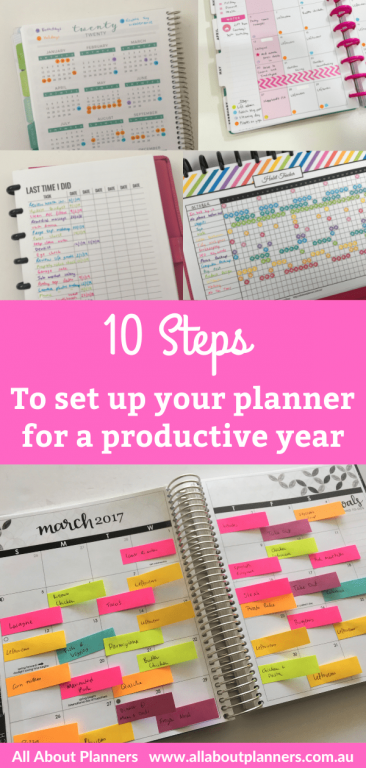
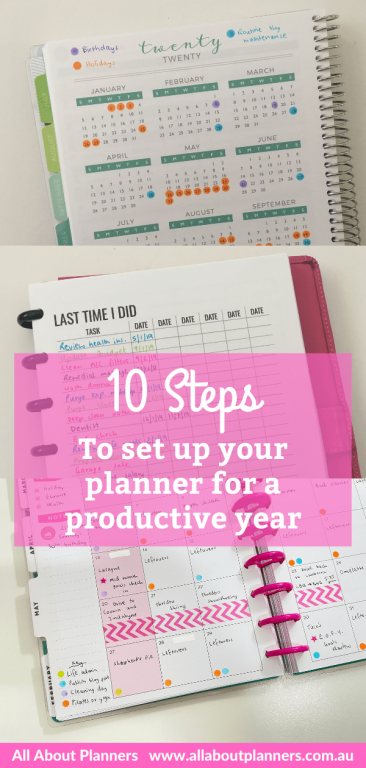
How to set up your planner for a productive year (my 10 step process)
The excitement of using a new planner for the first time! If you’ve just purchased a new planner for the new year, you’re probably already filling in all the birthdays and events, maybe already have the first few weeks planned out. This year is going to be the year you actually use your planner…. But then a couple of months in, you start abandoning your planner. To stop that from happening in 2022, it’s time to set up a system and time block things out now so they actually happen.
There are many ways to do this and my ‘method’ has evolved many times over the years but this is what I did this year. I actually do some of these steps concurrently but to make it easier to follow have tried to split them out in a logical order.
How to set up your planner for a productive year (my 10 step process)
1. Reflection
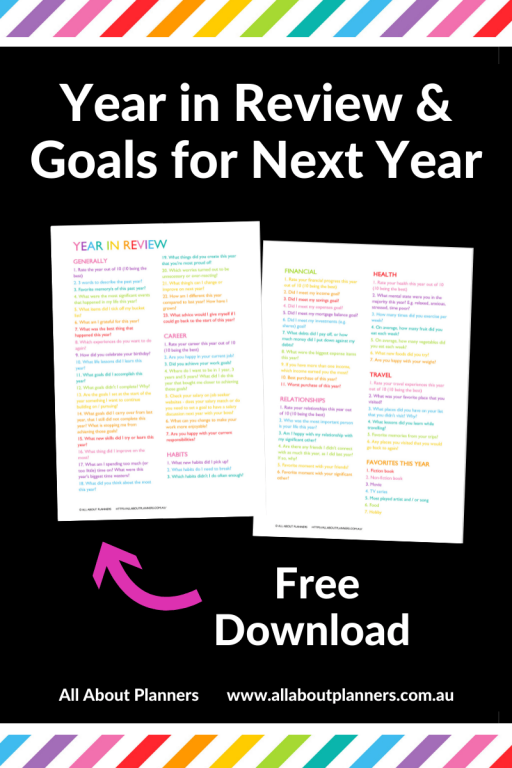
Before I write anything in my new planner, I do a yearly review first. Flick back through your planner (well for me I flick back through the photos I take of my spread each week since I switch between different planners so often). Some prompts:
- Go back to the goals you set at the start of the year – did you achieve them?
- Which goals were not completed?
- Which goals do you want to try again this year?
- Which goals are no longer relevant to you?
- What did you spend most of your time doing?
- What things did you stop adding to your planner partway through the year? E.g. stopping exercise and meal planning
See this post for my list of annual review questions.
Click here to download a printable version (and gain access to more than 50 resources in the free printables library). If you’re already a subscriber, this printable has been added to the library.
2. Goal setting
Most planners don’t include enough space for this so I do this separately using my own Excel spreadsheets and printables in a discbound classic size Happy Planner. I’ve used my A5 ARC previously but the page size is too small, my A4 ARC is too big but the classic size Happy Planner is just right.
Related post:Guide to Discbound Planners & Frequently Asked Questions
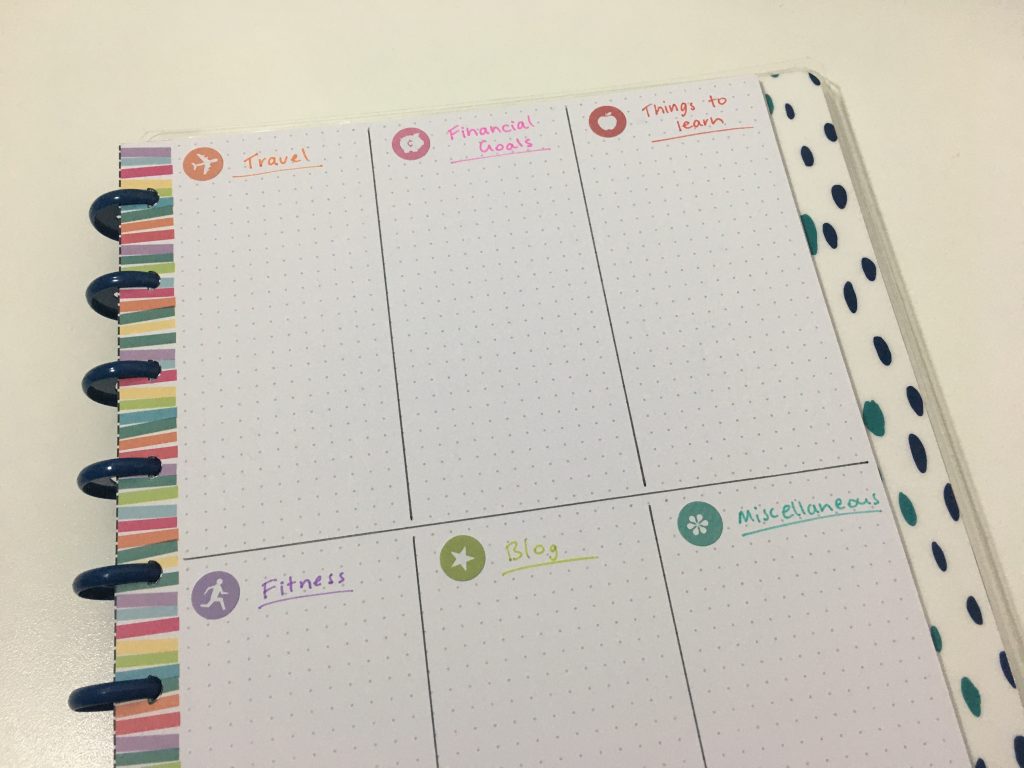
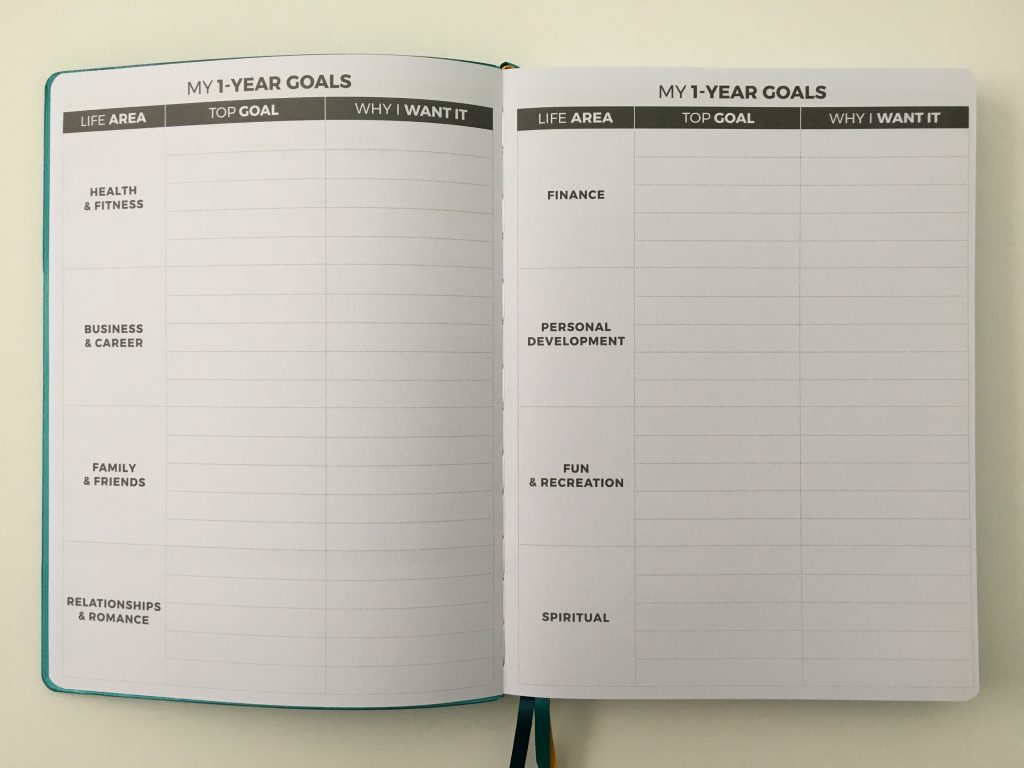
A) Goals
After reviewing your goals and doing an annual reflection in step 1, you probably have a good idea of what you want your goals to be this year. Time to write those down. For now, just list out the goals, not the steps to complete or deadlines or anything else.
Since I struggle with work / life balance I categorised my goals and tried not to have more than 3 main goals for each category. Some categories you might like to use are:
- Health & fitness
- Relationships
- Career
- Financial
- Projects (you could have separate categories for home projects, blog projects, DIY projects etc.)
- Habits
- Travel
- Anything else relevant to you
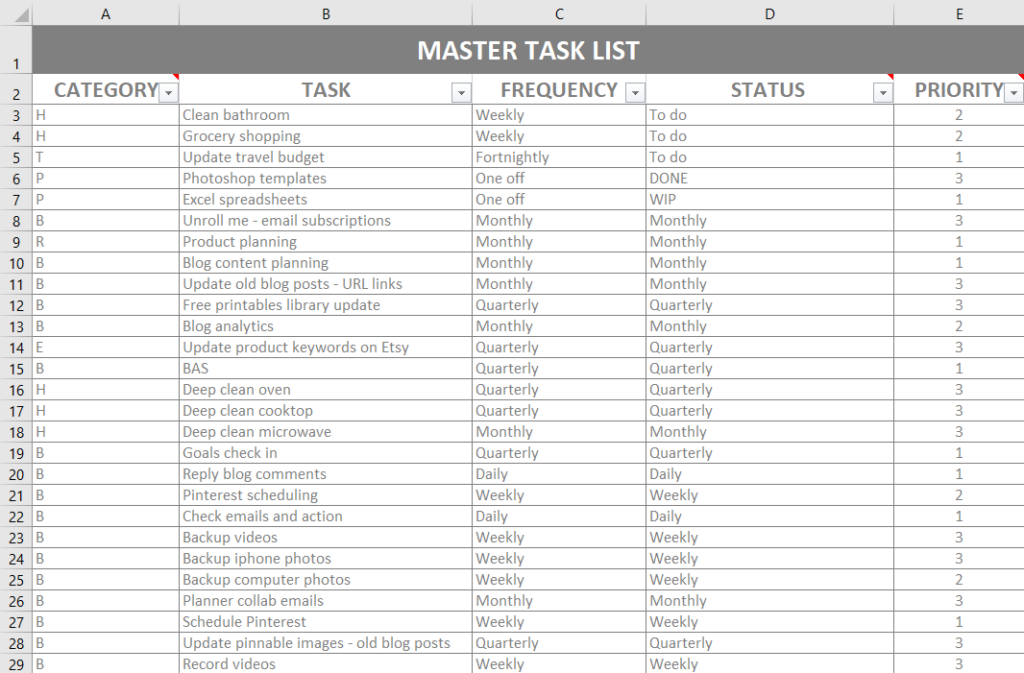
B) Master task list
Next, I review my master list.
- What have I achieved?
- What didn’t get done last year?
- What can be removed from the spreadsheet?
Since I posted about the spreadsheet back in 2019 I’ve tweaked it slightly and now have tabs for:
- Blog post ideas / schedule
- Blogging routine tasks
- Personal routine tasks
You could keep them on the same tab as I did previously (and use the category column) but since I had so many things on the spreadsheet it ended up being easier to just do 3 separate tabs.
I now color code the status column so instead of just ‘WIP (Work in Progress)’ I use different colors for commenced, work in progress and completed.
C) New master task list for the year
I make a copy of the master task list excel spreadsheet
Blog post ideas / schedule tab
- Delete rows for finished blog posts
- Delete rows for blog posts I no longer want to work on
- Add blog posts that need to be updated (I’ve been blogging for 6 years now!)
- Add new ideas for blog posts
Blogging routine tasks tab
- Delete routine tasks I no longer do
- Add new routine tasks I need to do
Personal routine tasks tab
- Delete routine tasks I no longer do
- Add new routine tasks I need to do
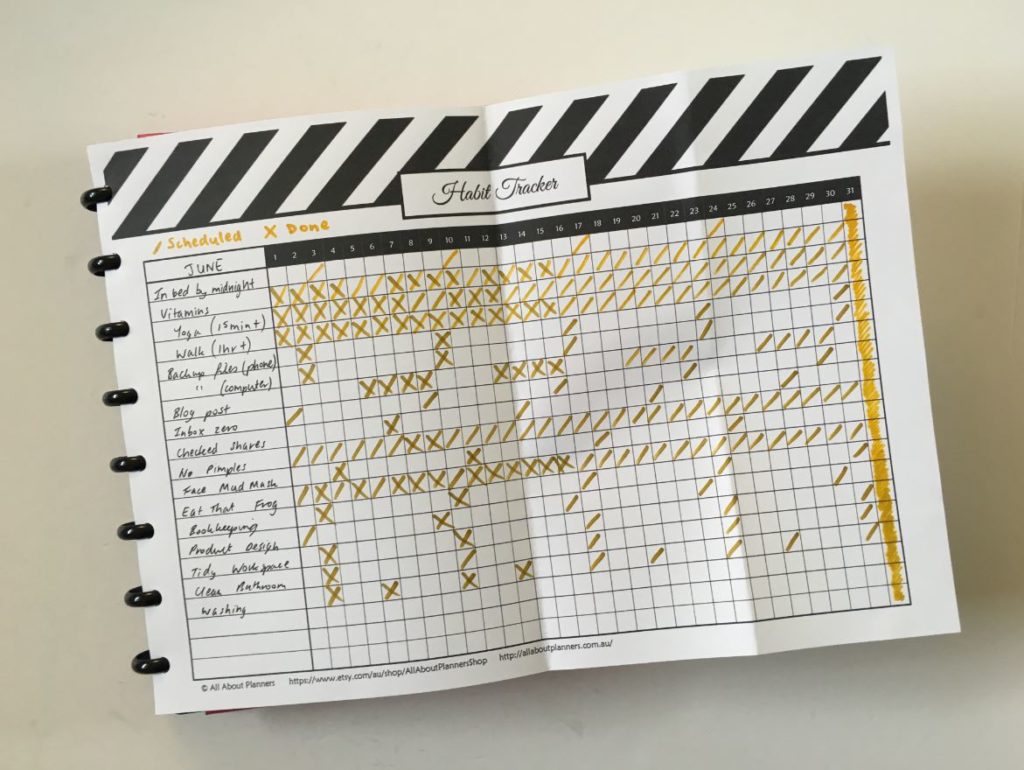
If you like using a habit tracker, you can transfer the routine tasks from the master task list to your habit tracker.
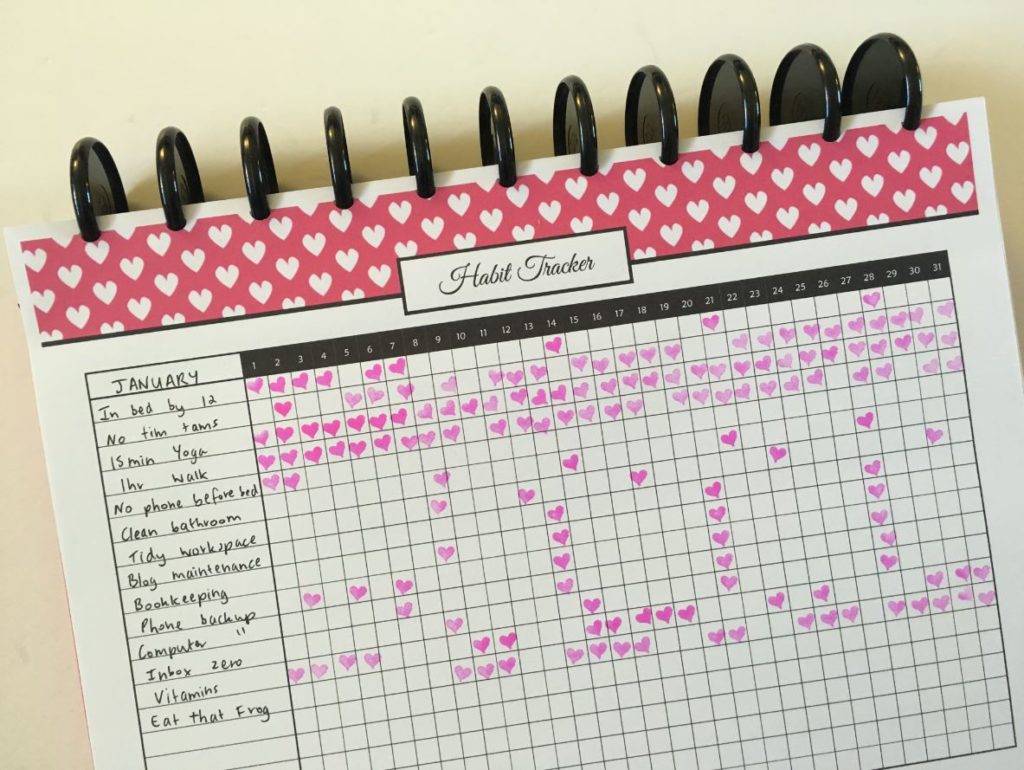
My habit tracker printables are editable PDF’s if you prefer to type the tasks straight into the PDF instead of hand-writing.
![]()
C) Annual Overview
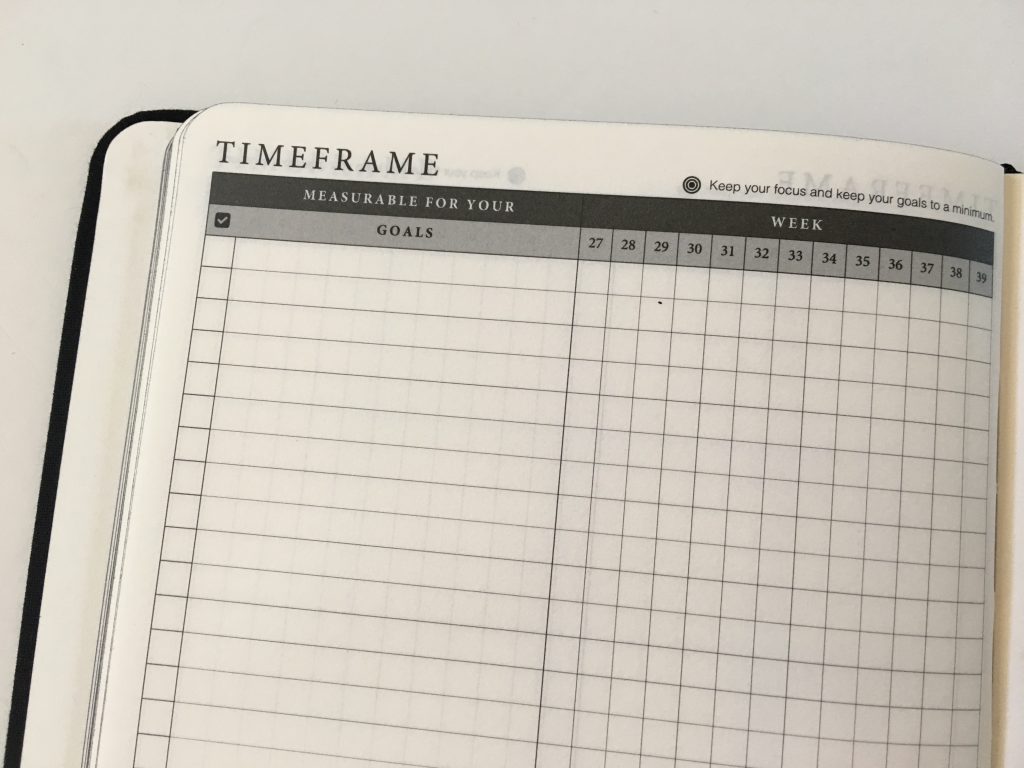
I used to use a 12 month overview printable or rule up spreads like this:
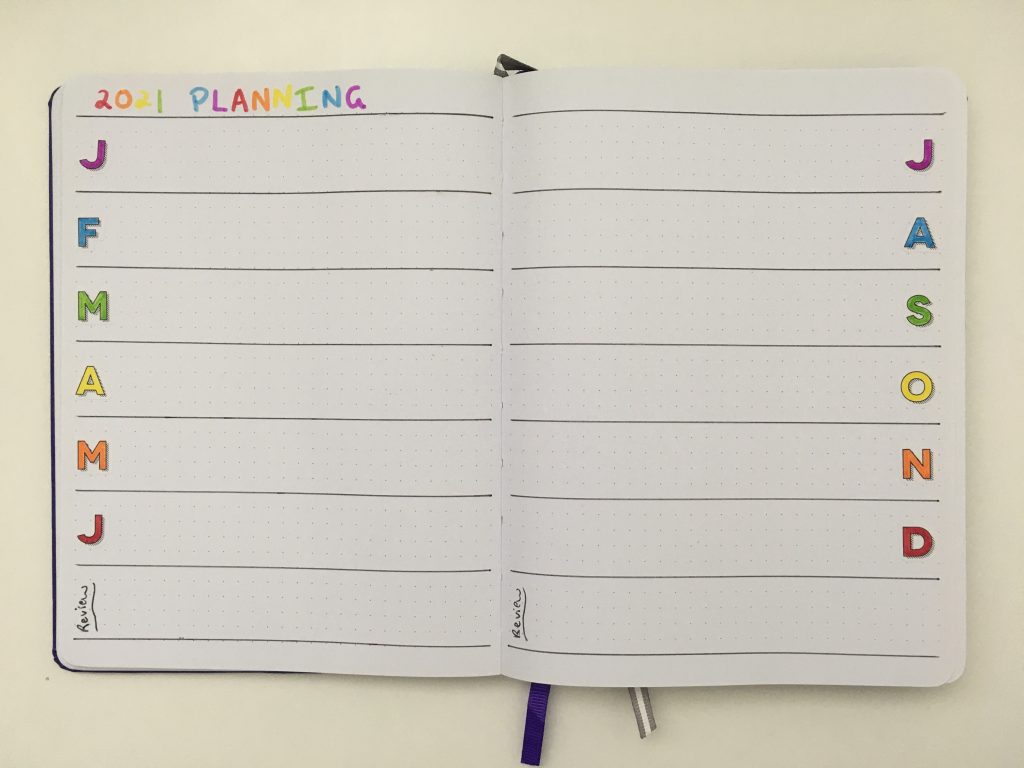
More layout ideas here: Bullet journal annual planning page layout ideas
But I’d always run out of room, especially as the year progressed and I added more things for each month. If I split the year into quarters across 4 pages, then I couldn’t see the main things at a glance all at once. So instead I switched to using a spreadsheet.
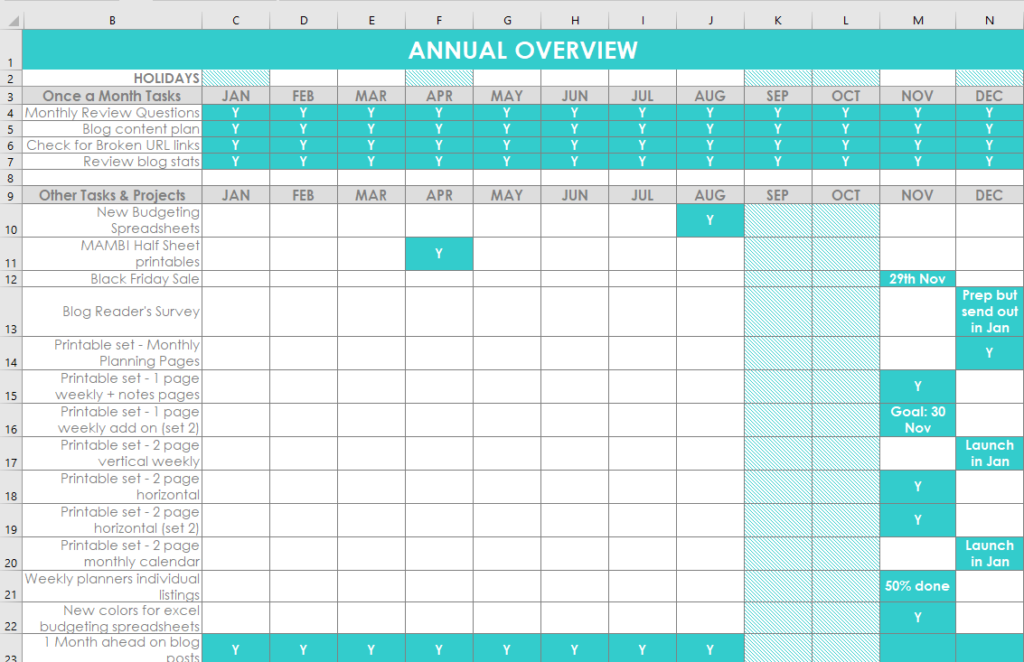
I transfer the projects and anything else that needs a deadline to my 12 month overview spreadsheet available here. I also have a section for my once a month tasks (these tasks are from my master task list) which I transfer to my weekly and monthly spreads when they fall due. I’ve gone more detailed this year than the example I previously posted (see image below). I’m still doing the Y once complete (i.e. Yes) and the % done and goal finish dates. It’s so much easier for me to change things in this spreadsheet than on paper.
But if you wanted to, you could easily recreate this layout on paper by ruling up a layout similar to a habit tracker. The reason I do this digitally is because I change things around quite a bit as the year goes and it would take too much time erasing and changing things. The Frixion erasable pens also don’t write very well on paper after you’ve erased them 3 or 4 times.
if you prefer a printable, you can find this set of annual planners in my online store and my Etsy shop.
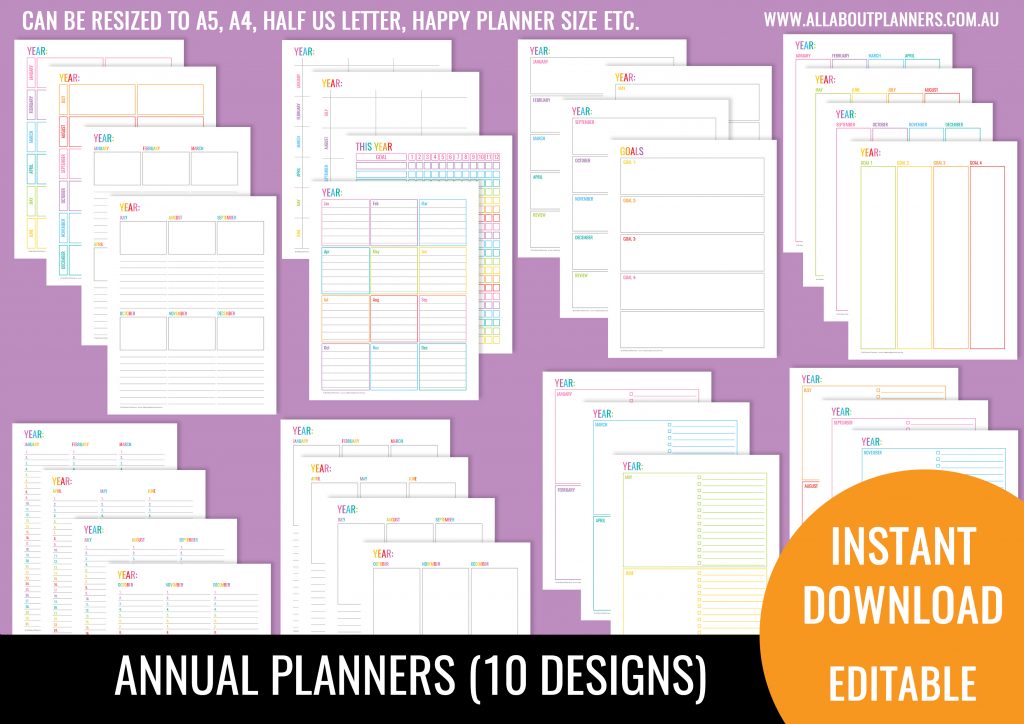
If you don’t want to do this digitally or my layout looks like it won’t quite suit your needs, have a look at the annual overview and goal planning pages for these planners for some inspiration:
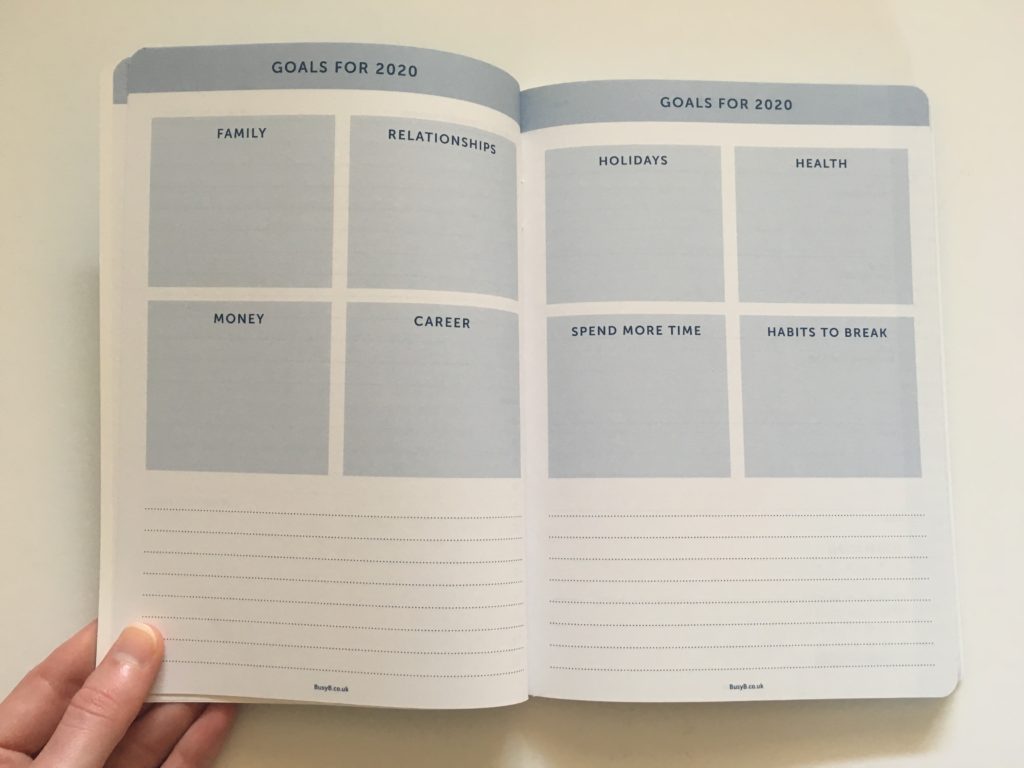
Review of the The Craft Planner
For more annual planning ideas, see this post: 12 Bullet journal annual planning page layout ideas
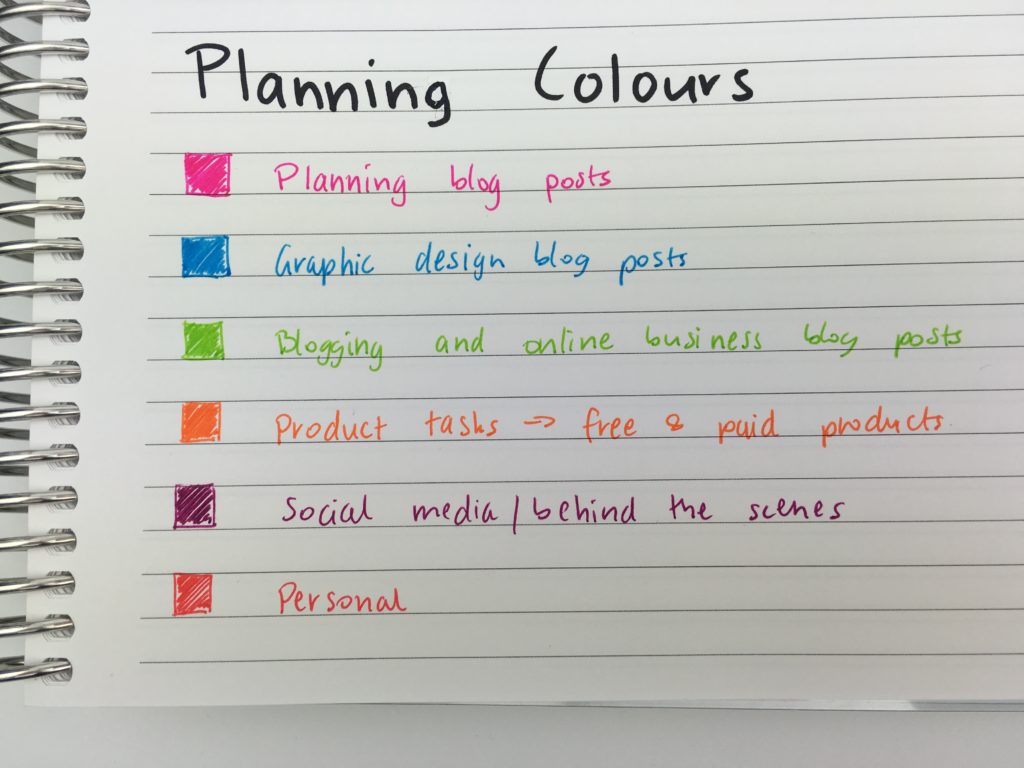
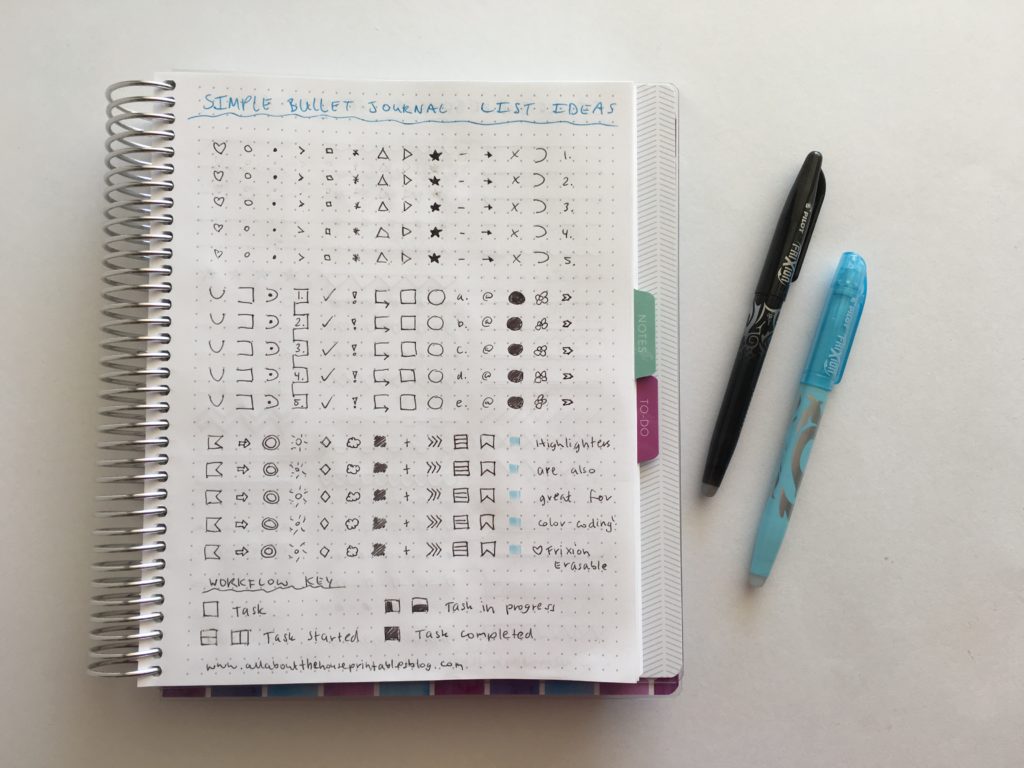
3. Decide on your key and / or color code
Maybe you use colors, maybe symbols, maybe you don’t want to use a key. Now is the time to decide.
See these blog posts for some suggestions:
- Using a planner key and symbols to code your planner (efficient planning methods)
- Color coding your planner: how to choose which colors to use
- 7 Color coding mistakes to avoid in your planner or bullet journal
4. What are you tracking monthly versus weekly?
Every year I used to have this dilemma so I wrote out a list of all the things I needed to track then allocated where I was going to plan them. E.g. I do meal planning and habit tracking monthly which is why you’ll rarely see them in my weekly spreads.
See this post for some of the things you could be tracking your planner: 100 things to put in your habit tracker of your planner or bullet journal (plus free printable habit tracker)
![]()
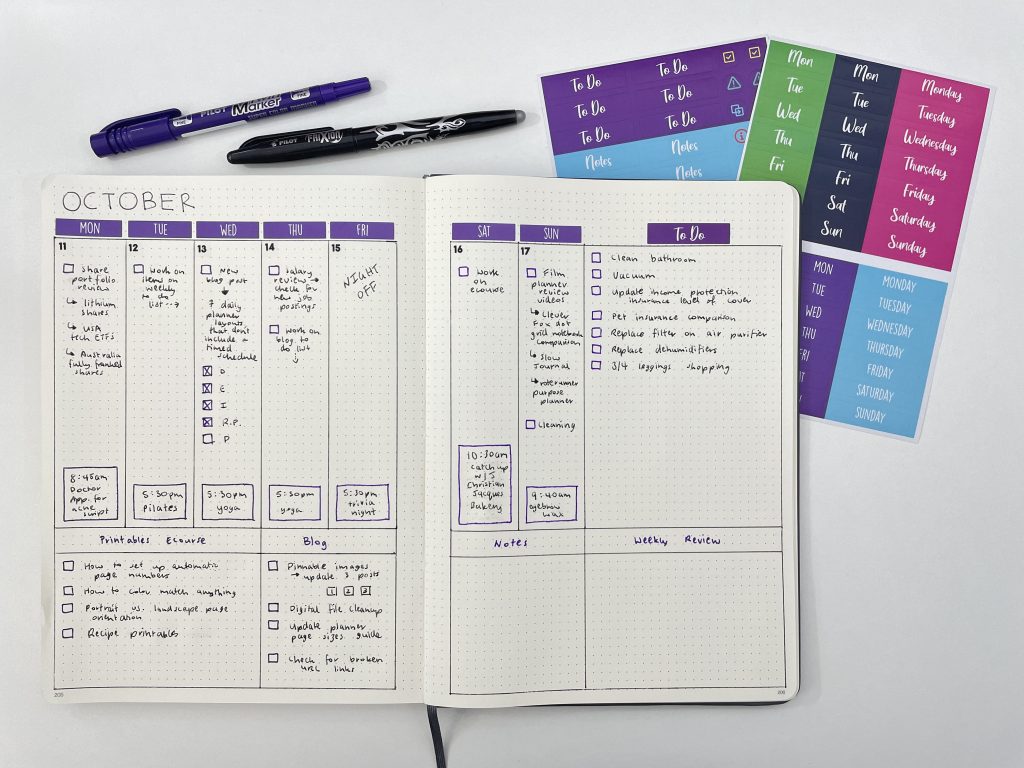
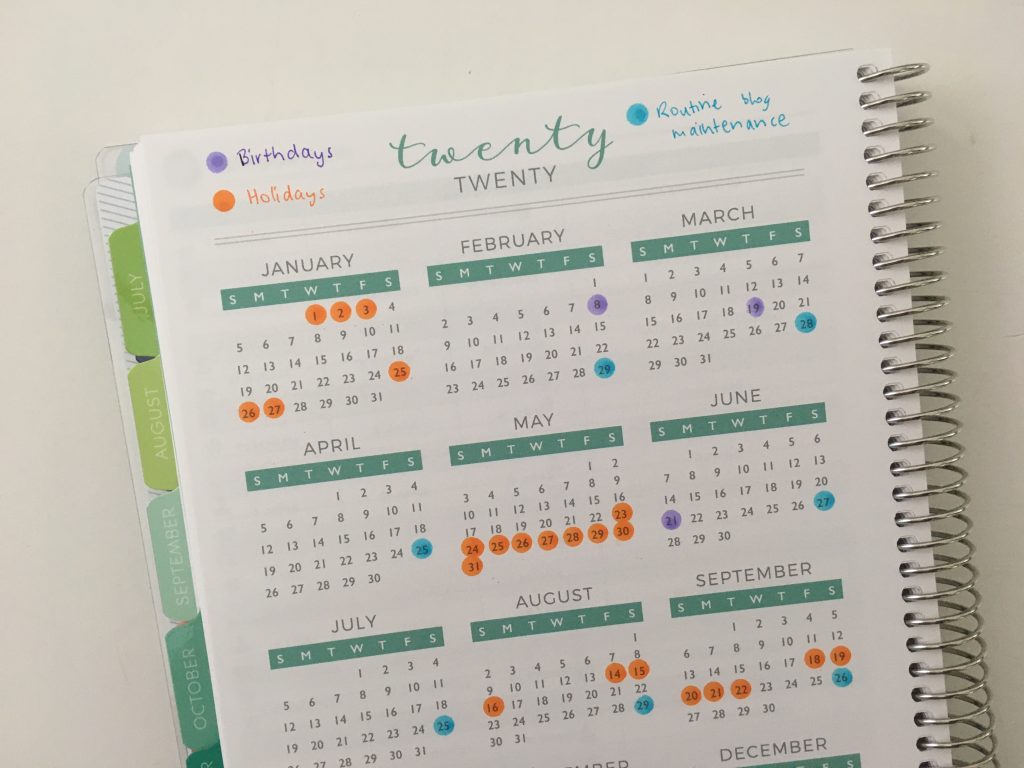
5. Add fixed events and important reminders
After all of that is done, I add the things that are ‘fixed’ into my planner.
- Birthdays
- Anniversaries
- Vacations – block out time now or it might not happen
- Public holidays
- RDO’s
- Dentist and / or orthodontist appointments
- Routine health check-ups
- Anything else relevant to you
I’ve done lists of things you might want to add in these posts:
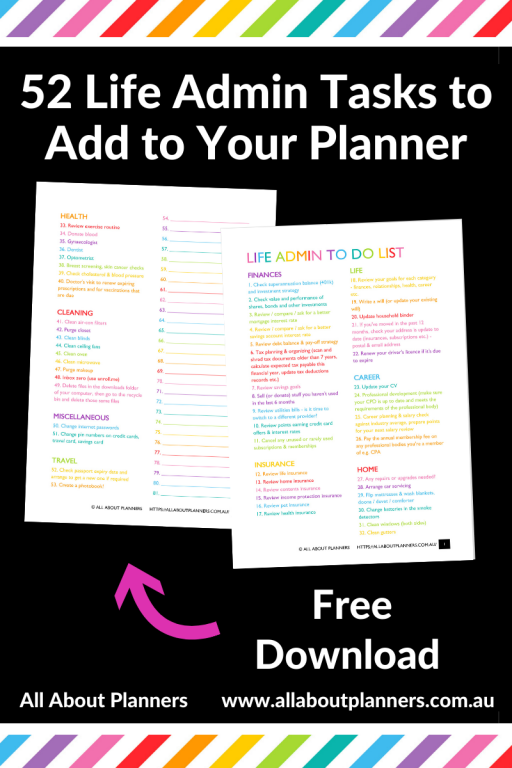
- 52 Life admin tasks to add to your planner this year
- Setting up a new planner: 70 Tasks to add
- Using blank pages: 50 useful lists to add to your planner
- 50 Reminders to Put in Your Planner or Bullet Journal
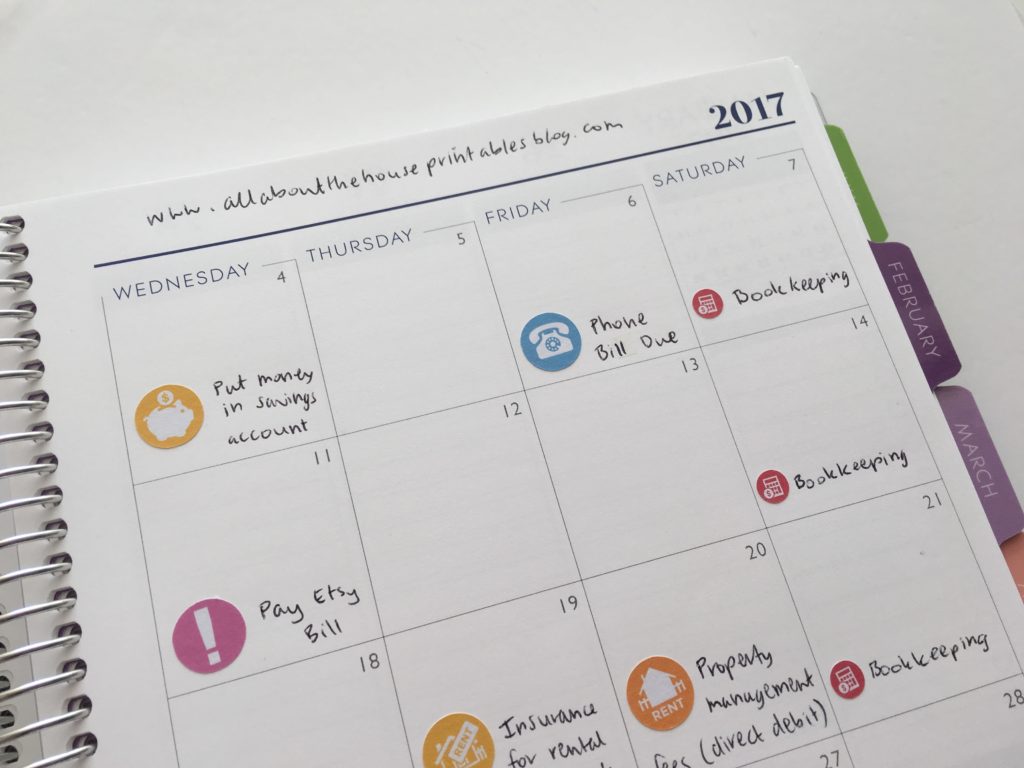
Colored stickers on monthly calendars are perfect for this. I mark these fixed things on only the monthly overview / annual planning page, not every single day. I use the monthly spreads as an overview and the weekly for the detail. I won’t know what the details for the weekly spread are until I get to that week, so I refer back to the monthly overview / annual planning pages when I set up my weekly spreads.
Related: How to make your own custom header / title / phrases planner stickers (step by step video tutorial)
If I’m not sure about the exact dates of things e.g. dentist appointment is due in April but no date for the appointment has been arranged yet, then I add a sticky note to the monthly planning page and can write or use a sticker later on once the date is set (similar to what I do when meal planning):
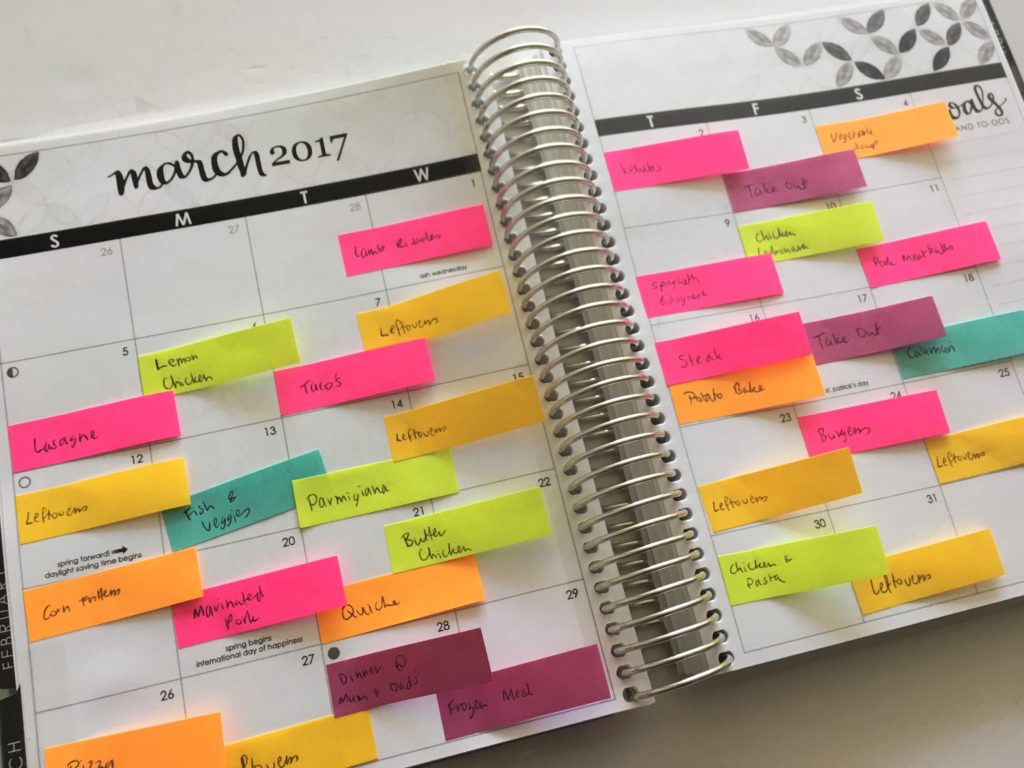
Color coded monthly meal planning using sticky notes
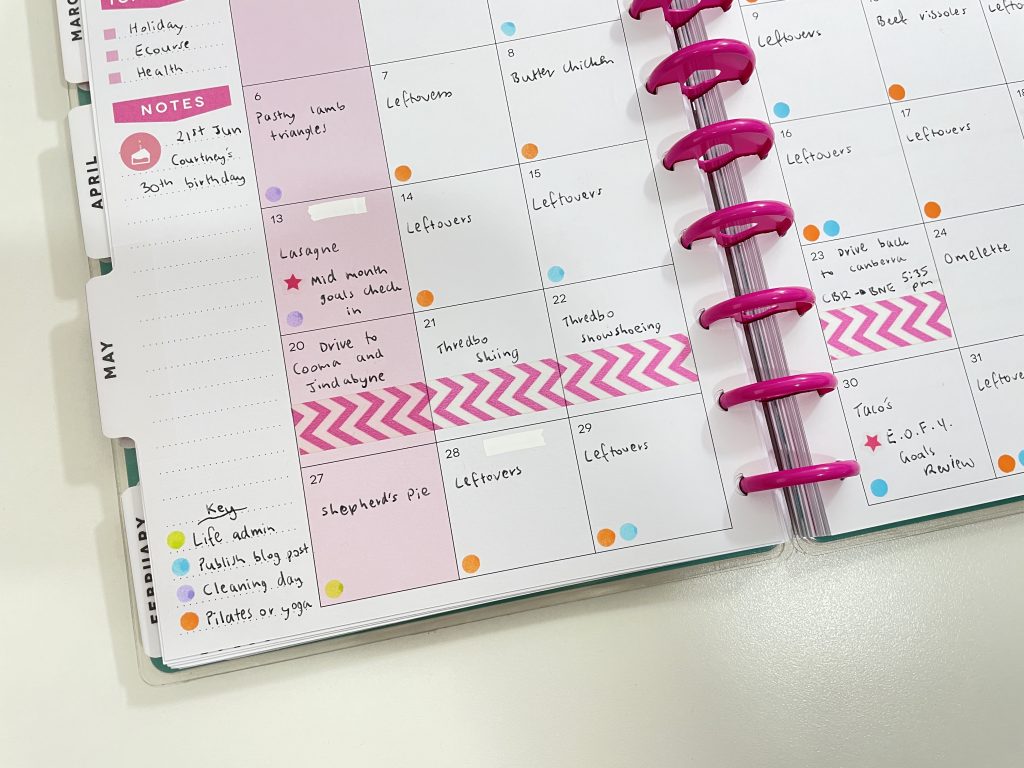
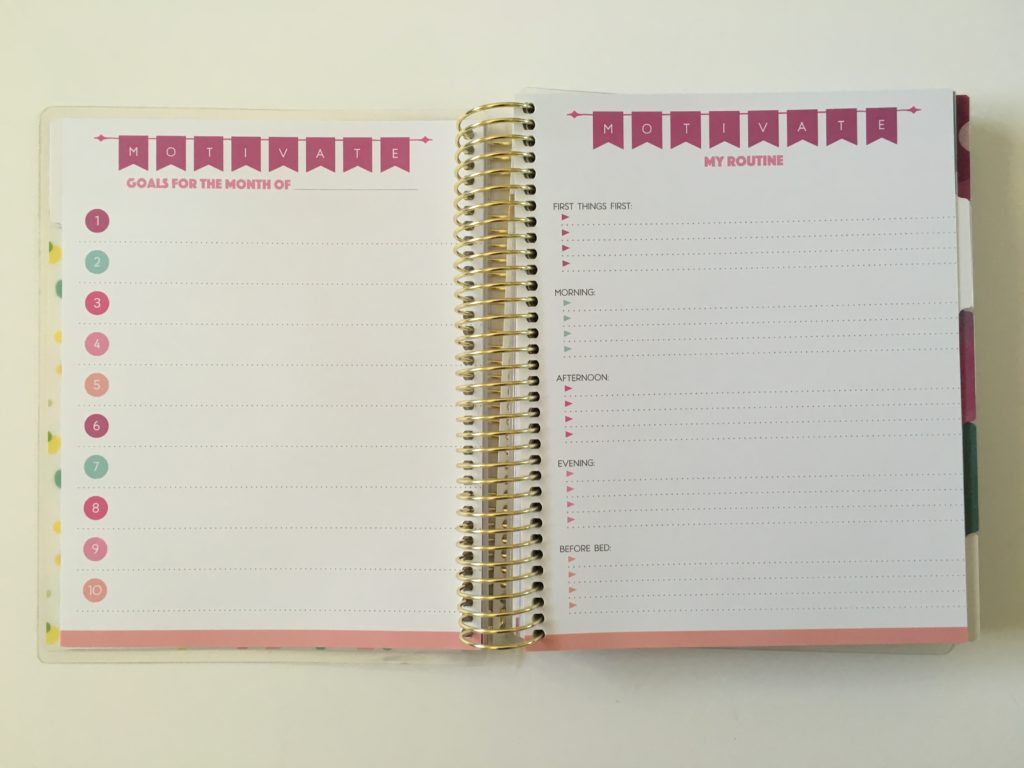
6. Schedule recurring tasks
These are things that unfortunately aren’t a ‘one and done’ type of thing. Examples:
- Cleaning
- Monthly budgeting
- Exercise
- Monthly goals review (see this post for suggestions: 10 Different ways to do a monthly goals review in your planner)
- Mid-month goals check in
- Etc.
Depending on the types of recurring tasks you have, you might only need a list at this stage and an estimate of how long you think these will take e.g. 4 days of the month.
I actually schedule recurring tasks when I set up a new month, but you might prefer to do this at this annual overview planning stage. I do block out one day per month for life admin recurring tasks – I’d rather do them in one go but you may prefer to do one every few days throughout a month.
As a minimum, add a reminder to check in with your goals on the last day of each month. You could use a dot marker for this instead of writing it out 12 times.
Read more: 7 ways to use dot markers in your planner or bullet journal
For tasks that aren’t monthly eg. quarterly or bi-annual, I use my last time I did printable.
![]()
Related post: Digital declutter checklist
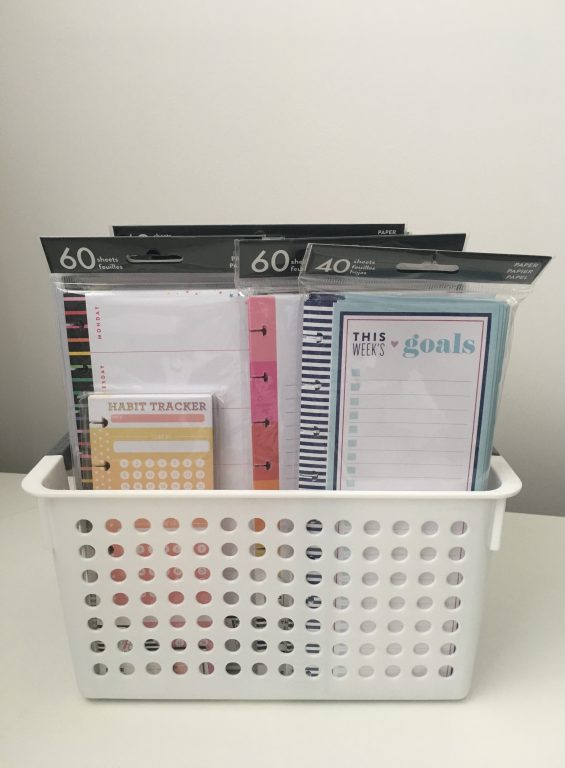
7. Add reference printables
Now that you know what you need to track and plan, it’s time to add some printables. The planner you purchased probably has what I call the ‘essentials’ – the daily, weekly, monthly spreads, maybe some monthly calendars and notes pages, but now it’s time to fill in the gaps.
Goal accountability pages
Some suggestions:
- Graph paper in the monthly spread so you can graph your savings, debt pay off, pomodoro productivity for the day, weight loss or anything else you want to visually track
- Habit tracker for the monthly spread (if you don’t want to habit track weekly)
- Monthly planning page
- Financial goals – add a monthly budget, savings tracker, debt payoff sheet
- Goal planning – most planners don’t include enough pages you might want to add graph paper to create a timeline / gantt chart (or use a habit tracker format), checklists, notes pages
- Extra lined pages for weekly / monthly / quarterly reviews
15 habit tracker tips & ideas to try
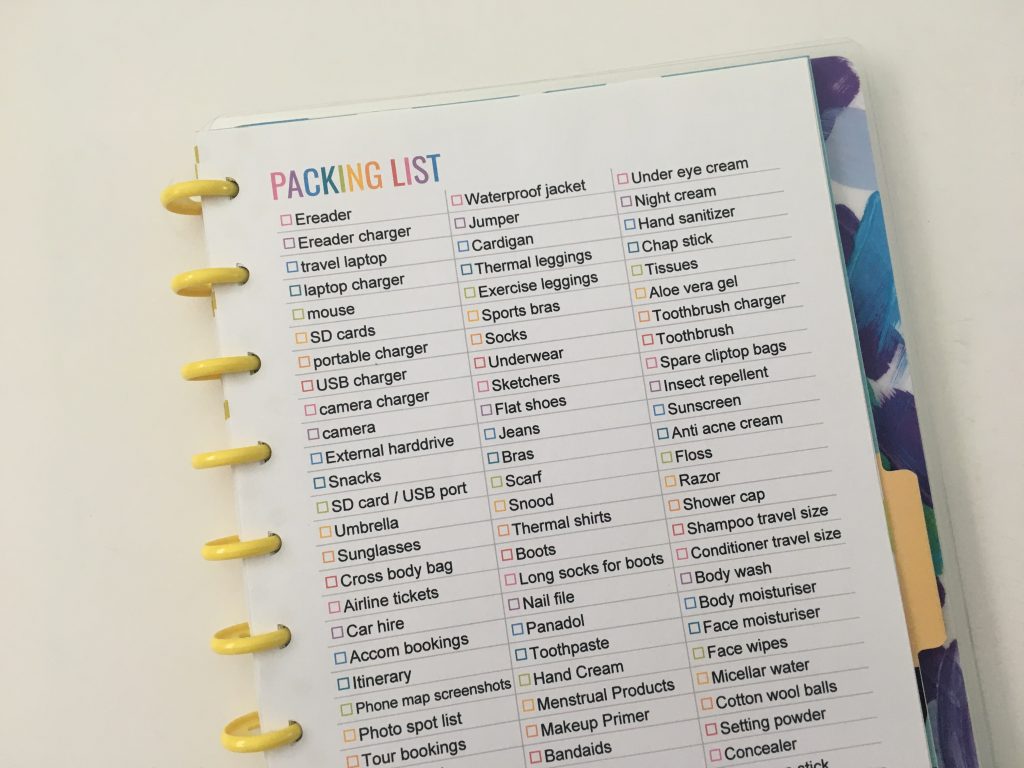
Reference printables
Some helpful printables to add to your planner or bullet journal which you may want to refer back to throughout the year:
- 52 life admin tasks
- Cleaning routine checklists
- Extra blank checklists and shopping lists like the anything lists printable
- Packing lists
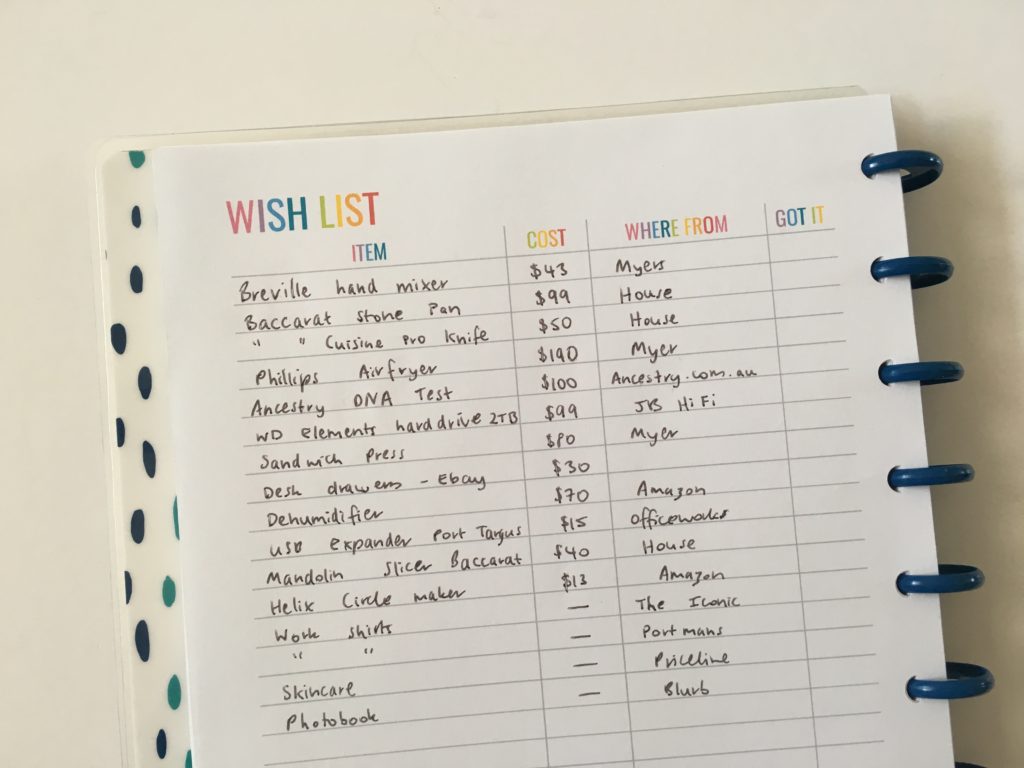
- Wish list – so you can make a list of things you want to purchase and motivate you to reach your savings goals
- Weekly review questions
- Monthly review questions
- Download pre-made meal plans and fitness routines
- Cleaning maintenance pre-filled pages to refer to throughout the year
I print these pages and add them to my planner using disc binding or washi tape. I don’t fold them and put them in the pocket where I’ll forget about them.
If you need instructions for resizing printables to fit the planner or bullet journal notebook you’re using, see these posts:
- How to print any printable at any page size
- How to print printables at MAMBI Happy Planner Size
- How to print printables at Plum Paper planner size
- How to print printables at Erin Condren planner size
- How to resize a printable to fit A5 or US half letter (5.5 x 8.5) page size
- How to resize any printable for any size bullet journal
- How to print an A4 printable onto US letter size paper (and vise versa)
General printing tips
- 7 Ways to make colors POP when printing using an Inkjet printer
- Don’t own a printer? Here are 5 companies that will print and ship printables to your door
- How to get rid of a white border when printing printable (borderless, no bleed, no scaling step by step video tutorial)
- How to Choose a Printer (Including the best printer for printing printables and planner stickers)
- How to easily print printables double sided (duplex printing tutorial)
Related post: 15 Productive Things You Can Do In 15 Minutes or Less
8. Detailed goal planning
Now that you can see what you have to work with after filling in all of the ‘fixed’ items, you can start filling in the rest of your planner with your goals.
I don’t like to be very prescriptive writing down the exact days I’m going to do things in my planner. I moreso look at the gaps e.g. March looks like a quiet month without many fixed items, that would be a good month to work on _____ big project (new product for the shop, photo book from a past holiday, rearranging the office, deep cleaning the apartment, go on a holiday etc.)
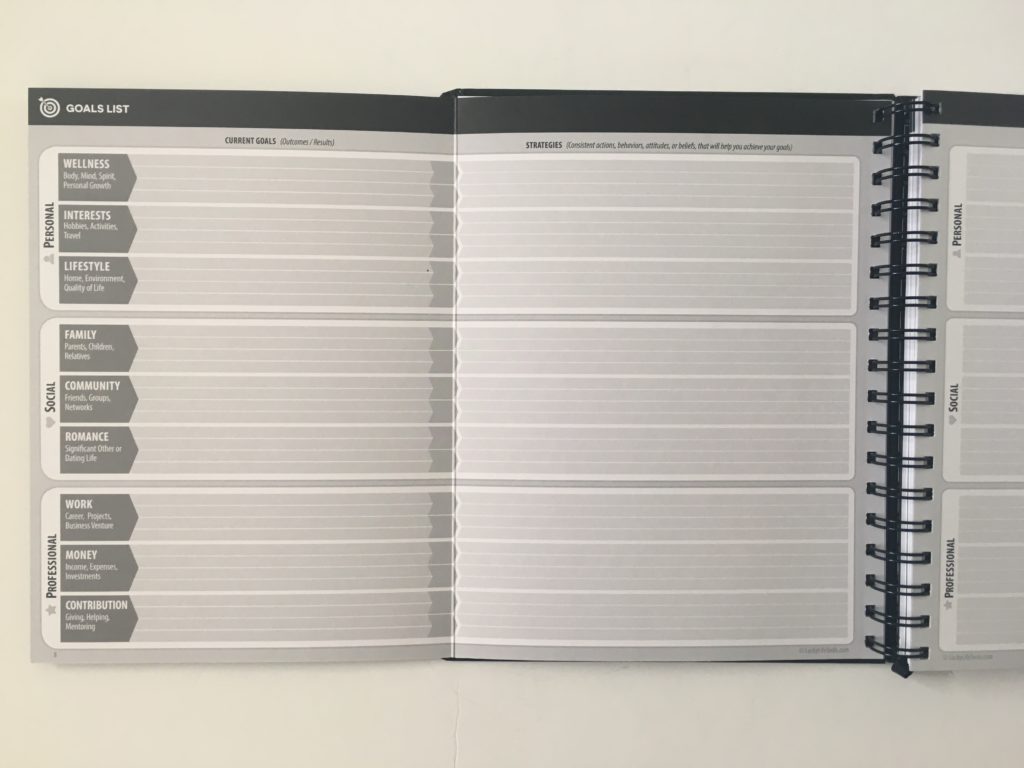
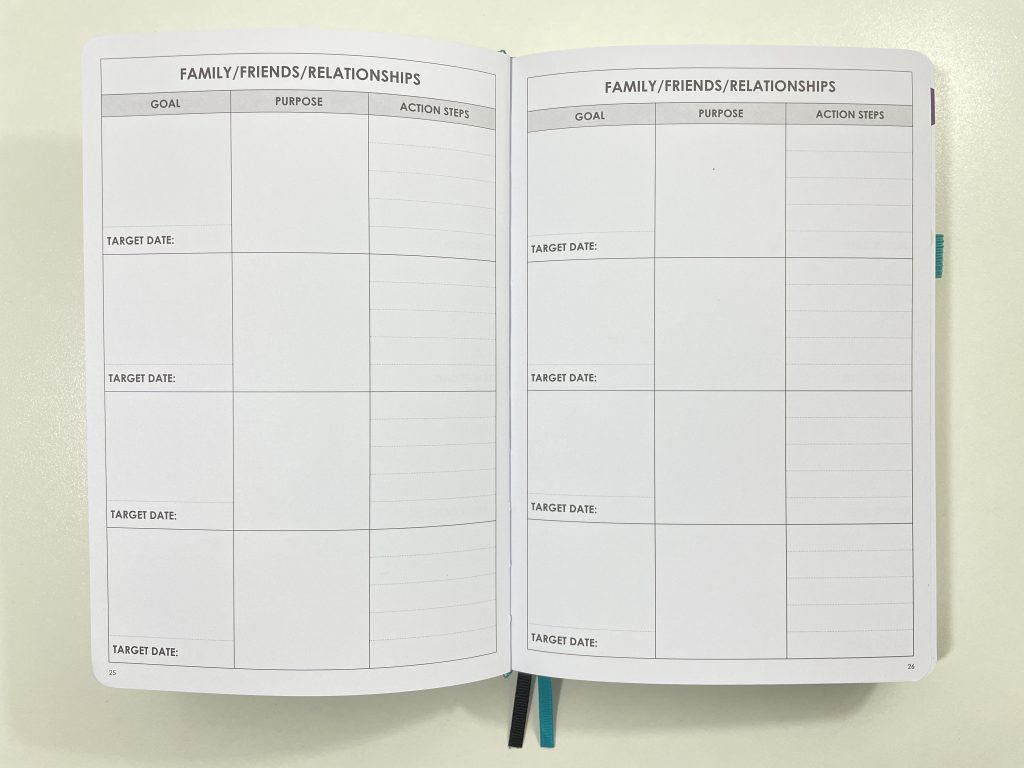
For my goal planning pages I include:
- Main Deadline (month I would like to complete it)
- Key action items / steps to achieve that goal
- Anything I need to purchase to help complete the goal
- Target deadlines for those steps
- Then I come back to my goal planning pages and break down the steps in more detail when I actually start working on that goal during the year
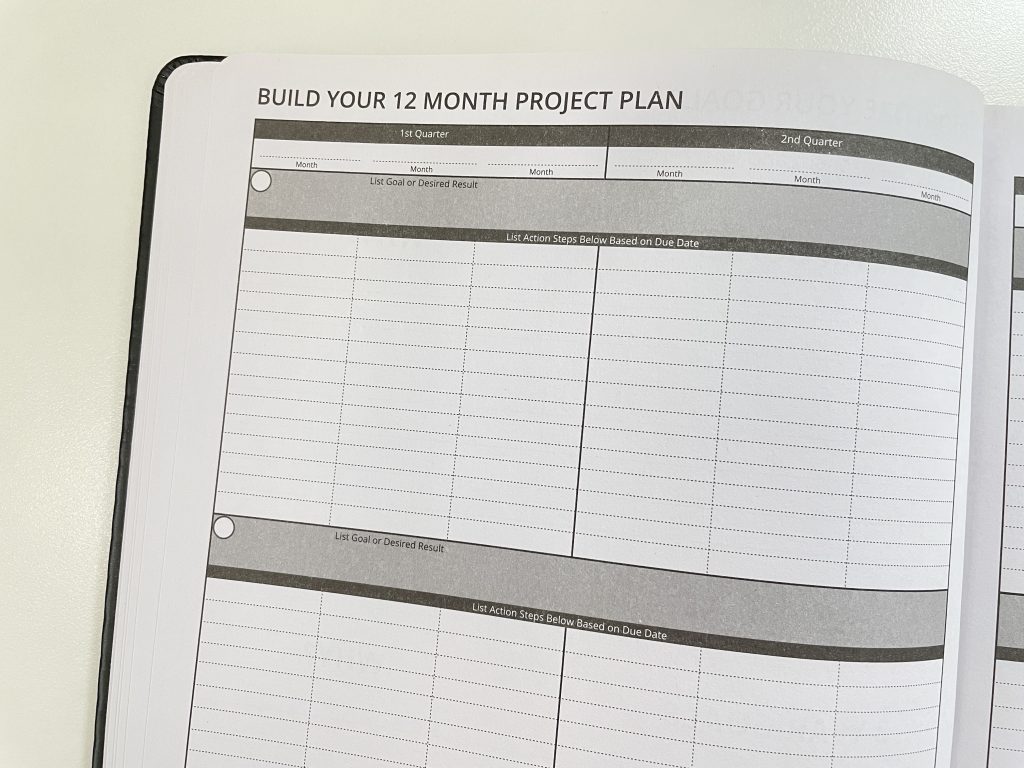
I prefer to work on projects when I feel like working on them as the quality is always better when I’m motivated not ‘forced’ because of a deadline. So I don’t put dates on anything at this stage, just the month for the main deadline. For the key items / steps to achieve that goal, I put the number of weeks it needs to be done by (so 8 weeks before the main deadline, 6 weeks before etc.)
I don’t have just one layout / structured printable that I use for all my goals, it depends on what I’m working on.
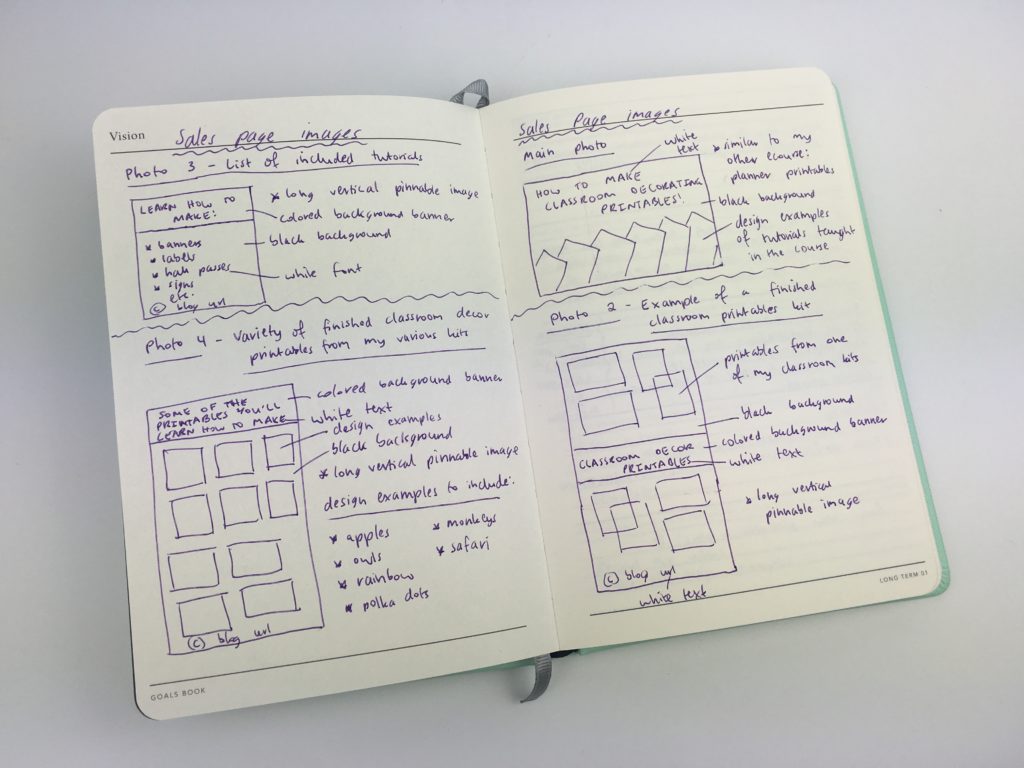
I have a workflow printable I use for photobooks, have tried various methods for planning my ecourses, room organization printables, project planning printables and used to have a checklist for making printables and stickers and other things for my shop (but now have that in my head / on autopilot so don’t need a checklist for that anymore).
If you need ideas for goal page layouts, here are some I’ve used in the past:
- Using the Mi Goals Planner for ecourse planning
- 10 Different ways to do a monthly goals review in your planner
- Room organization planner
- Craft planner
- Anything lists
- Color coded notes pages in various layouts
- Weekend to do list from this set
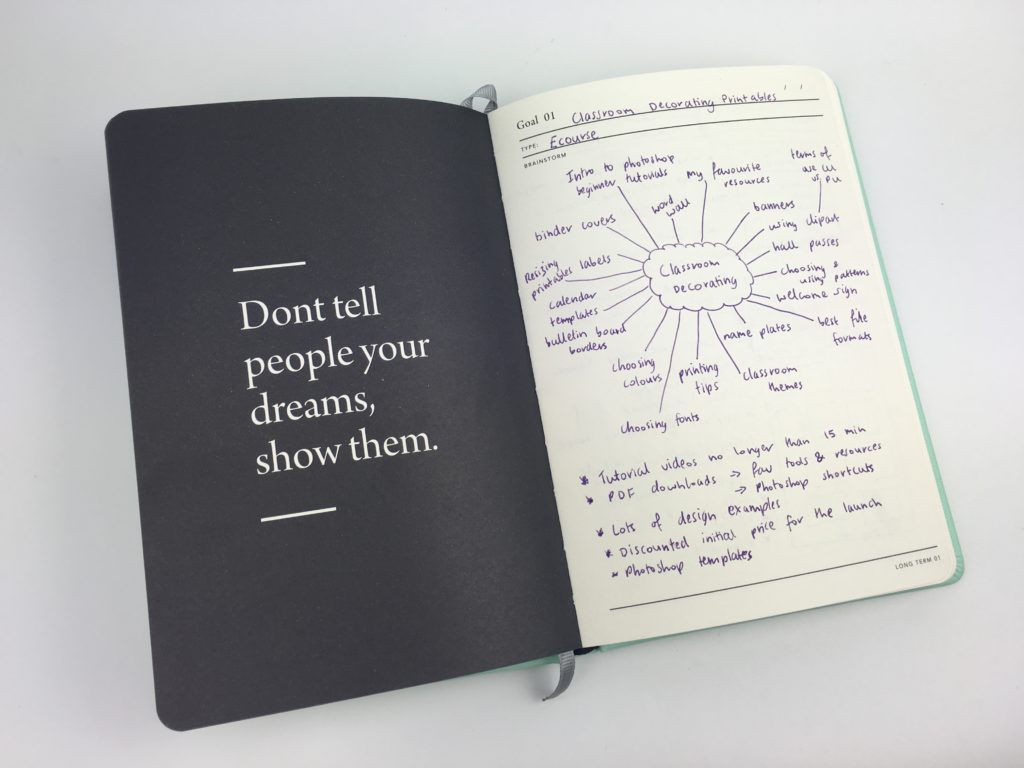
Using the Mi Goals Planner for ecourse planning
These planners also have good goal planning layouts:
- My 10 Favorite Goal Planners
- Lucky Life Tools
- Mi Goals ‘Goal Digger’ Weekly Planner
- The Perfect Notebook Review (Discbound Planner)
- 90X Goal Planner
- Recollections Goals Planner
- Goal Crazy Planner Review
- Full Focus Planner Review (Michael Hyatt’s 90 Day Undated Goal Planner)
- Mi Goals Progress Planner
- Clever Fox Pro
- Roterunner purpose planner review
![]()
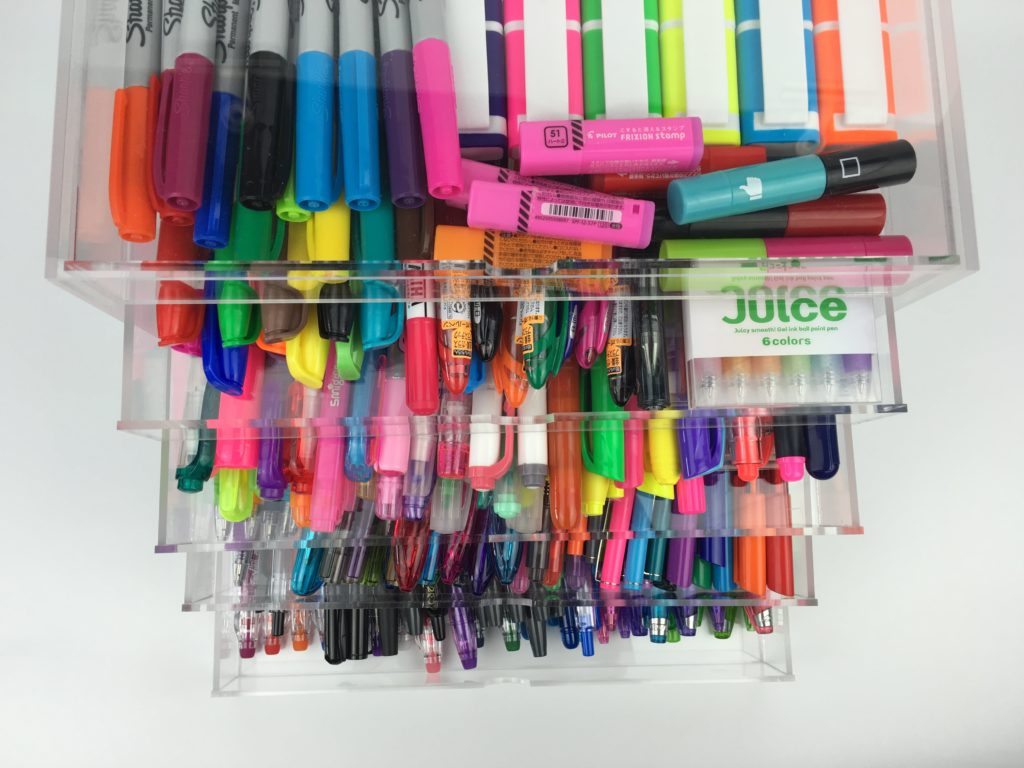
9. Office clean up
I know it’s not directly related to setting up a new planner but the new year is a good time to take stock of the supplies you have. This is what I do:
- Move supplies I rarely use to the front so they’re visible and I’m more likely to use them
- Rotate the pens I keep on my desk so I don’t keep using the same ones
- Throw away empty pens and dried out highlighters
- Give away supplies I no longer use
- Re-label and organize my supplies
- Make a shopping list of anything I need to stock up on e.g. white out tape
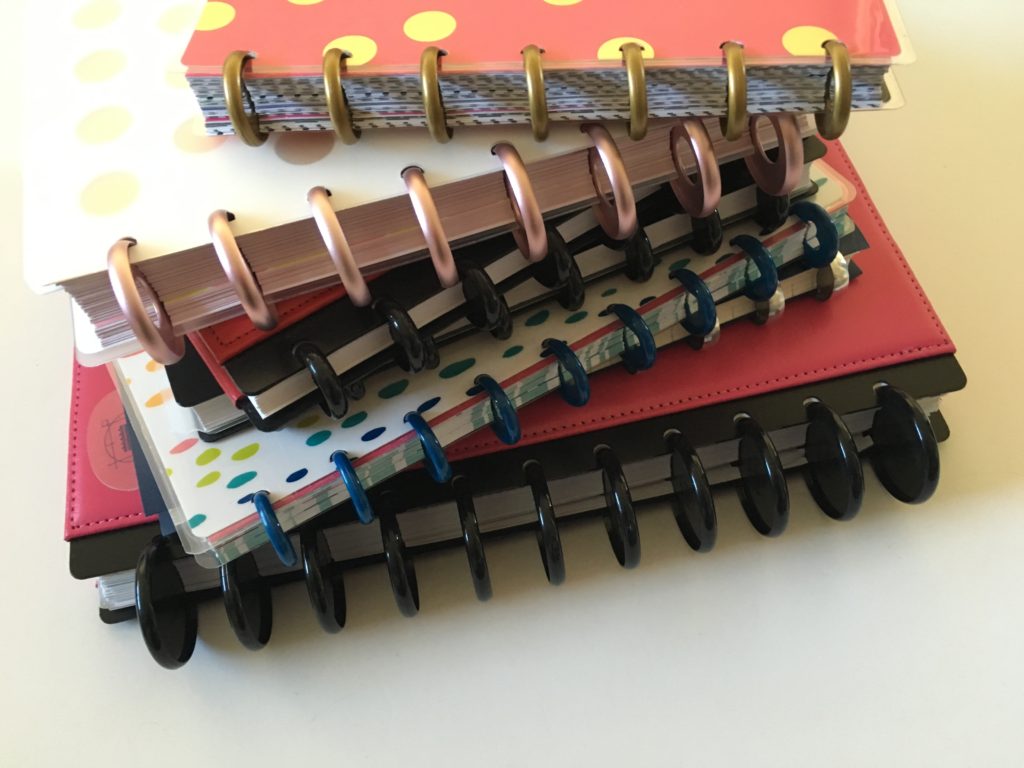
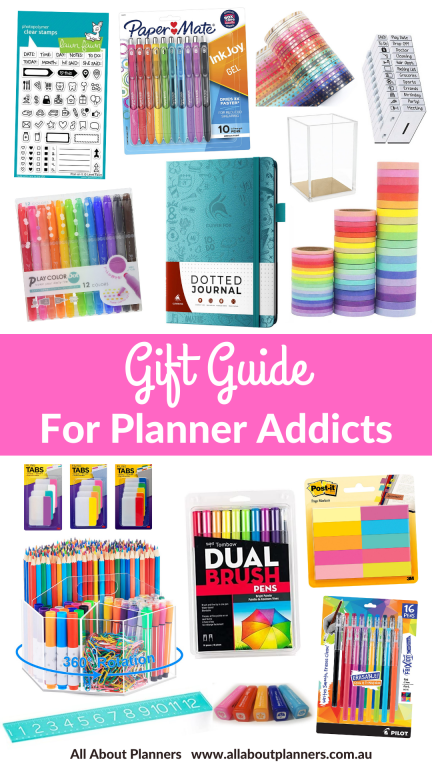
10. Order new planner supplies
Now for my favorite part!
A new year means you’ll probably want to try out some new style/s of weekly spreads and maybe just need some new supplies too.. or maybe just need an excuse to buy new supplies 🙂
Some supplies to consider trying:
- Discs
- Discbound punch
- Dot markers
- Investing in a quality ruler like the Poppin ruler
- Row and column stencils for bullet journaling
- Helix circle maker
Planner Supplies to stock up on
- Frixion pens
- Refill inserts especially staples like checklists, dot grid and lined notes
- A set of your favorite pens
- Highlighters
- Whiteout tape
- Sticky notes
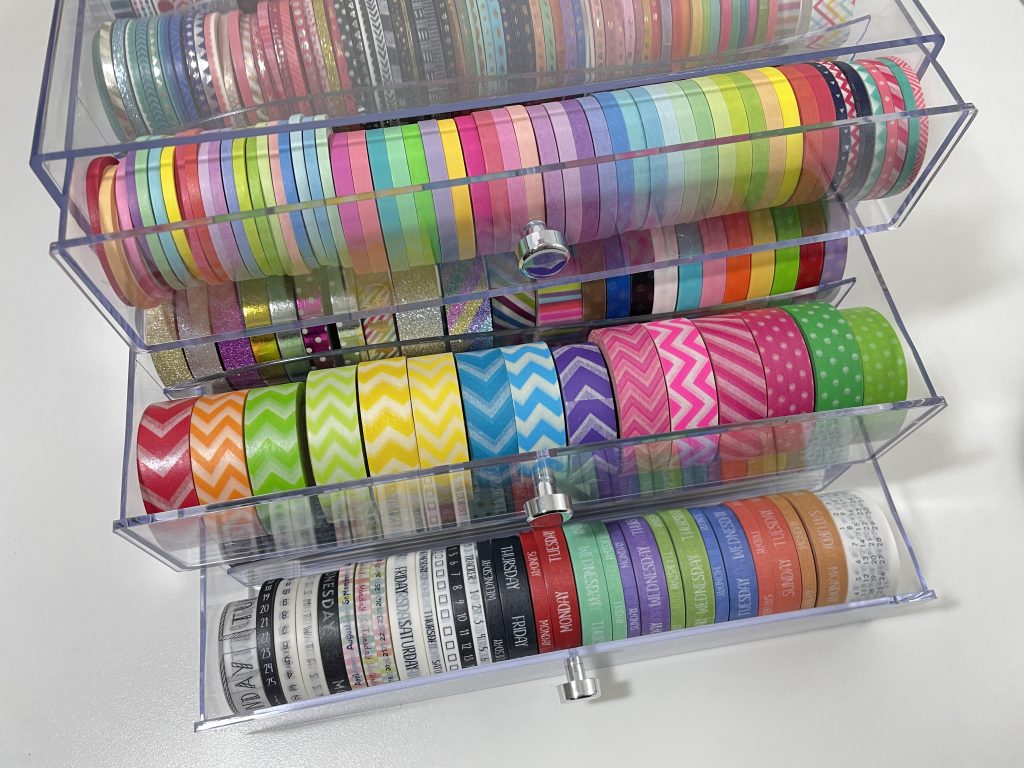
- Washi tape (can never have too many!)
- Printer paper and cardstock if you’re using printables
See these posts for some of my recommendations for planner supplies:
- 5 Planner supplies you never knew you needed
- 10 best planner supplies investments I’ve made
- Amazon gift guide
- Need versus want versus wish list planner supplies
Now is also a good time to review your color coding system. Here are some tips from past blog posts:
- How to color code bill paying in your planner (7 different ways)
- Color coding your planner: how to choose which colors to use
- 7 Color coding mistakes to avoid in your planner or bullet journal

I hope you found this post helpful and that it gave you some ideas for starting to fill out your planner for the new year.
More planning tips
- How to organize planner stickers using folders (plus free printable labels)
- 7 Useful spreads your bullet journal should have
- 8 Ways to use highlighters for Bullet Journal Spreads
Found this post helpful? Pin it!